Inspired by @geekgirl’s Masterboards: A Walk-Through / Tutorial I decided to document my process on a recent masterboard  You’ll see some similar techniques and (maybe) some new ones. Hopefully you will be inspired to create also!
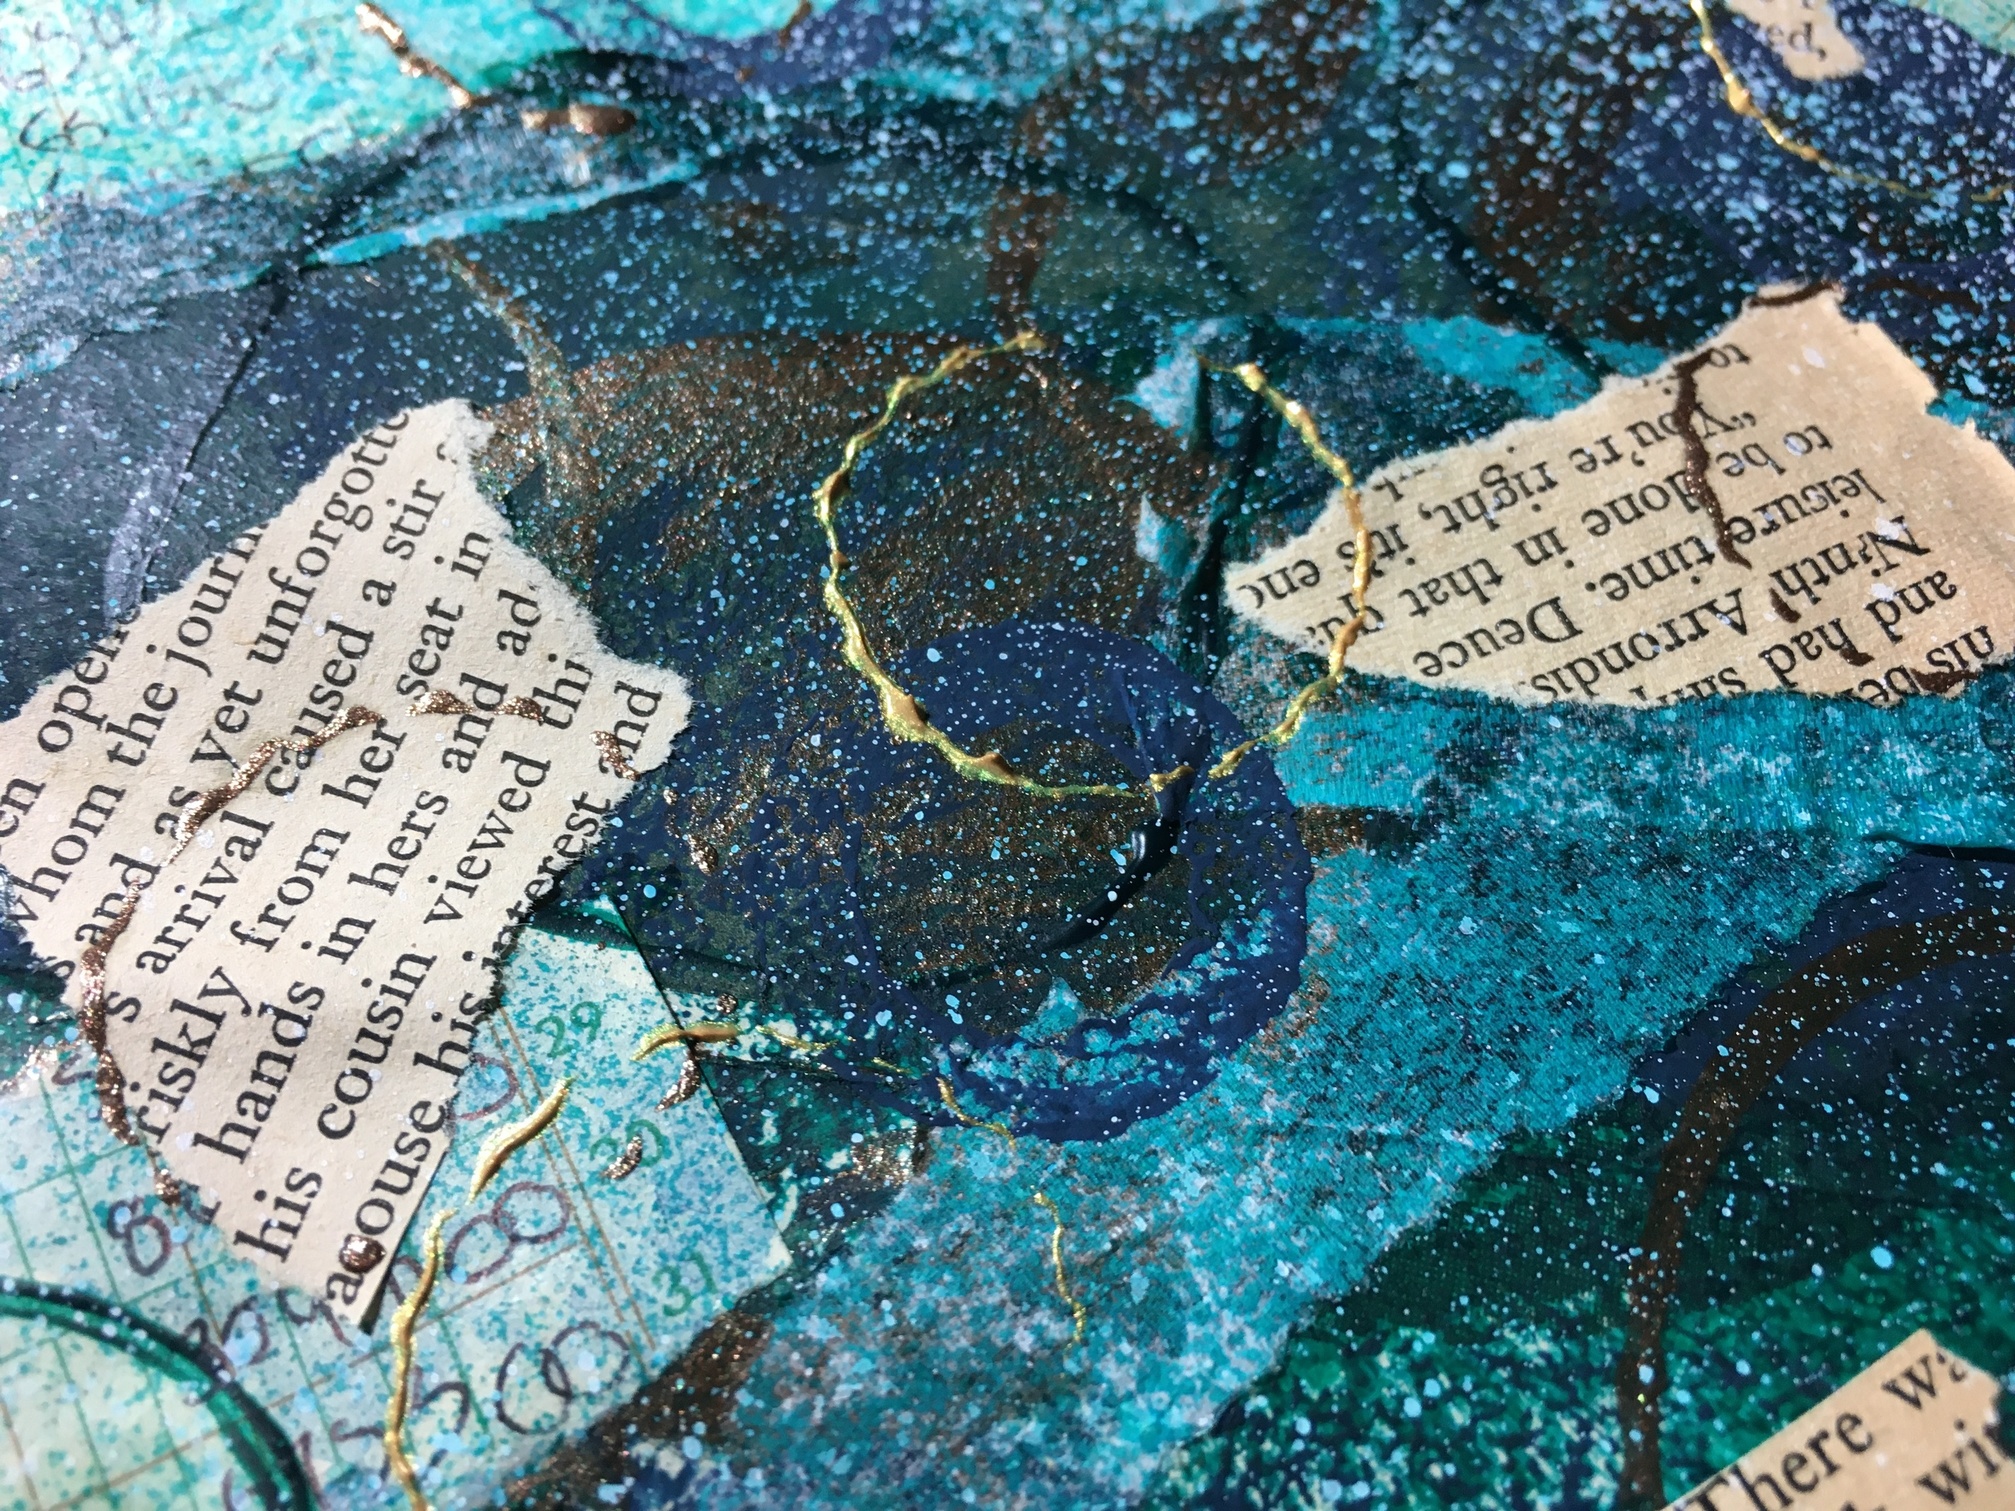
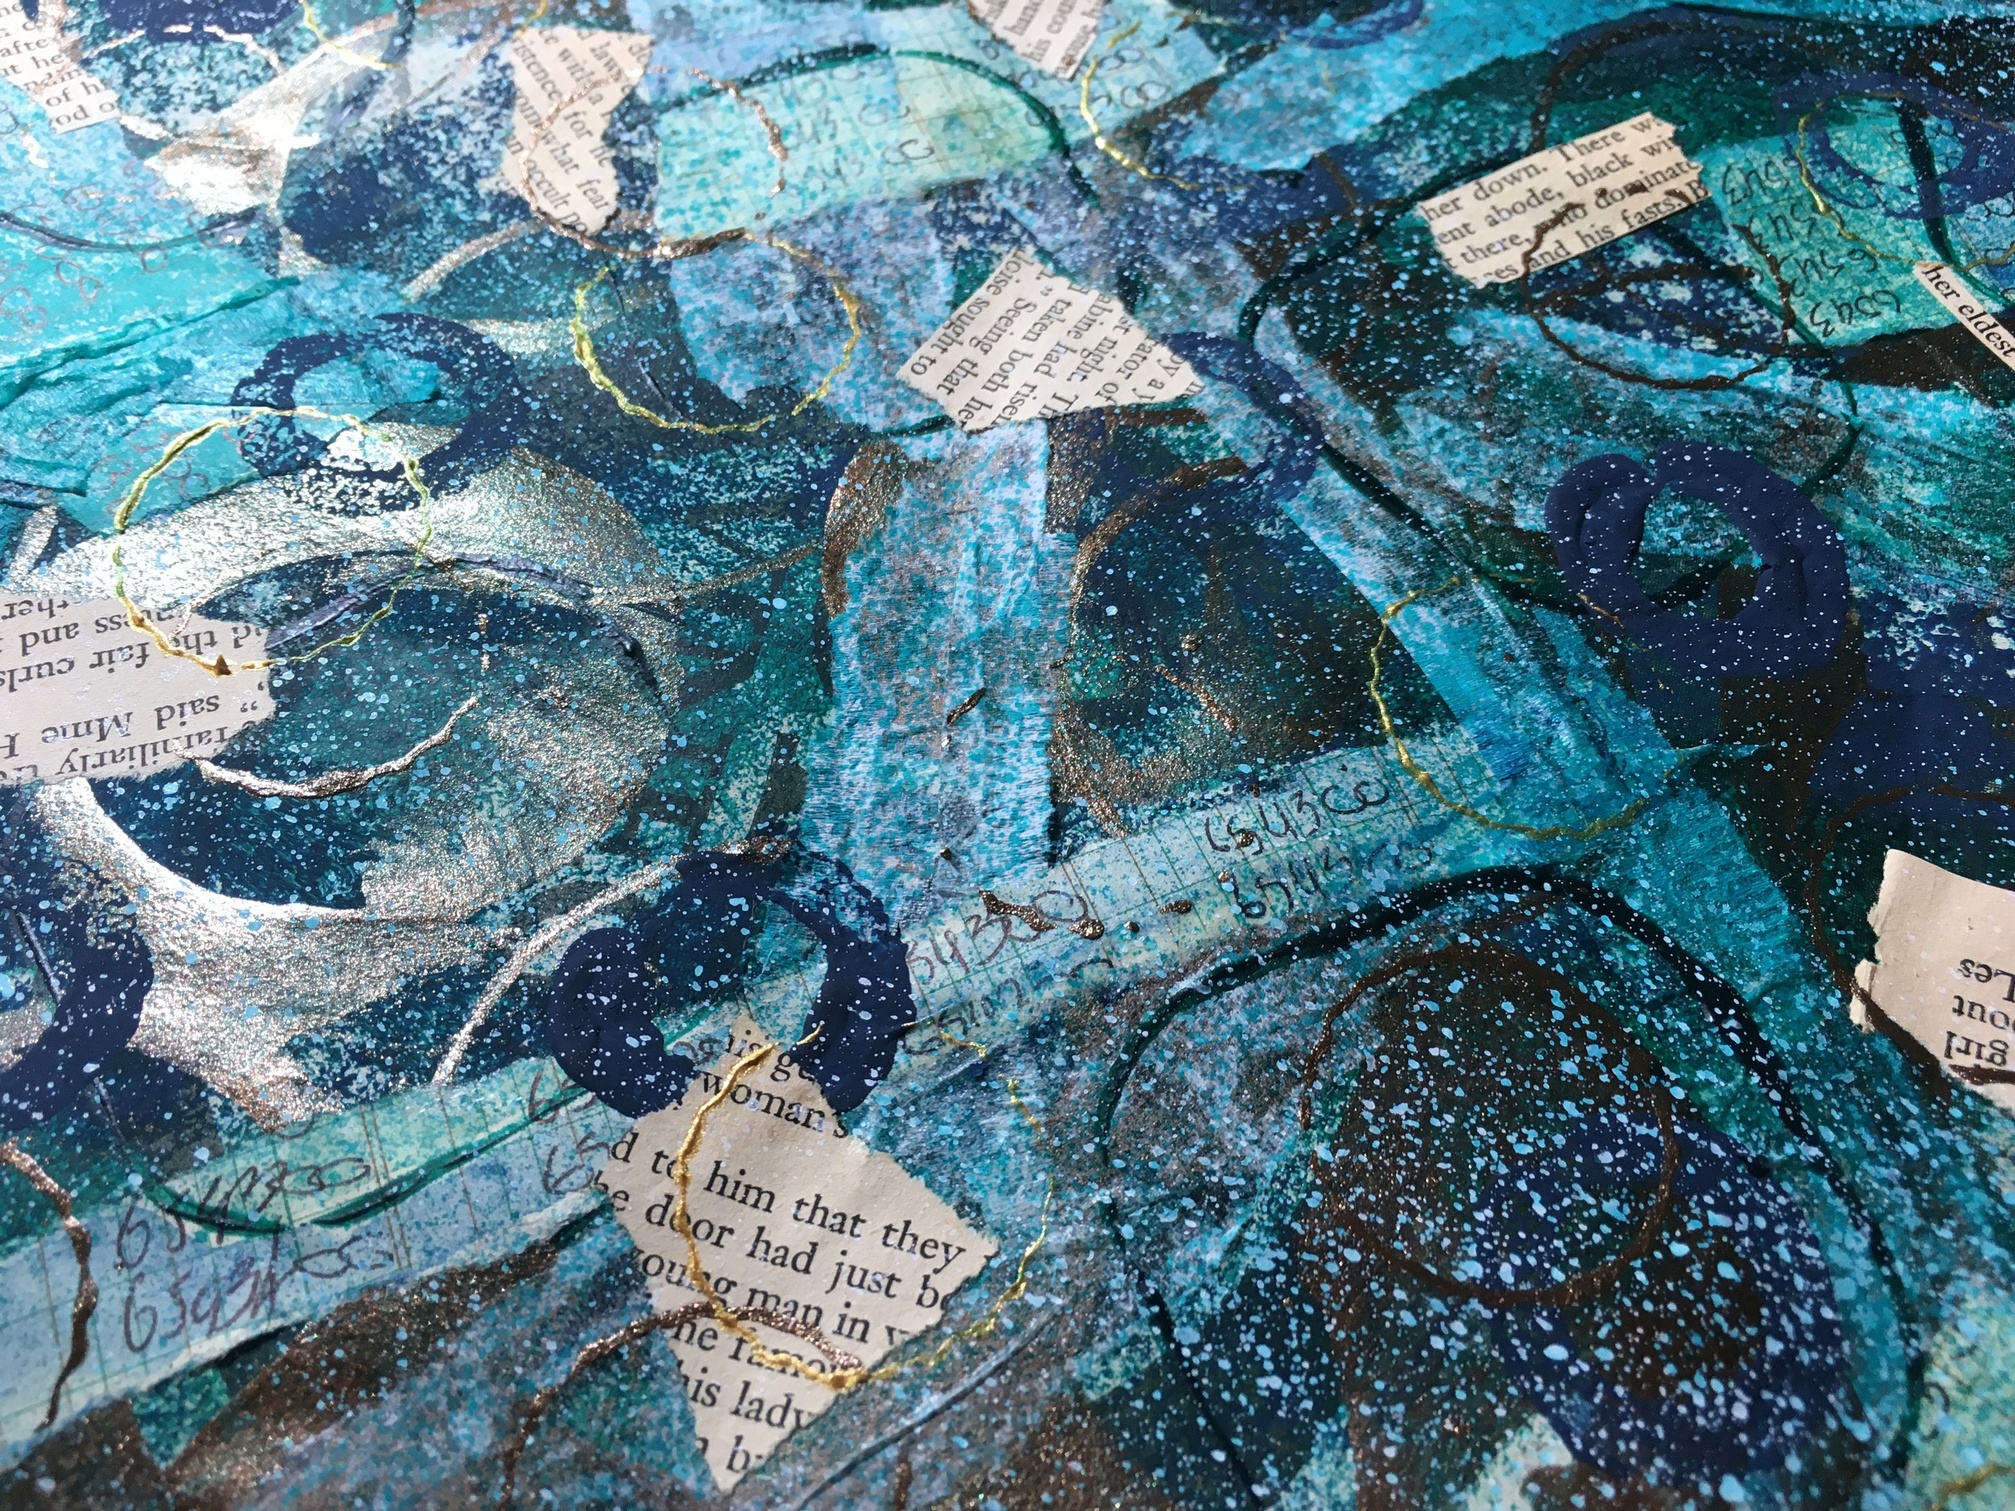
Here’s my finished masterboard and the base paper I started with to get you excited:
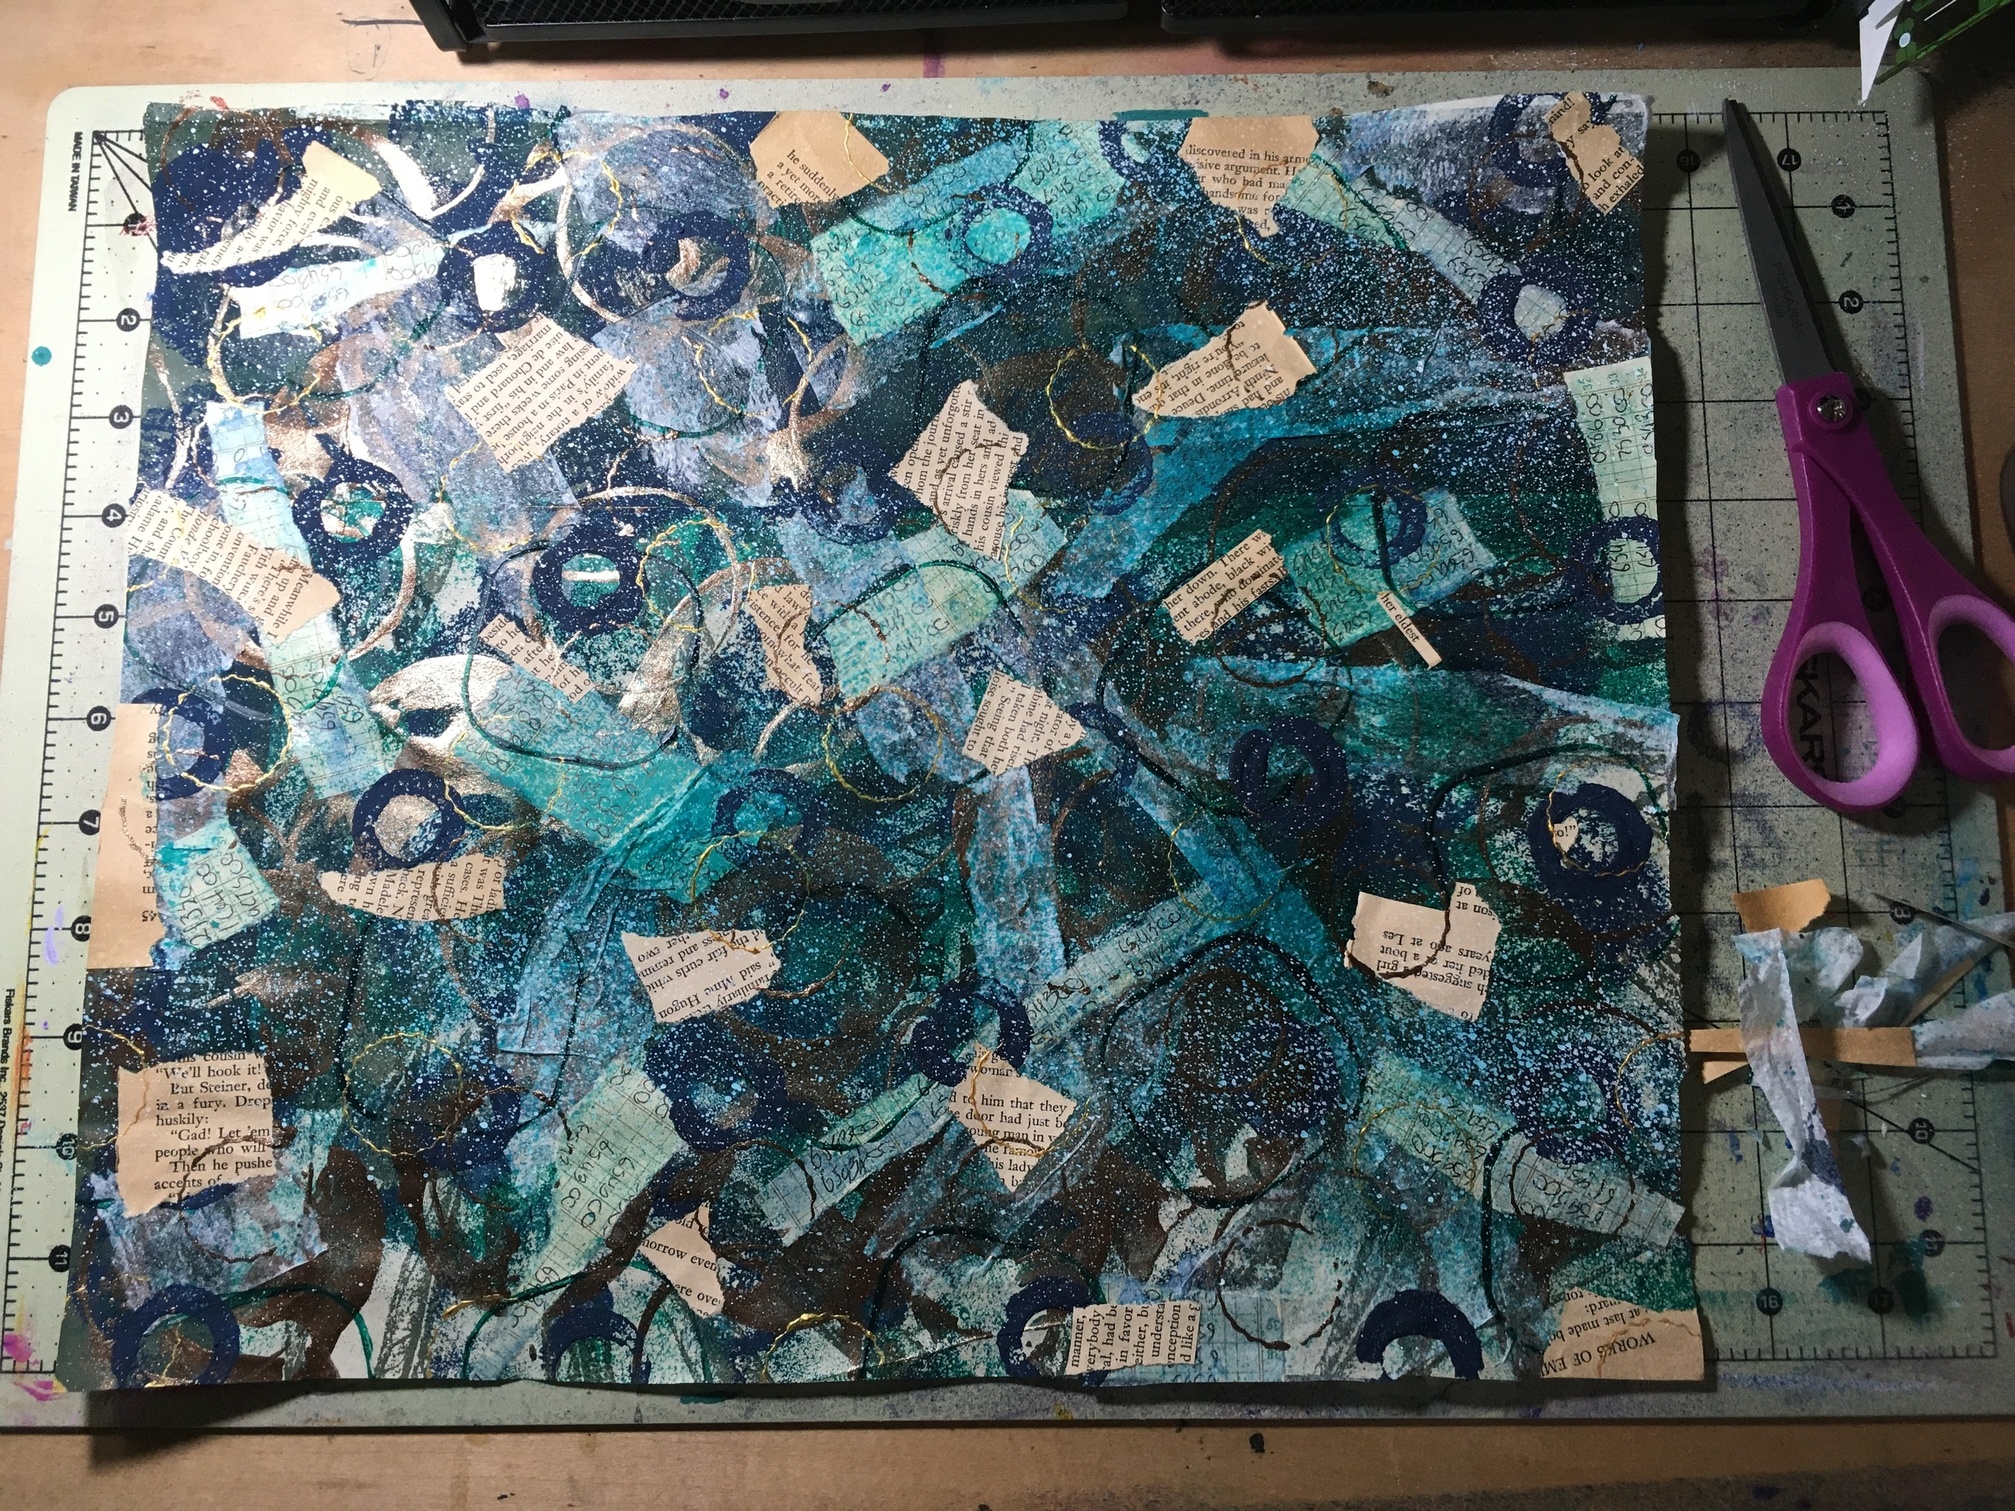

For this masterboard I started with a deconstructed paper shopping bag. I really like working with paper bags because they already have some color to start so I don’t feel anxious to fill in every last bit, they are lightweight and when I’m done they are usually sturdy enough on their own and still easy to cut/punch into smaller pieces and shapes, and they are easy/free to come by!
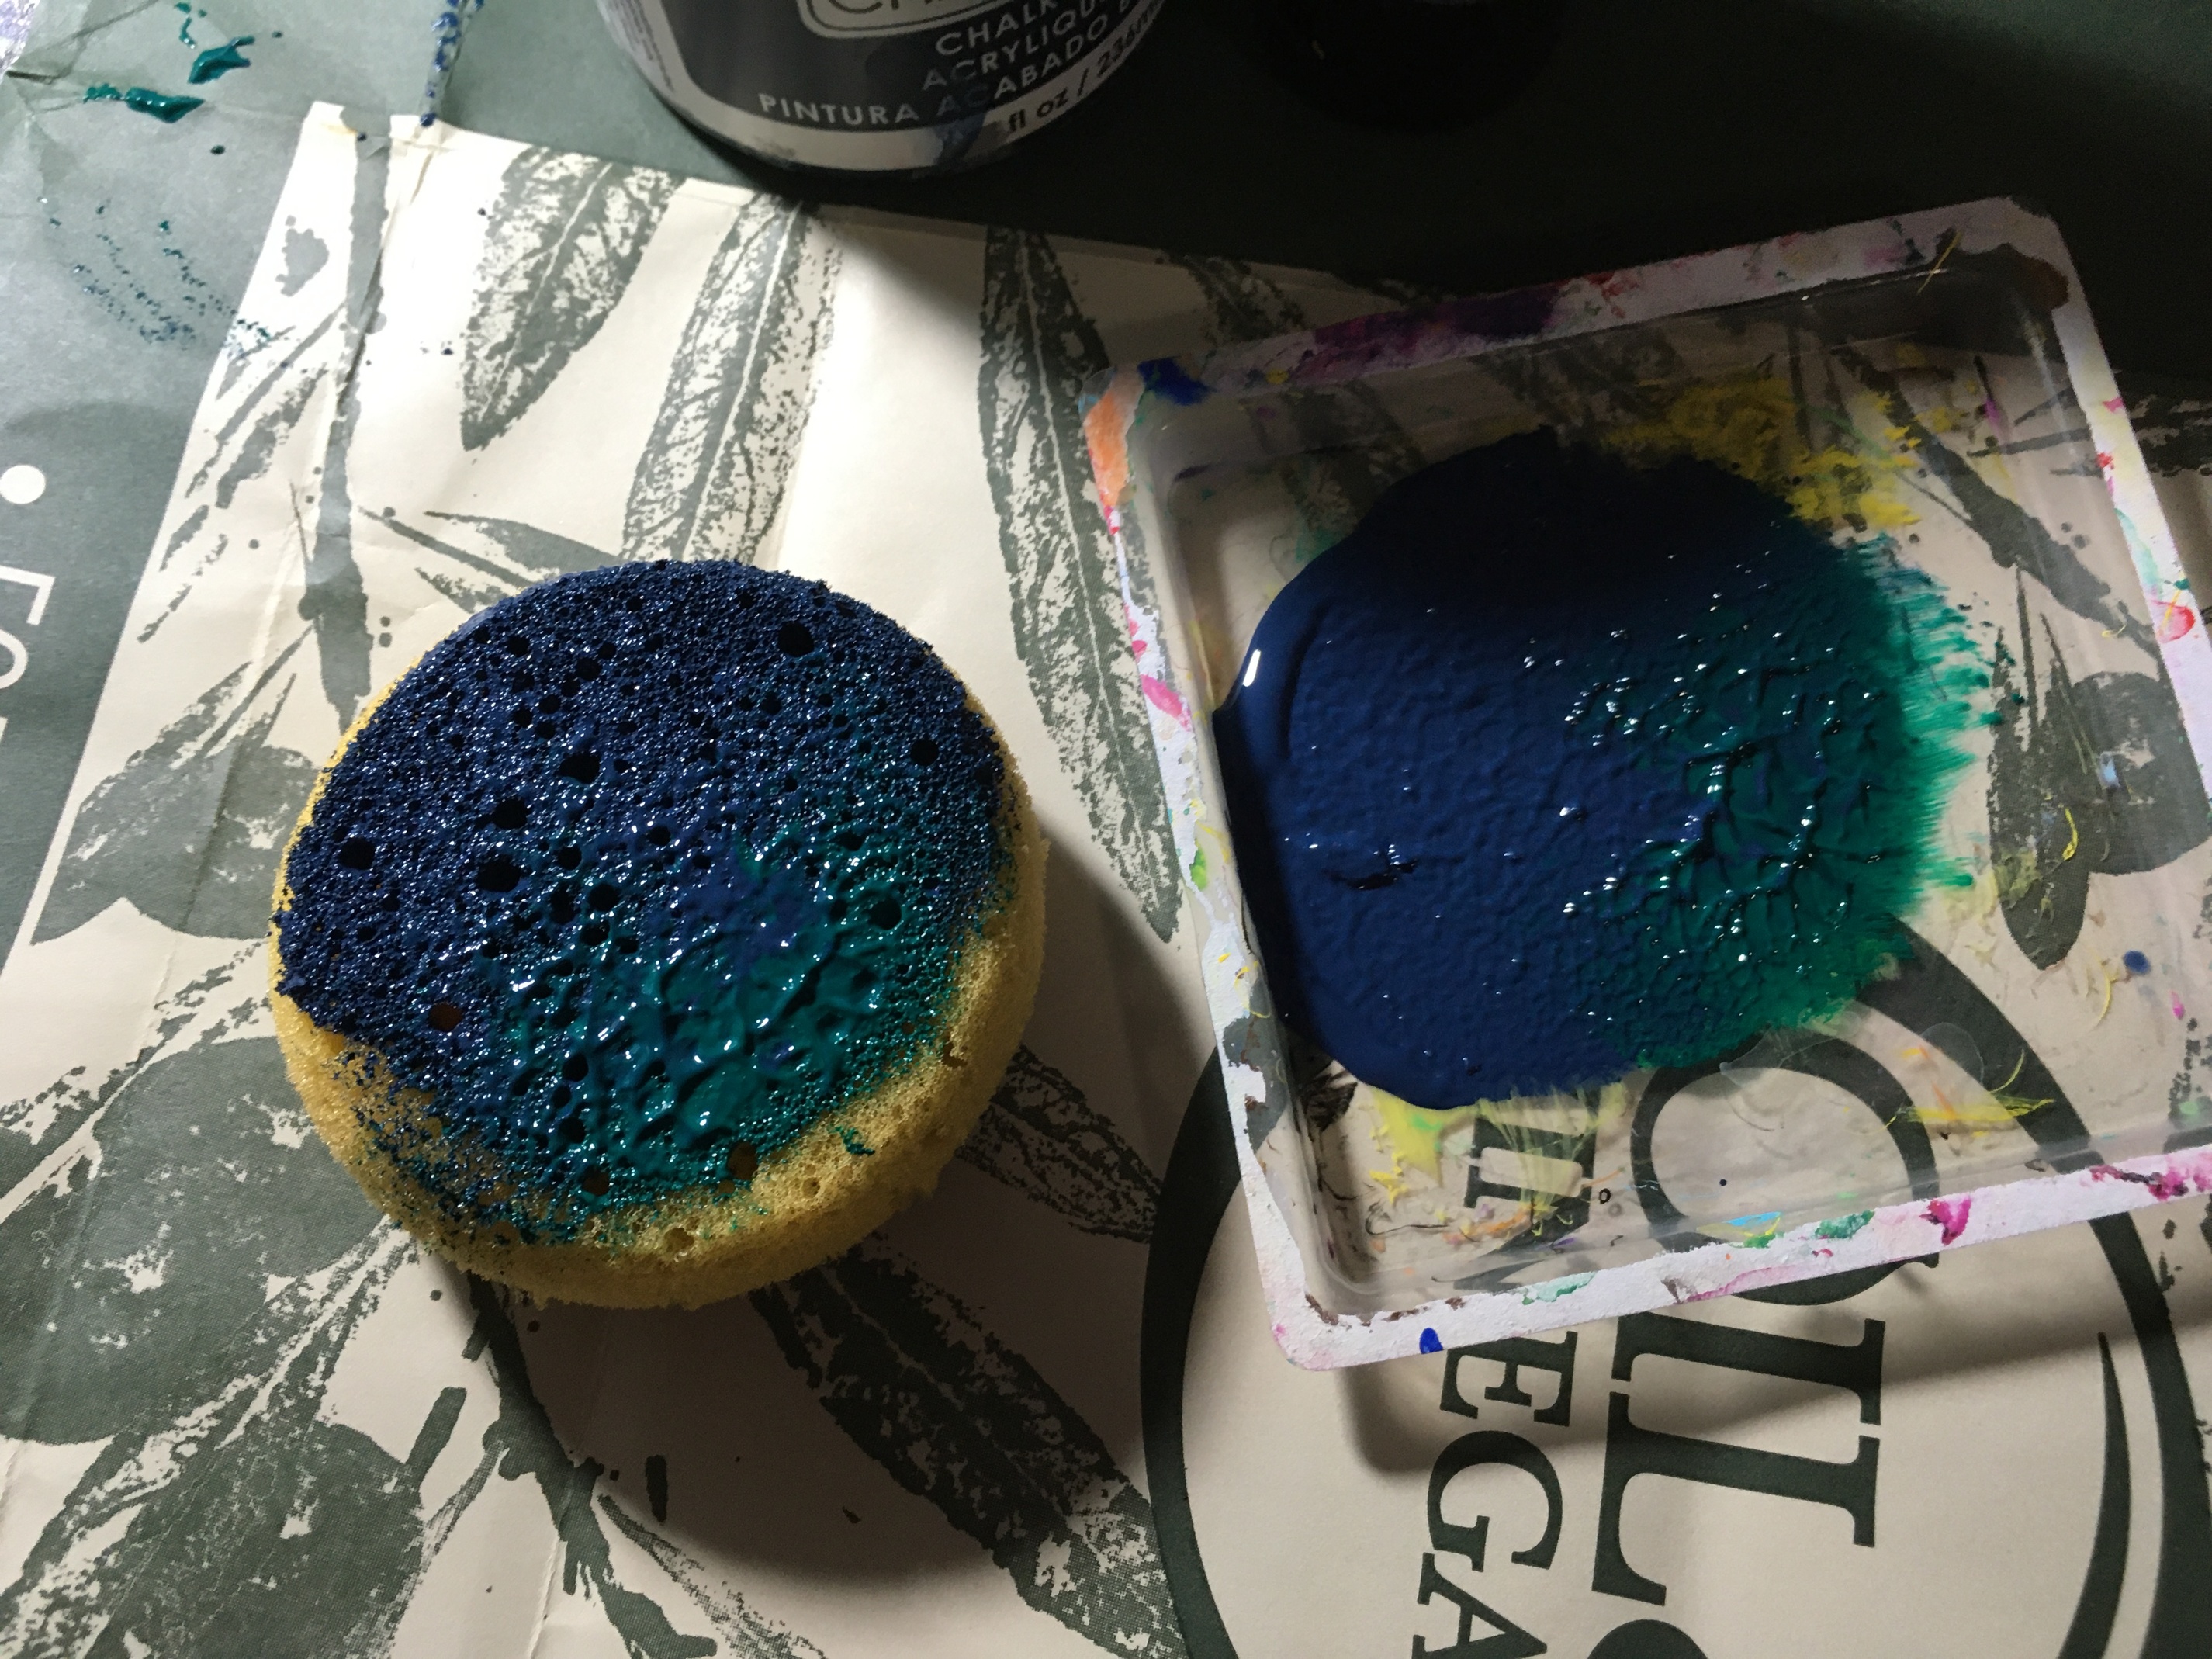
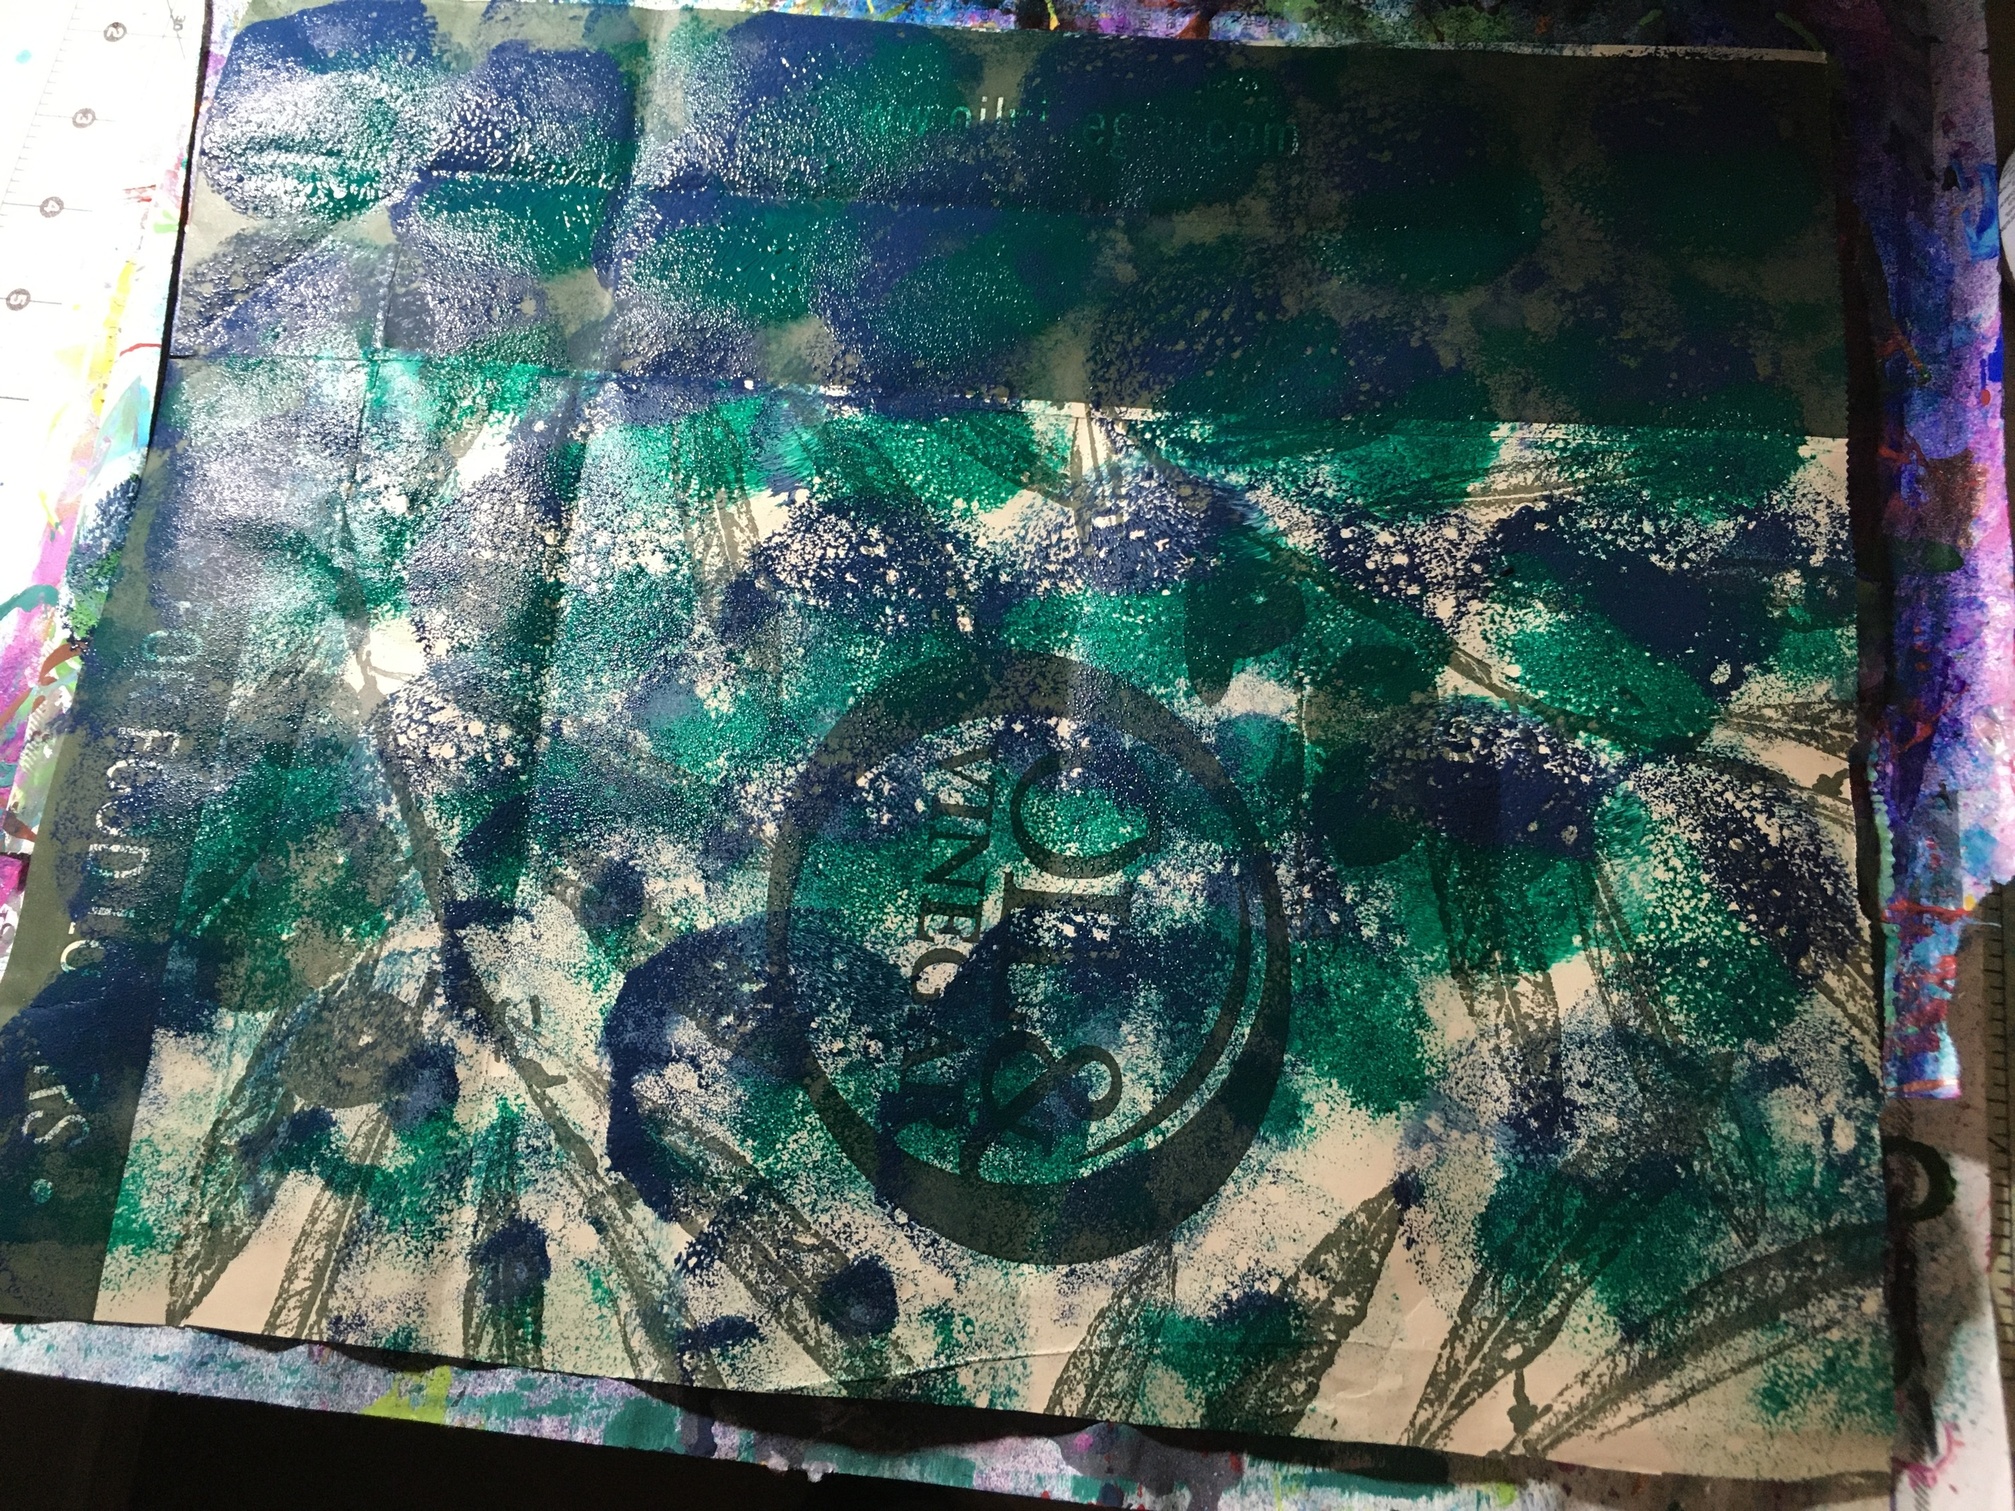
The first thing I did was to sponge paint some blue and green over the paper.

Then I used this plastic cap from a sake bottle dipped in some metallic paint and spun it on the paper to get this neeto detail. Tricky to explain but easy to do; just dip, press, and twirl and move while keeping contact with the paper (like spinning a top [but slower]).


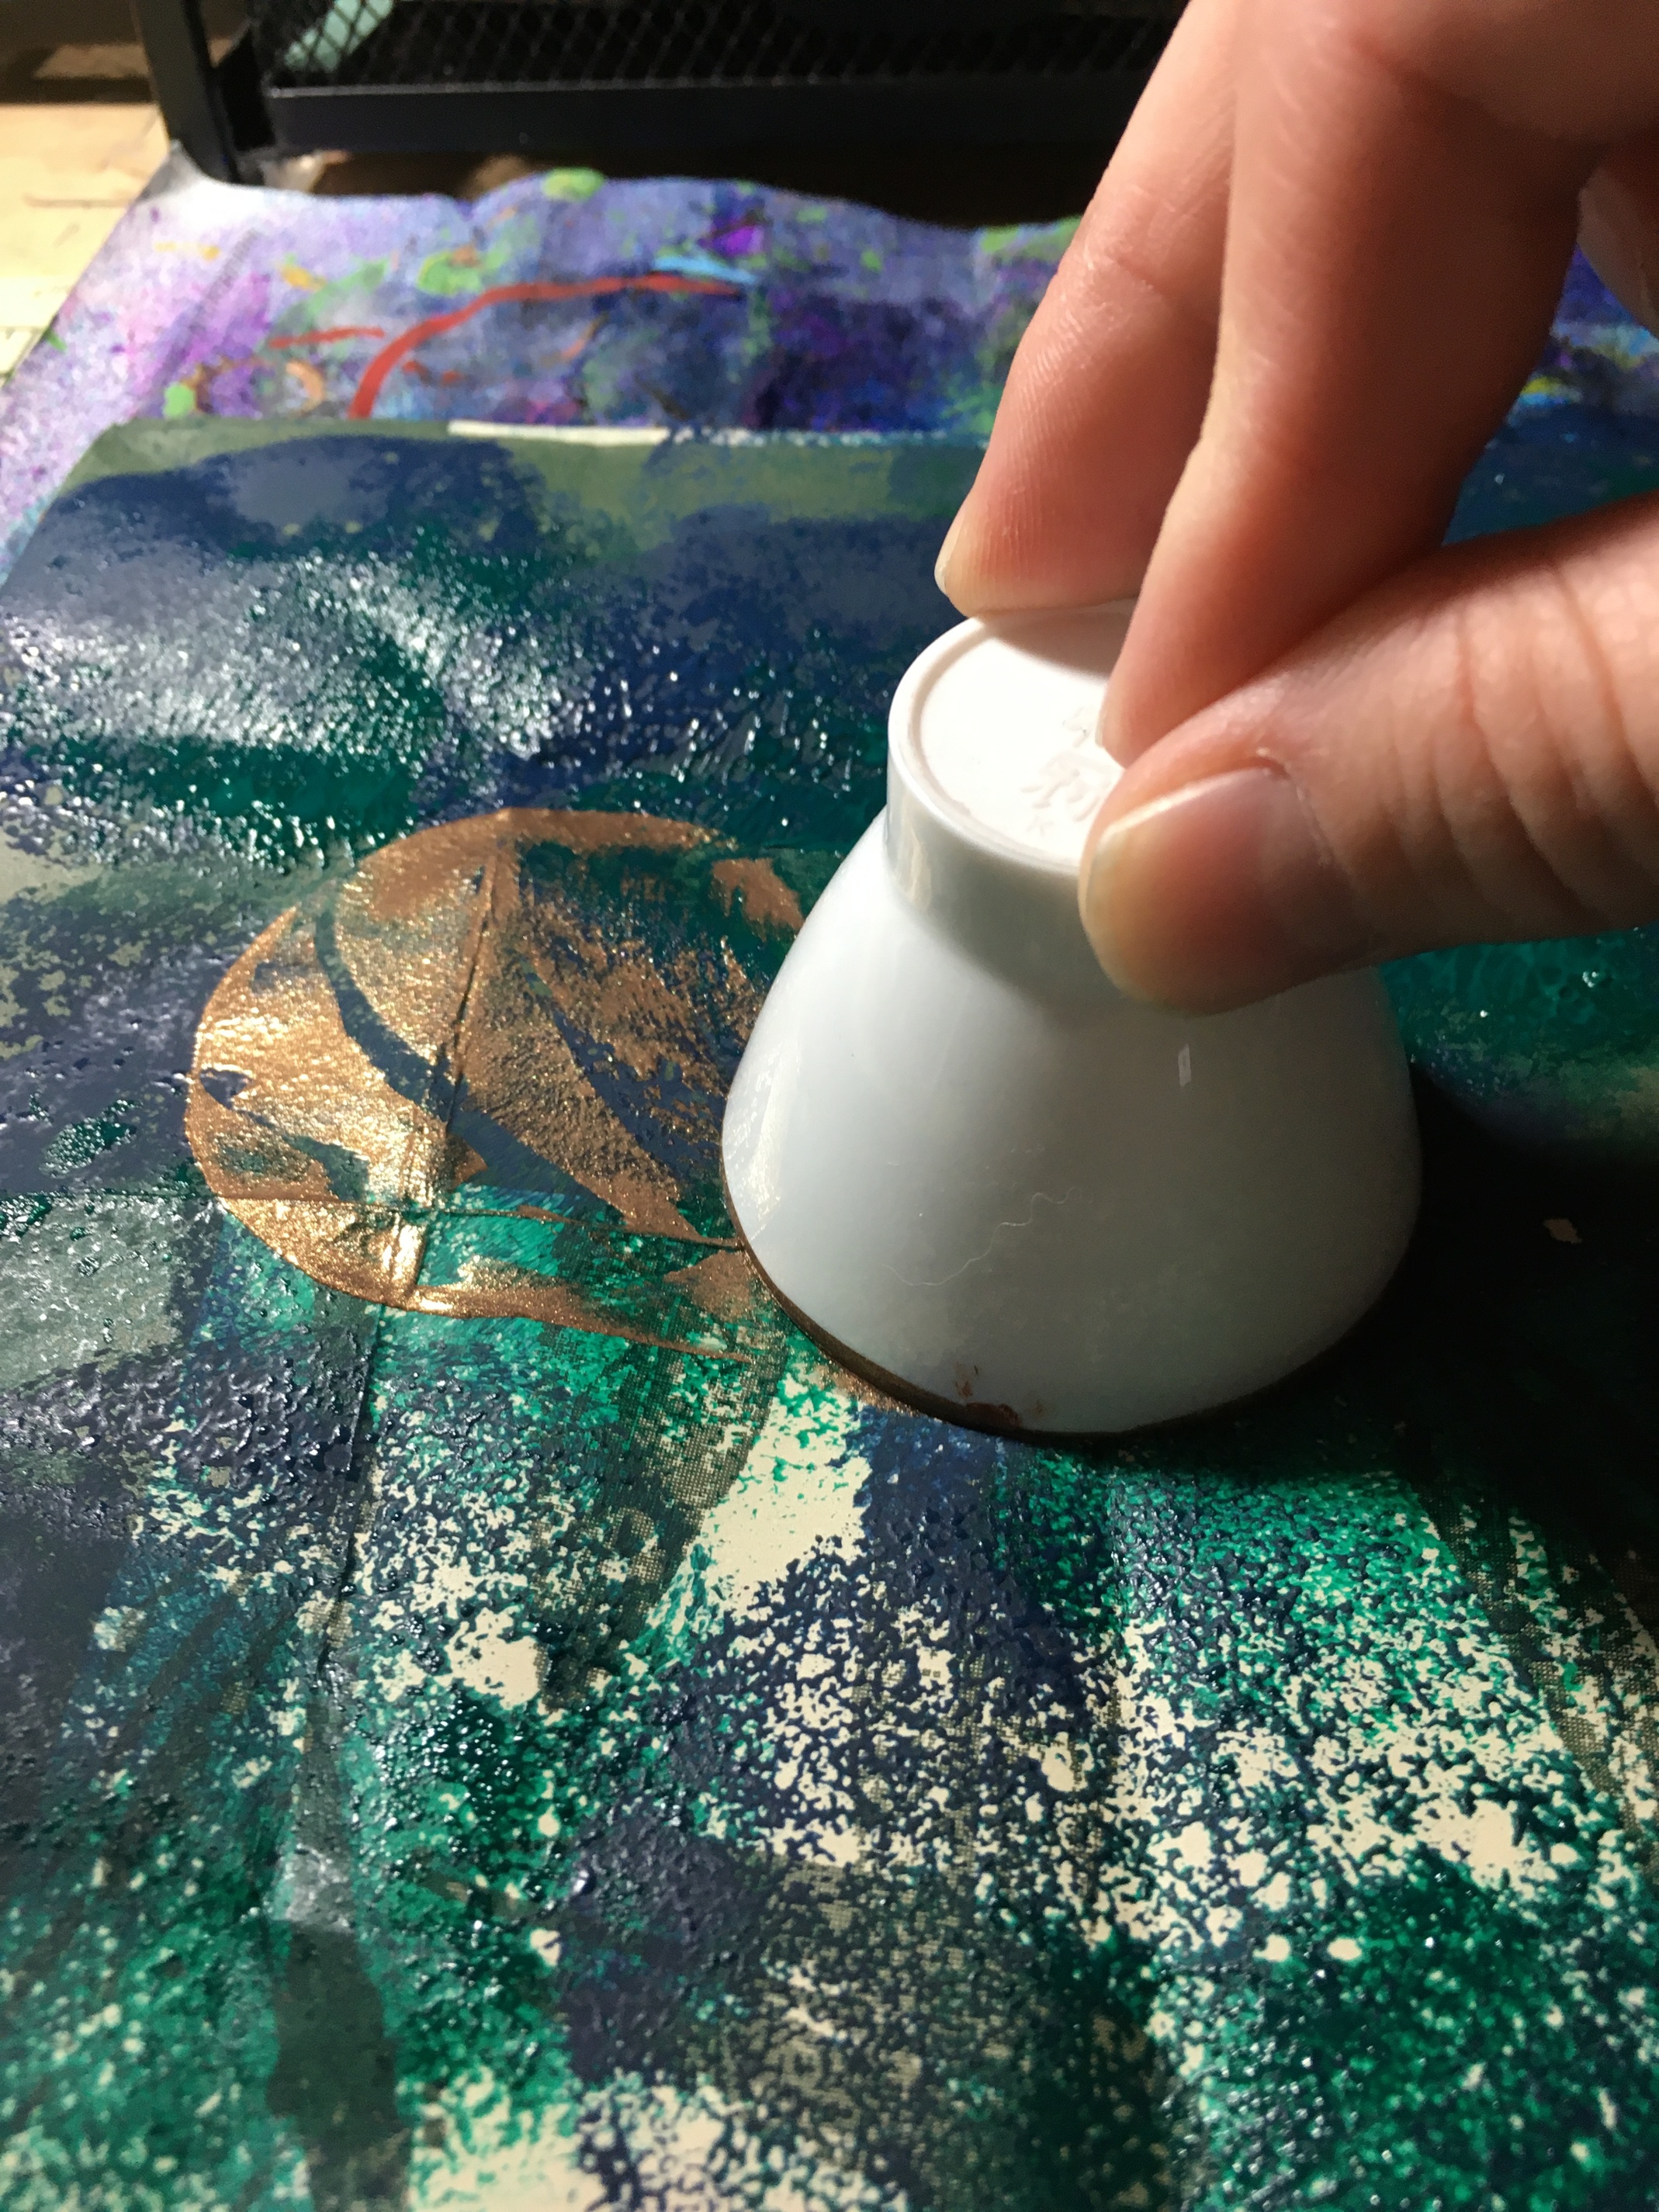
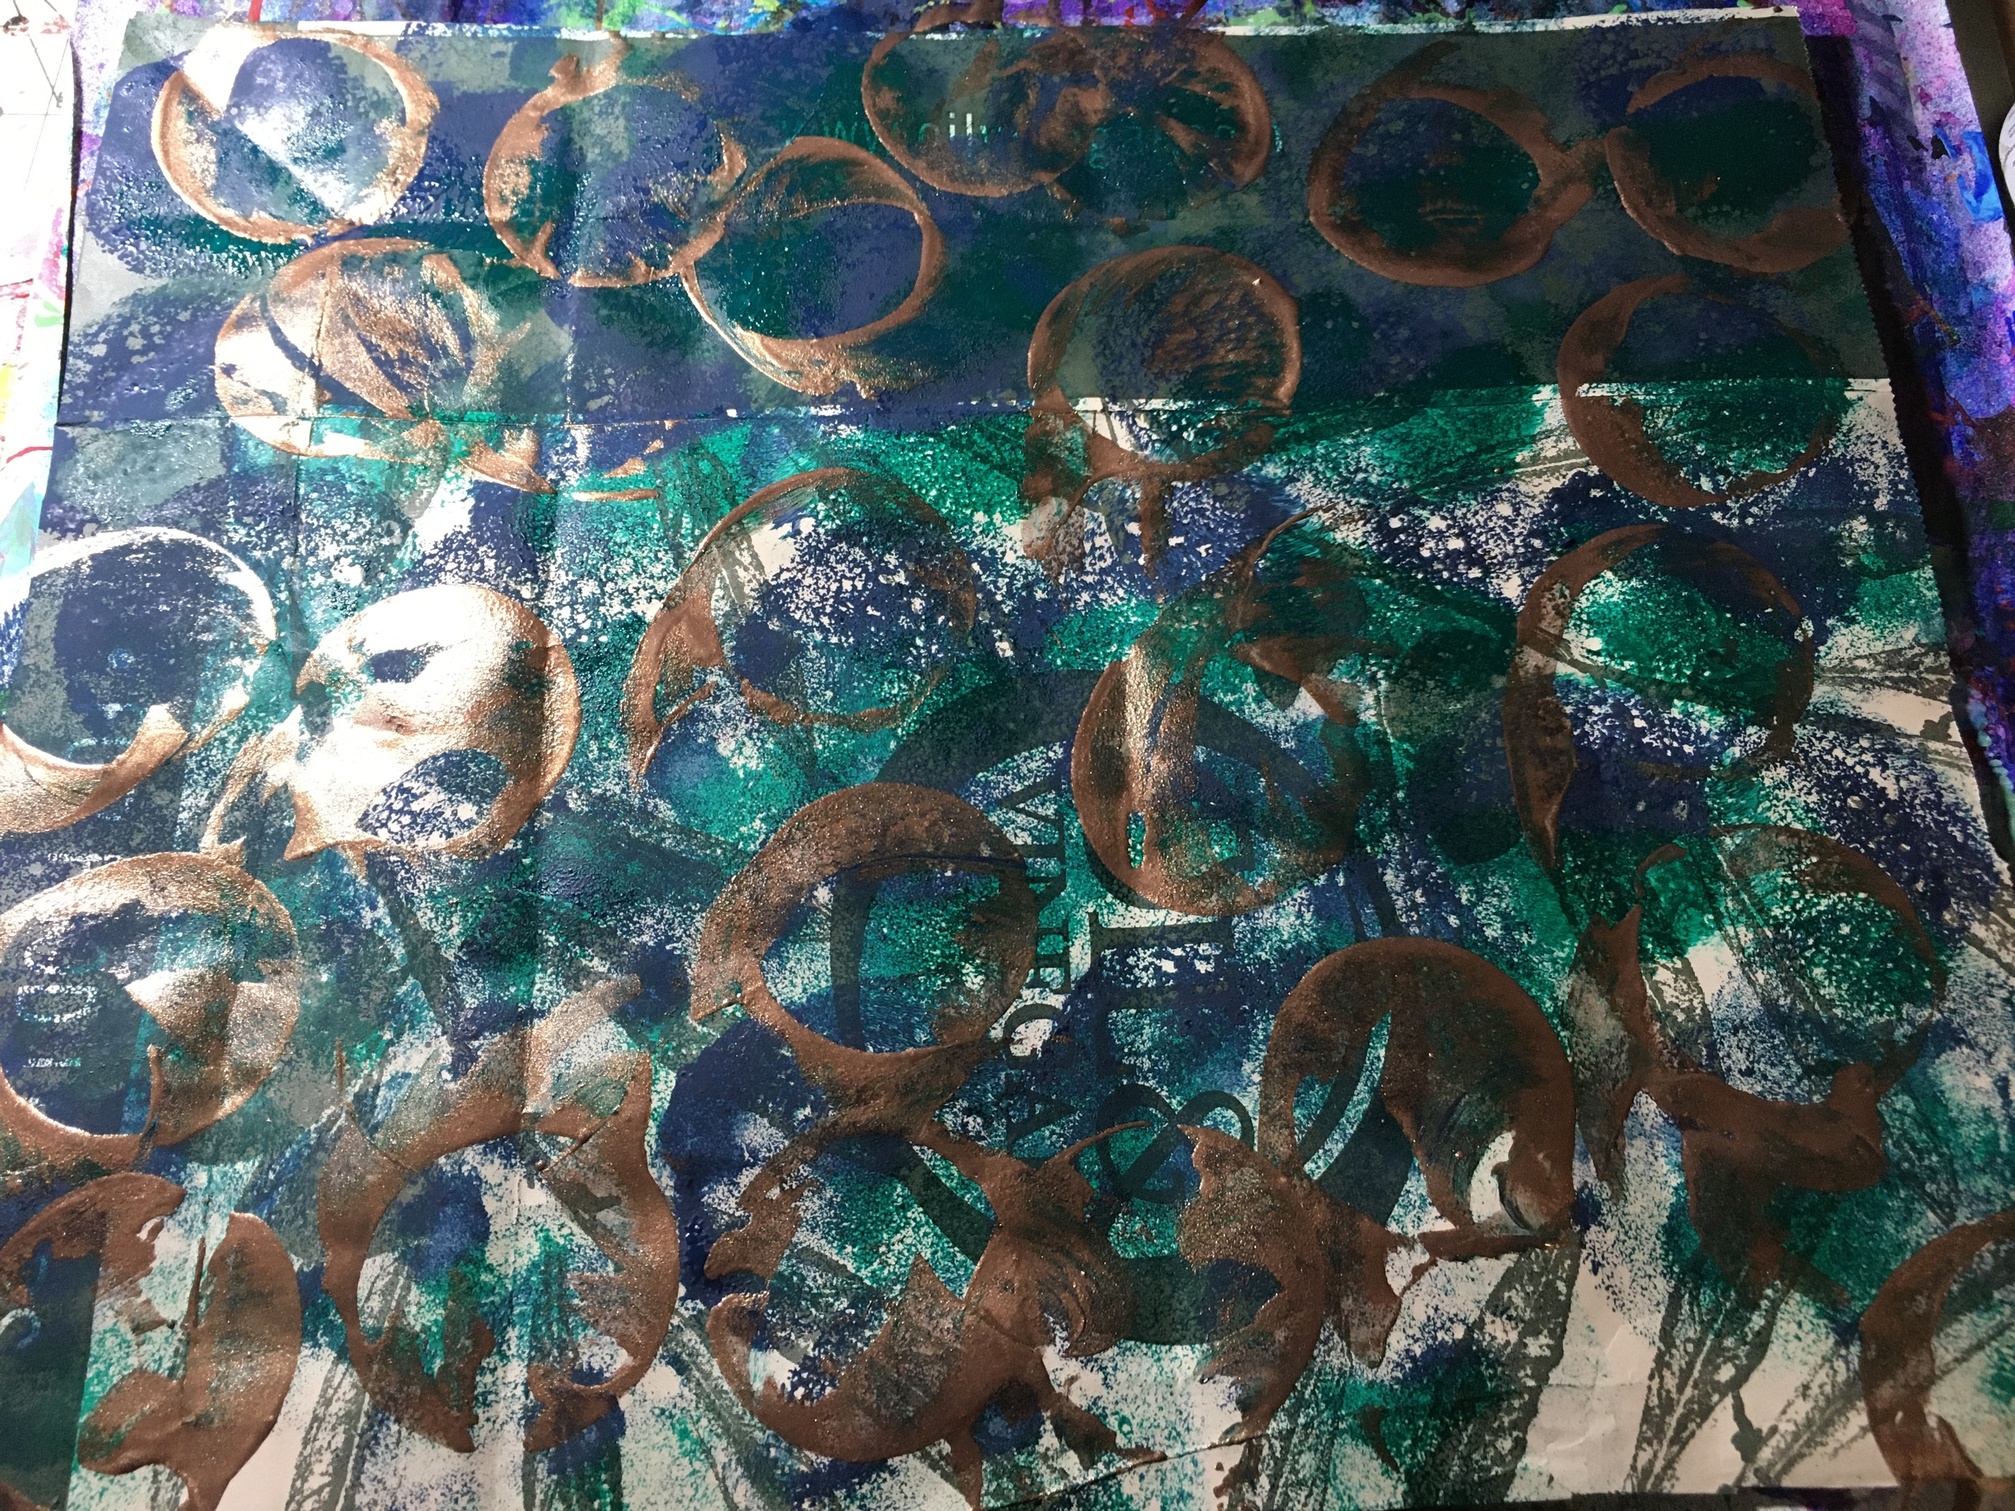
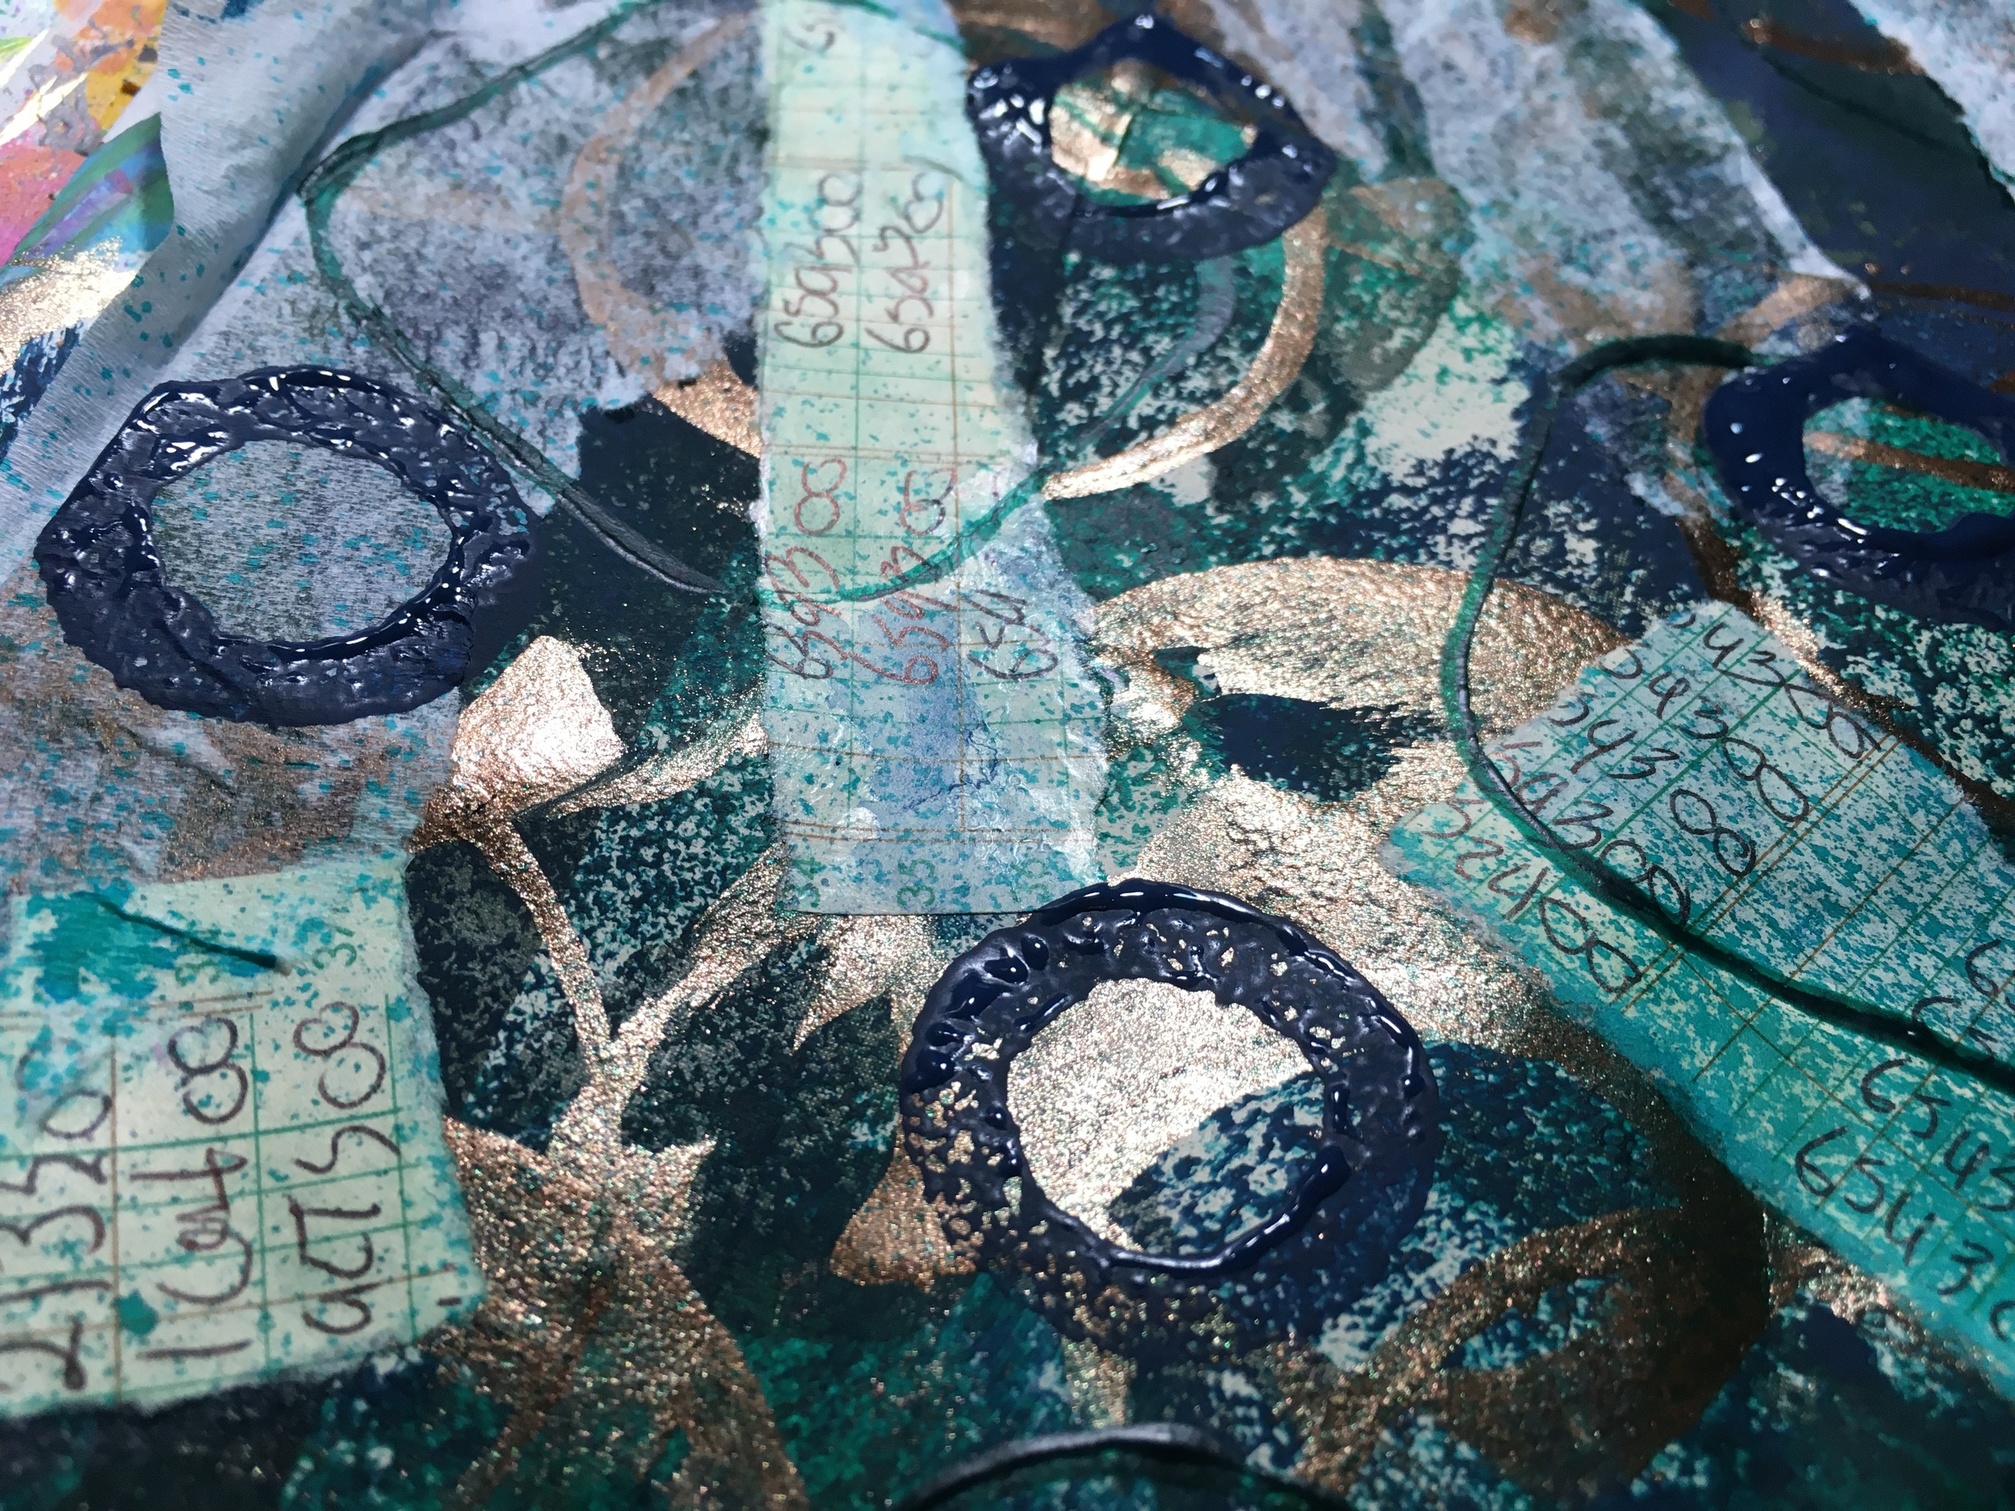
I wanted a little more metallic coverage after this so I went around and just stamped circles using the same cap.

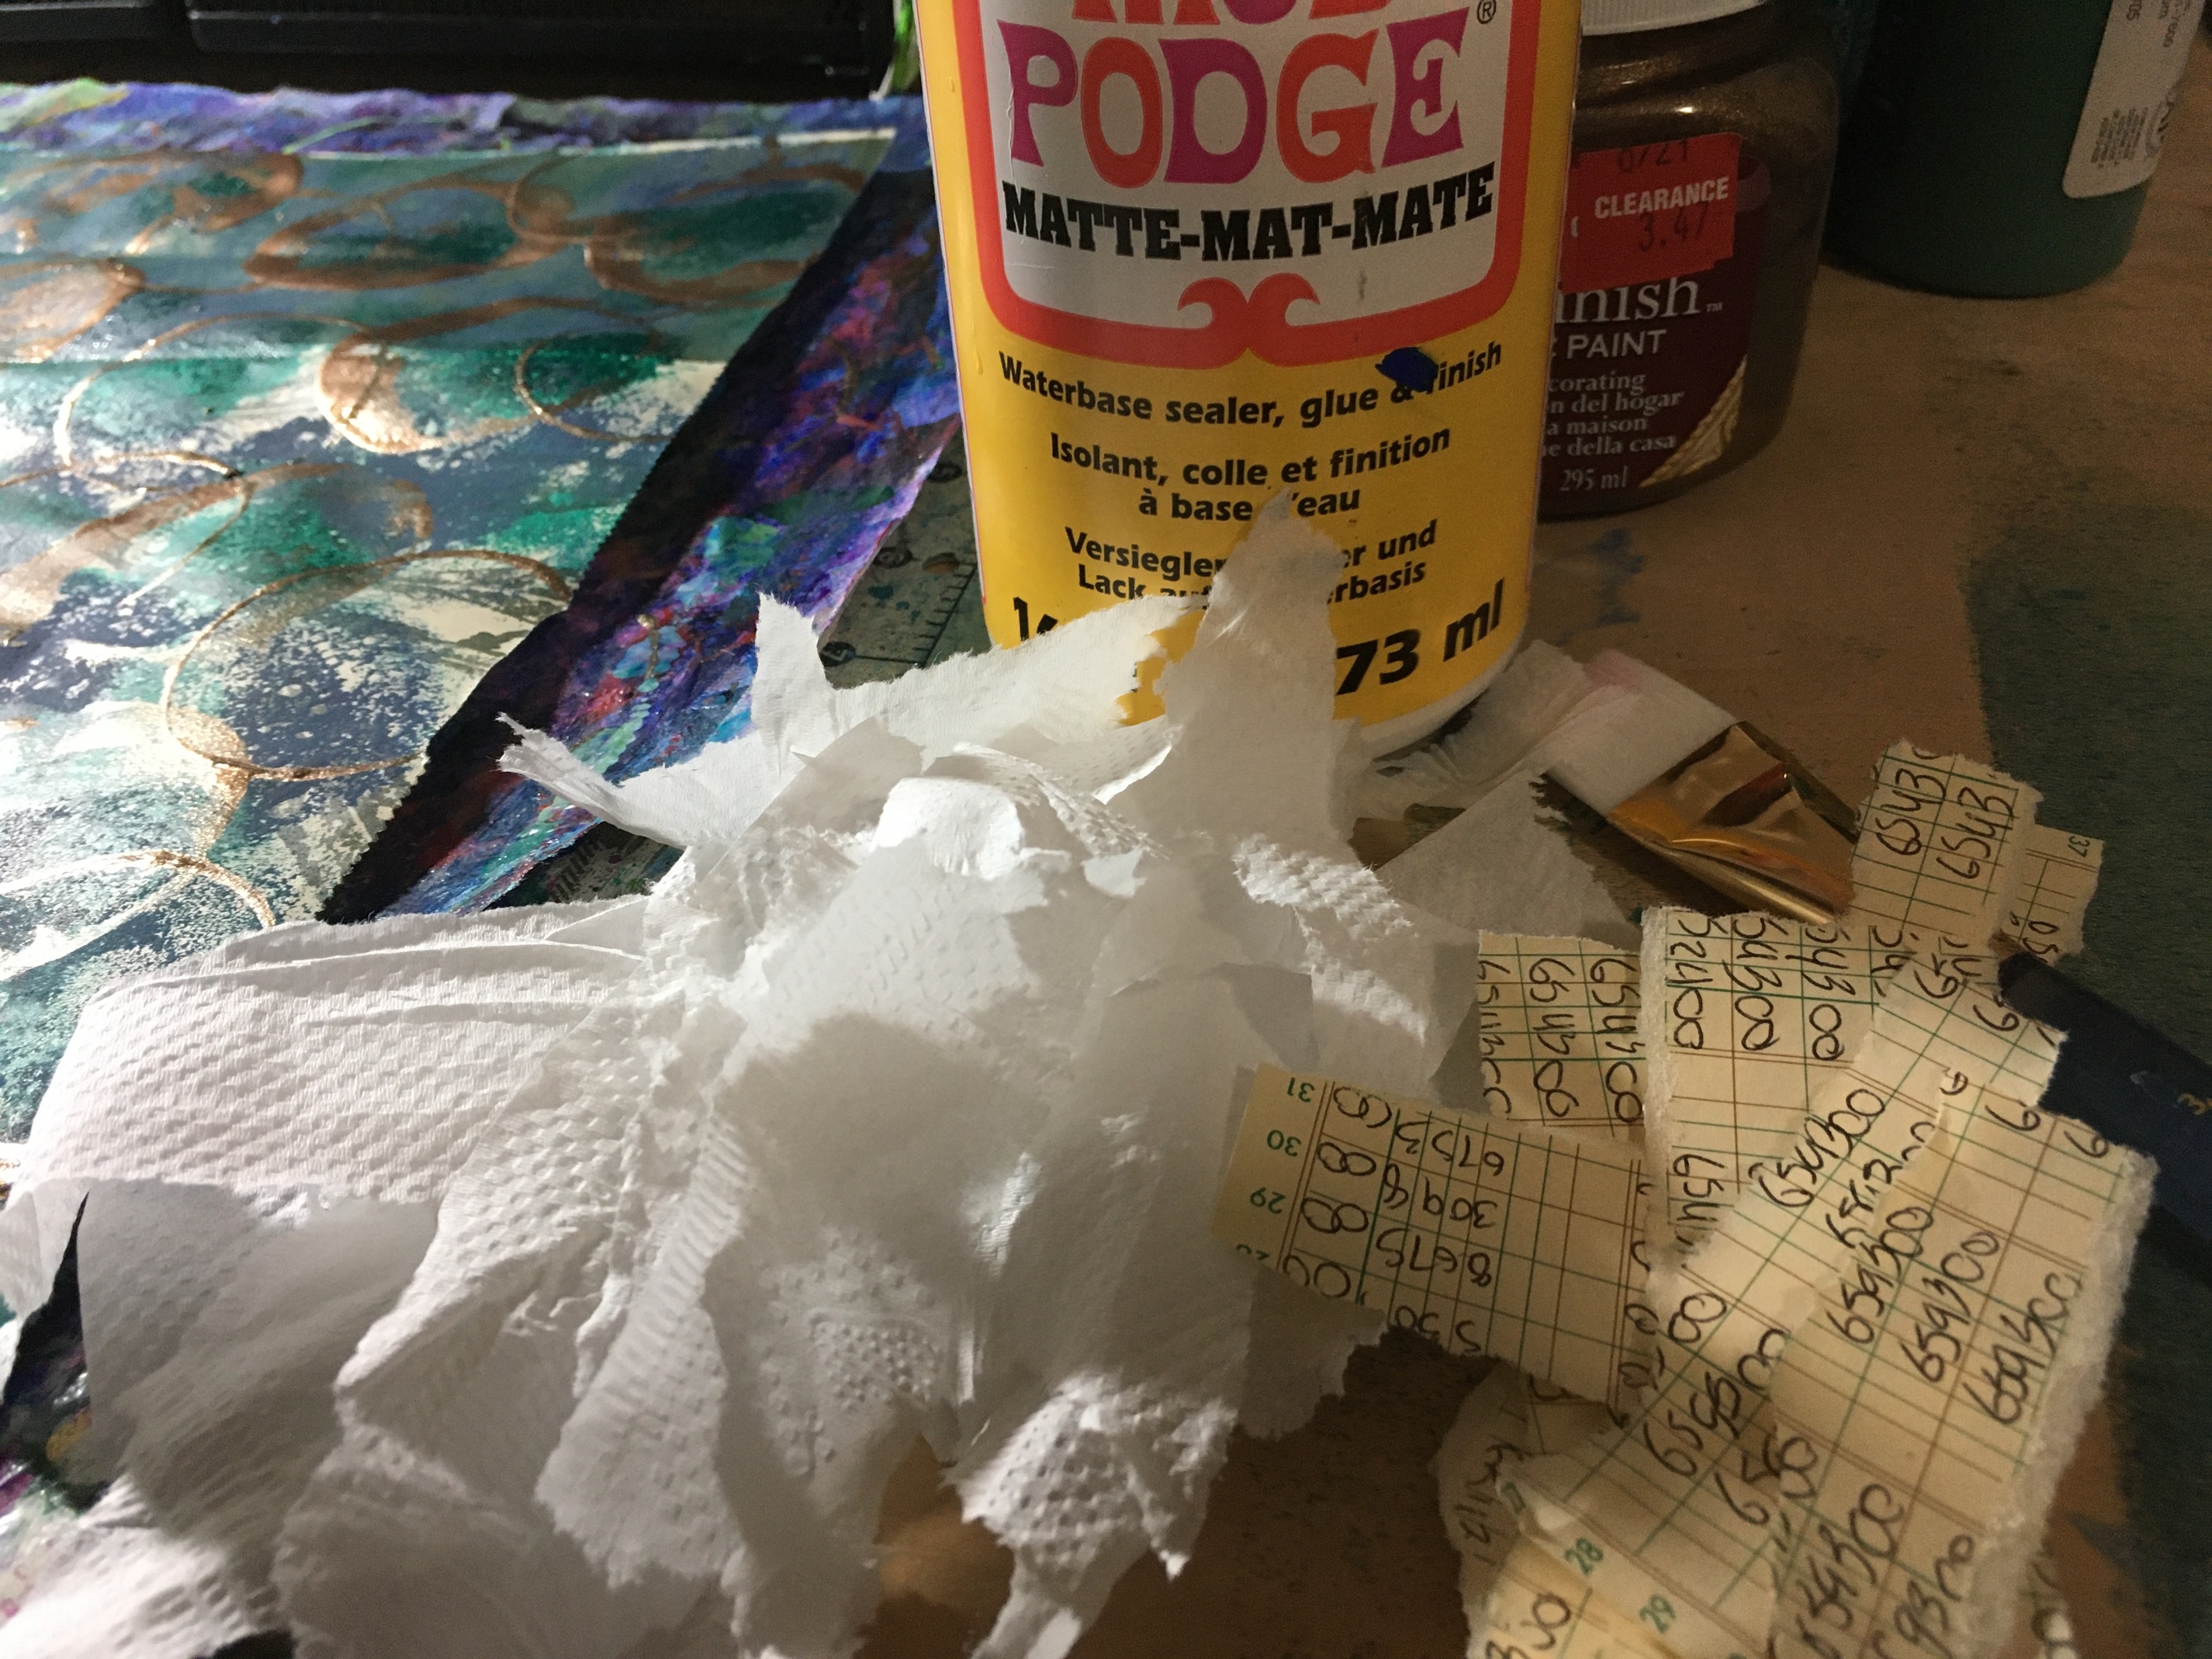
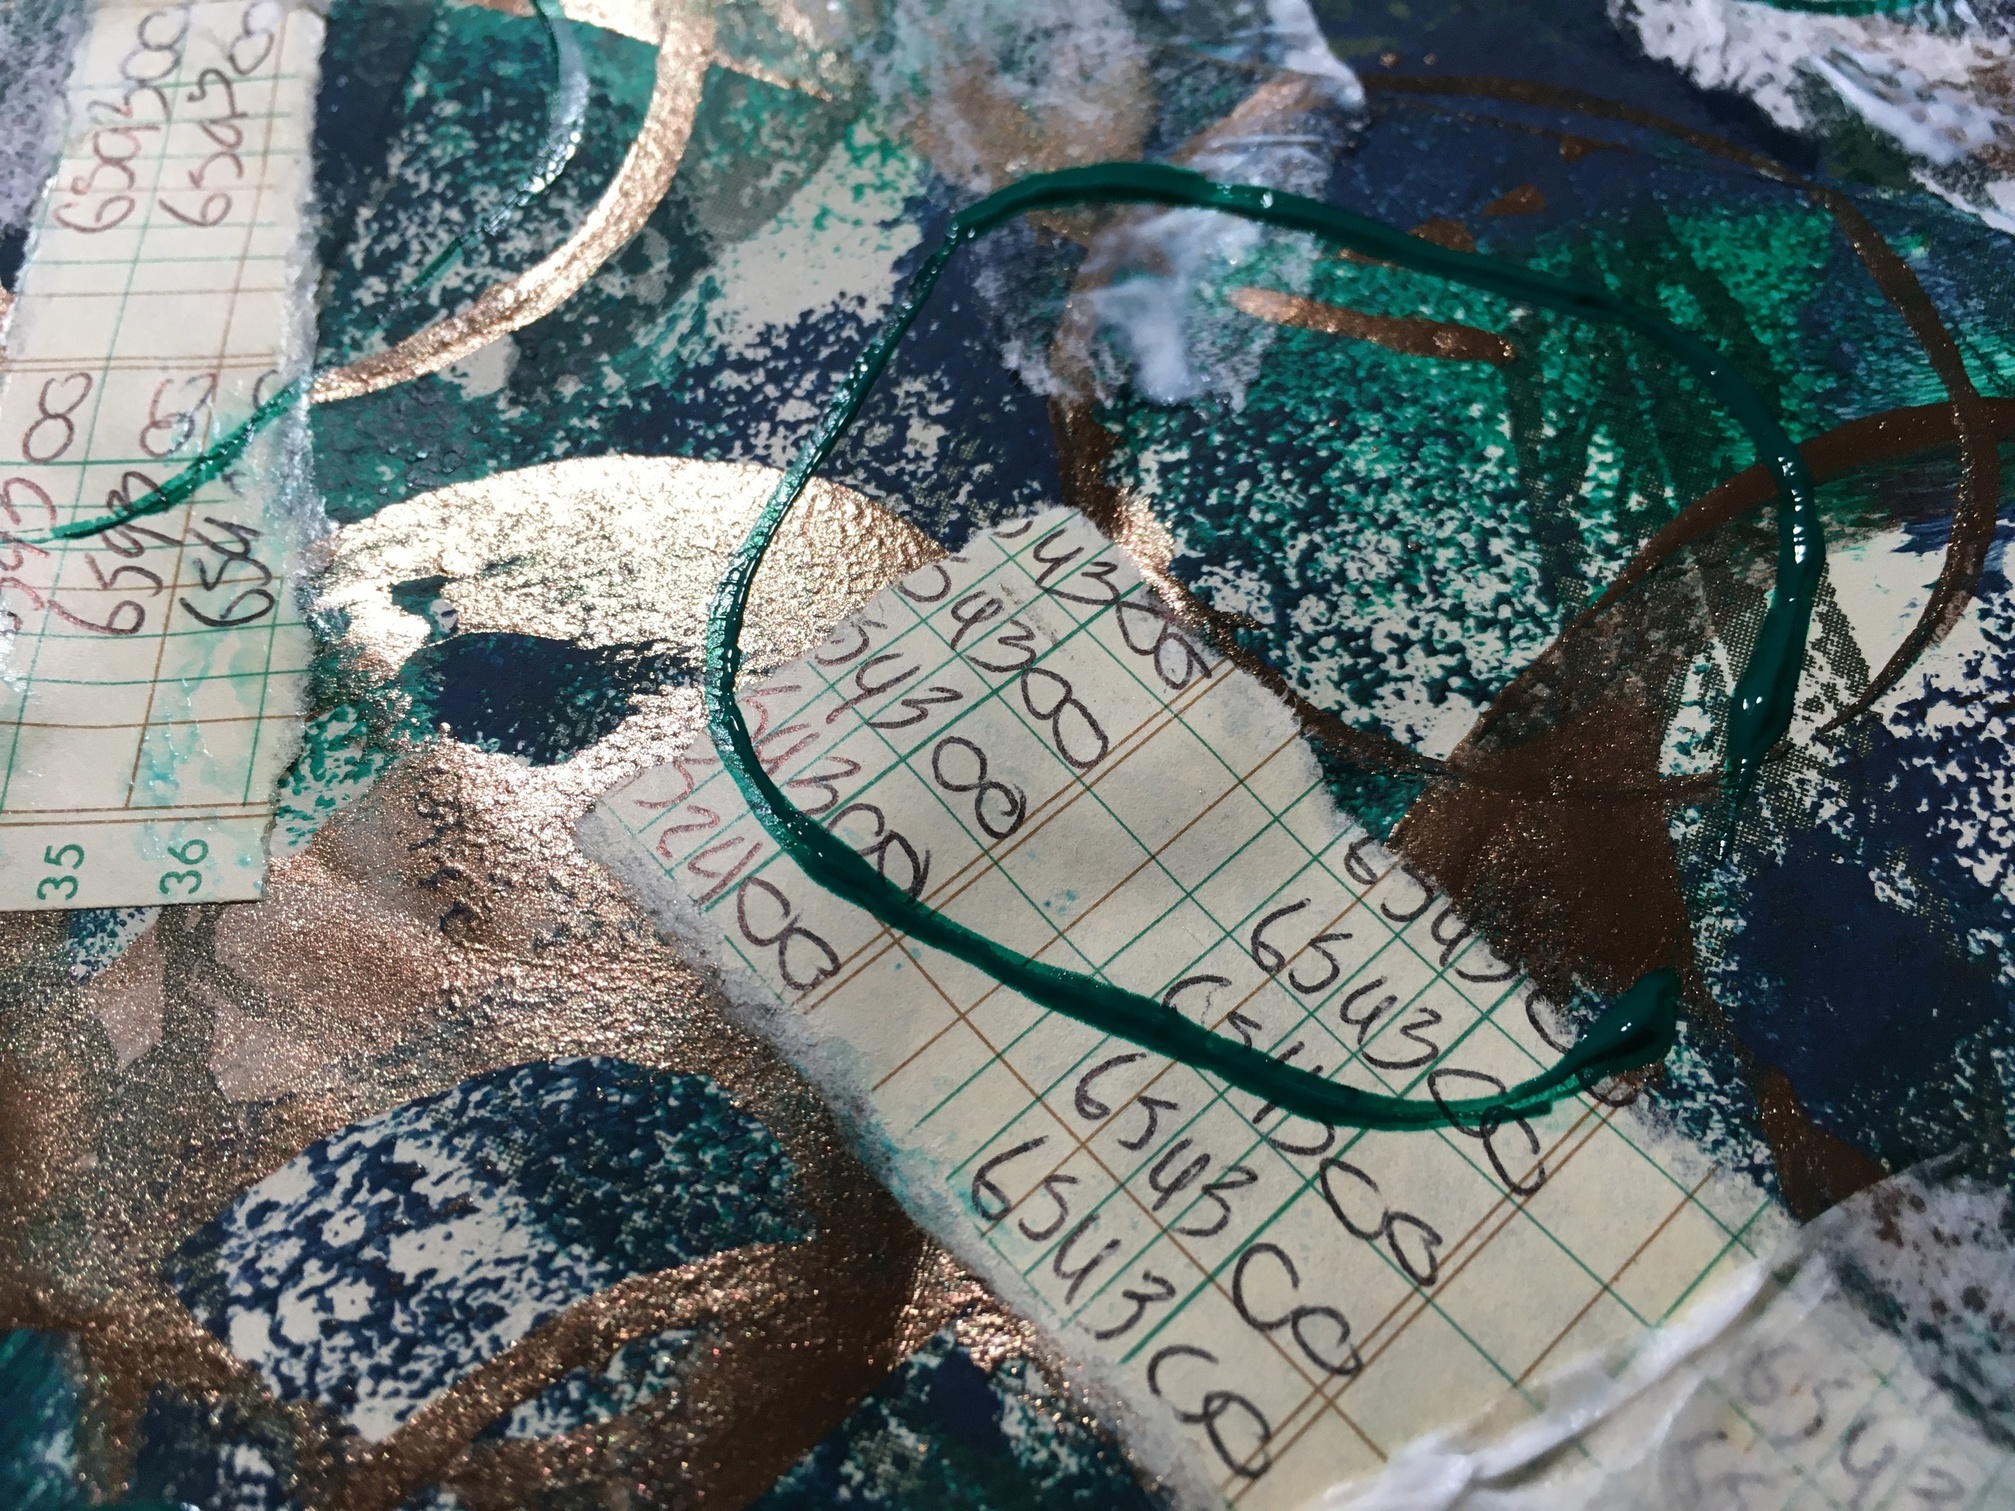
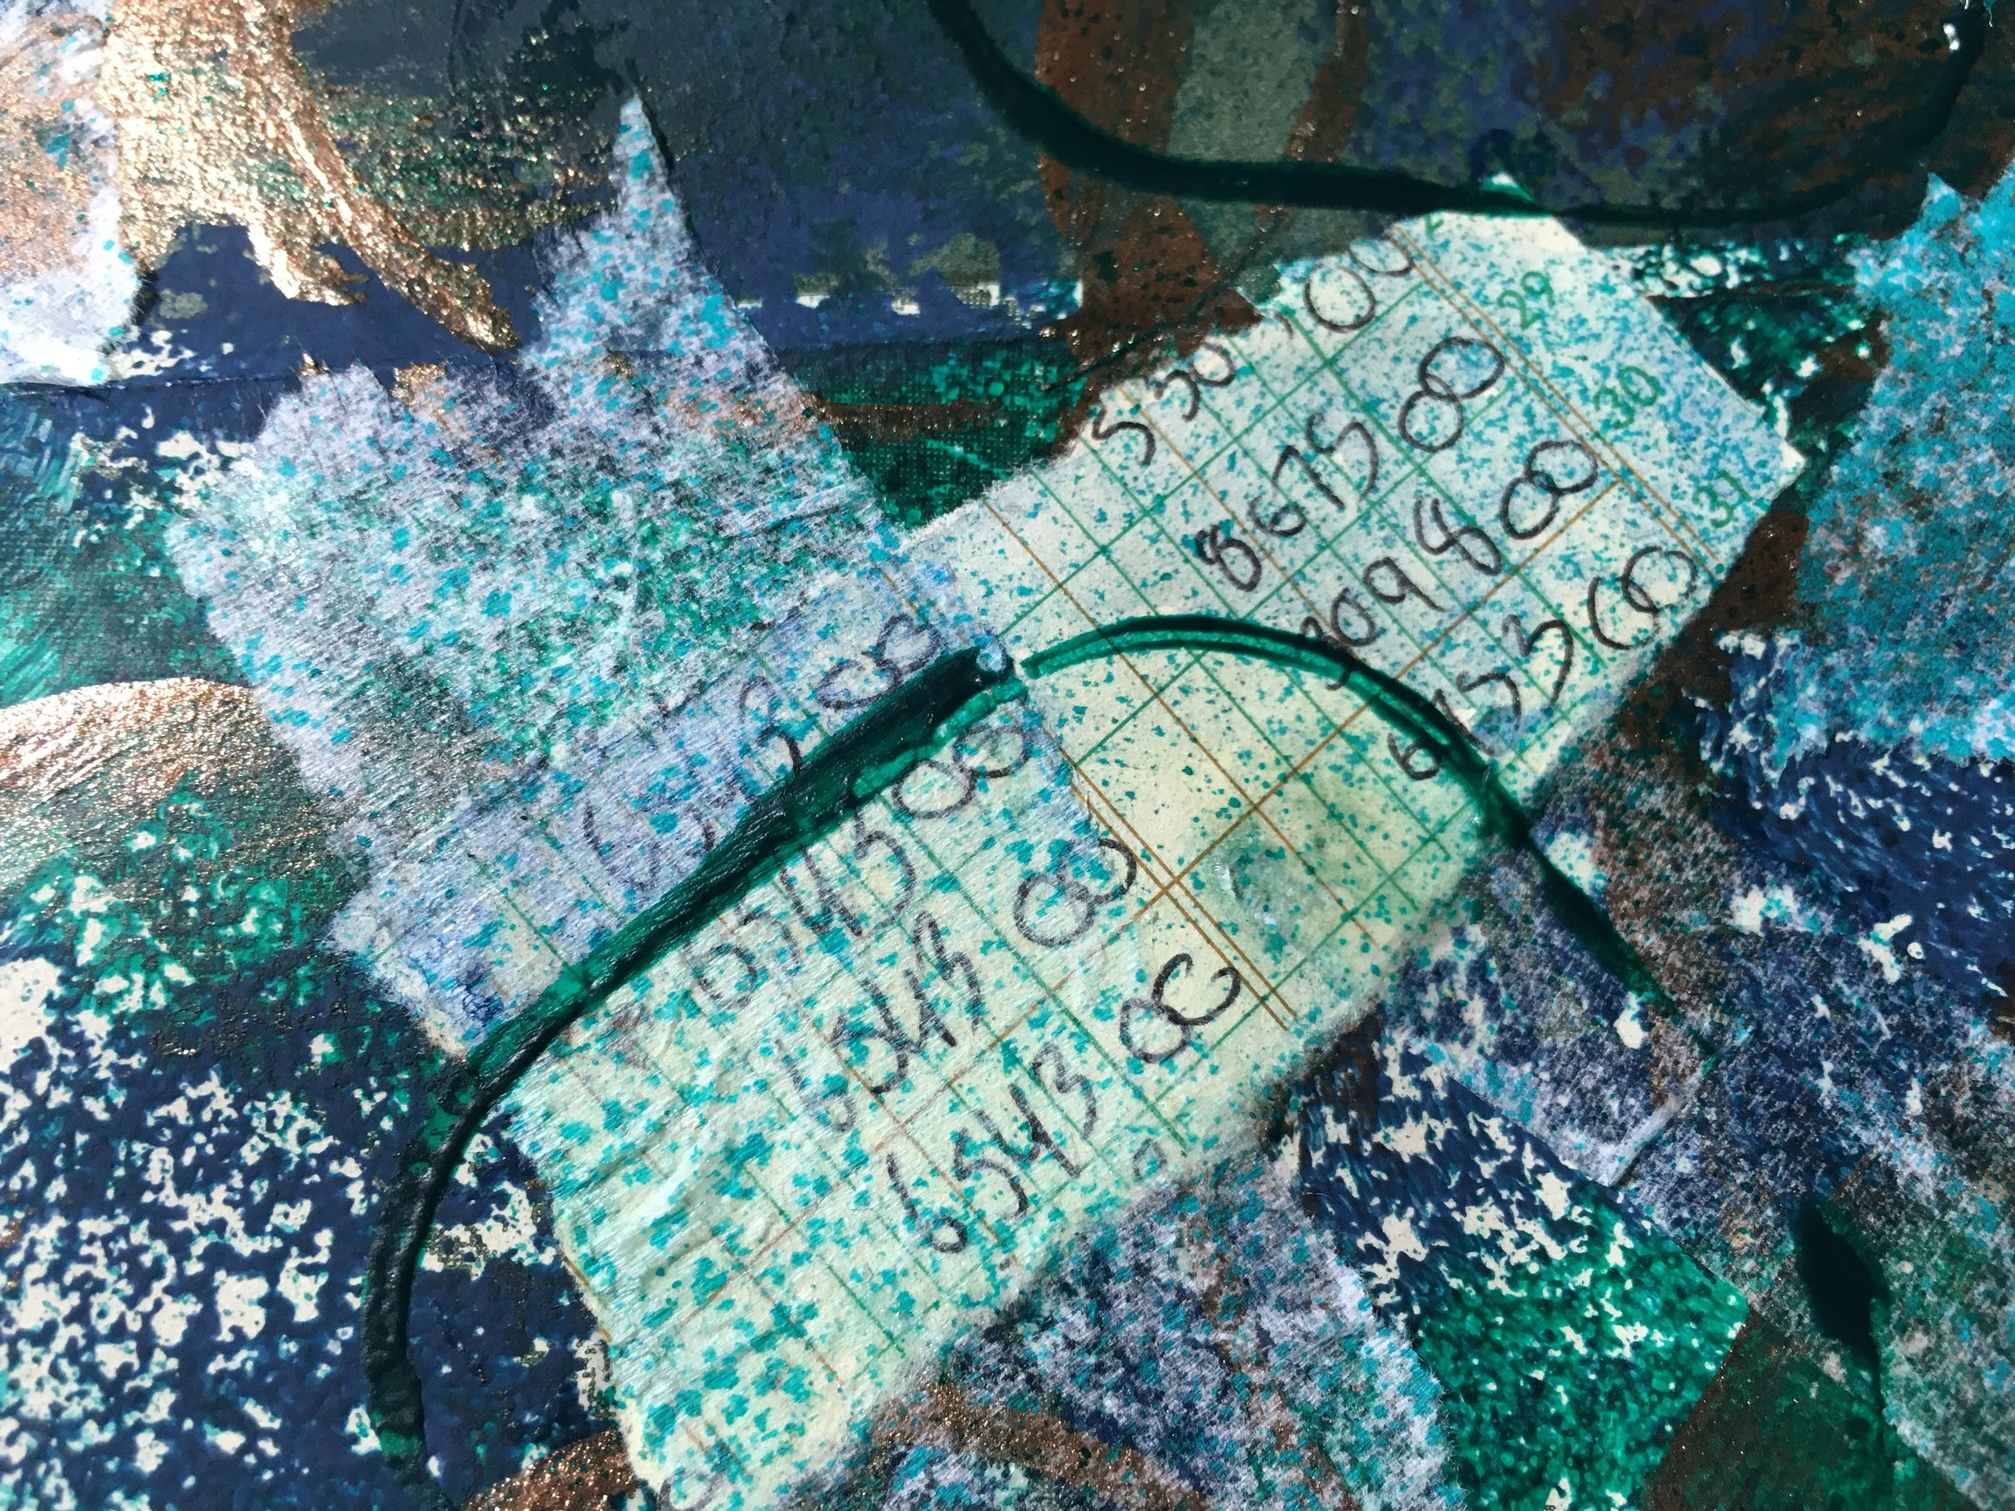
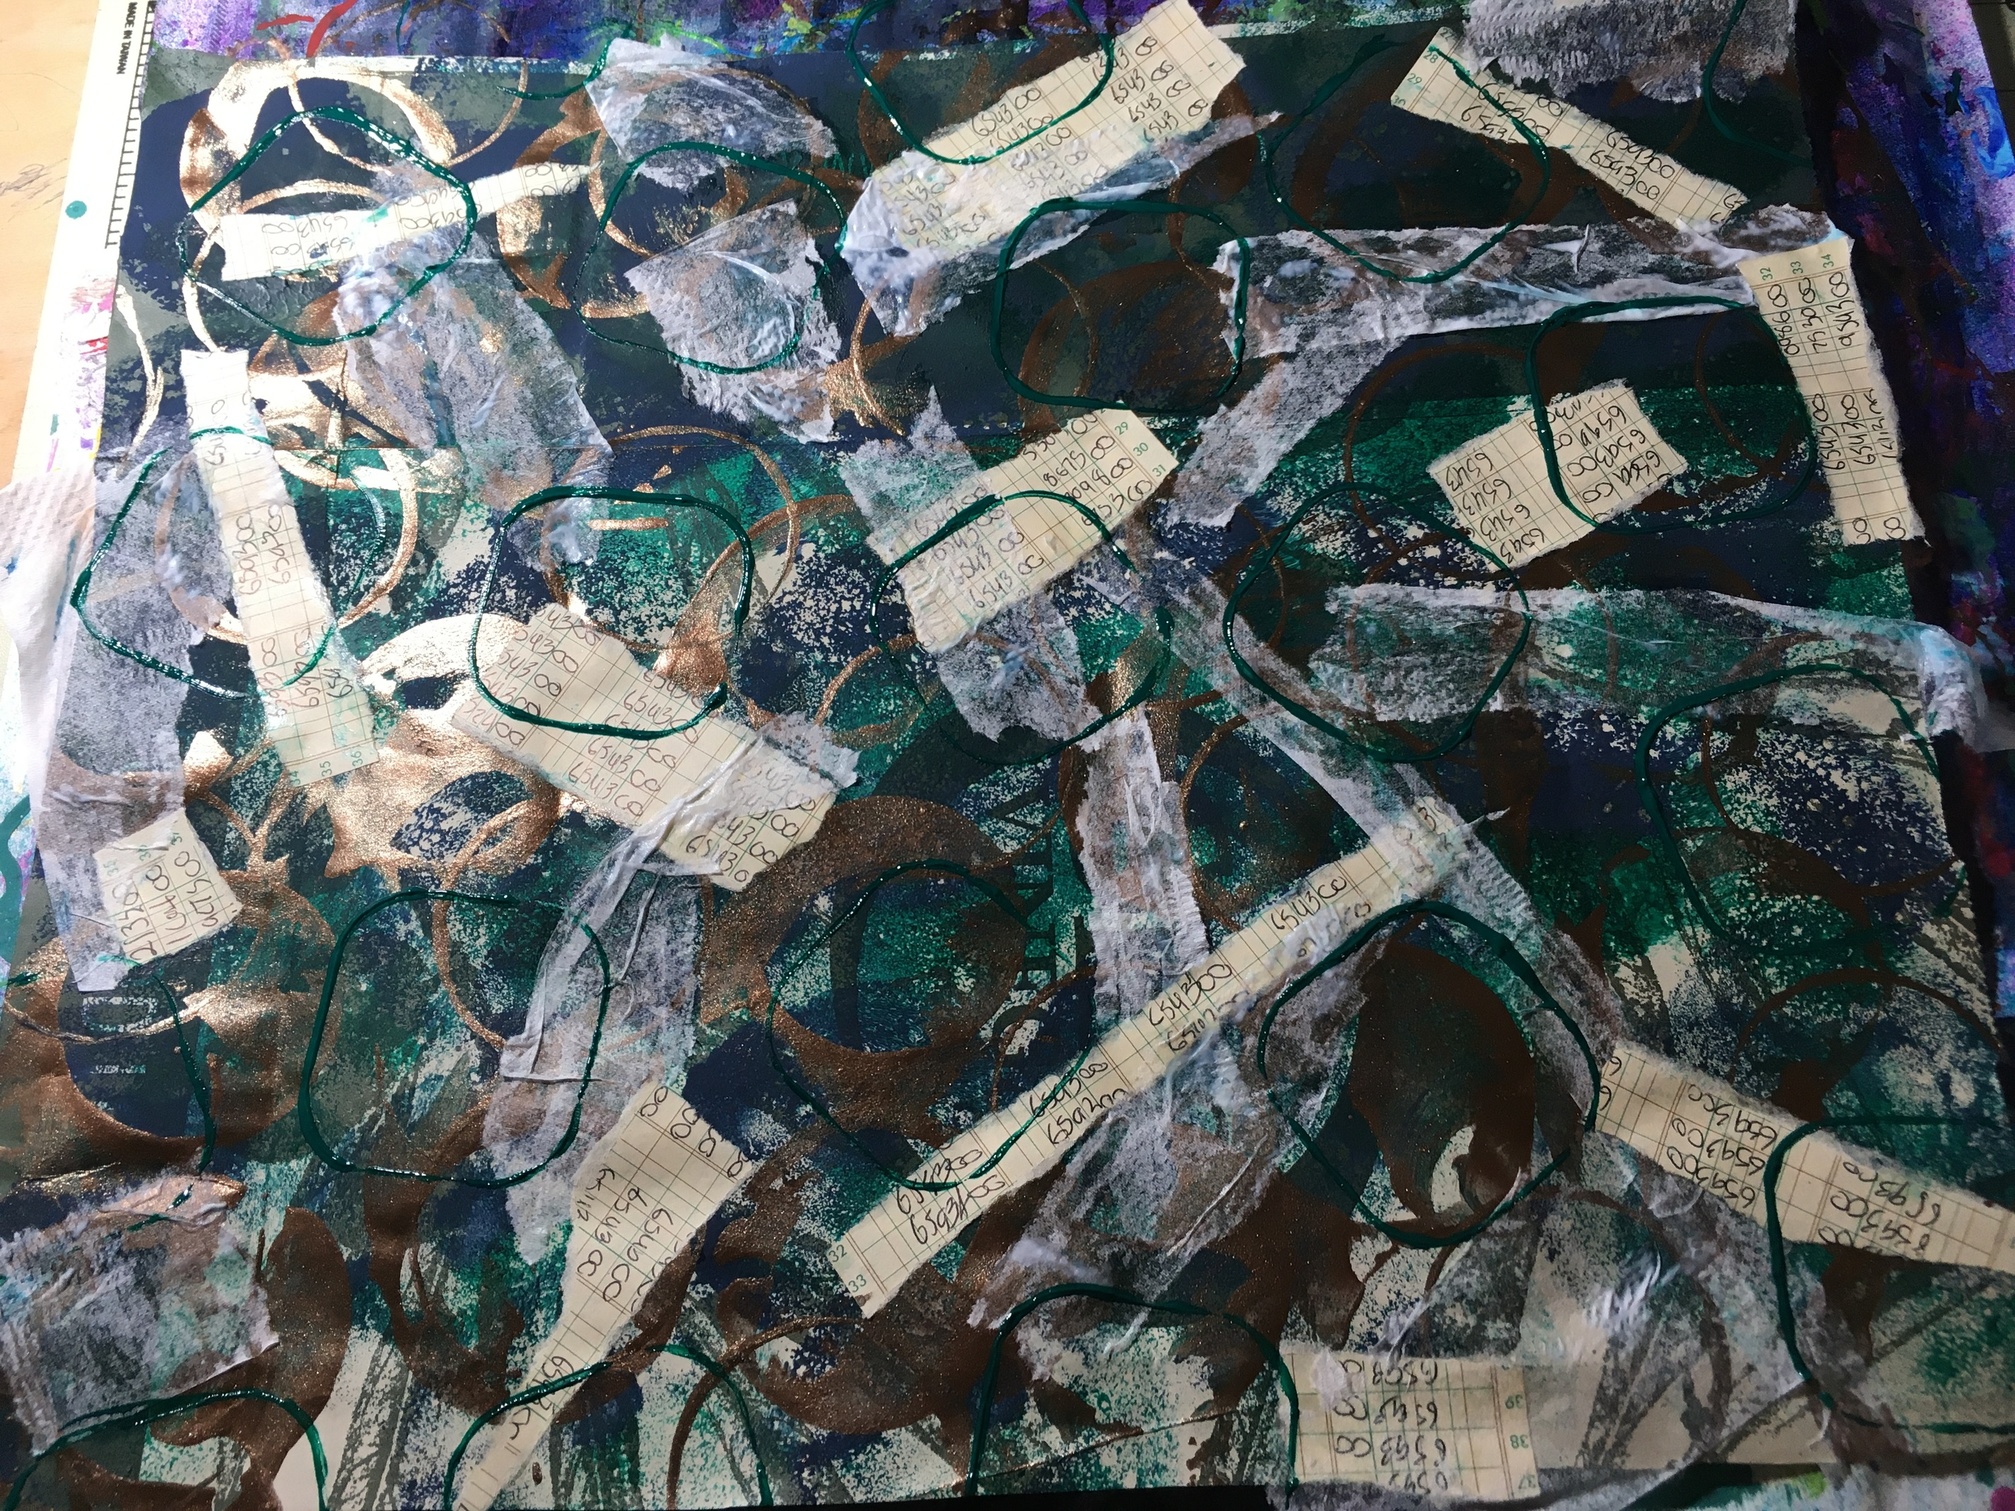
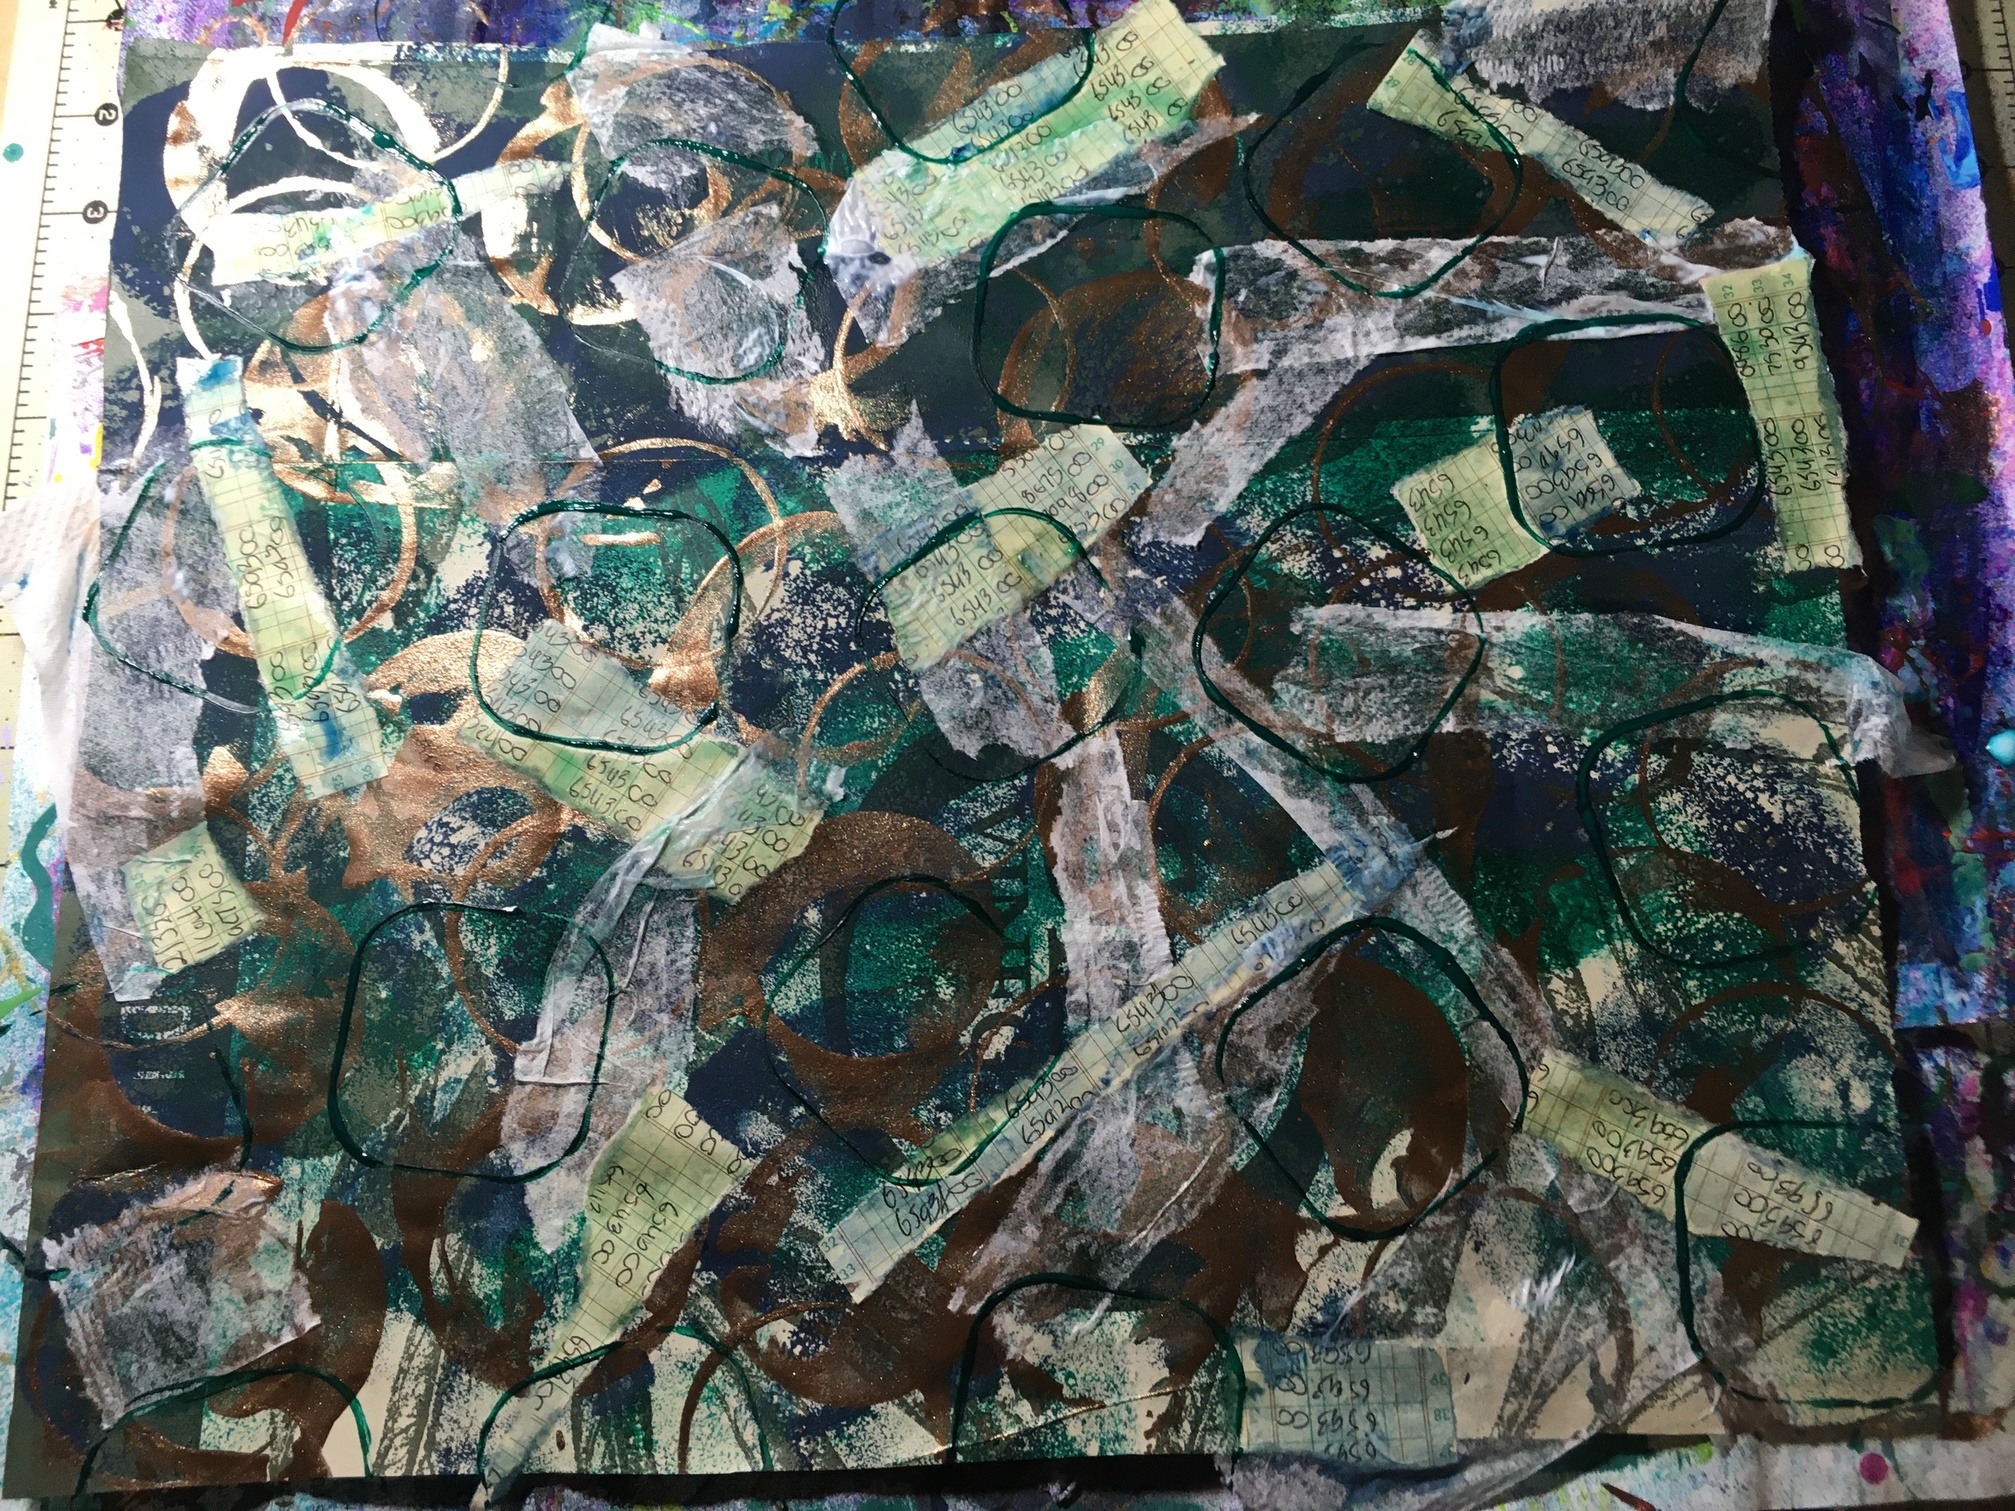
One of my favorite things to use when making a masterboard is napkins. I love the texture they add along with still being able to see a little through them. And they are free when you get fast food!  So for my next layer I tore up some napkin and paper with handwritten numbers (it was a prop in a play from years ago) and used Matte Mod Podge to stick them all over.

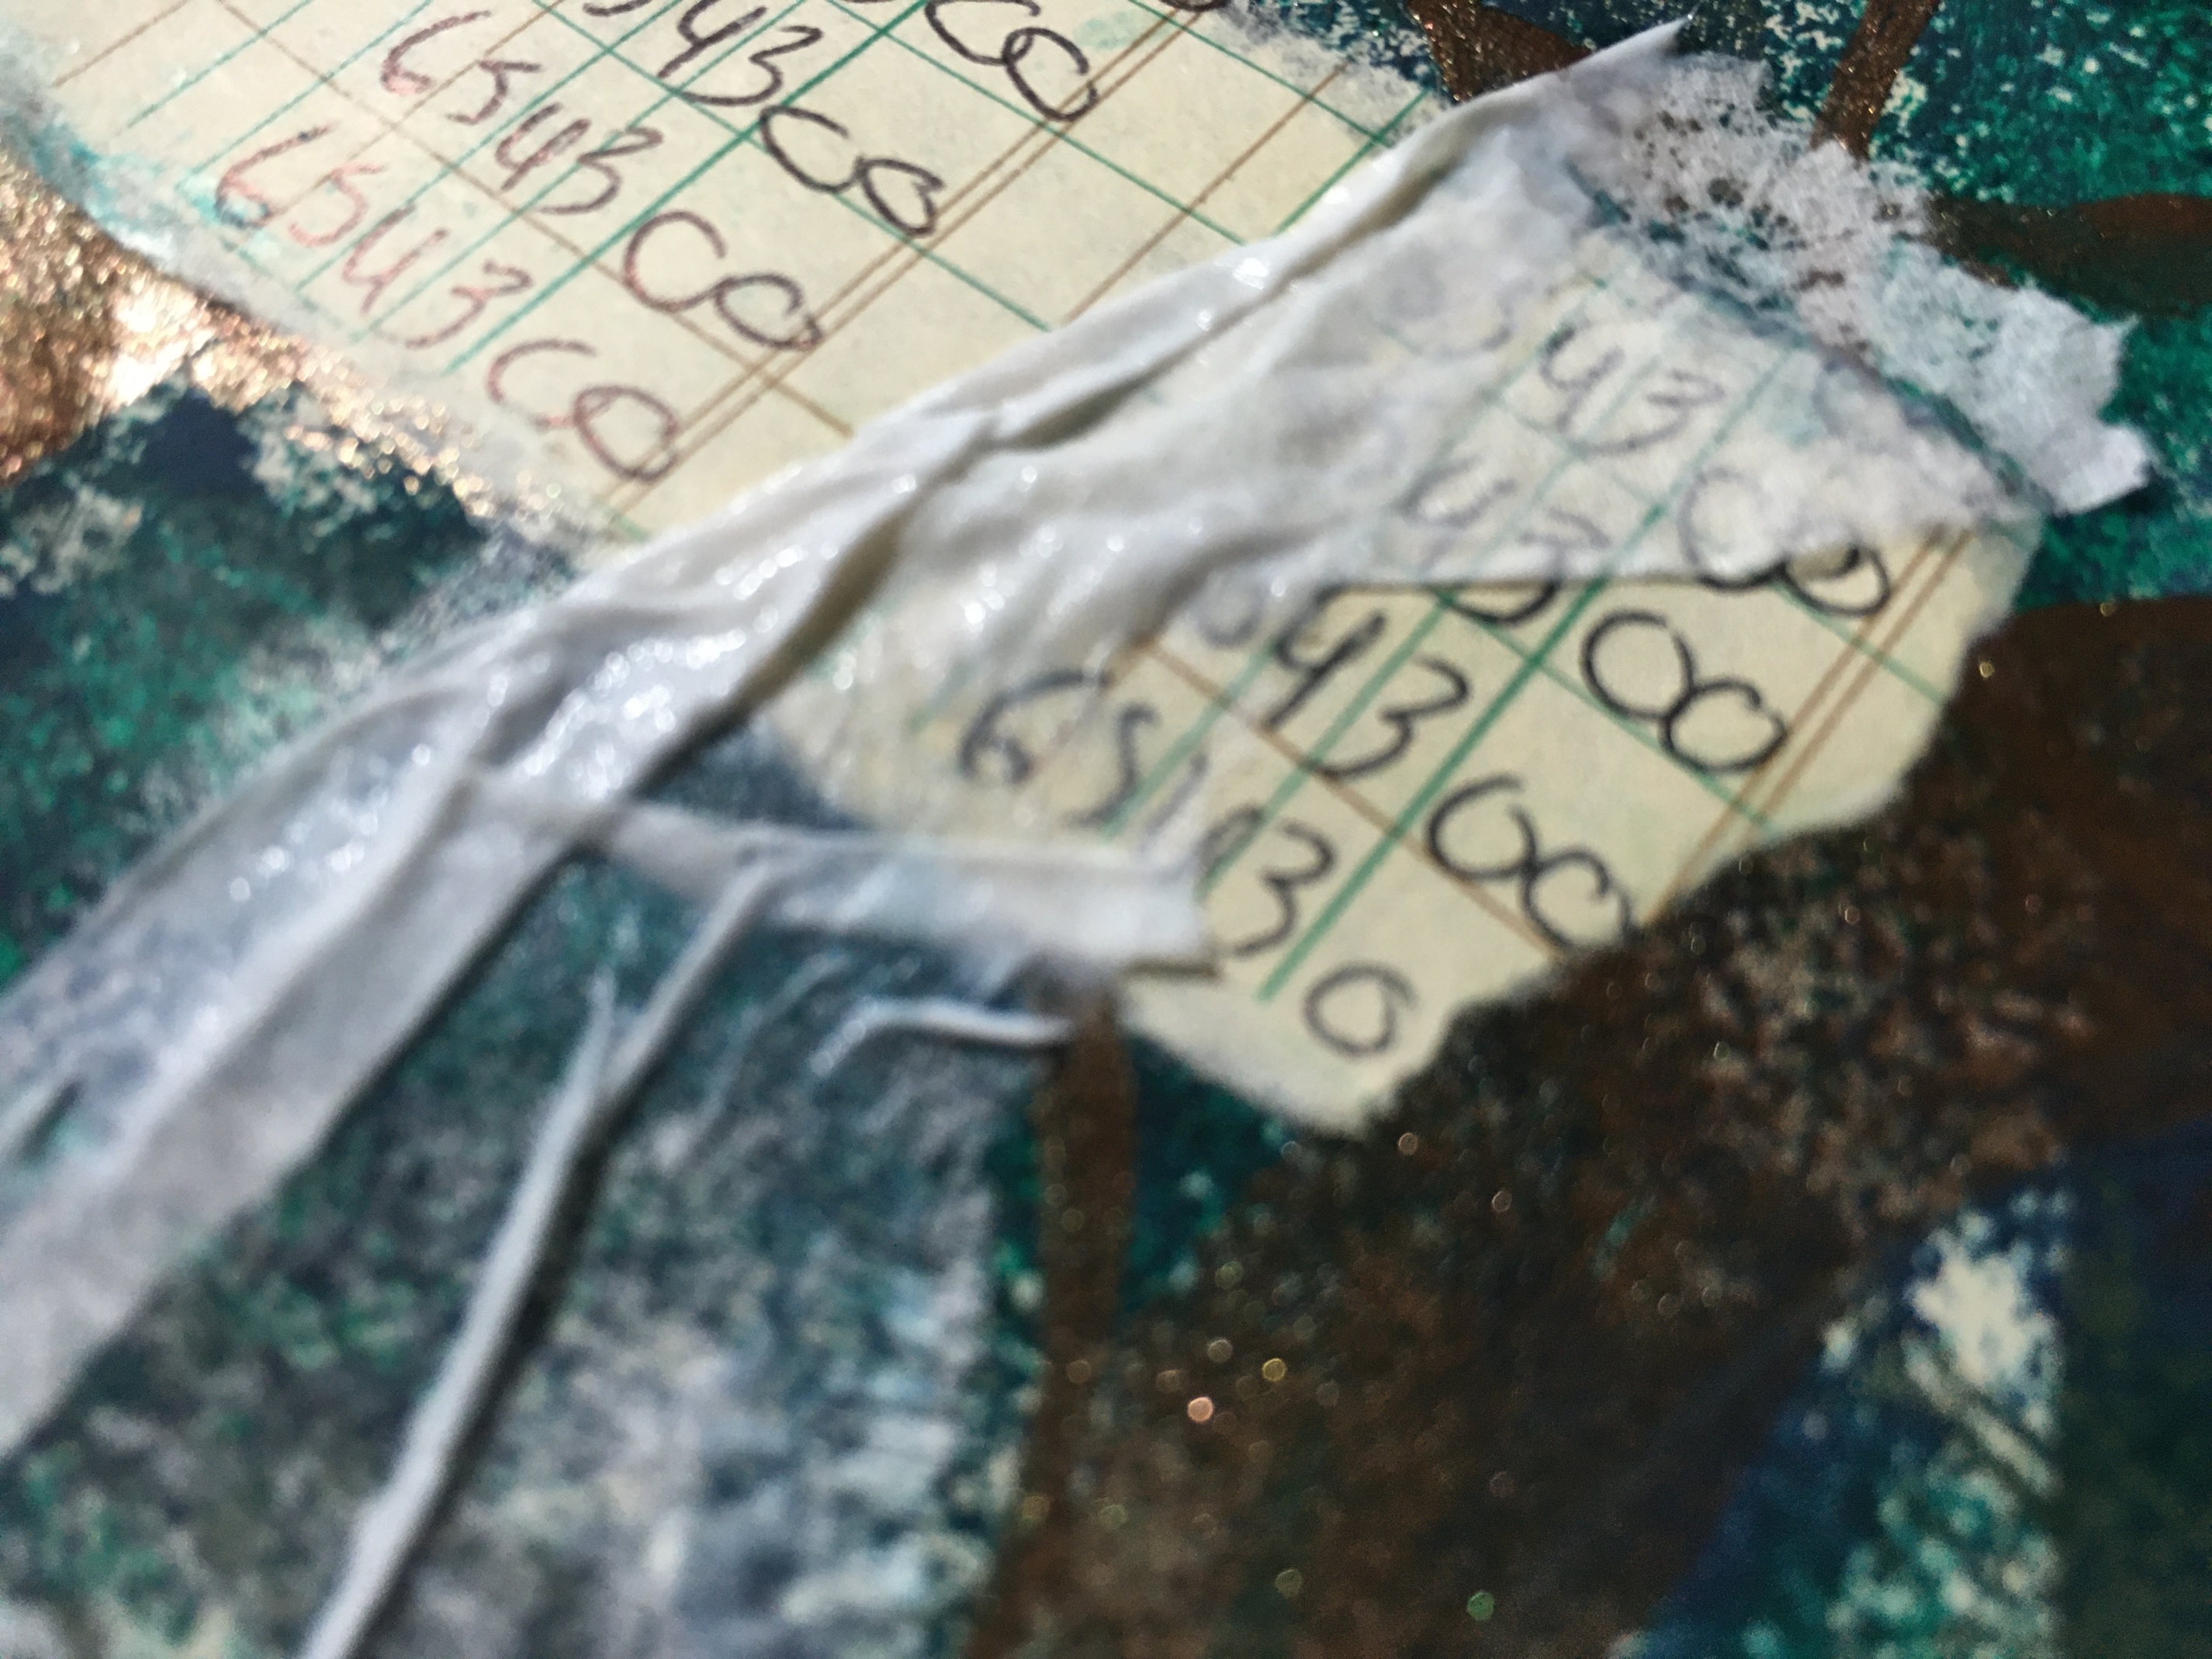
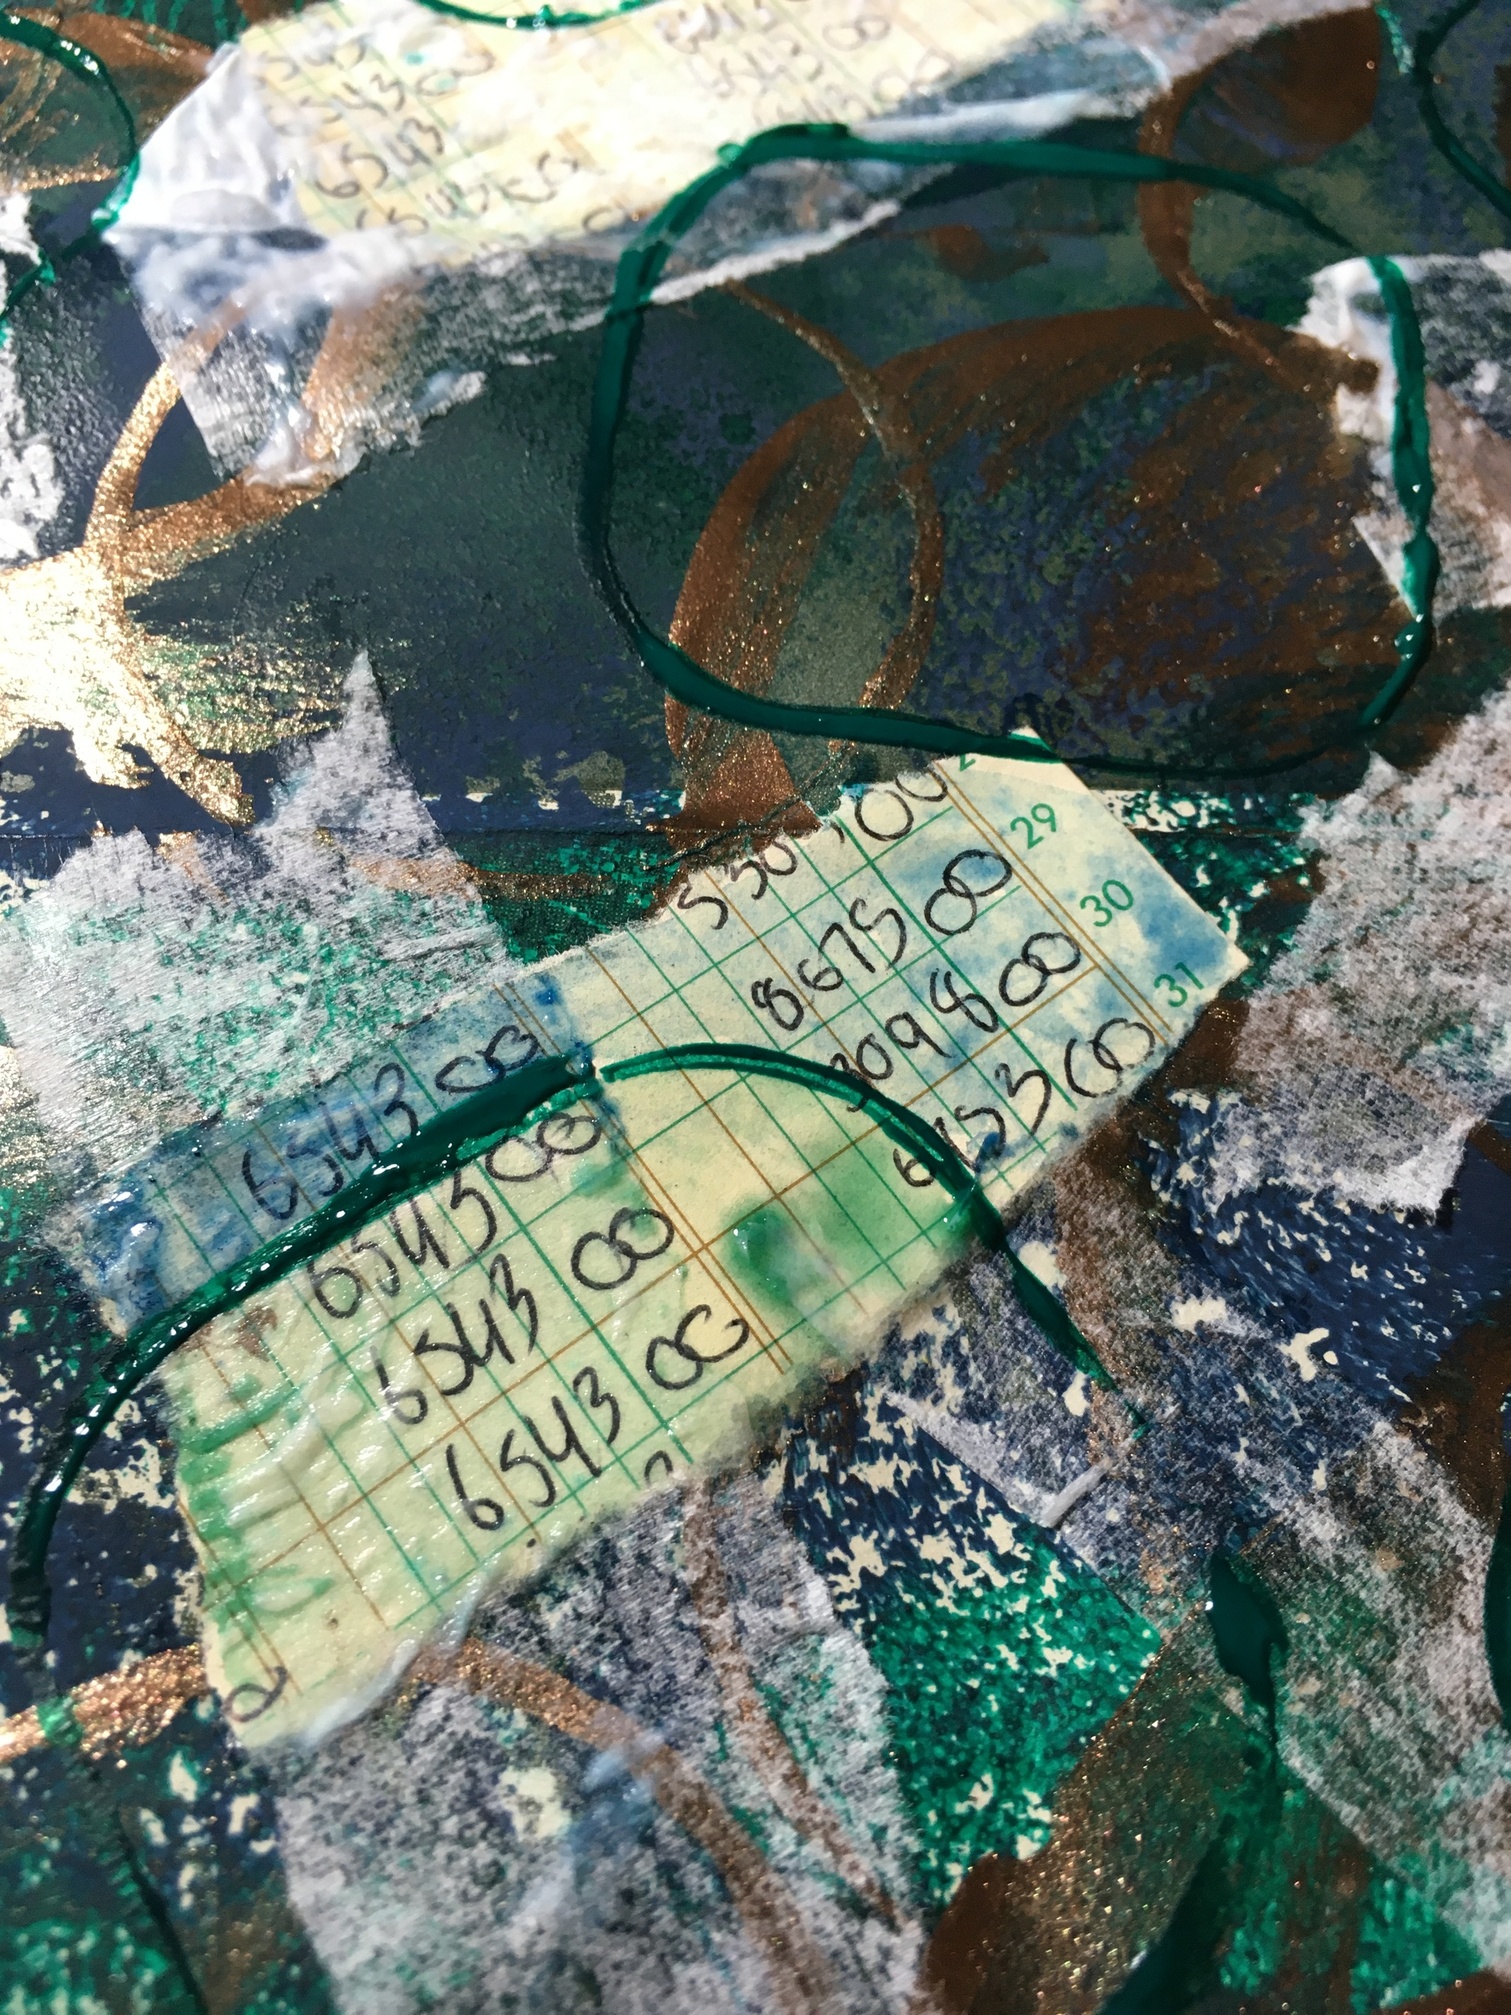
Fun thing about napkins is that sometimes they behave nicely and lay flat without arguing
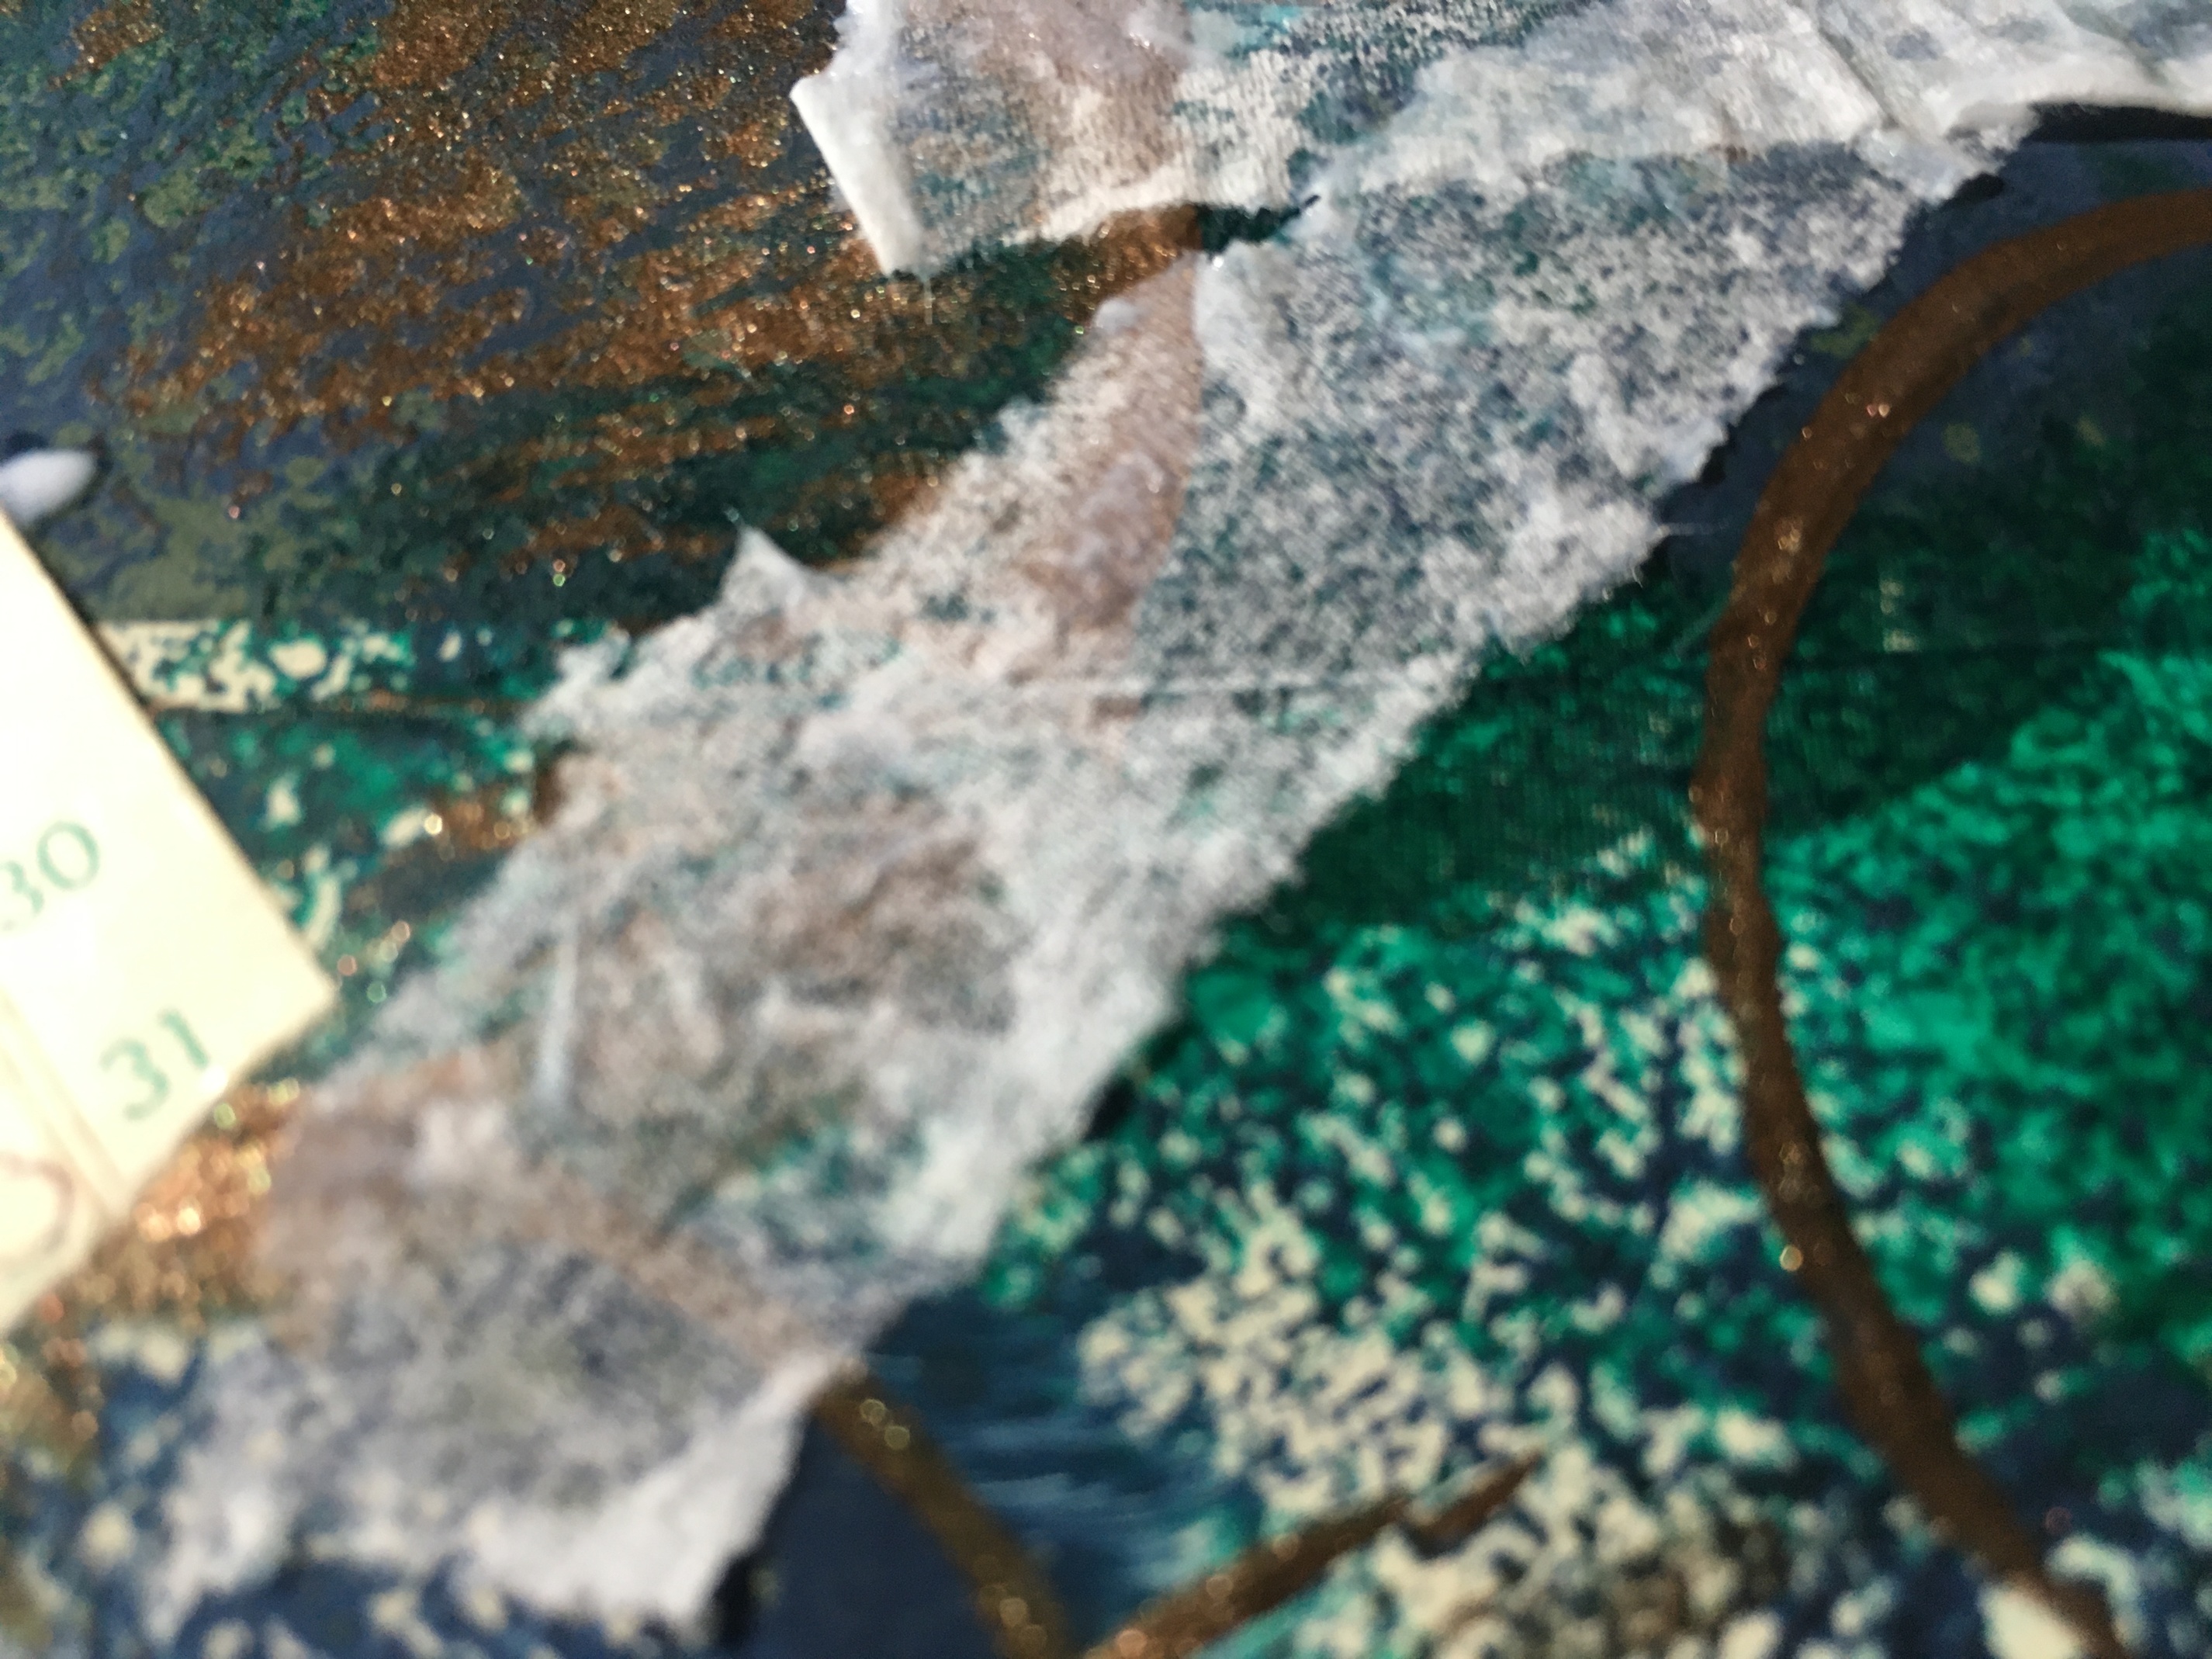
and sometimes they pick up color from your work surface

or become a big wrinkly mess!
Ok, so I took a lot of pictures! And I don’t want to bore you with all of them… so I’m going to skip a few and save them for later  For now I’ll just stick to closeups of each step and I’ll post all the full piece pictures at the end
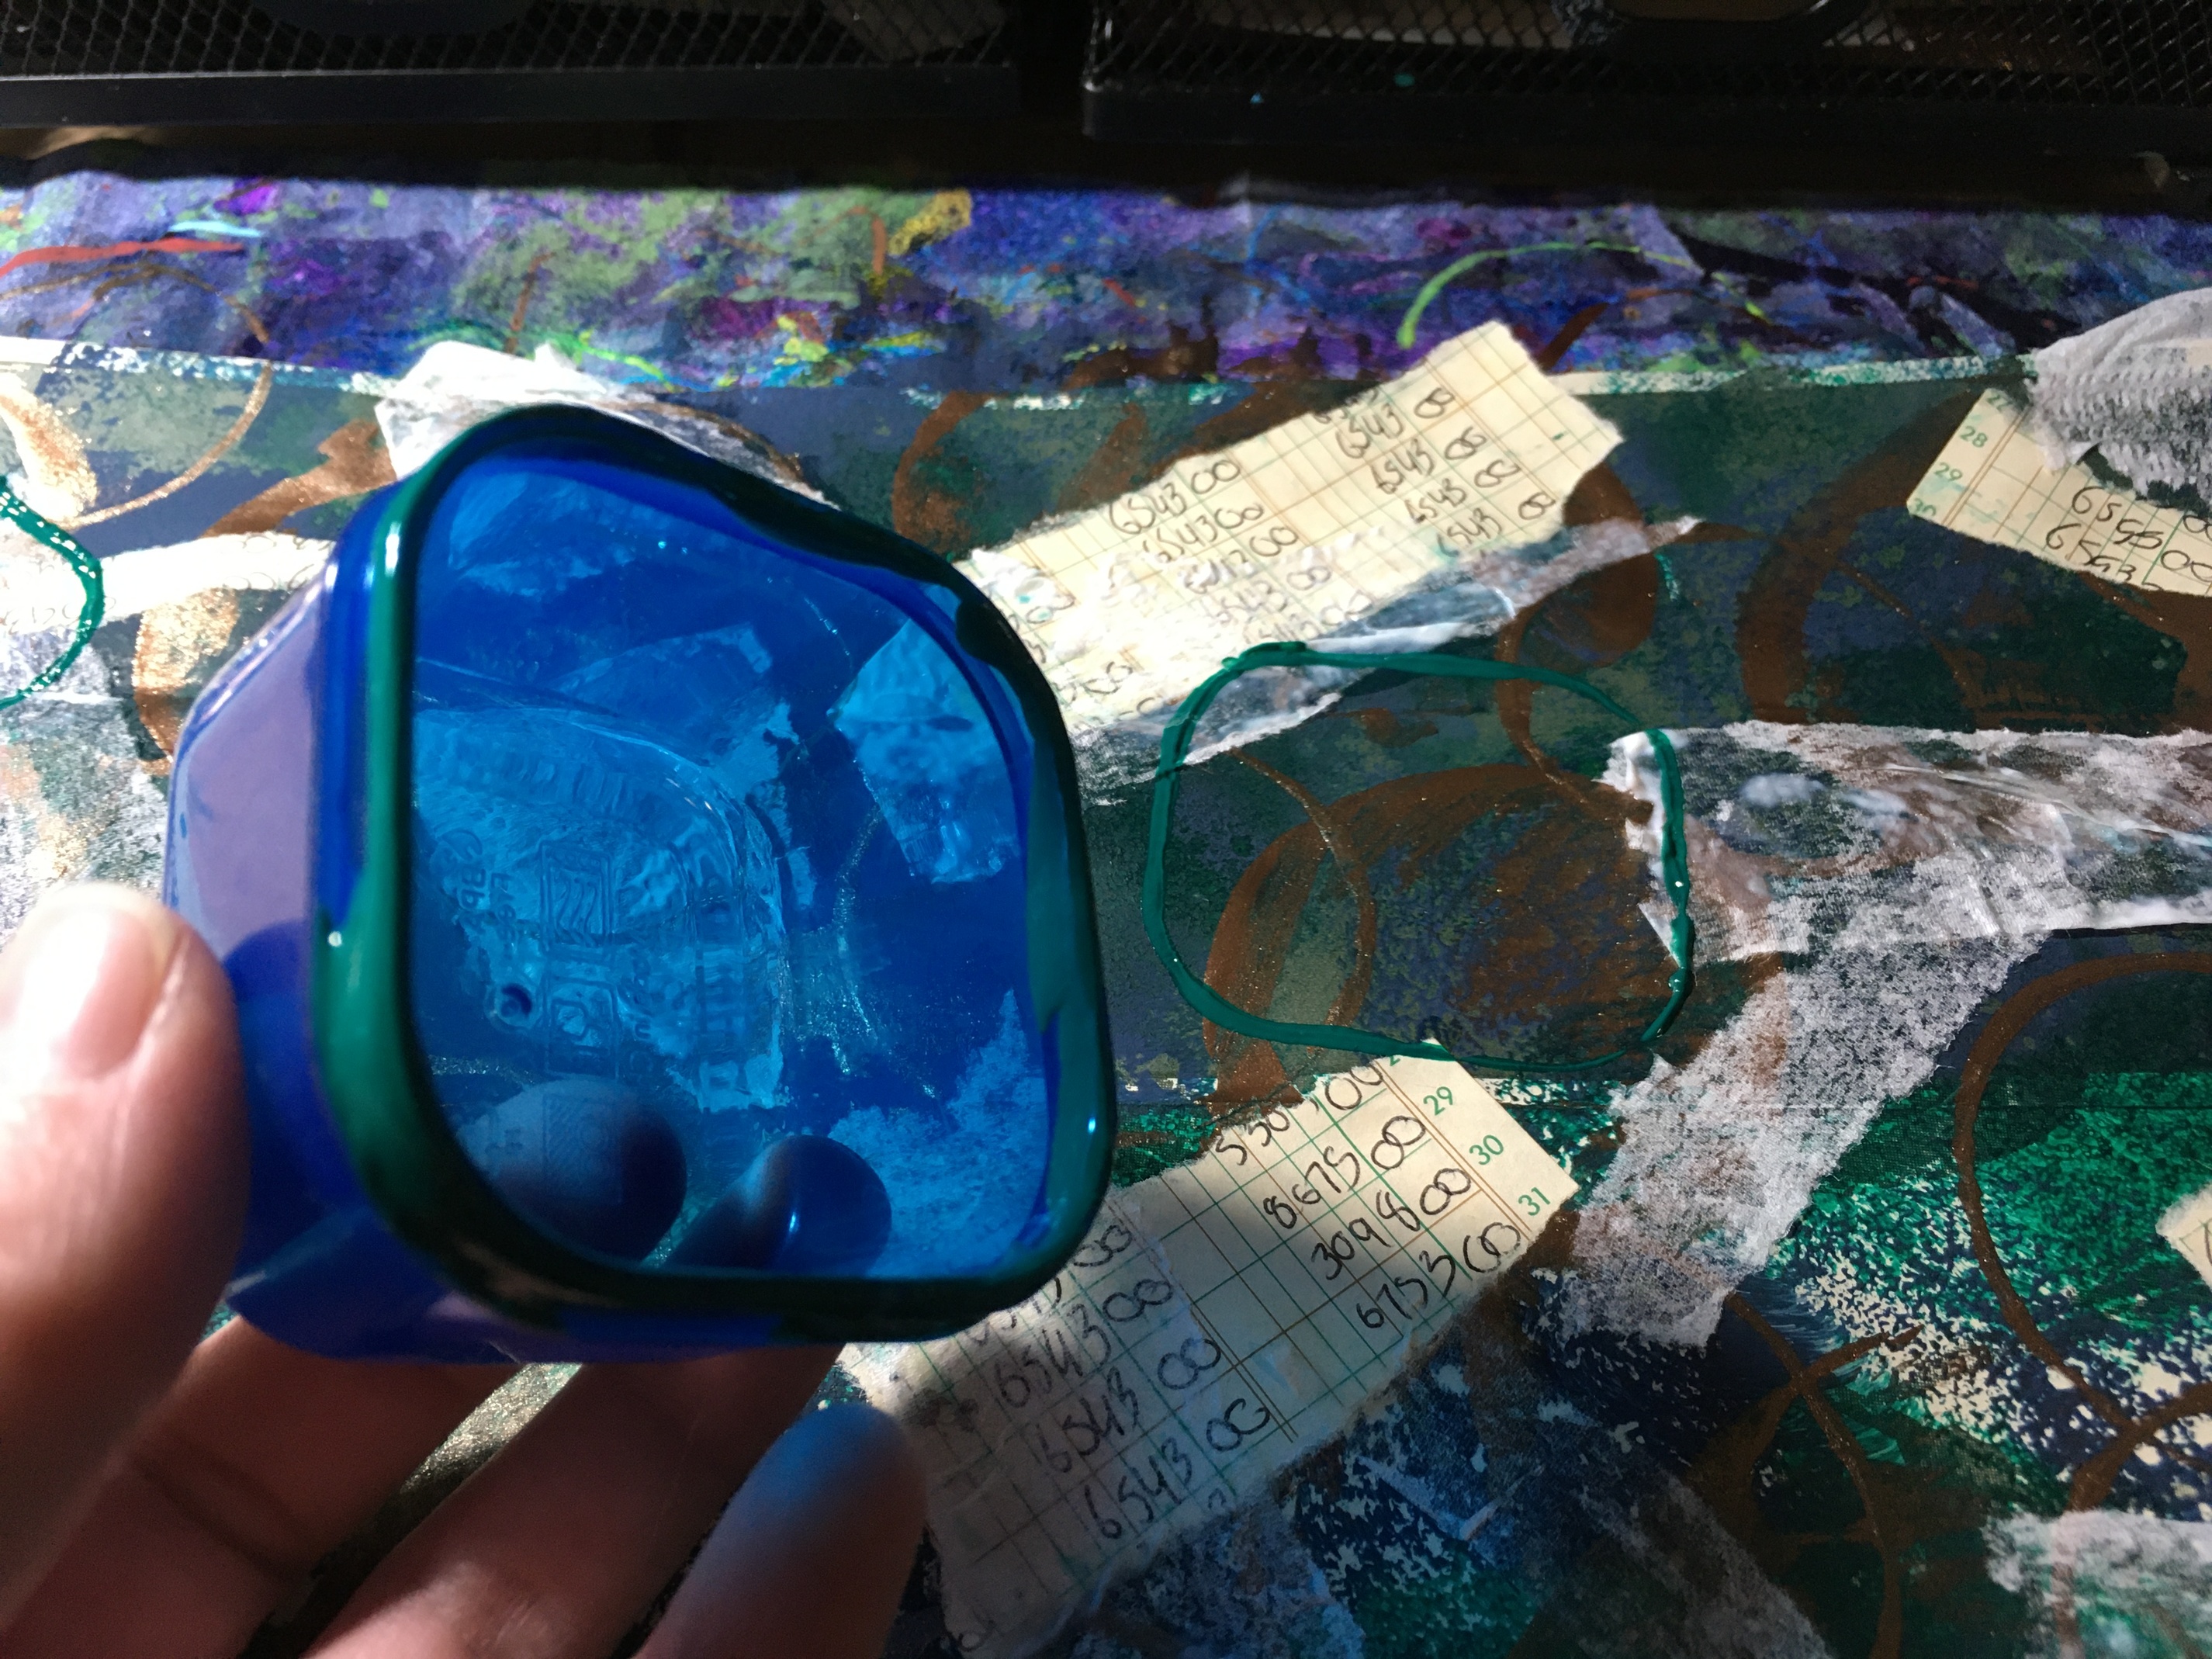
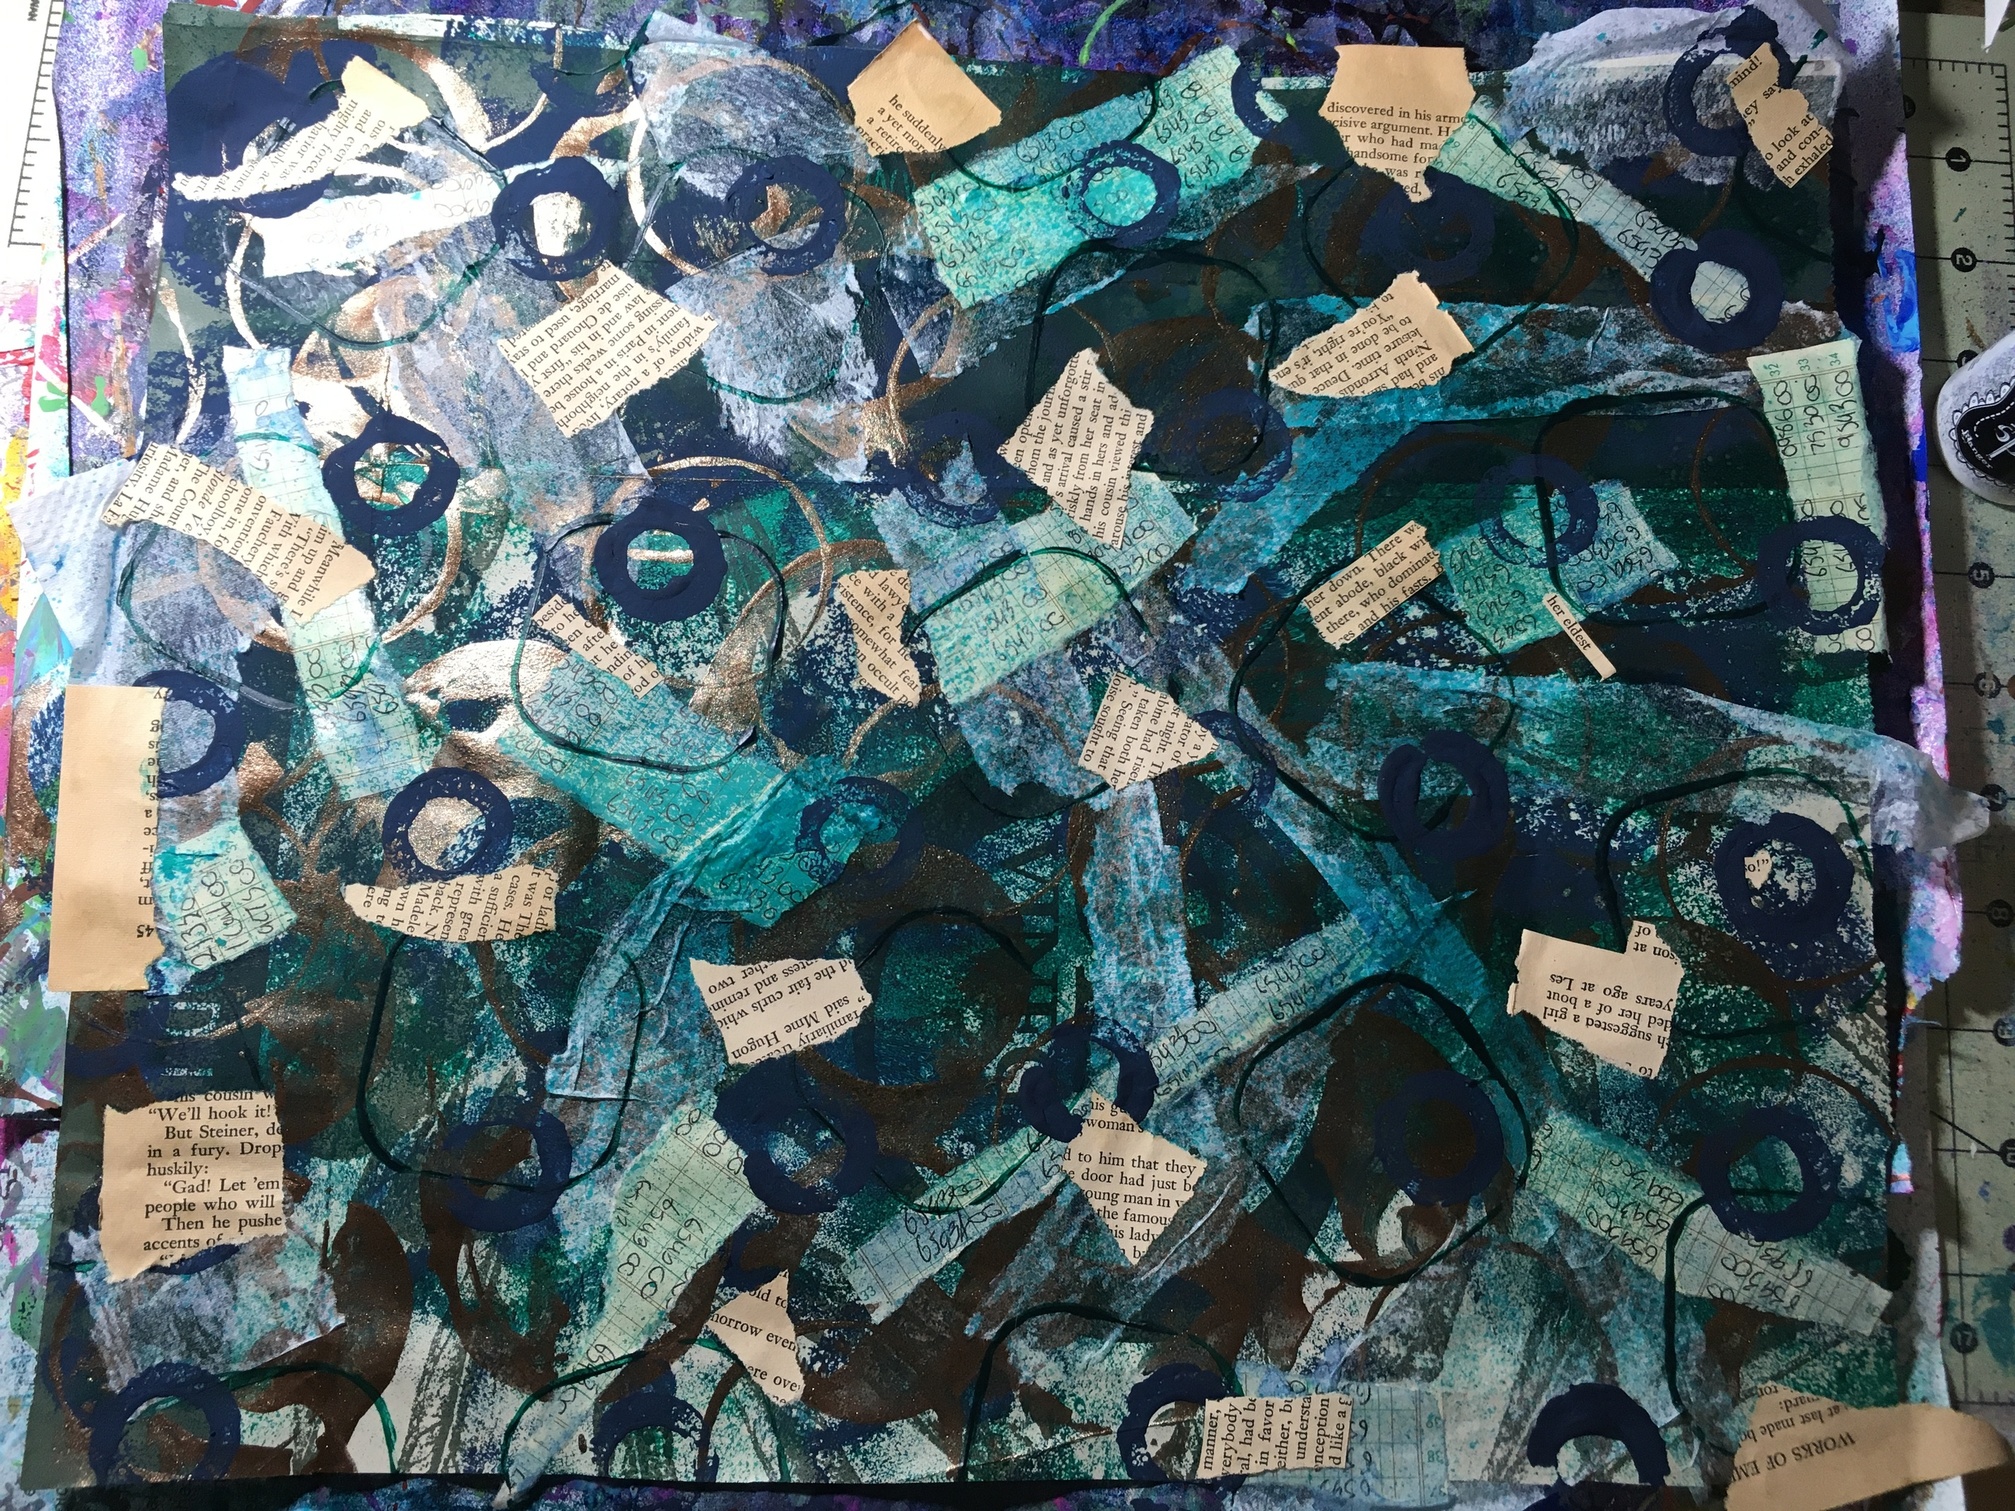
Next I used this plastic container to stamp some rounded squares.
Then I used some blue and green watercolor paint on the paper bits.
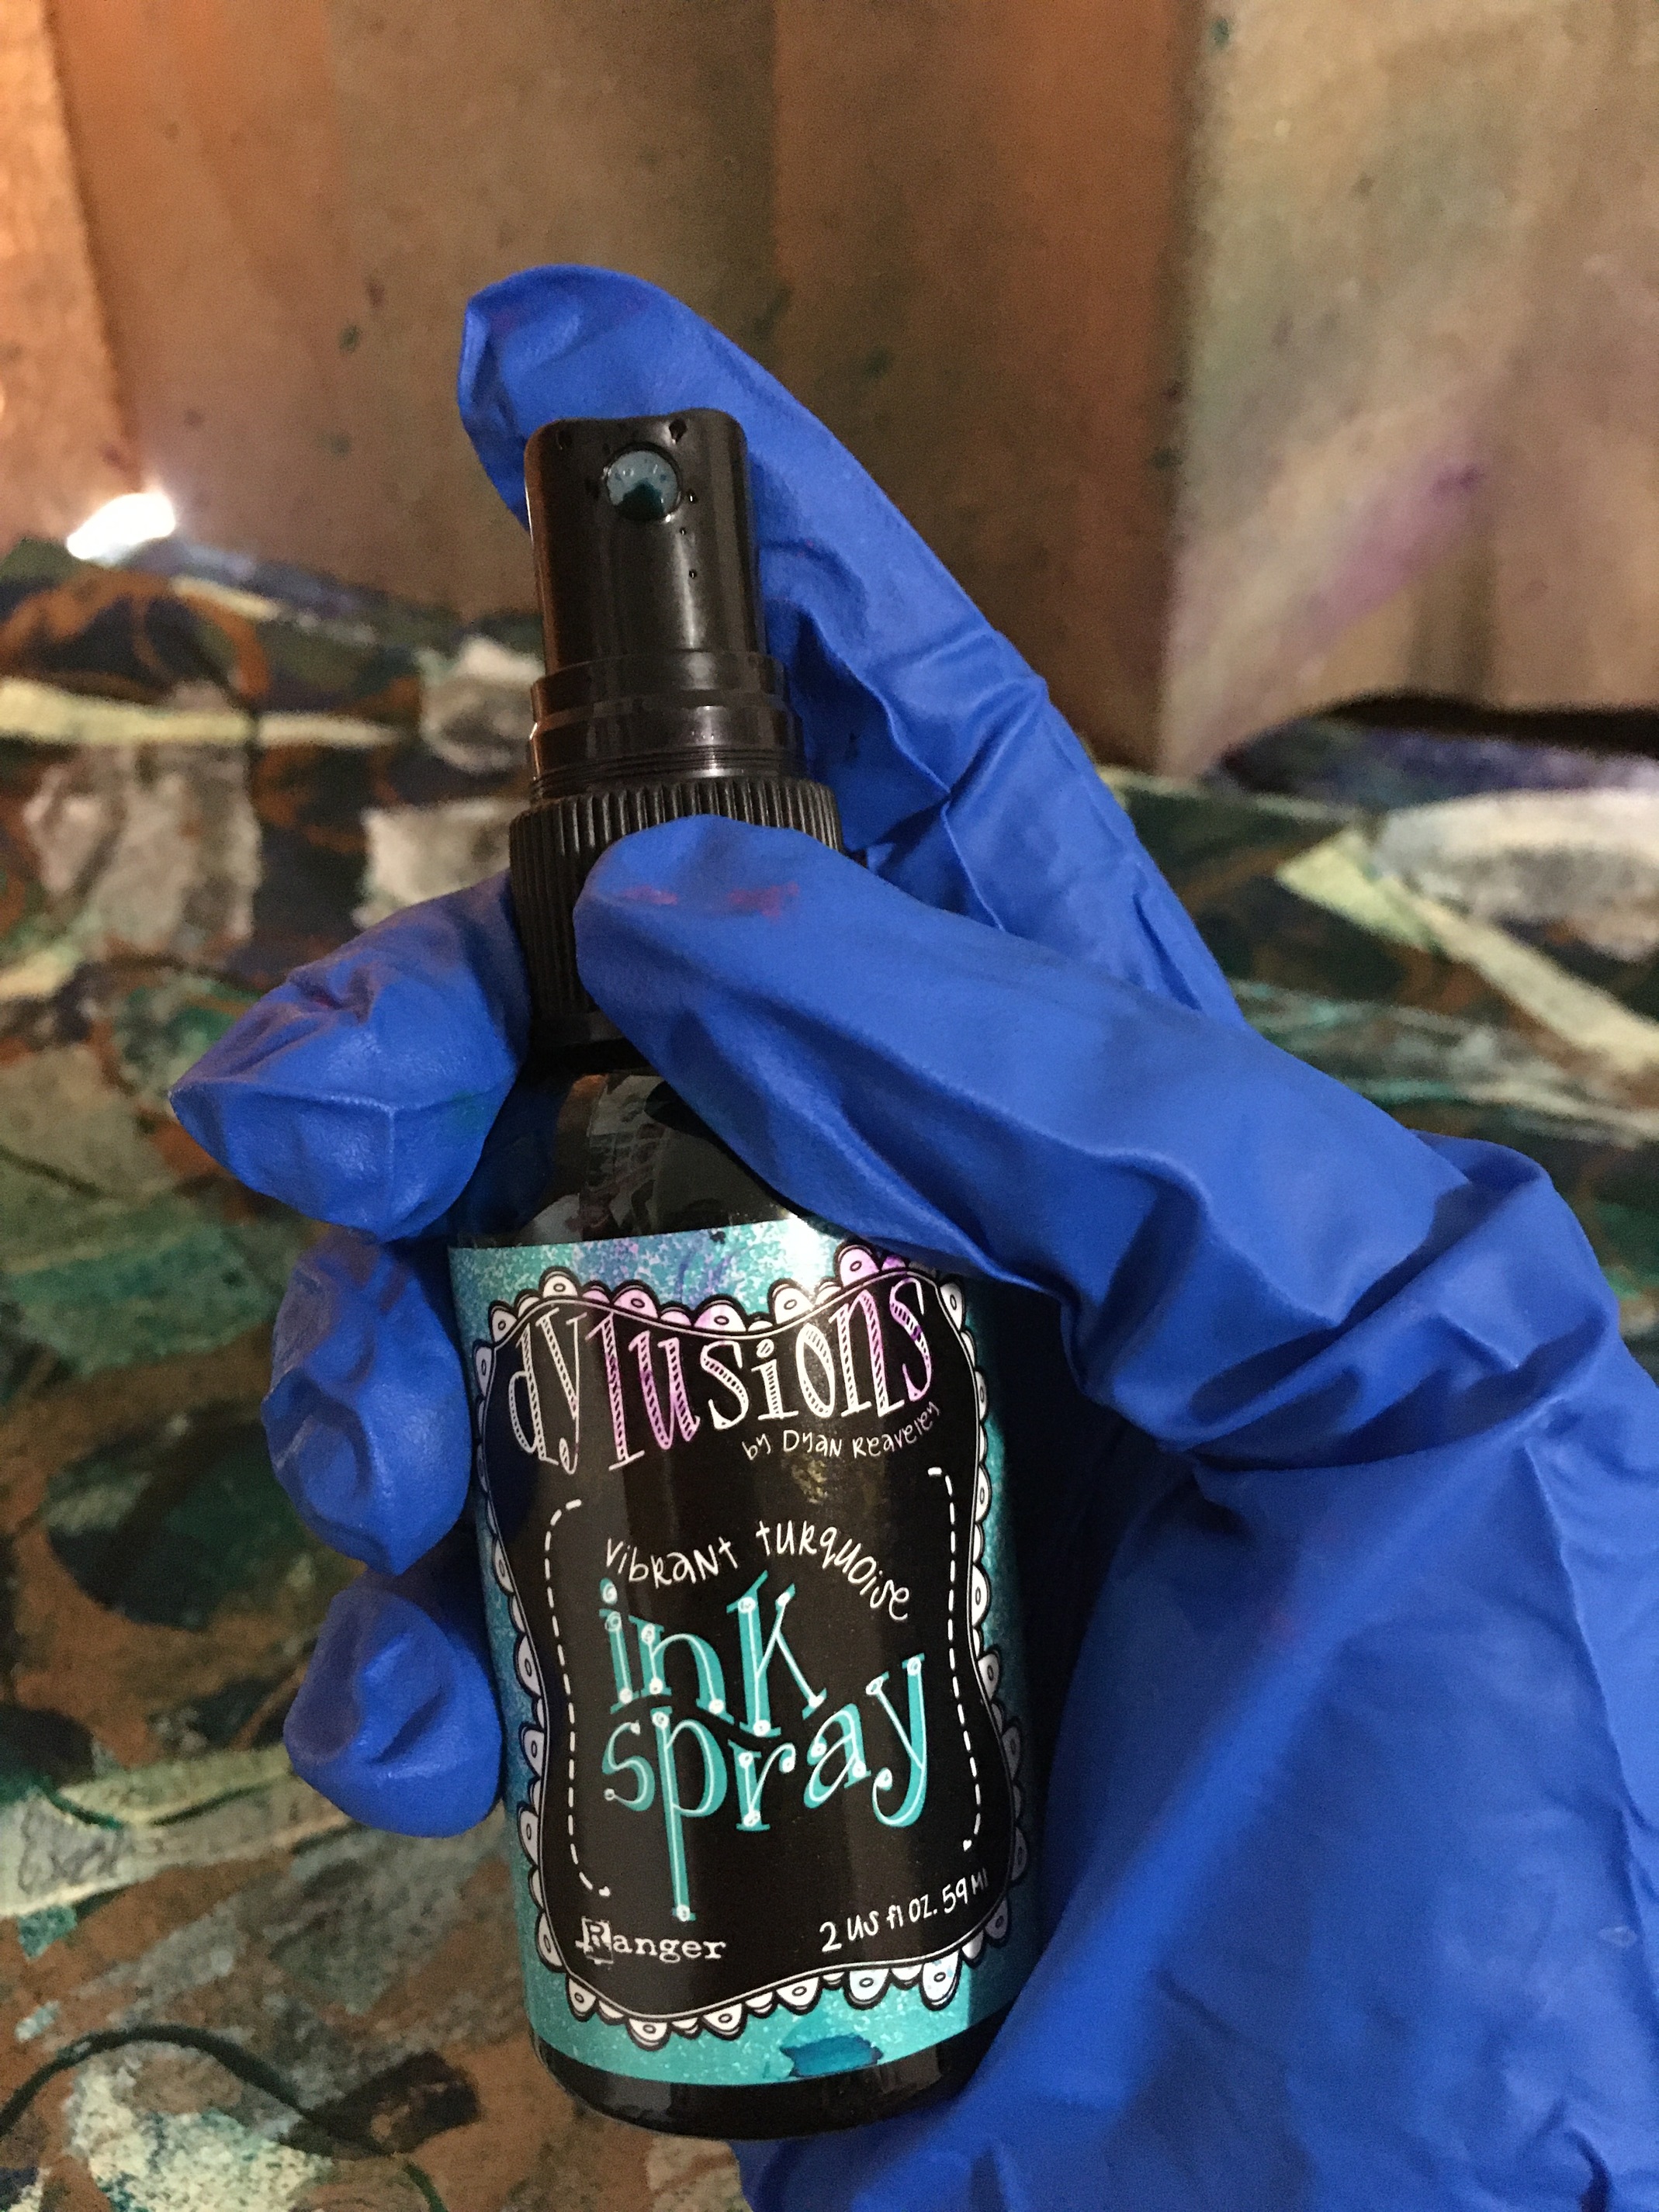
Then I setup my ink pray station (paper bag propped around two sides of the masterboard…) and gave a few spritzes of ink.
Then I used this foam packing tube thingy (technical name) to stamp on some navy paint.

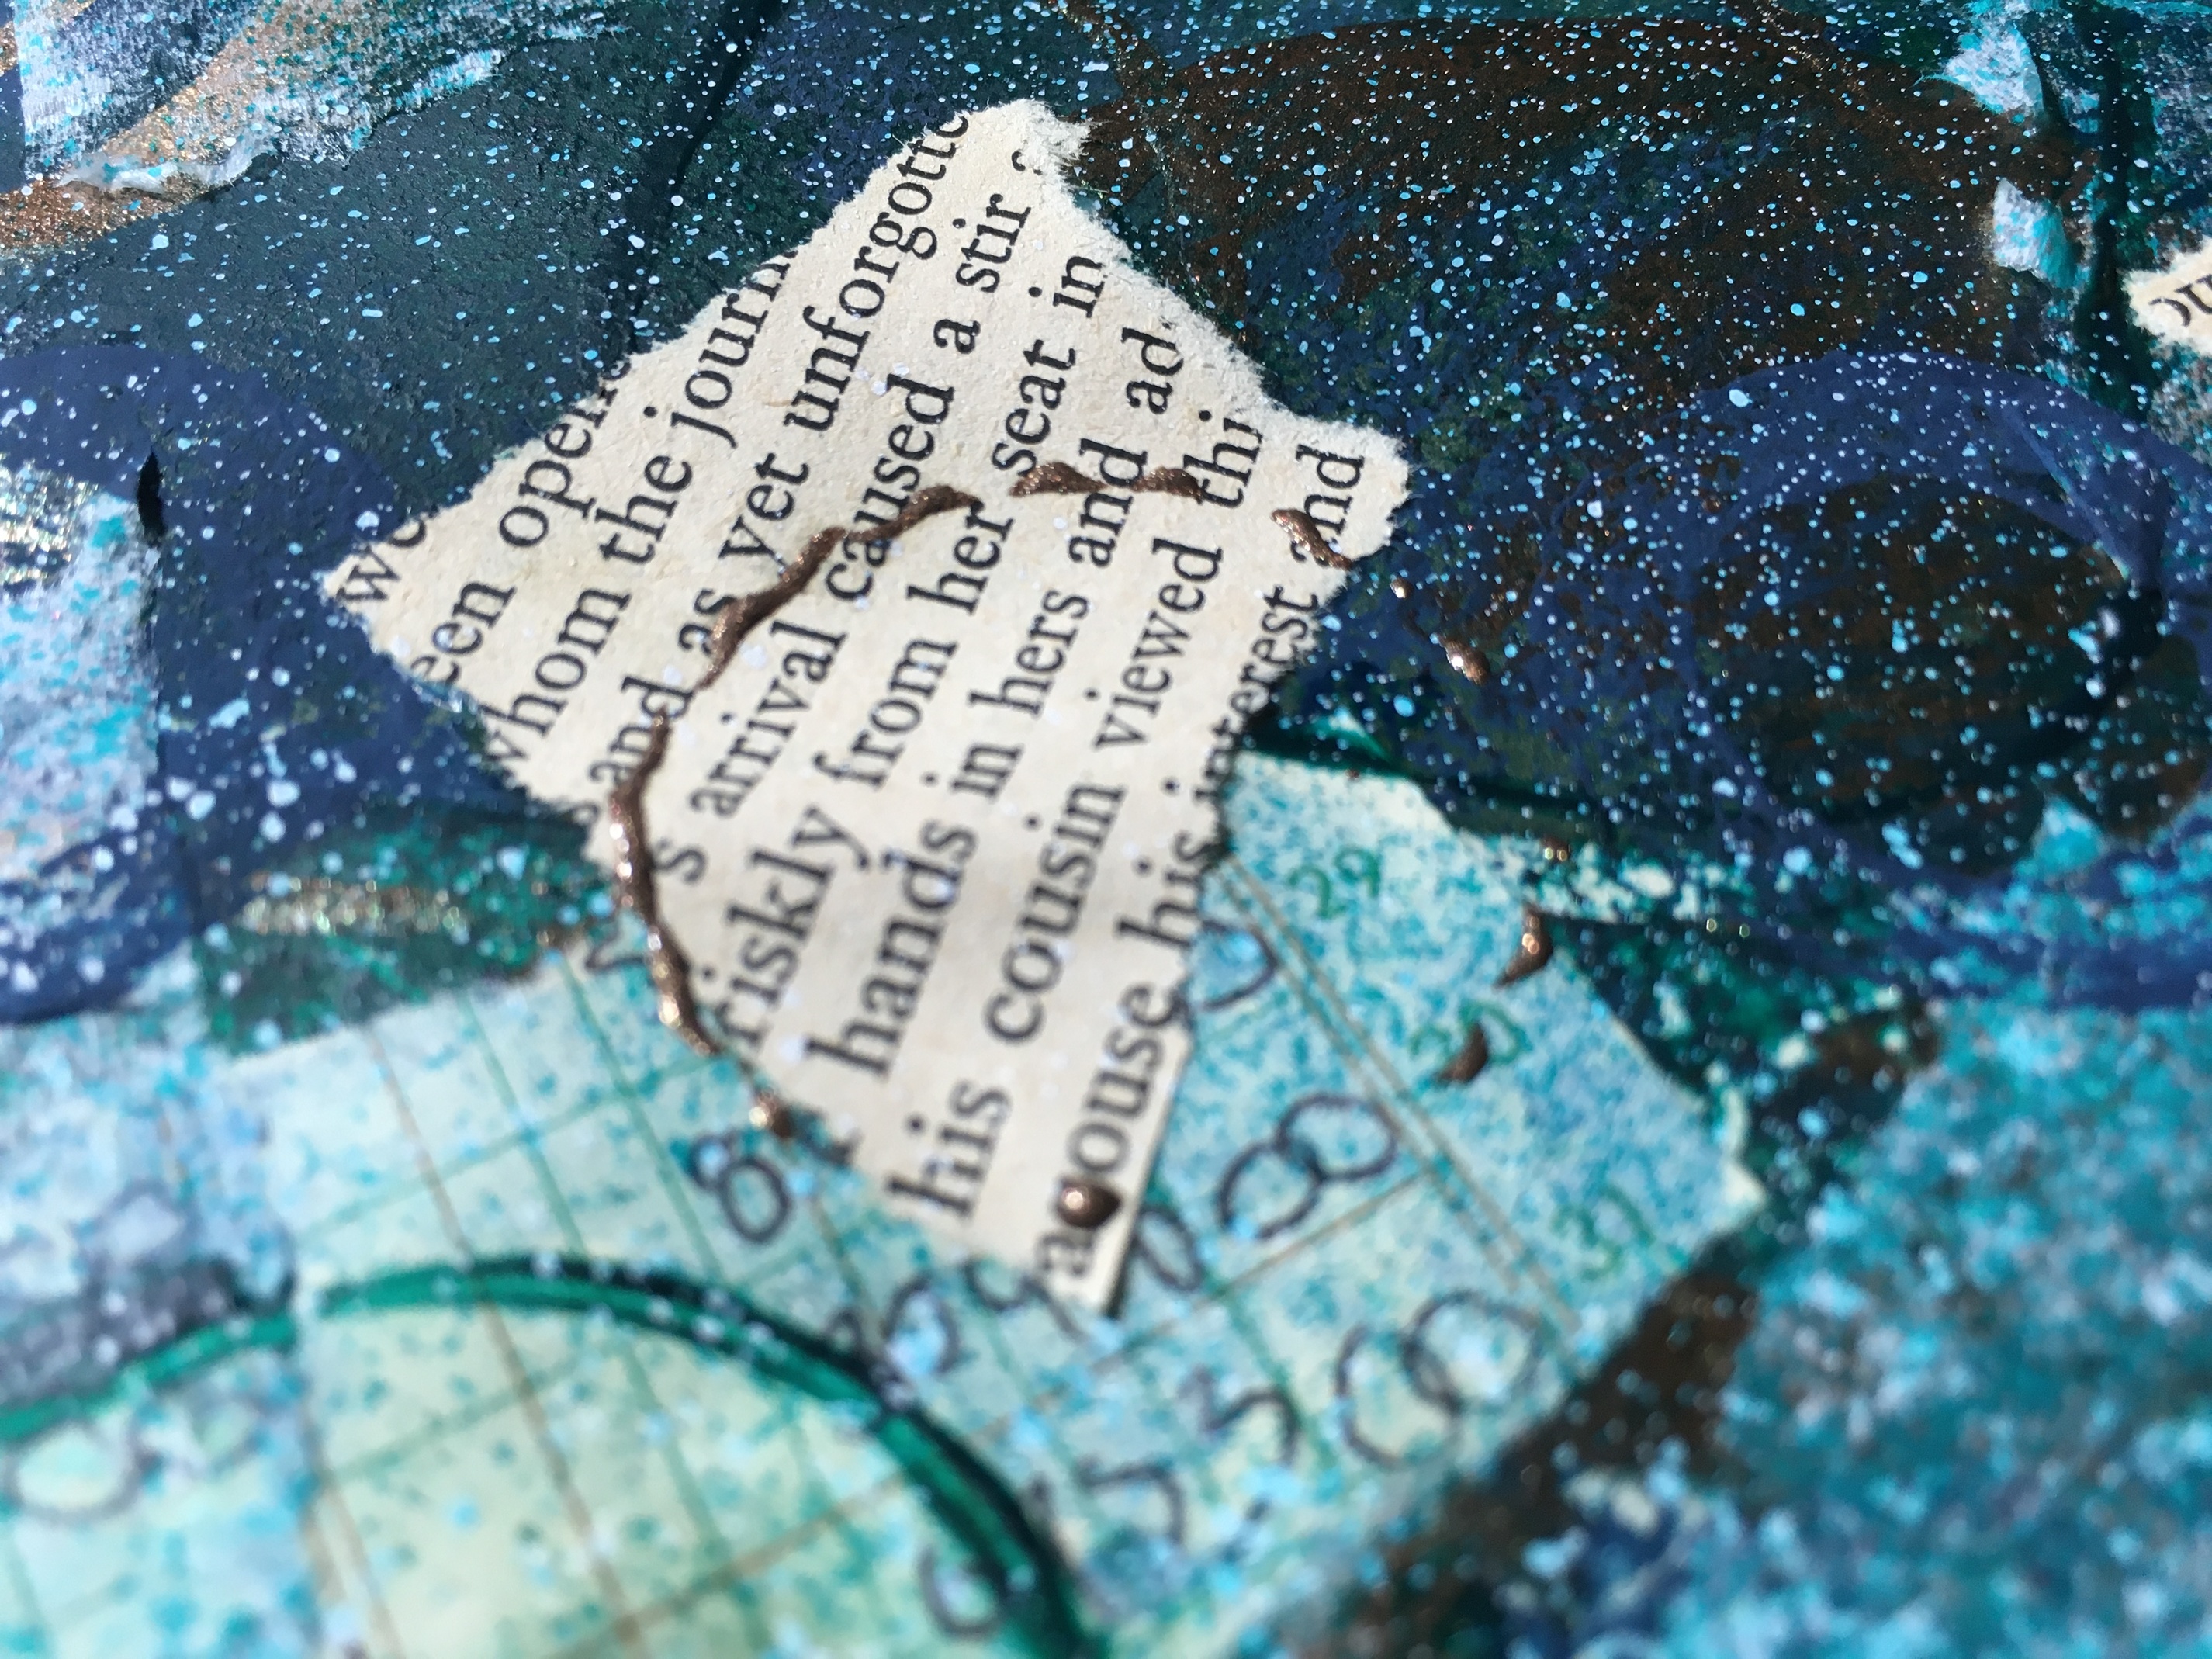
Some more torn up paper, this time from an old book page.

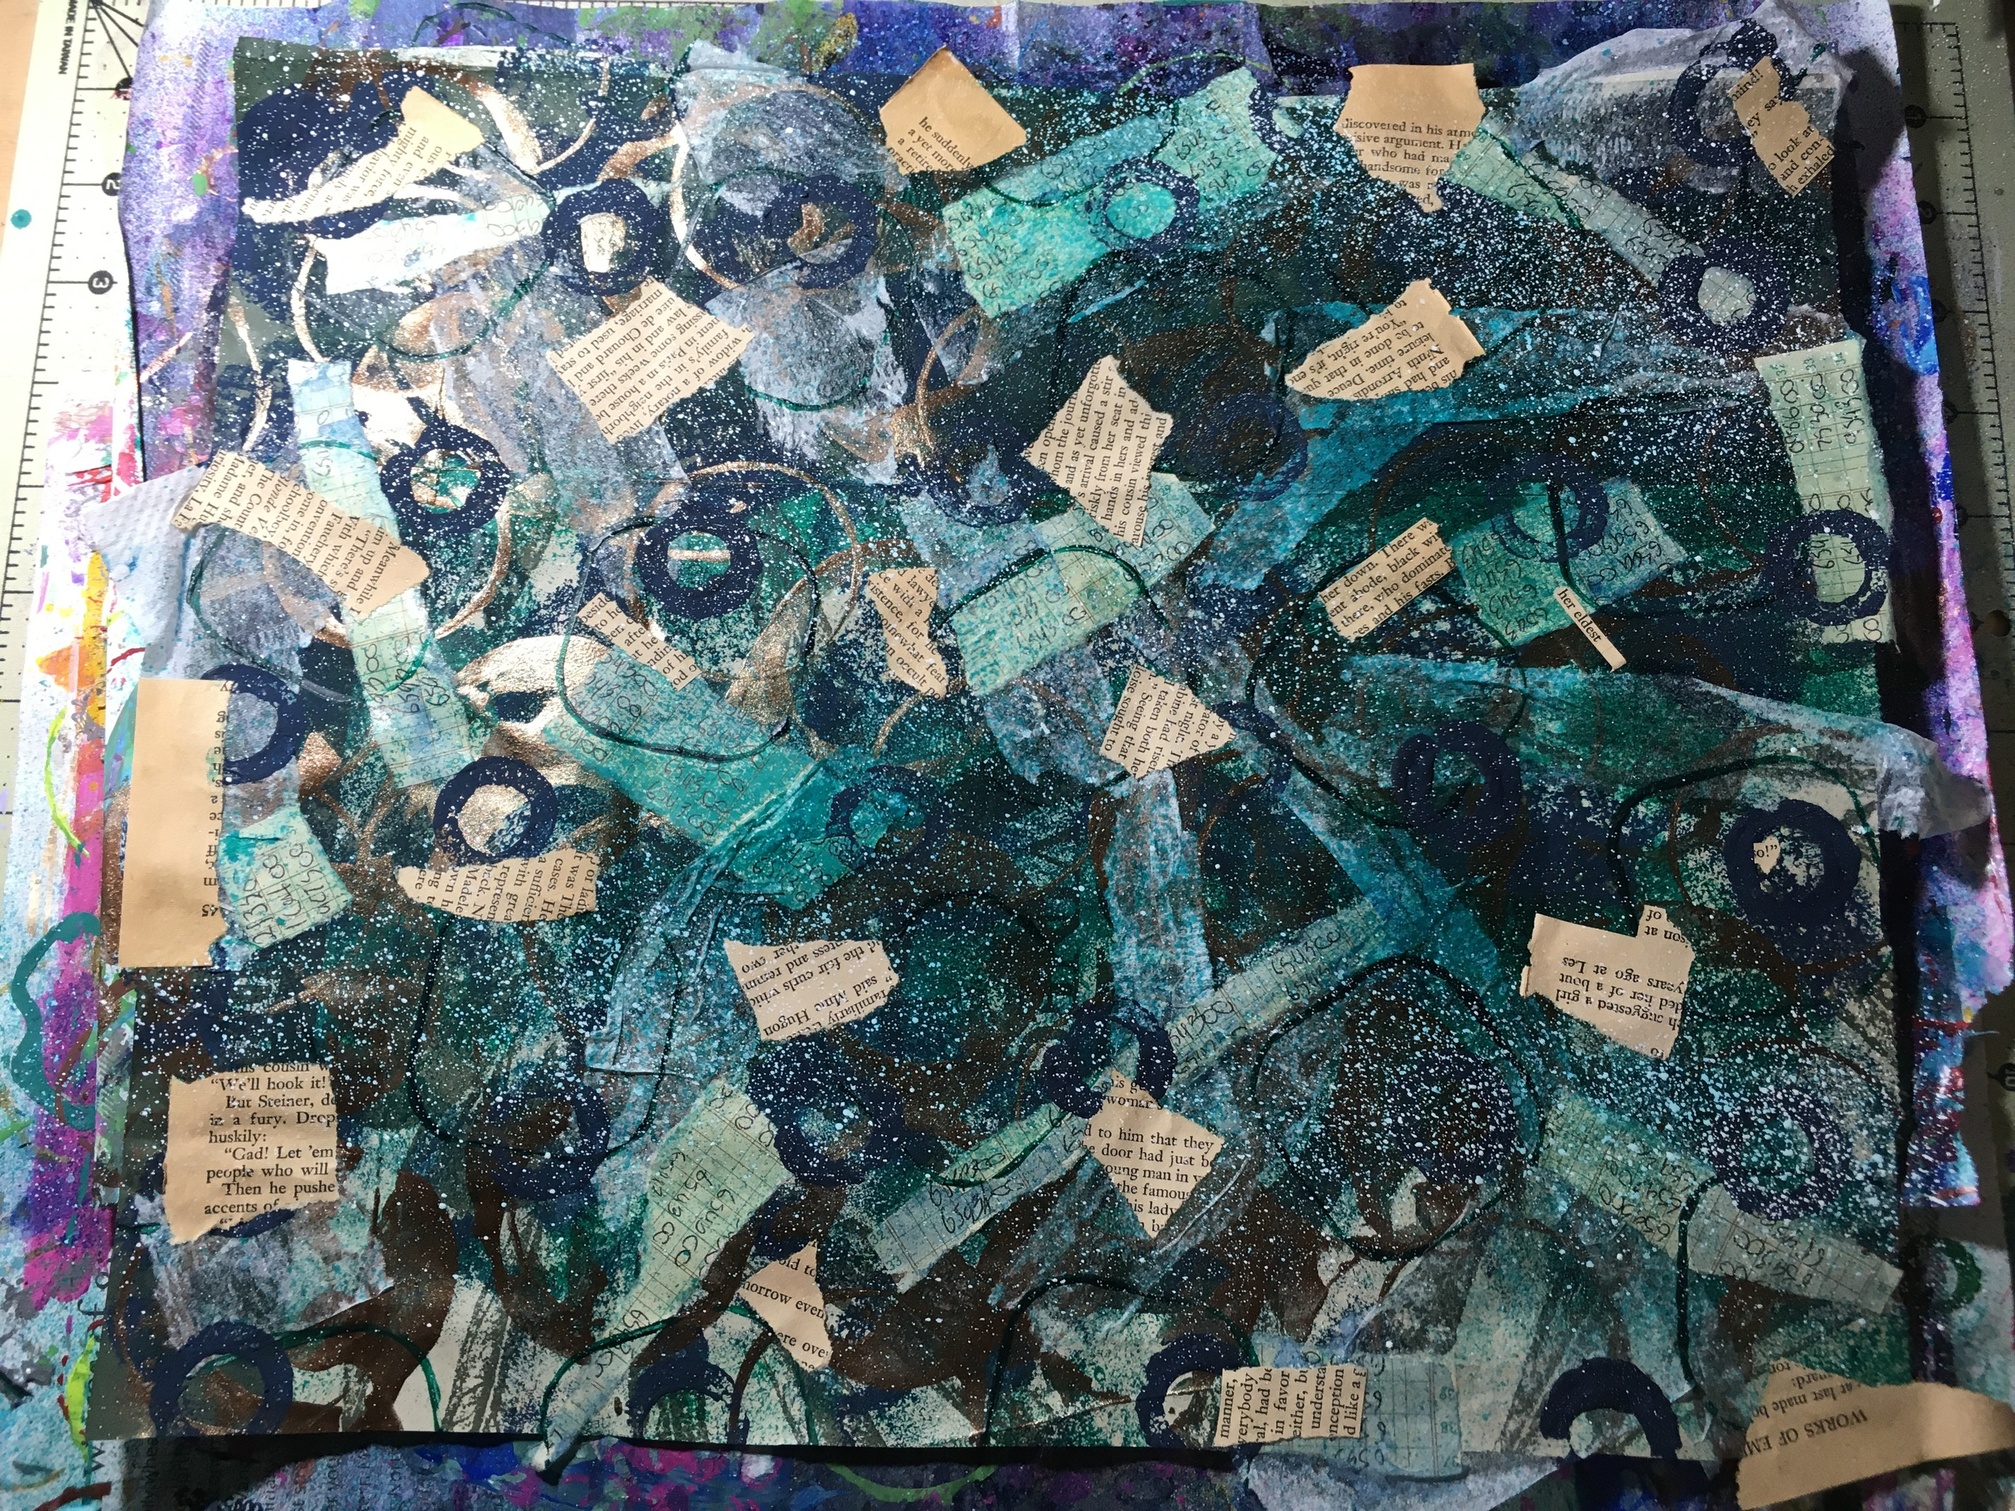
More spray ink, white.

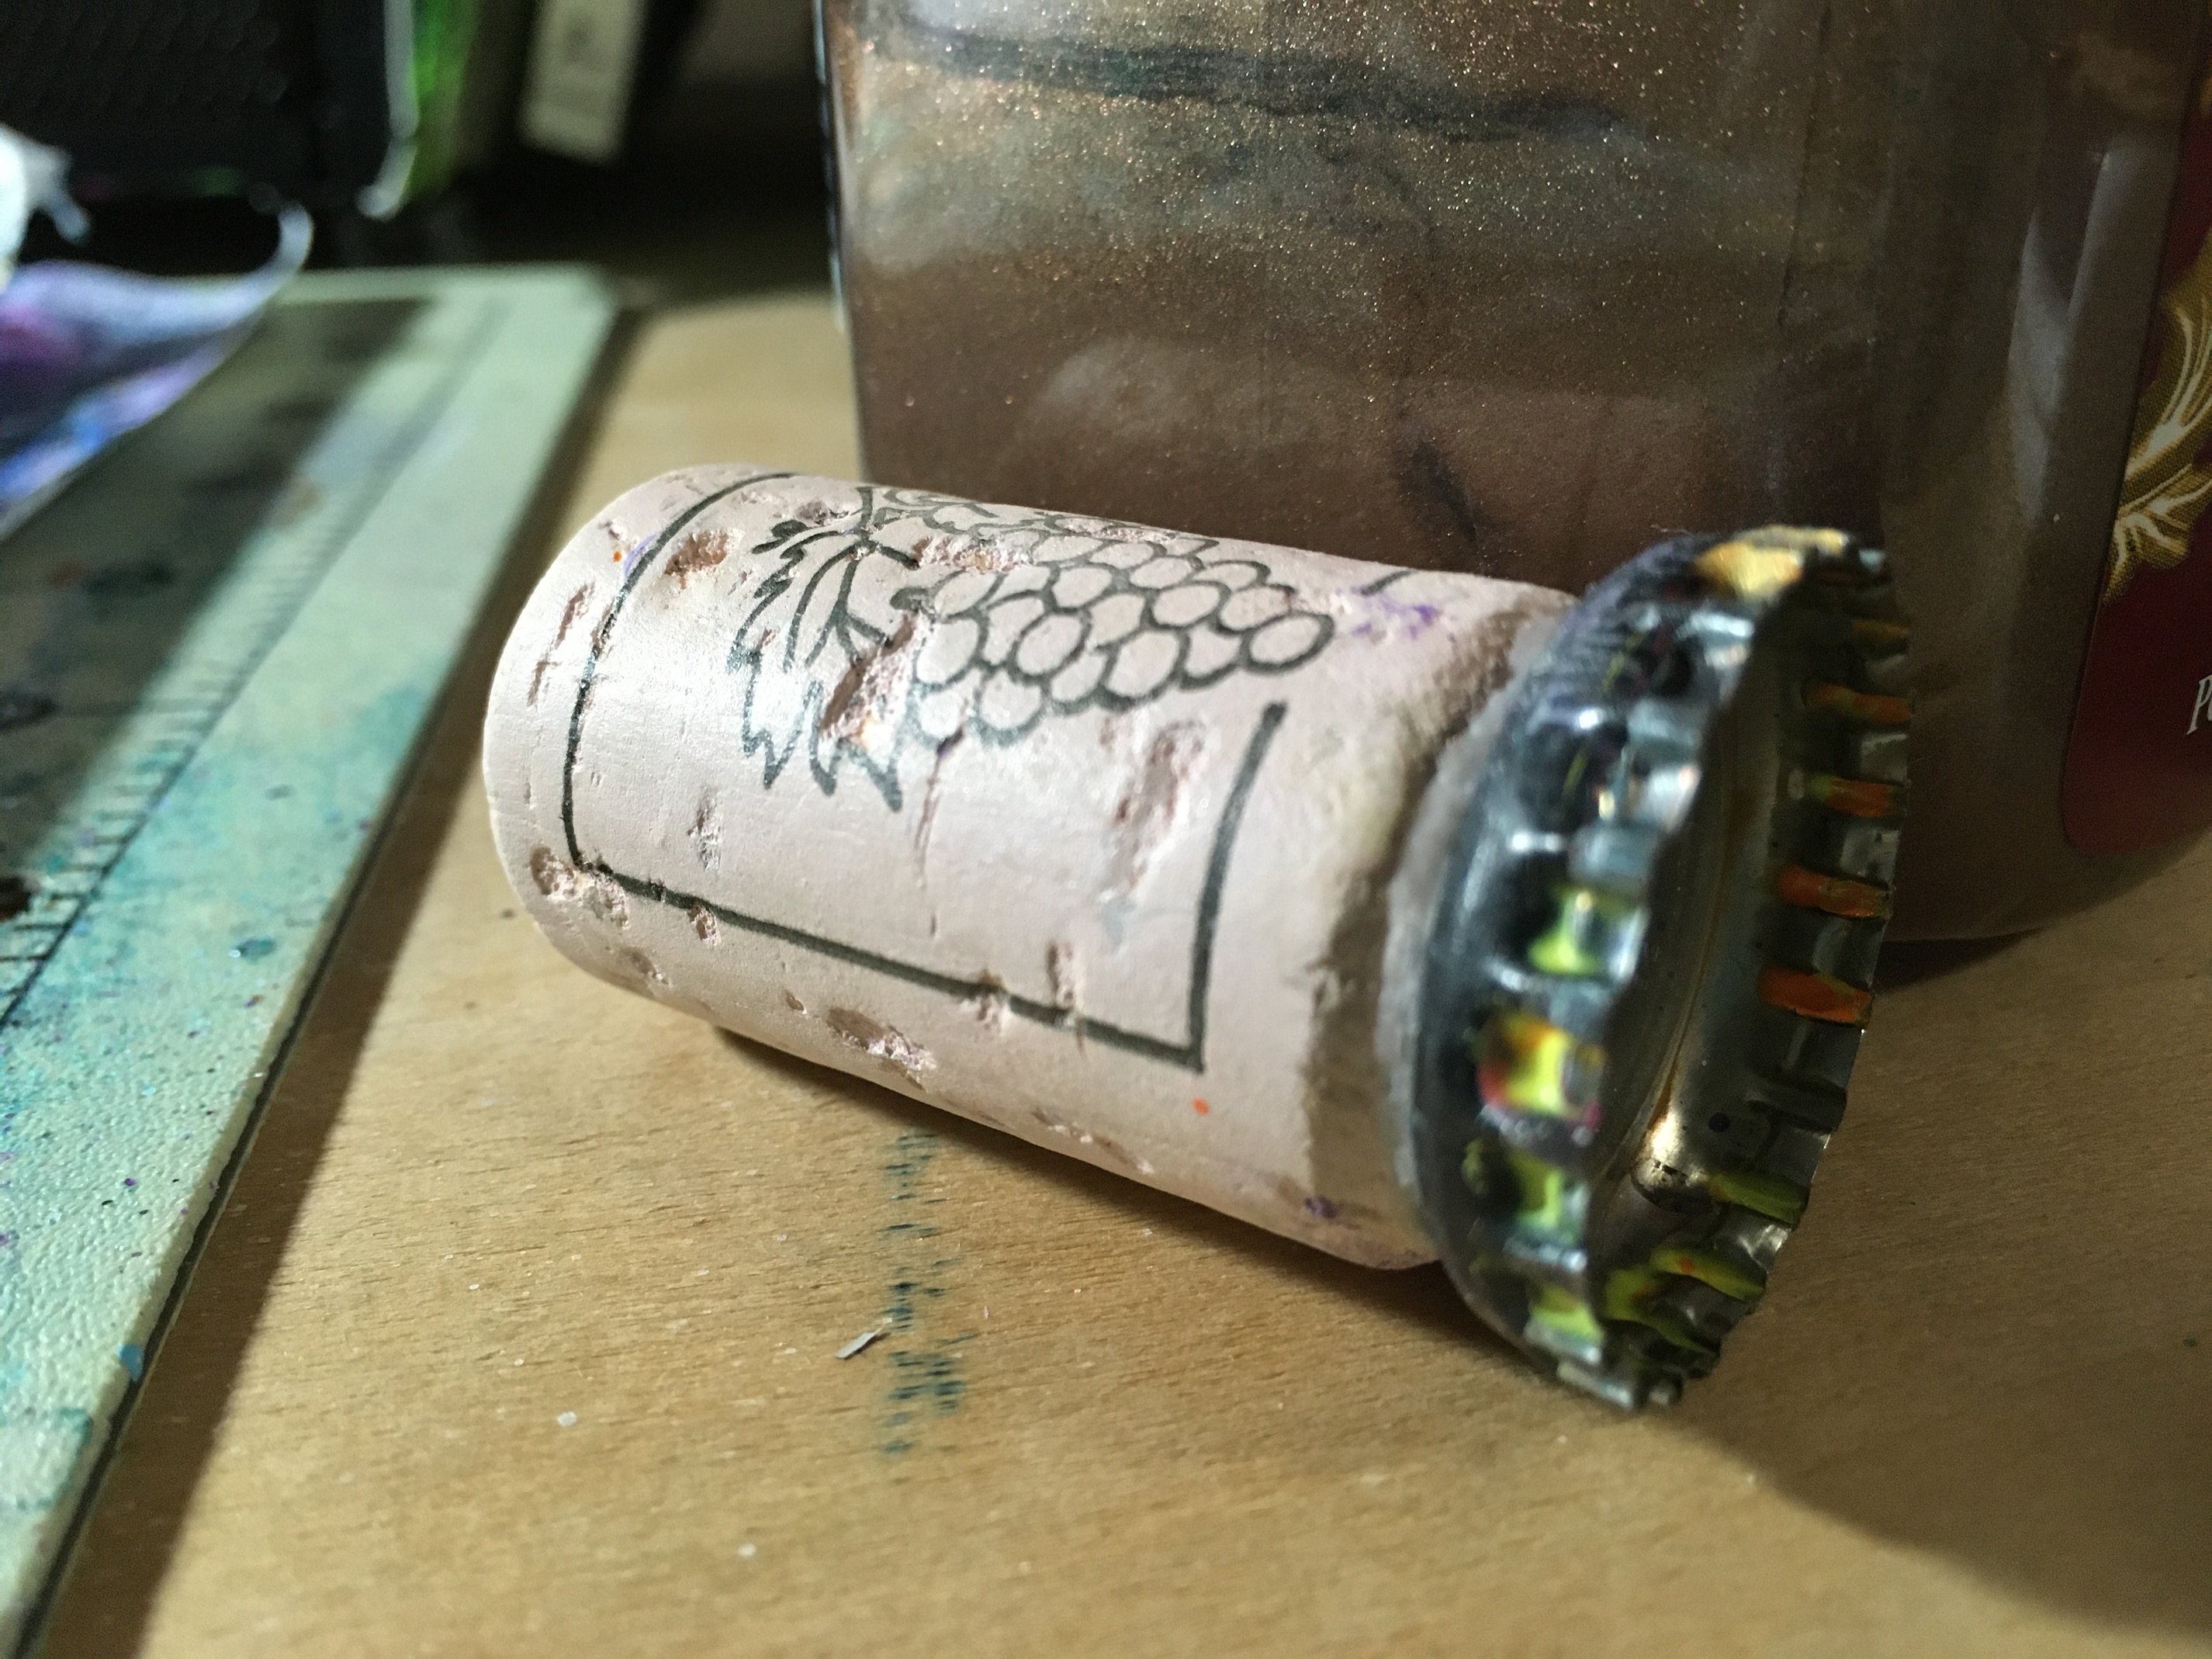
Then I used my bottle cap stamper (a metal bottle cap glued to a wine cork) to stamp some more metallic paint. I used the same metallic paint from before followed by gold.
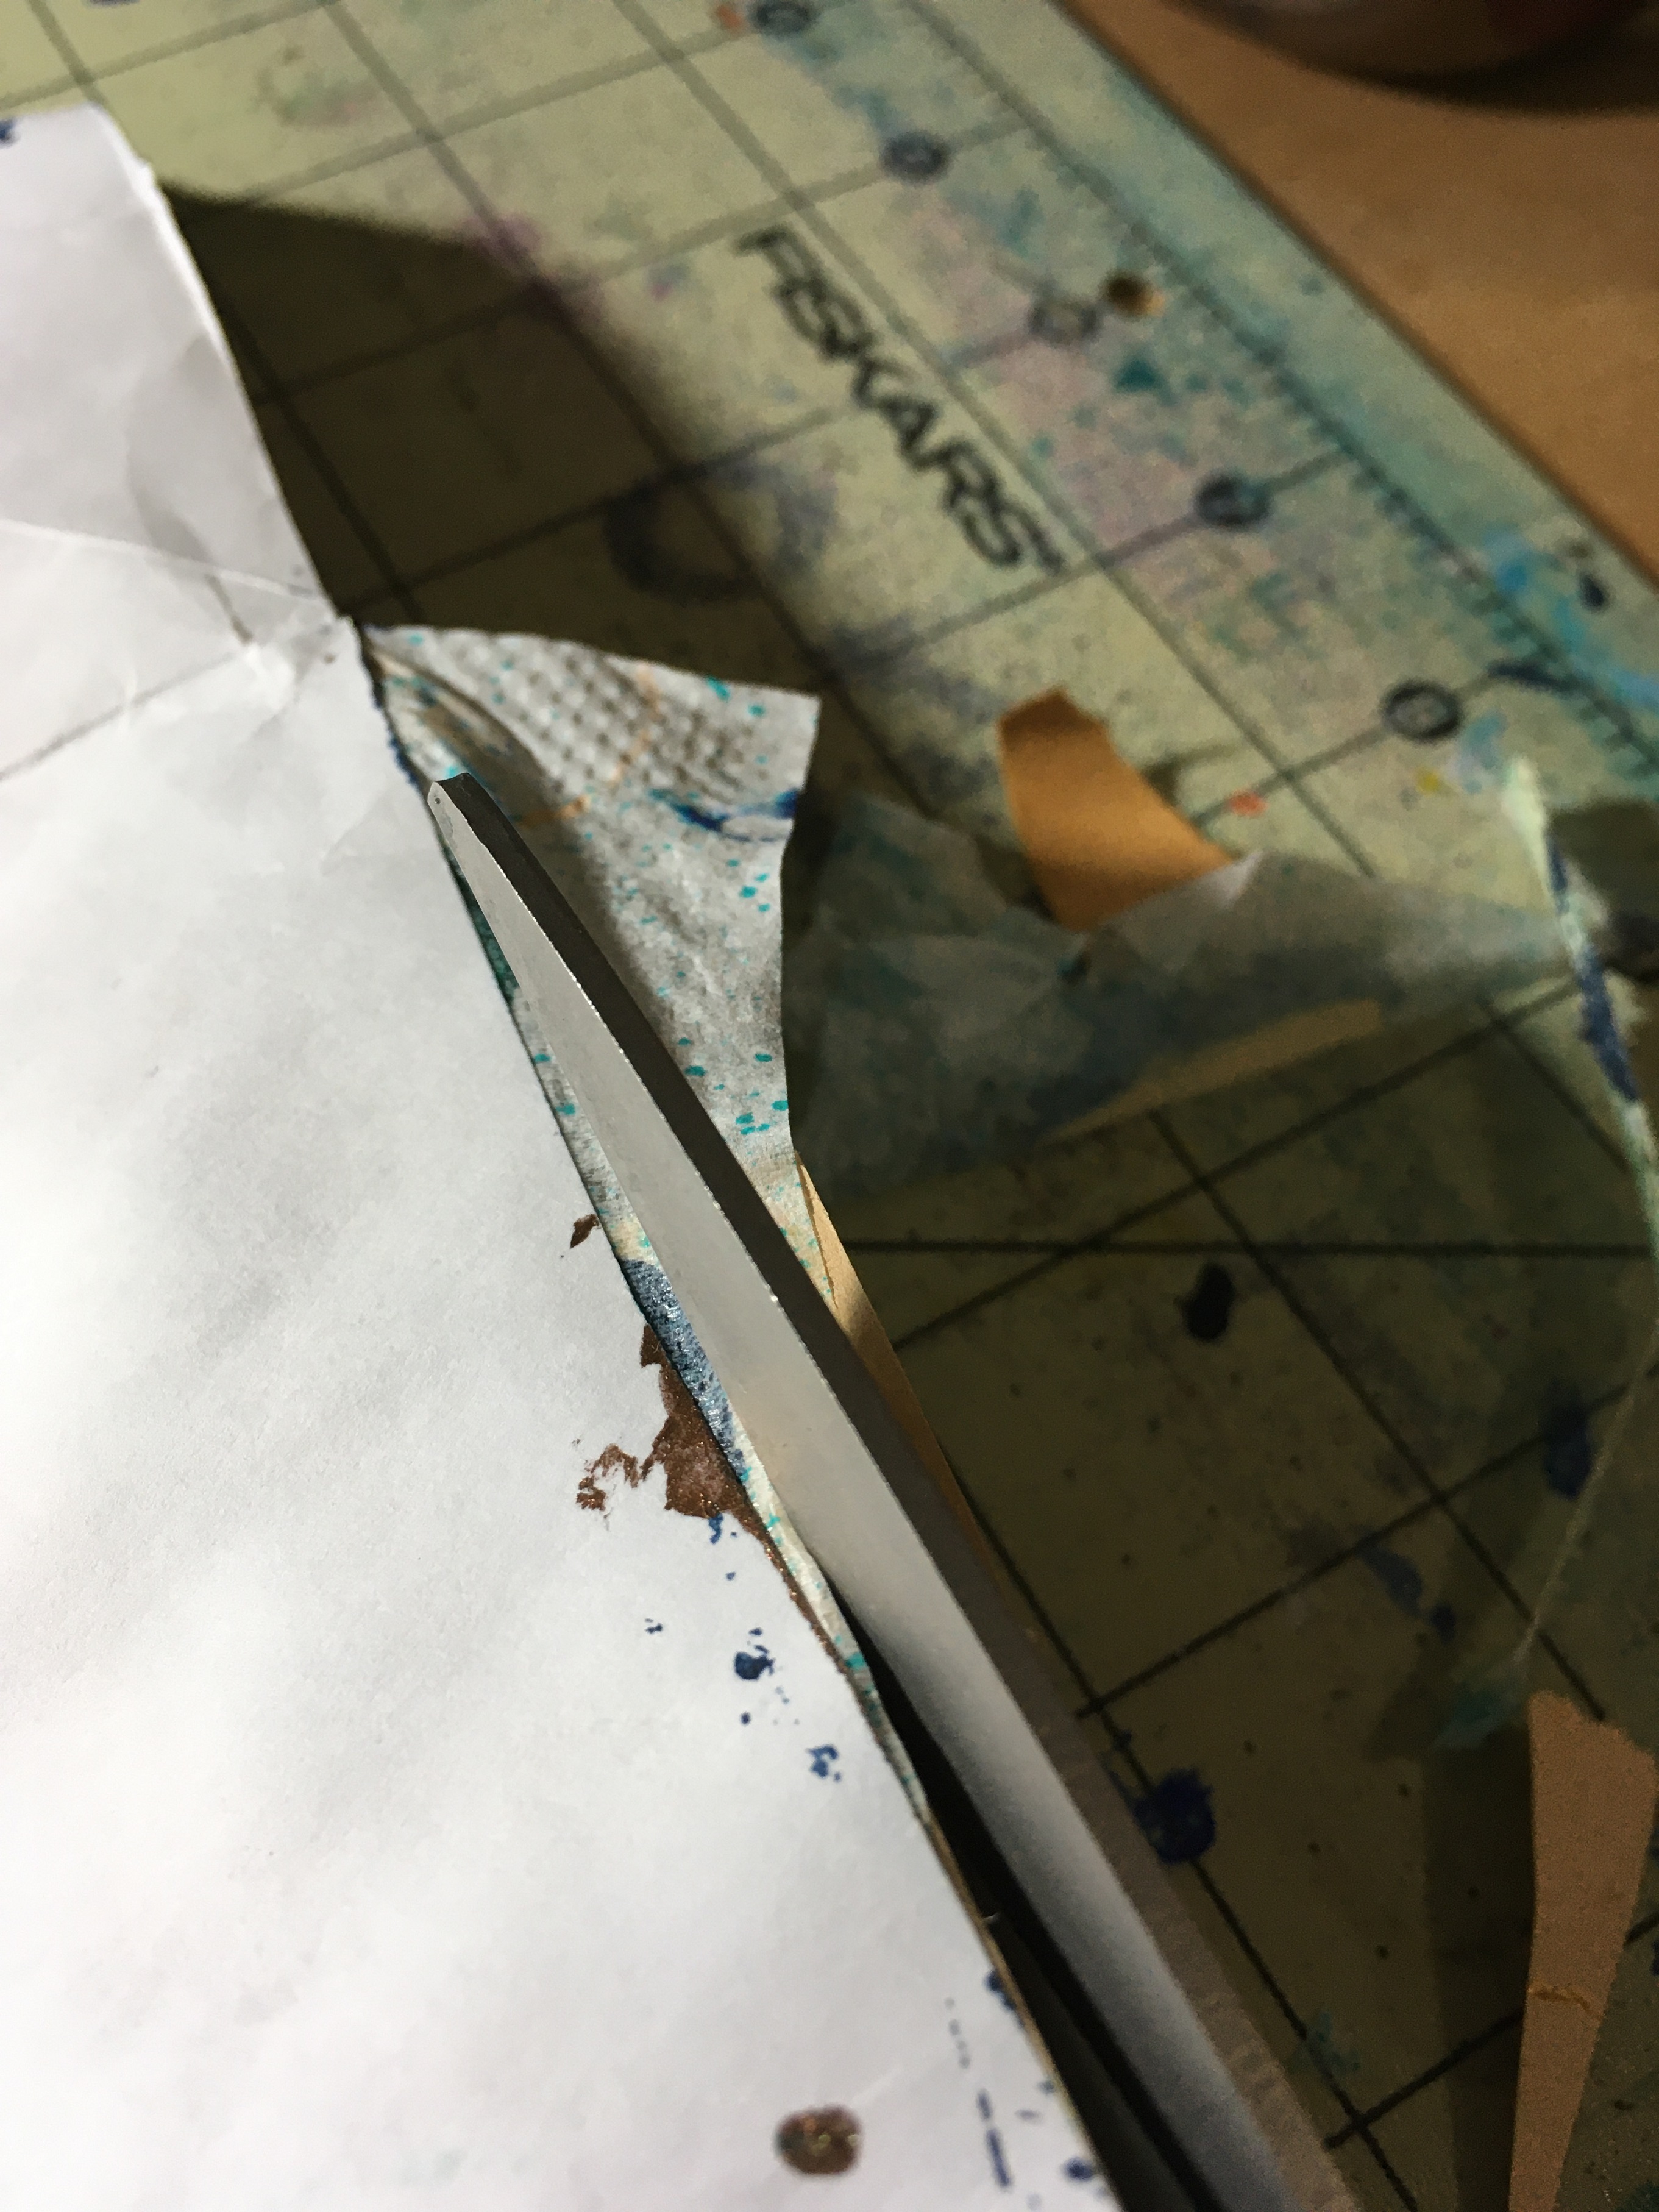
Trimmed the edges (easiest to do with the masterboard upside down).
And voila! A beautiful mess masterboard


I love making masterboards! there really is no “right” or "wrong"way to do it. You can add as little or as much as you want and you really can’t mess it up because even a mistake becomes beautiful. I highly recommend this to any and every one! For me it’s very therapeutic as well And I had fun photographing the process! Although I think if I document another one I will try to take a few less pictures
Now time to dream up what this masterboard could be… 


Thanks for looking! 
