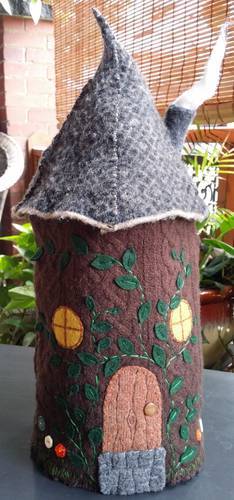
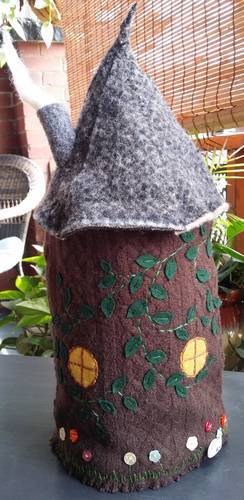
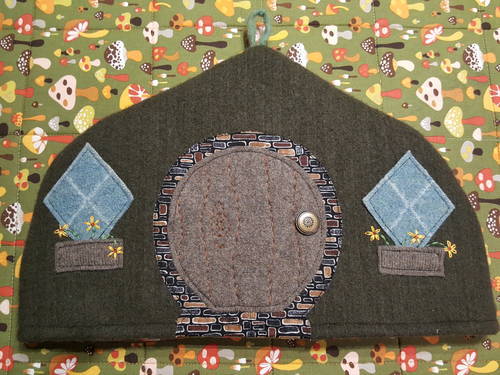
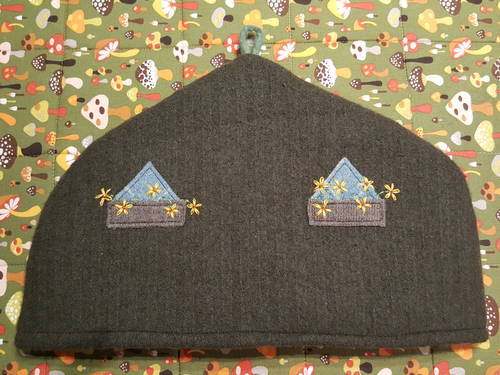
Over the years I have made FOUR tea cosies that look like little houses.
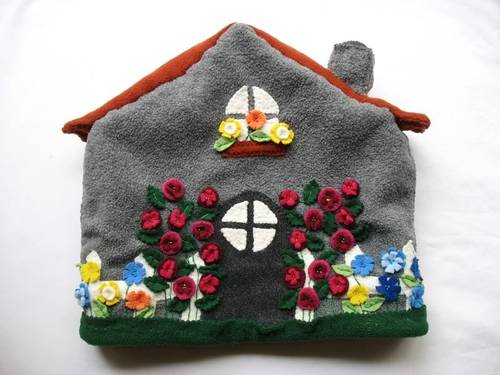
This one was a gift for my Auntie. It’s big enough to fit over an enormous 10-12 cup Brown Betty style pot I found for her at the thrift shop. We have big family gatherings and go through so much tea. She loved this present.
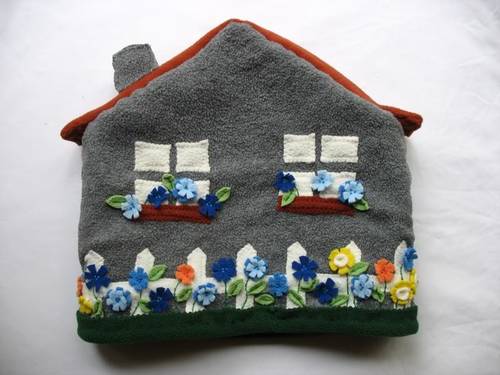
Here’s the first one I ever made, it was meant for my Aunt but we moved while I was crafting it and it got lost in the muddle for a few years, ha. I made the one above as a replacement and after I’d given it to her, found the pieces for this and finished it for myself. It’s fulled wool sweater lined with batting and cotton and it works amazingly well.
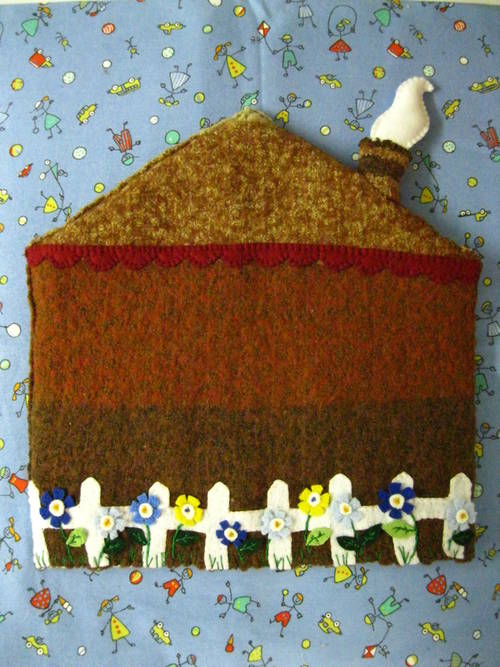
I sent this one to @Edel but somehow miscalculated the measurements she gave me so it may have gotten reworked to better fit her tall skinny tea pot.
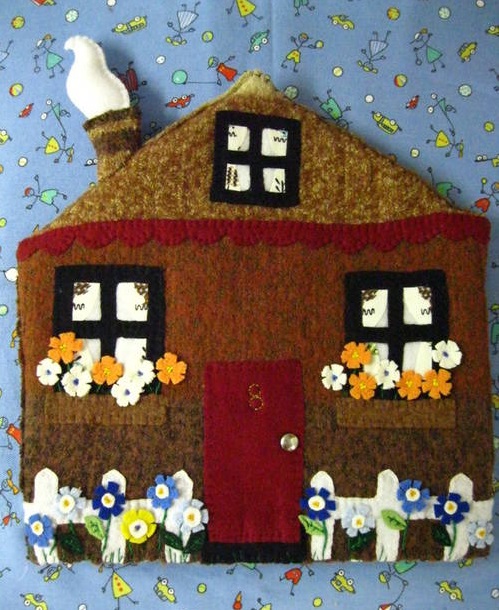
This was made as part of a crafternoon session with friends. It fits the pot we use most often so it’s on there nearly every single day. It works so wonderfully, keeps tea warm for hours.
Measure the tea pot you’d like to cover, bottom to the highest point and then another measurement around the widest part including the handle and the spout.
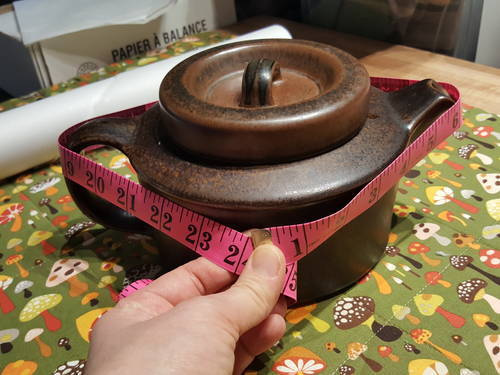
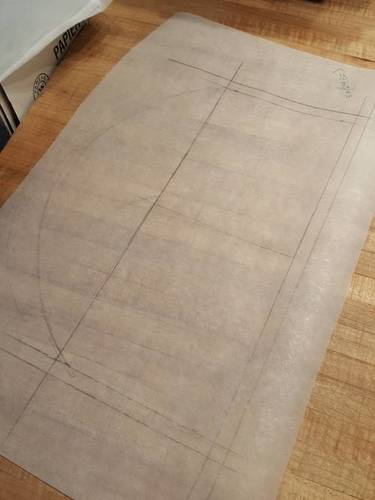
To draft the pattern the height of the pot is marked out, then HALF the measurement around the pot (half because there will be two sides, mine was 24 inches in total so I marked out 12 on the pattern).
A dome is added to the top, it’s just a rounded top shape that exceeds the height of the teapot. This will allow a cosy fit but also leave a bit of space inside to capture heat (I changed the shape of mine to make it more pointed). Add room for ease and a seam allowance around the entire outside edge of the pattern, including the bottom (about 1 inch in total).
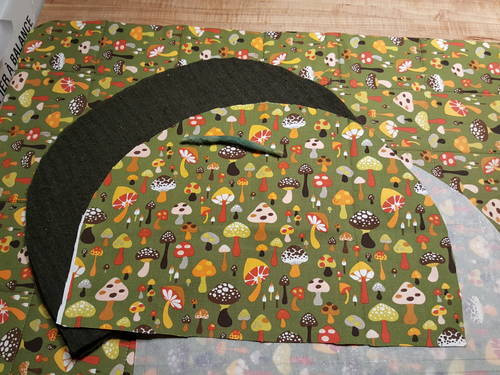
Cut 2 outer and 2 lining pieces. I am using the same fabric for the lining as the ironing pad, sorry for the confusing photo, lol.
I added some fusible felt to the wrong side of the lining fabric, you could also use batting but neither is necessary. Sew the lining pieces (right sides together) leaving the bottom edge open, also leave a 3-4" opening along one side (for turning later on).
Embellish the outside of the cover however you wish, add an optional loop to the centre top for hanging the cosy up when not in use. Place pieces right sides together and sew around the dome, leaving the bottom open.
Turn outer cover inside out, insert lining right side out (so right sides of cover are against right sides of lining), pin in place along bottom edge and sew. Turn right sides out through the 3-4" opening you left in the lining. Use a ladder stitch to close the opening in the liner. Edge stitch around the bottom to finish.
 but I would’ve loved to have one of these!


