When I was writing cards for my friends in the Little Good Things swap, I chose some quotes and added one to each card. This was a quote that seemed especially apt as we were on the journey to our new home. And when @kittykill announced the theme for our first salad-y stitchalong as “Home Sweet Home”, I knew I had to dust off the embroidery supplies and stitch this.
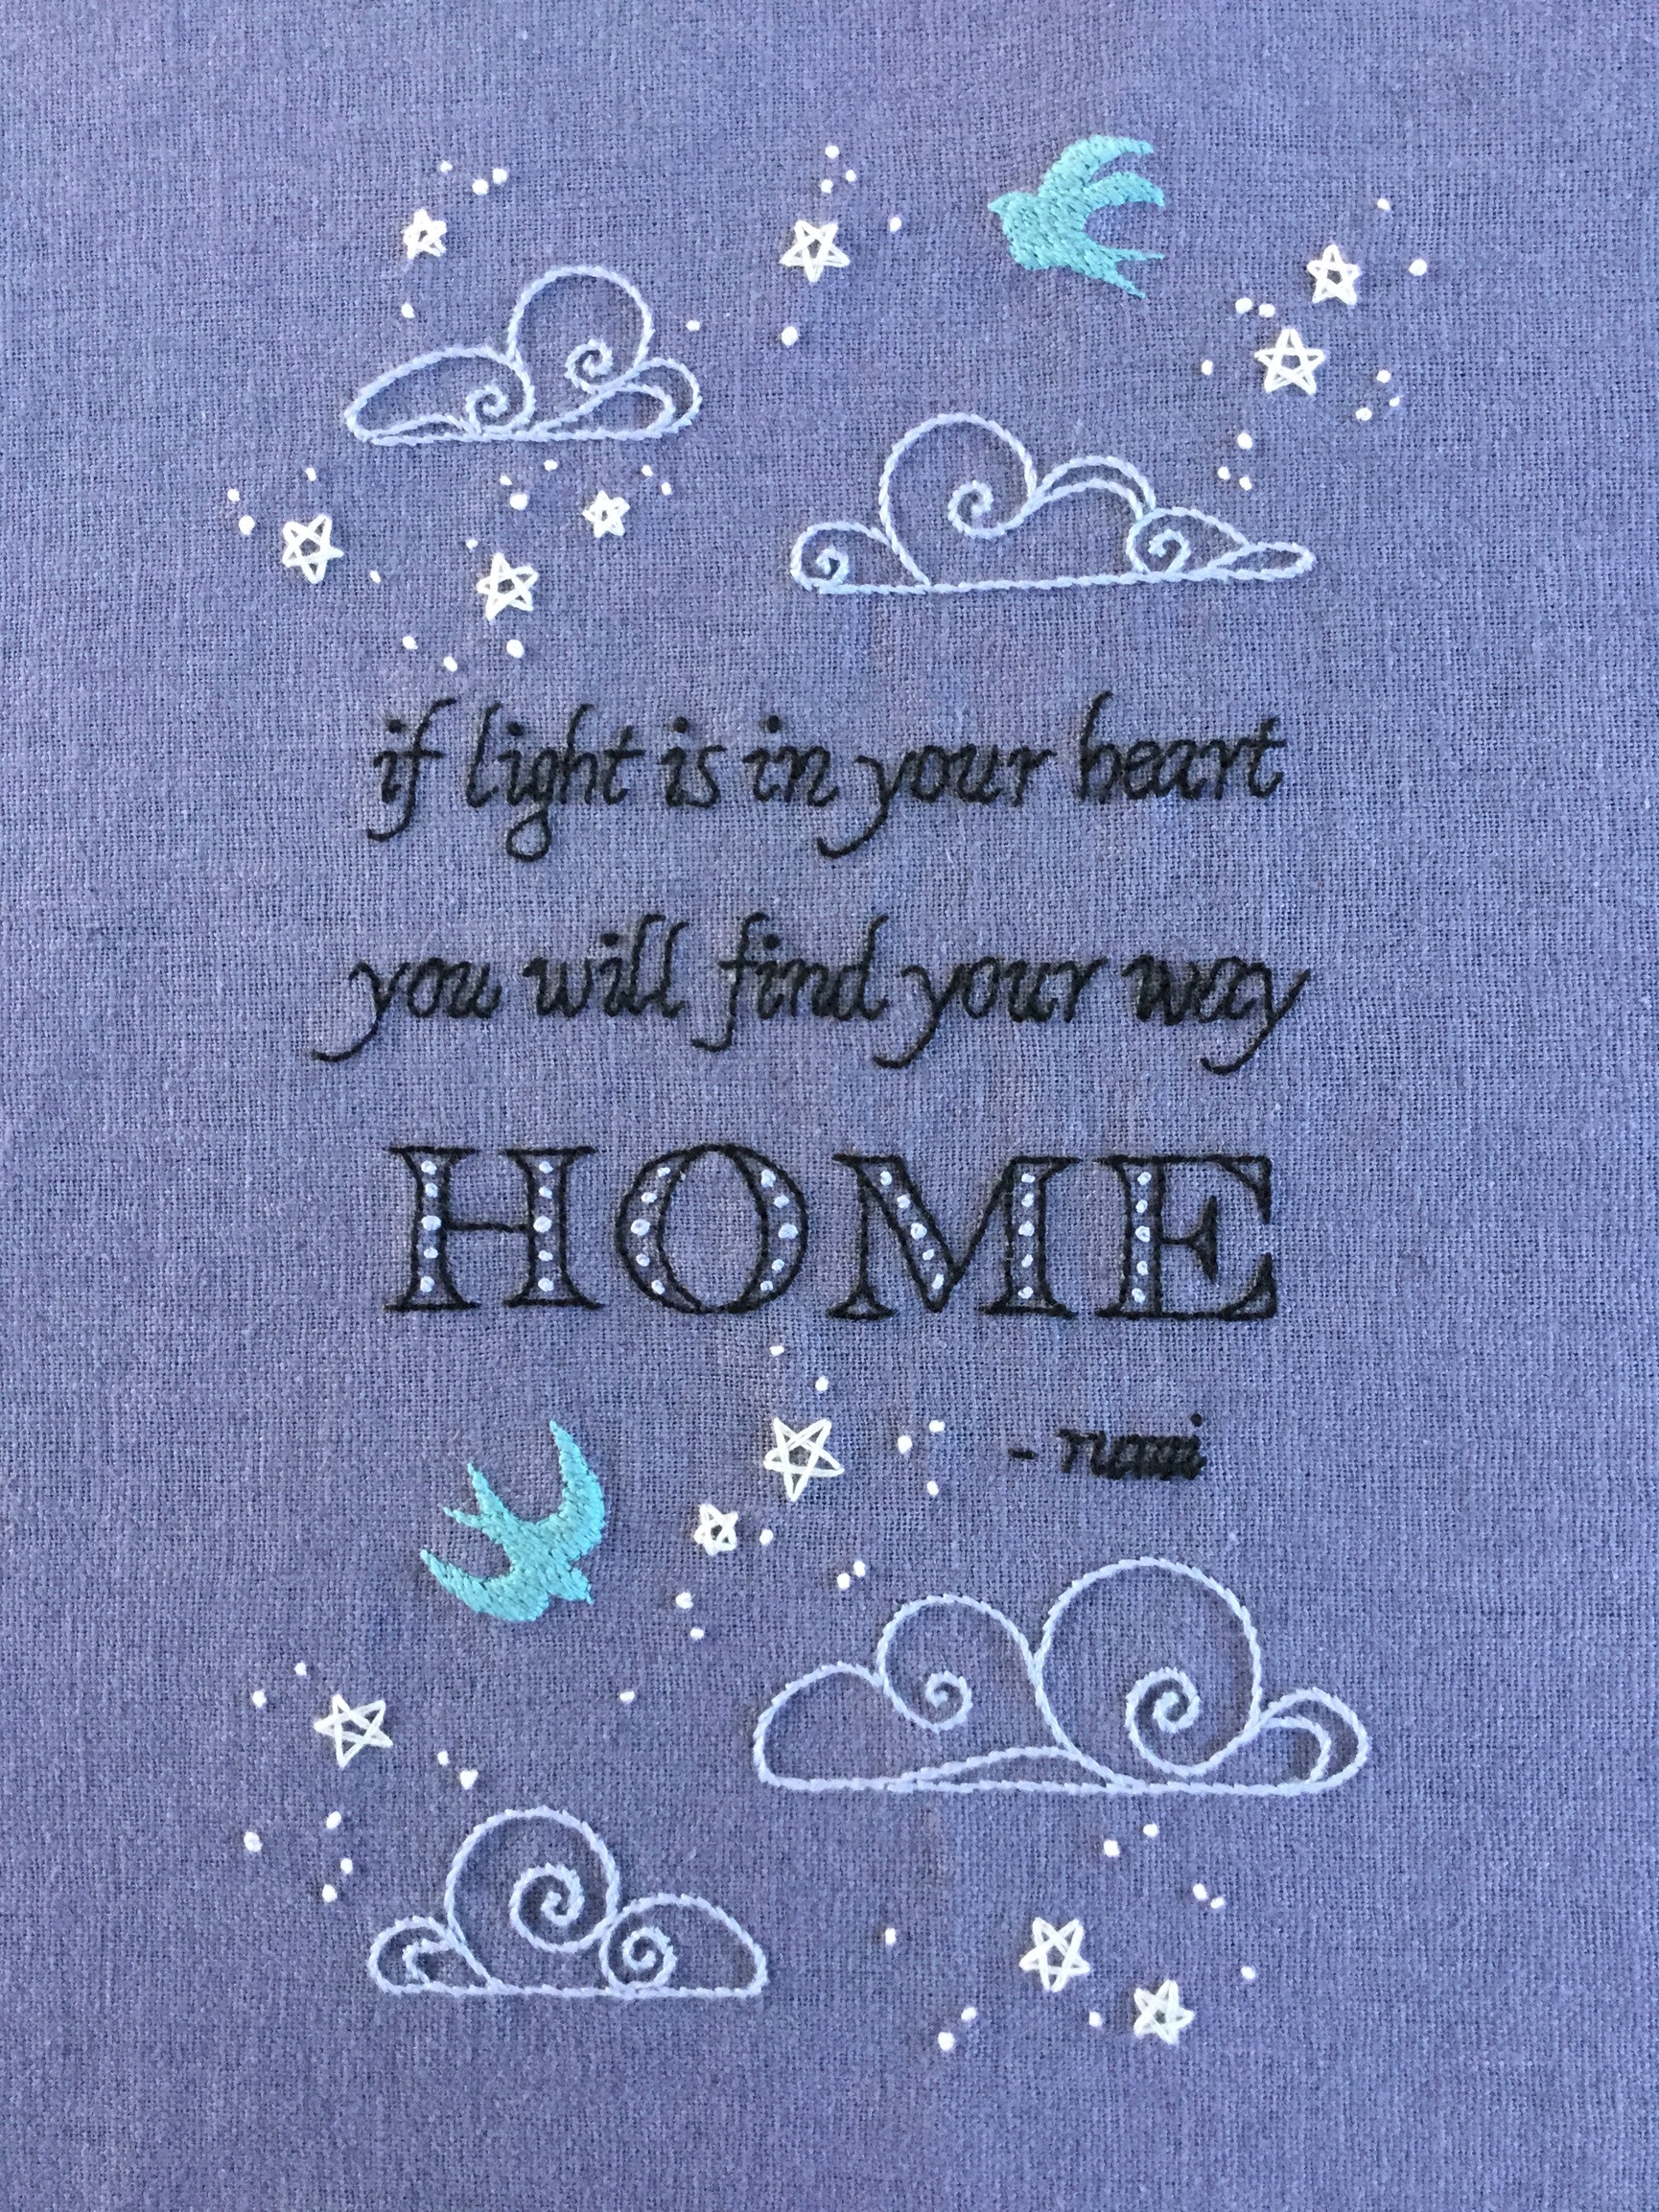
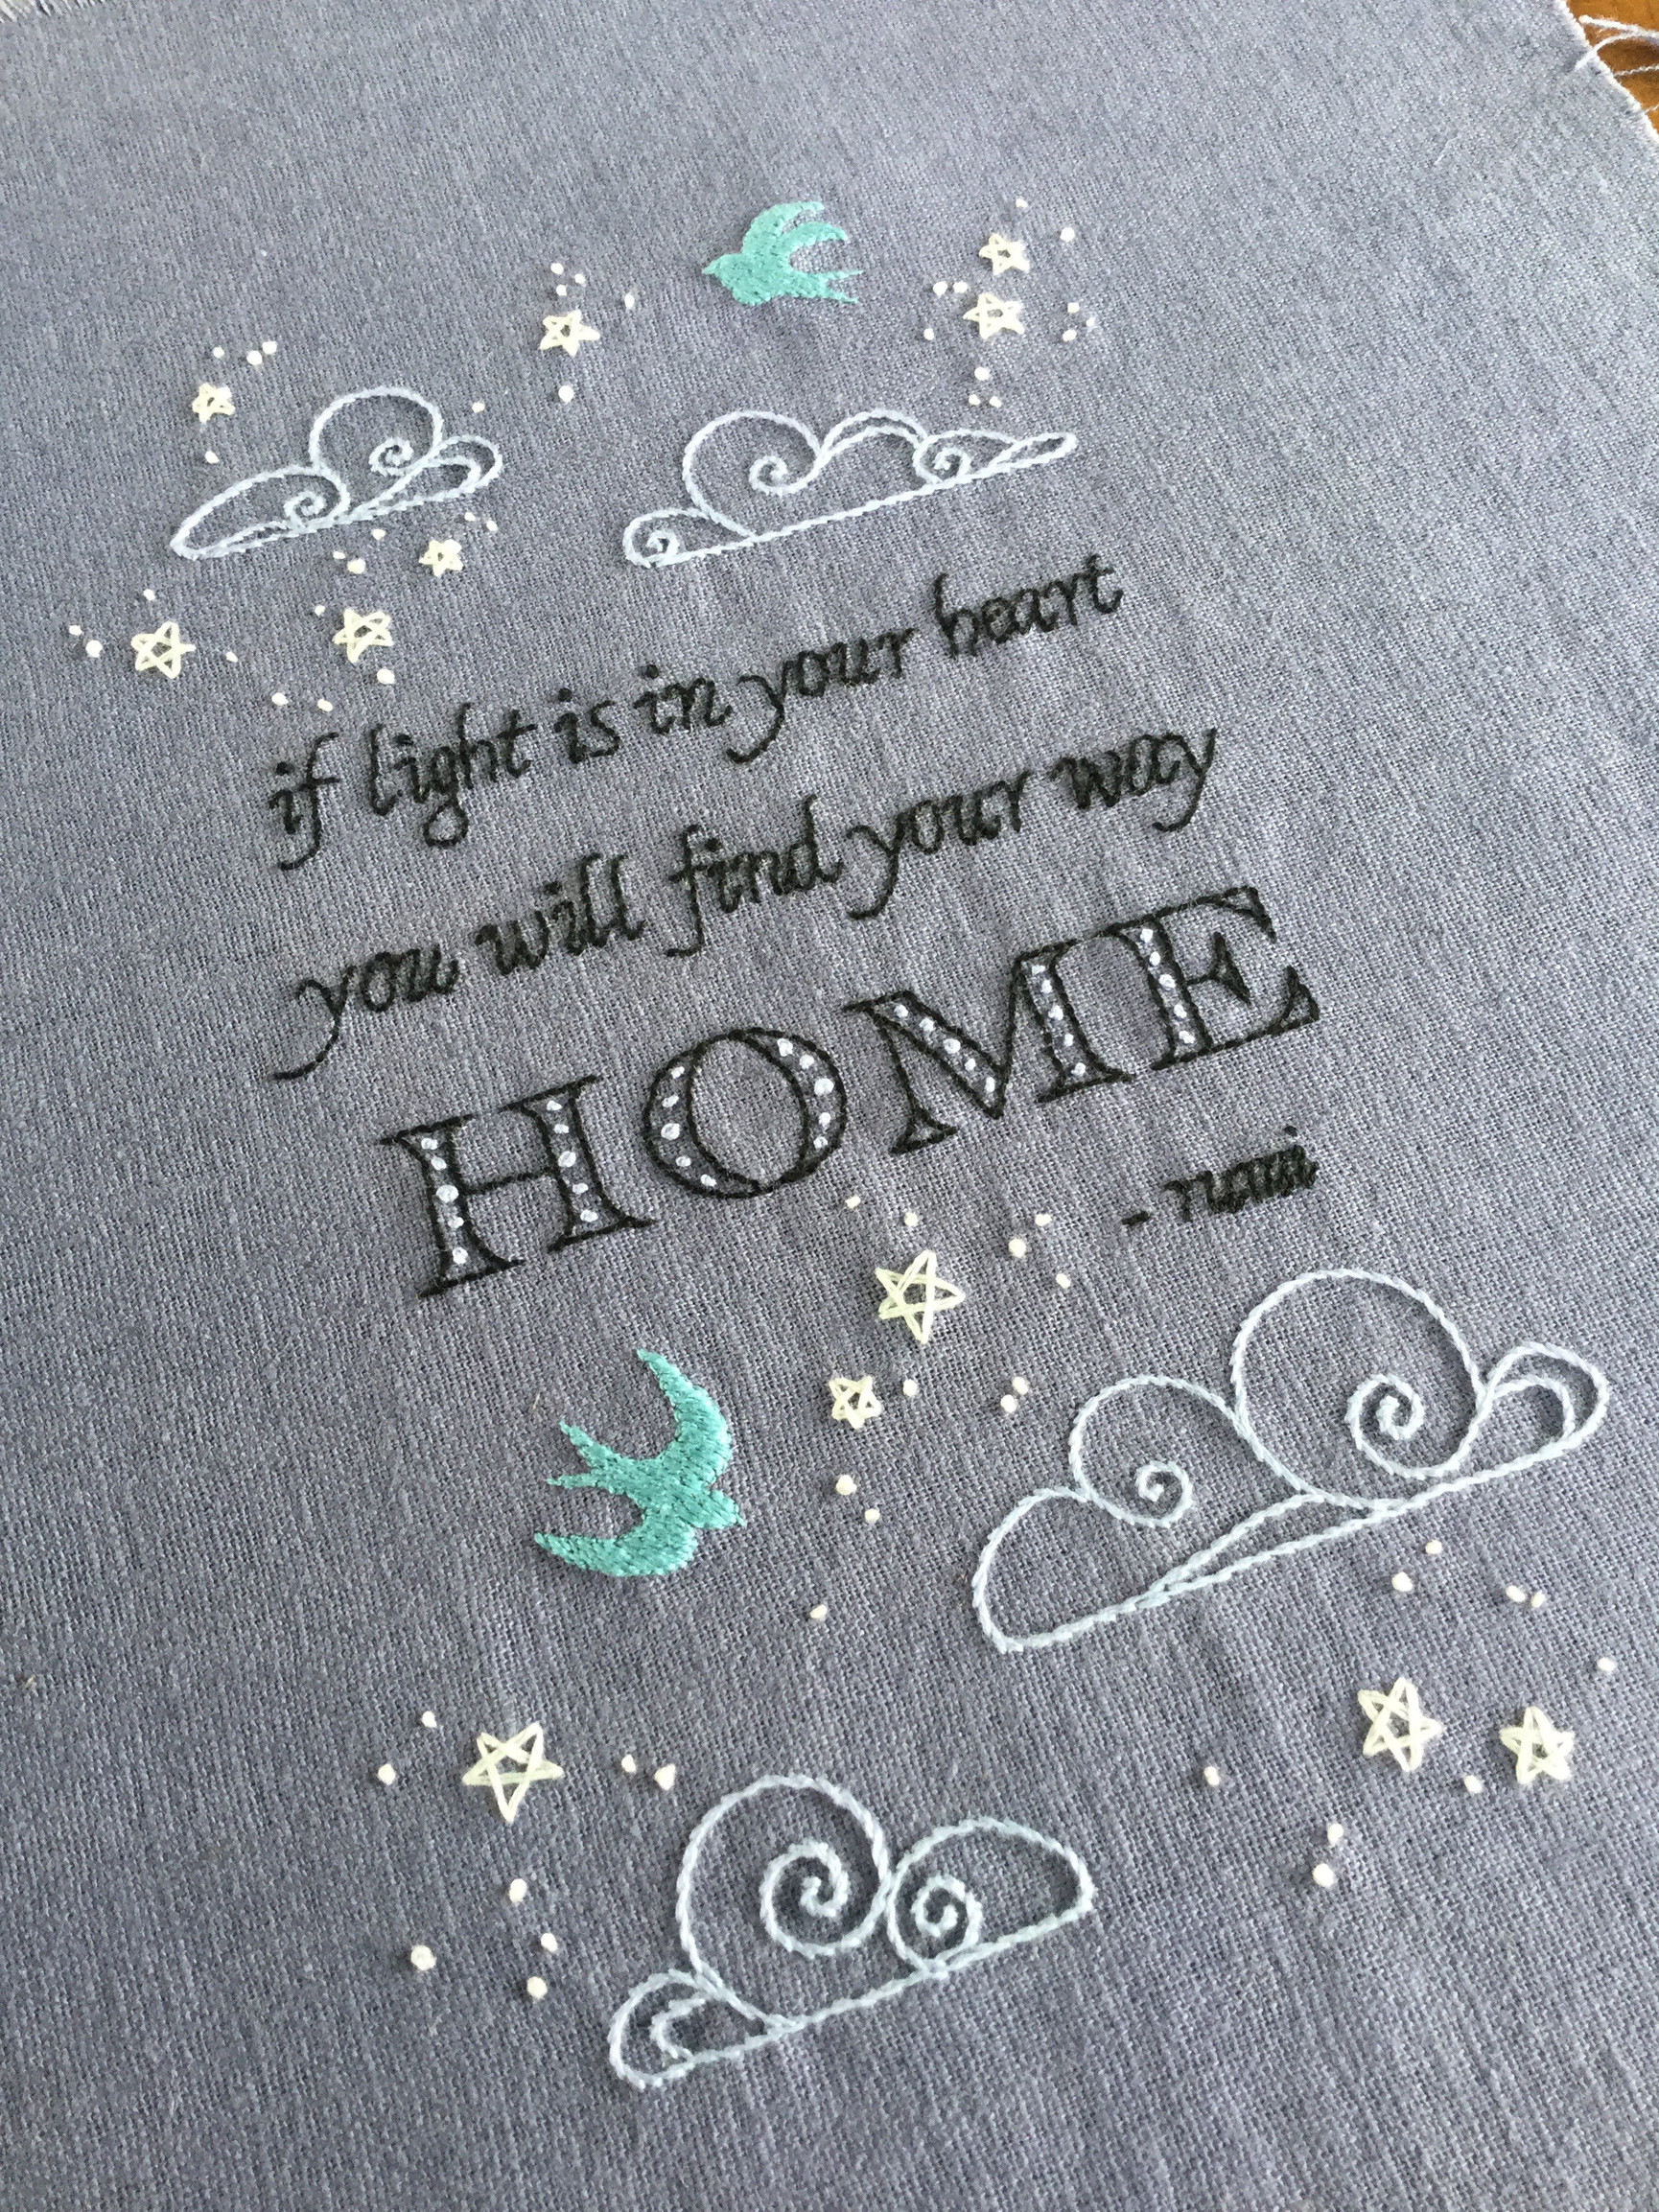
The colour is really hard to capture, it’s a dusty grey-blue, probably about halfway between the two photos.
I drew the pattern, and I’m happy to share a pdf of it.
Pattern notes:-
Stitched with 2 threads of DMC stranded cotton throughout (unless stated otherwise). Print pdf at actual size (my printer is set at A4, but yours may be different). Transfer design using your favoured method. Because there are some fine details and tight curves, I recommend a reasonably smooth fabric – I used a cotton fabric remnant.
I’ve noted the colours and stitches I used on the dusty blue fabric, but I suggest you choose colours to suit your own fabric colour, and stitches that you enjoy doing. I almost stitched some of this in metallics – I think that could look great!
Lettering – DMC 310 – small back stitch lines and colonial knots for the “i” dots (single french knot for the “i” in “rumi”)
“HOME” – small back stitch outline (DMC 310), colonial knots (big dots, DMC 341), single french knots (small dots, DMC 341)
Clouds – DMC 341 – stem stitch (make it small when going around tight curves)
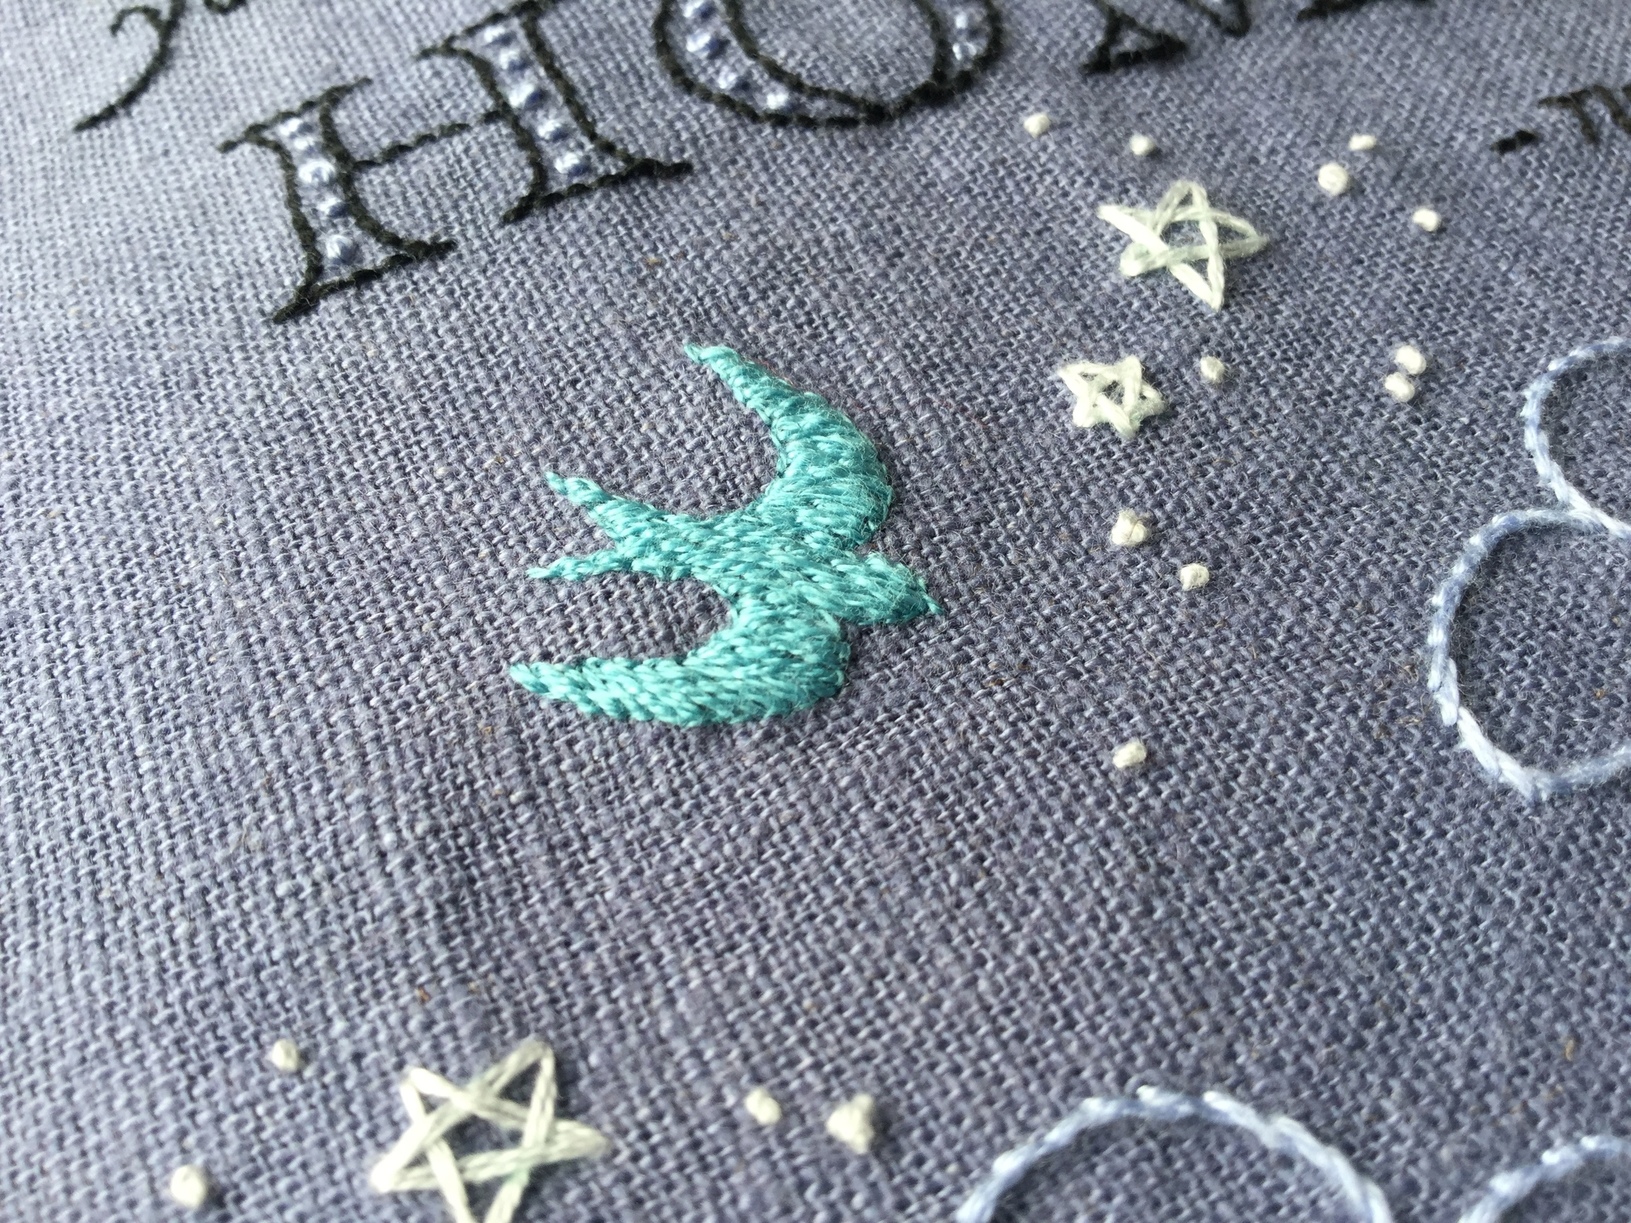
Birds – DMC 597 – outlined with fine backstitch using one thread, then filled with split stitch (2 threads – see pro tip below)
Stars – DMC 762 – straight stitch (big pointy stars), colonial knots (bigger dots), single french knots (smaller dots). The dots for the small stars on the pattern pdf approximate what I stitched, but won’t be 100% the same, as I did a mix of colonial knots and french knots by eye for the small stars.
For a quicker/easier project:-
The lettering was quite fine and fiddly, so for a faster project, you could stamp the lettering (you will need fairly smooth fabric) with ink and rubber letter stamps. You could use this quote, or why not choose another favourite quote? (I suggest you test your layout on a bit of paper.) Then you can stitch the design around it to suit. The birds would look nice in a small stem stitch or back stitch if you don’t like doing fill stitching. Or you could mix it up and experiment with other stitches. Add your own twist!
Pro tip:-
For a smooth edge in a small filled design like the birds, I often outline the shape in back stitch first, using a single strand of stranded cotton. Then when I fill in the shape (with satin stitch, long and short stitch, or split stitch; I usually use 2 threads for a small design), I pierce the thread of the outline stitch with my needle as I go around the edges. This gives a very fine outline and sharper edge.
Close up:-
I’m so grateful that our creative community has this wonderful new home  Happy stitching!
 this is so beautiful! Love the saying, love the colors, love the design!


