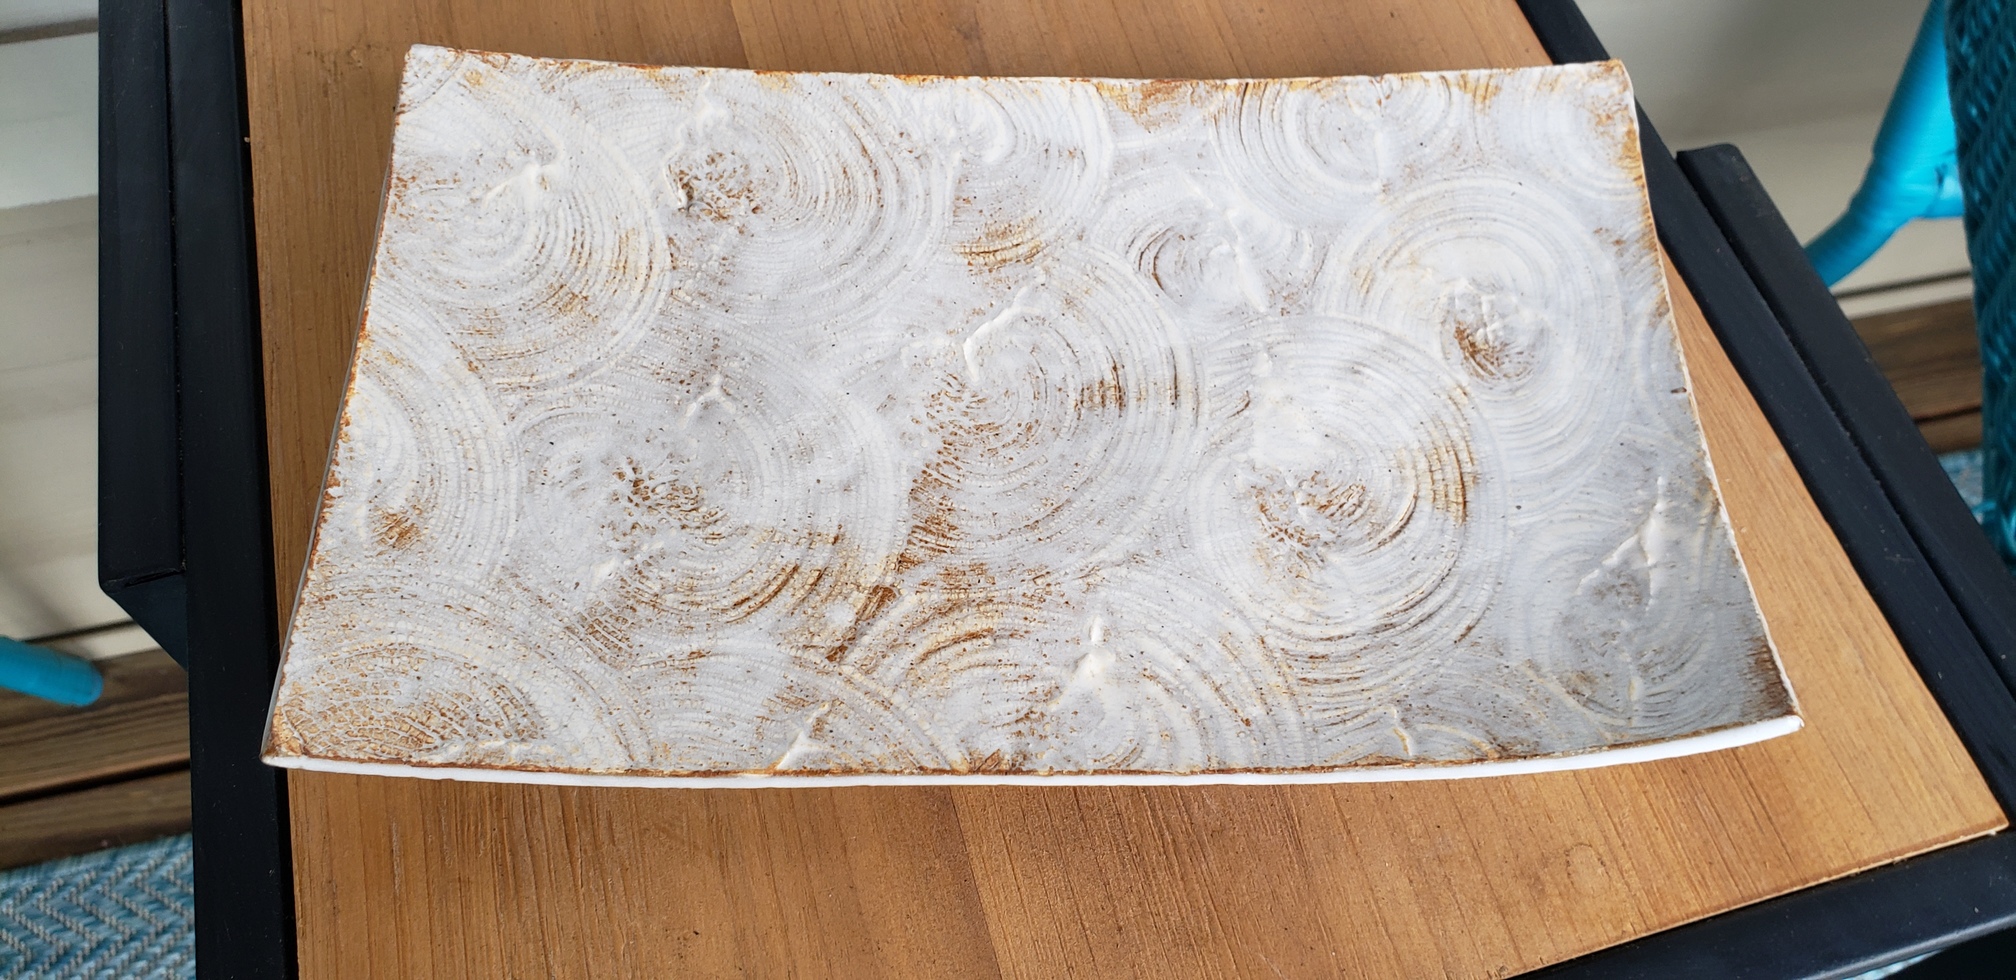
This piece used a really fun slip technique. You start with a slab thicker than you need. Use a brush to apply slip of a different color (this was white slip on brown clay). On this one, I used a flat chip brush and twisted it to make circles. The slab sits under heat lamps until the slip is pretty much dry to the touch (touch stops leaving a fingerprint). Then you toss the slab repeatedly on the table so it spreads, thins, and cracks open along the brushstrokes.
I cut a rectangle, slumped it over a rounded mold, and added feet. I glazed with a white glaze that browns when the application is thin.
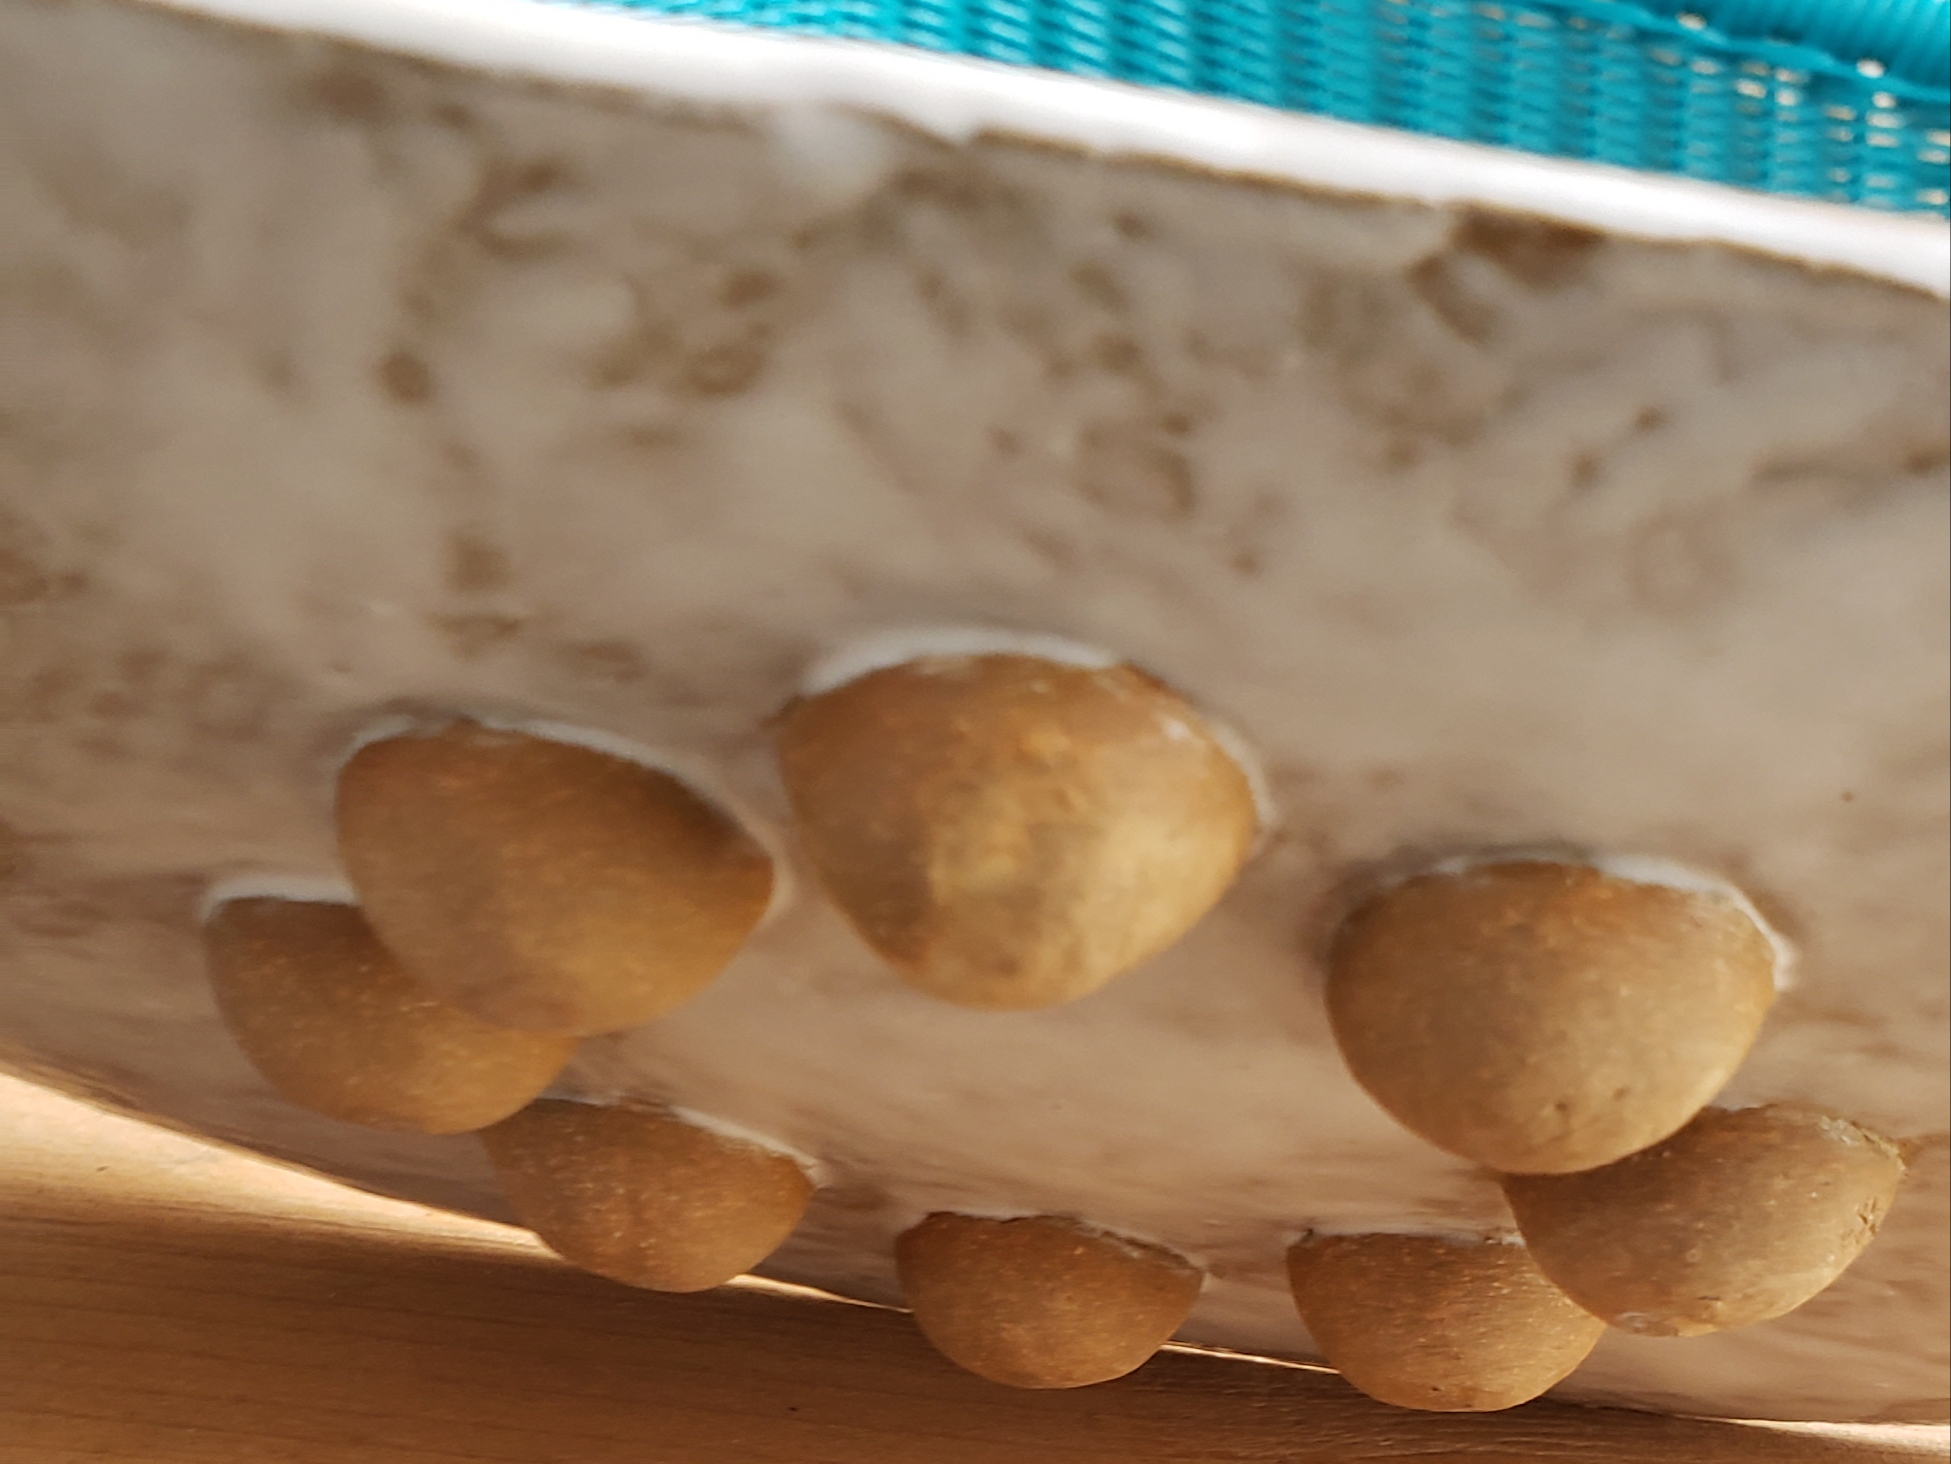
I didnt do a great job of glazing the bottom, but I’ll let you peek at the feet anyway. I sanded a set of measuring spoons for foot molds and coat the inside with corn starch for a clean release.
That is really lovely and the FEET! Like a hidden treasure on the bottom, super neat-o.
AIMR
(Linda -2026 time to regroup and renew :us:)
6
mmmm looks like glazed sticky buns
What an unusual technique…sounds fun and interesting…thanks for sharing your pieces…until you mentioned it, I would have had no idea how you did those feet…now, I can’t unsee it…
I love all the detailing you included! I took a beginner pottery class (introduction to different types) and now I am fascinated by unusual pieces. the little feet, the visible brush strokes, and the white glaze. yum!