I am reposting this from the dead place so that my tutorial/process pictures can live on  This was originally made and posted in Spring of 2017.
I really don’t do things by short measures. I’ve had a bit of a challenge since the beginning of the year finding my crafty drive and inspiration to make things (a fun combo of work and life stress though thankfully that period seems to be waning, yay!). So where the idea and inspiration and, more importantly, motivation came from to tackle this project…I’m at a loss. But it happened and I’m happy it did! Now I have this giant beauty to stare at and ogle…just need to figure out where to put it…
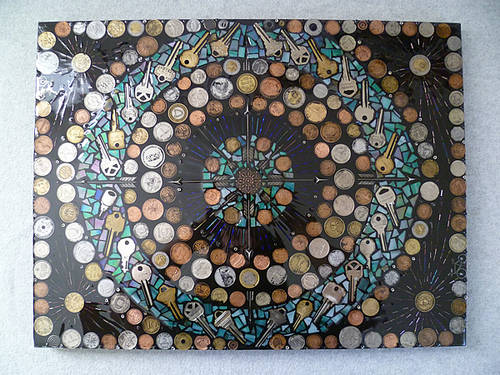
The beginning…a collection of coins…that’s where the idea started. A mosaic with coins. A big thank you to @alteredmommy, @LeapFeetFirst, and @Kwality570 for sending me your spare foreign coins to add the the pile!
I thrifted a giant lazy susan made from solid wood to use as the base. I was concerned about anything too flimsy sagging with the weight of the glue and grout so this was a perfect find.
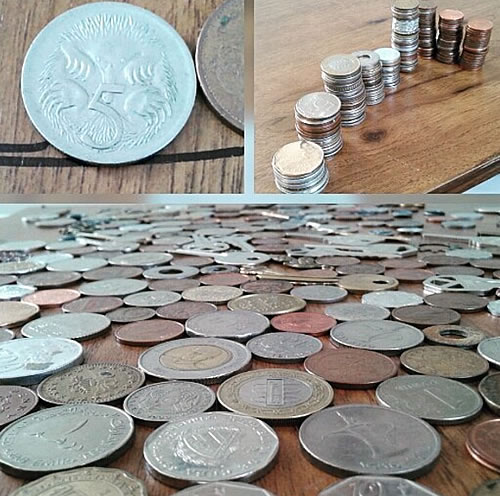
I forgot to take pictures until I got as far as laying out the patterns…at this point I decided to also incorporate some beads I had in my stash (though more had to be purchased to fill the board). I used E6000 to secure everything to the board as I went along.  glue glue glue
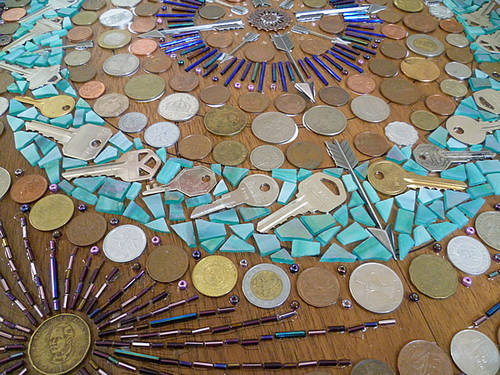
This took a week or two of futzing with the placement and whatnot and then it was onto grouting! I learned from the last time I did this that grouting is a huge mess - so I decided to do this step outside…in the hot hot sun. So much fun.
A little more about grout. There are a huge variety of colors you can choose from but above all, it is extremely affordable, especially if you go to your local hardware store to buy it. I made the mistake my first time of getting “art grout” which is basically a small tub of regular grout at 4x the cost. You will likely get way more than you need at the hardware store, but it will be shockingly cheap by comparison, I promise.
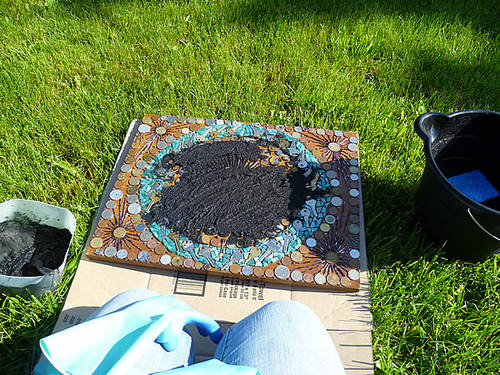
I conveniently forgot from the last time how long it took to smooth everything out and then having to go back multiple times to wipe off every individual coin and glass shard. This probably took an hour total if I had to guess.
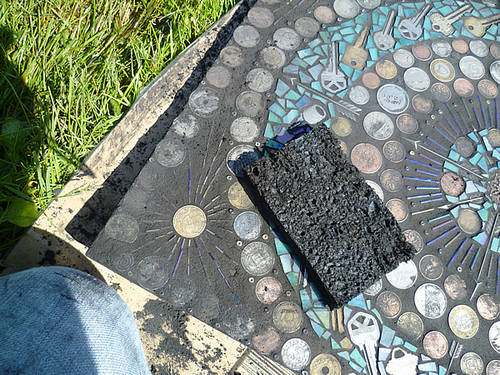
 Wipe wipe wipe.
  Keep wiping.
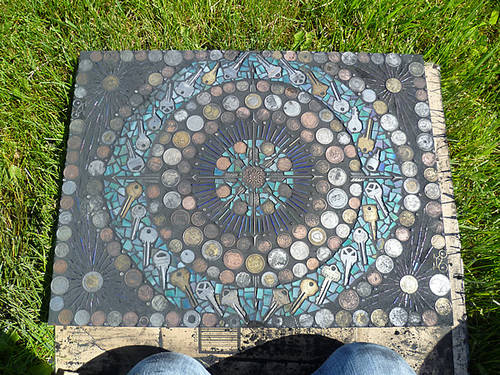
This picture below is before resin, but after a final polish of the coins and glass. Major difference.
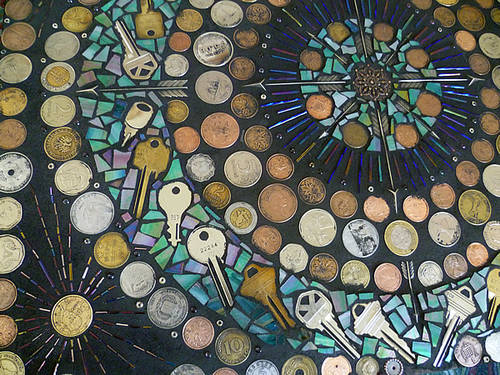
As as I previously mentioned, I decided to cover the whole thing with resin because why not? Resin is a beast to master at times, but the end result is oh so pretty! I failed to get action shots of this process, but essentially, I set up a a large canvas painting (that had a raised frame); covered it with a trash bag to catch the run-off resin. The mosaic was placed in the middle and when the resin dripped off the sides, the raised frame kept the resin from escaping elsewhere.
Now all the beauty shots!
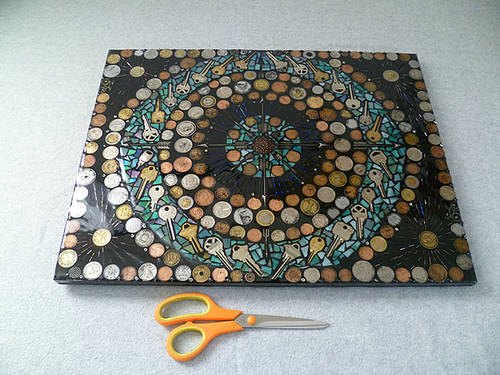
Scissors are there for reference. The board itself is 16 x 21 inches.
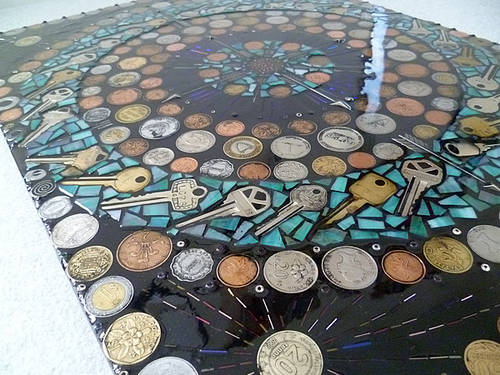
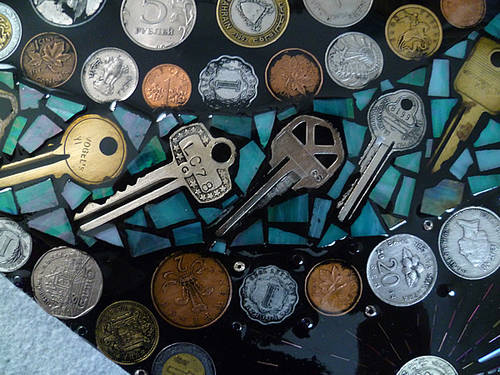
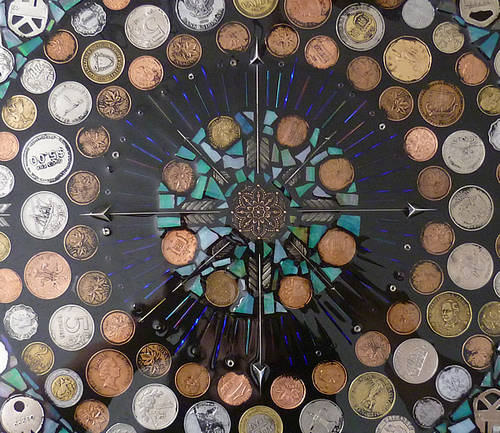
Please let me know if you have questions, or if you take a stab at making your own mosaic pretties 


