A few months ago I decided to try making my own yogurt. I heard that it could be made in a sous vide bath, and we have a circulator, so I decided to give it a go. It’s actually pretty easy (though it does take some time). This past weekend I made my first batch using my own previously made yogurt as a starter.
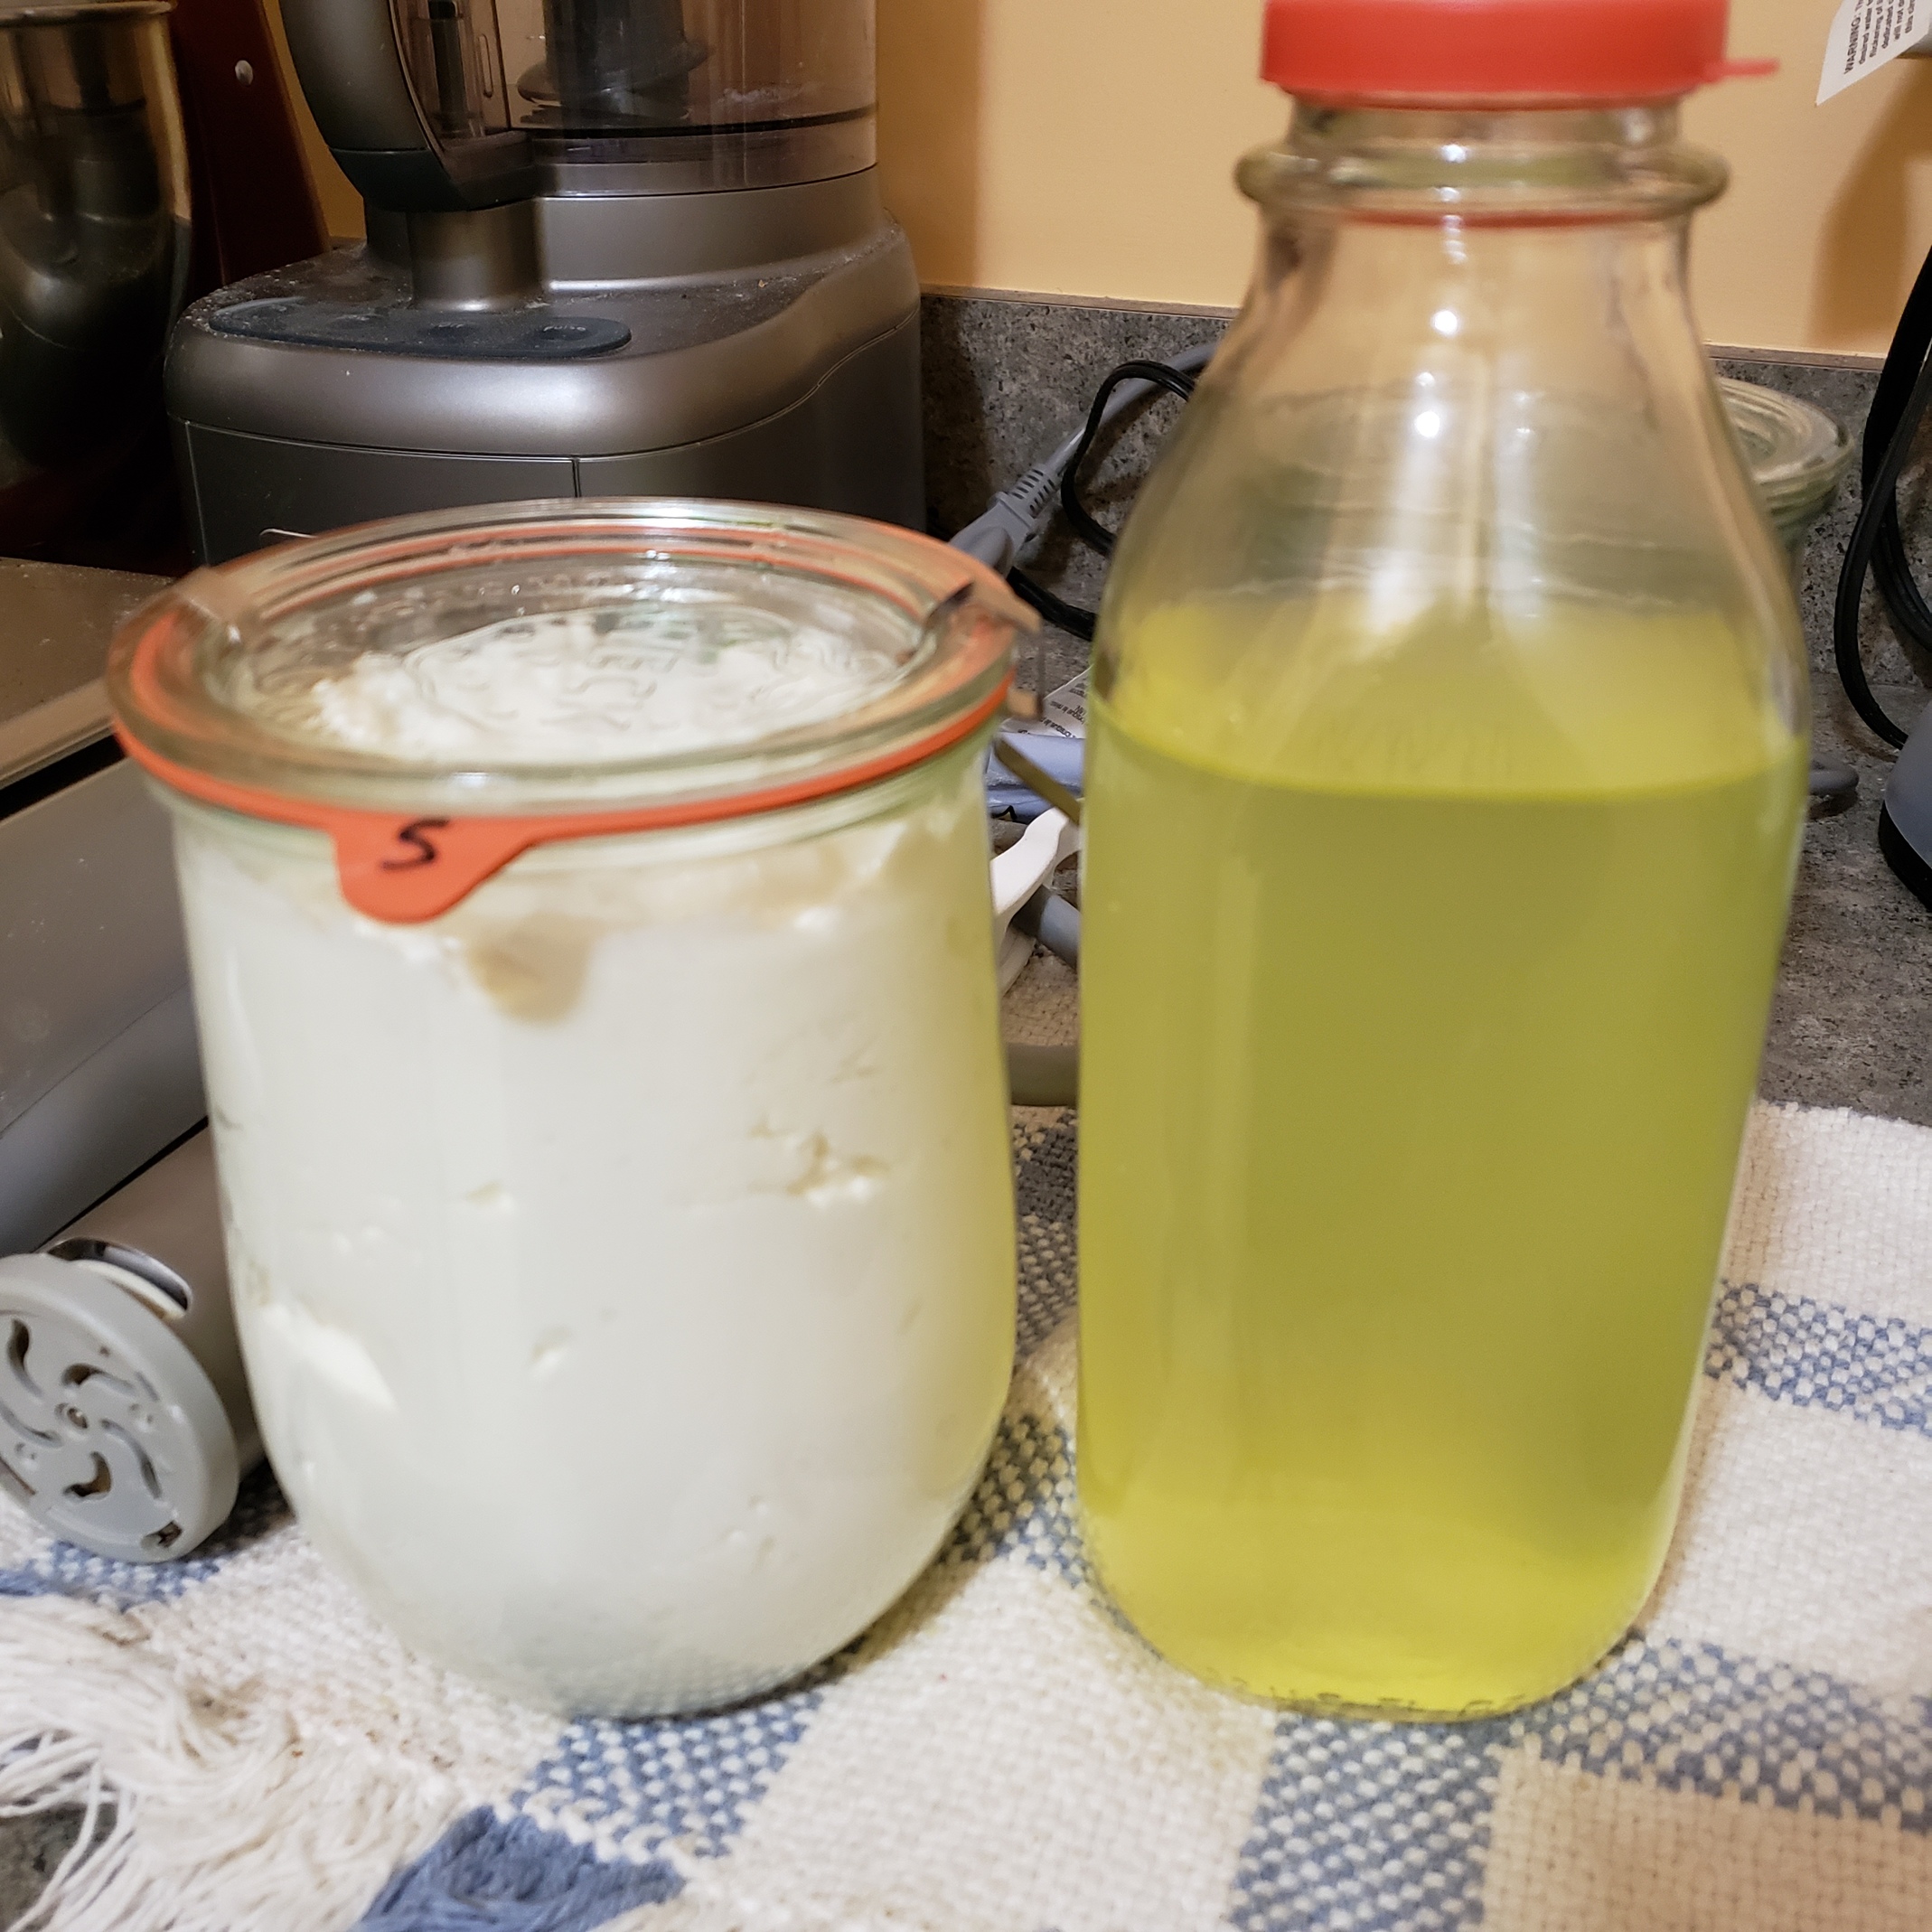
Homemade yogurt! The yellow stuff is whey that I strained off, because I prefer thicker yogurt.
To make this, you only need milk and yogurt—you don’t even really need a sous vide circulator, but it makes the process more precise. I’ve made this a few times now and haven’t had any failures. A thermometer is really helpful too.
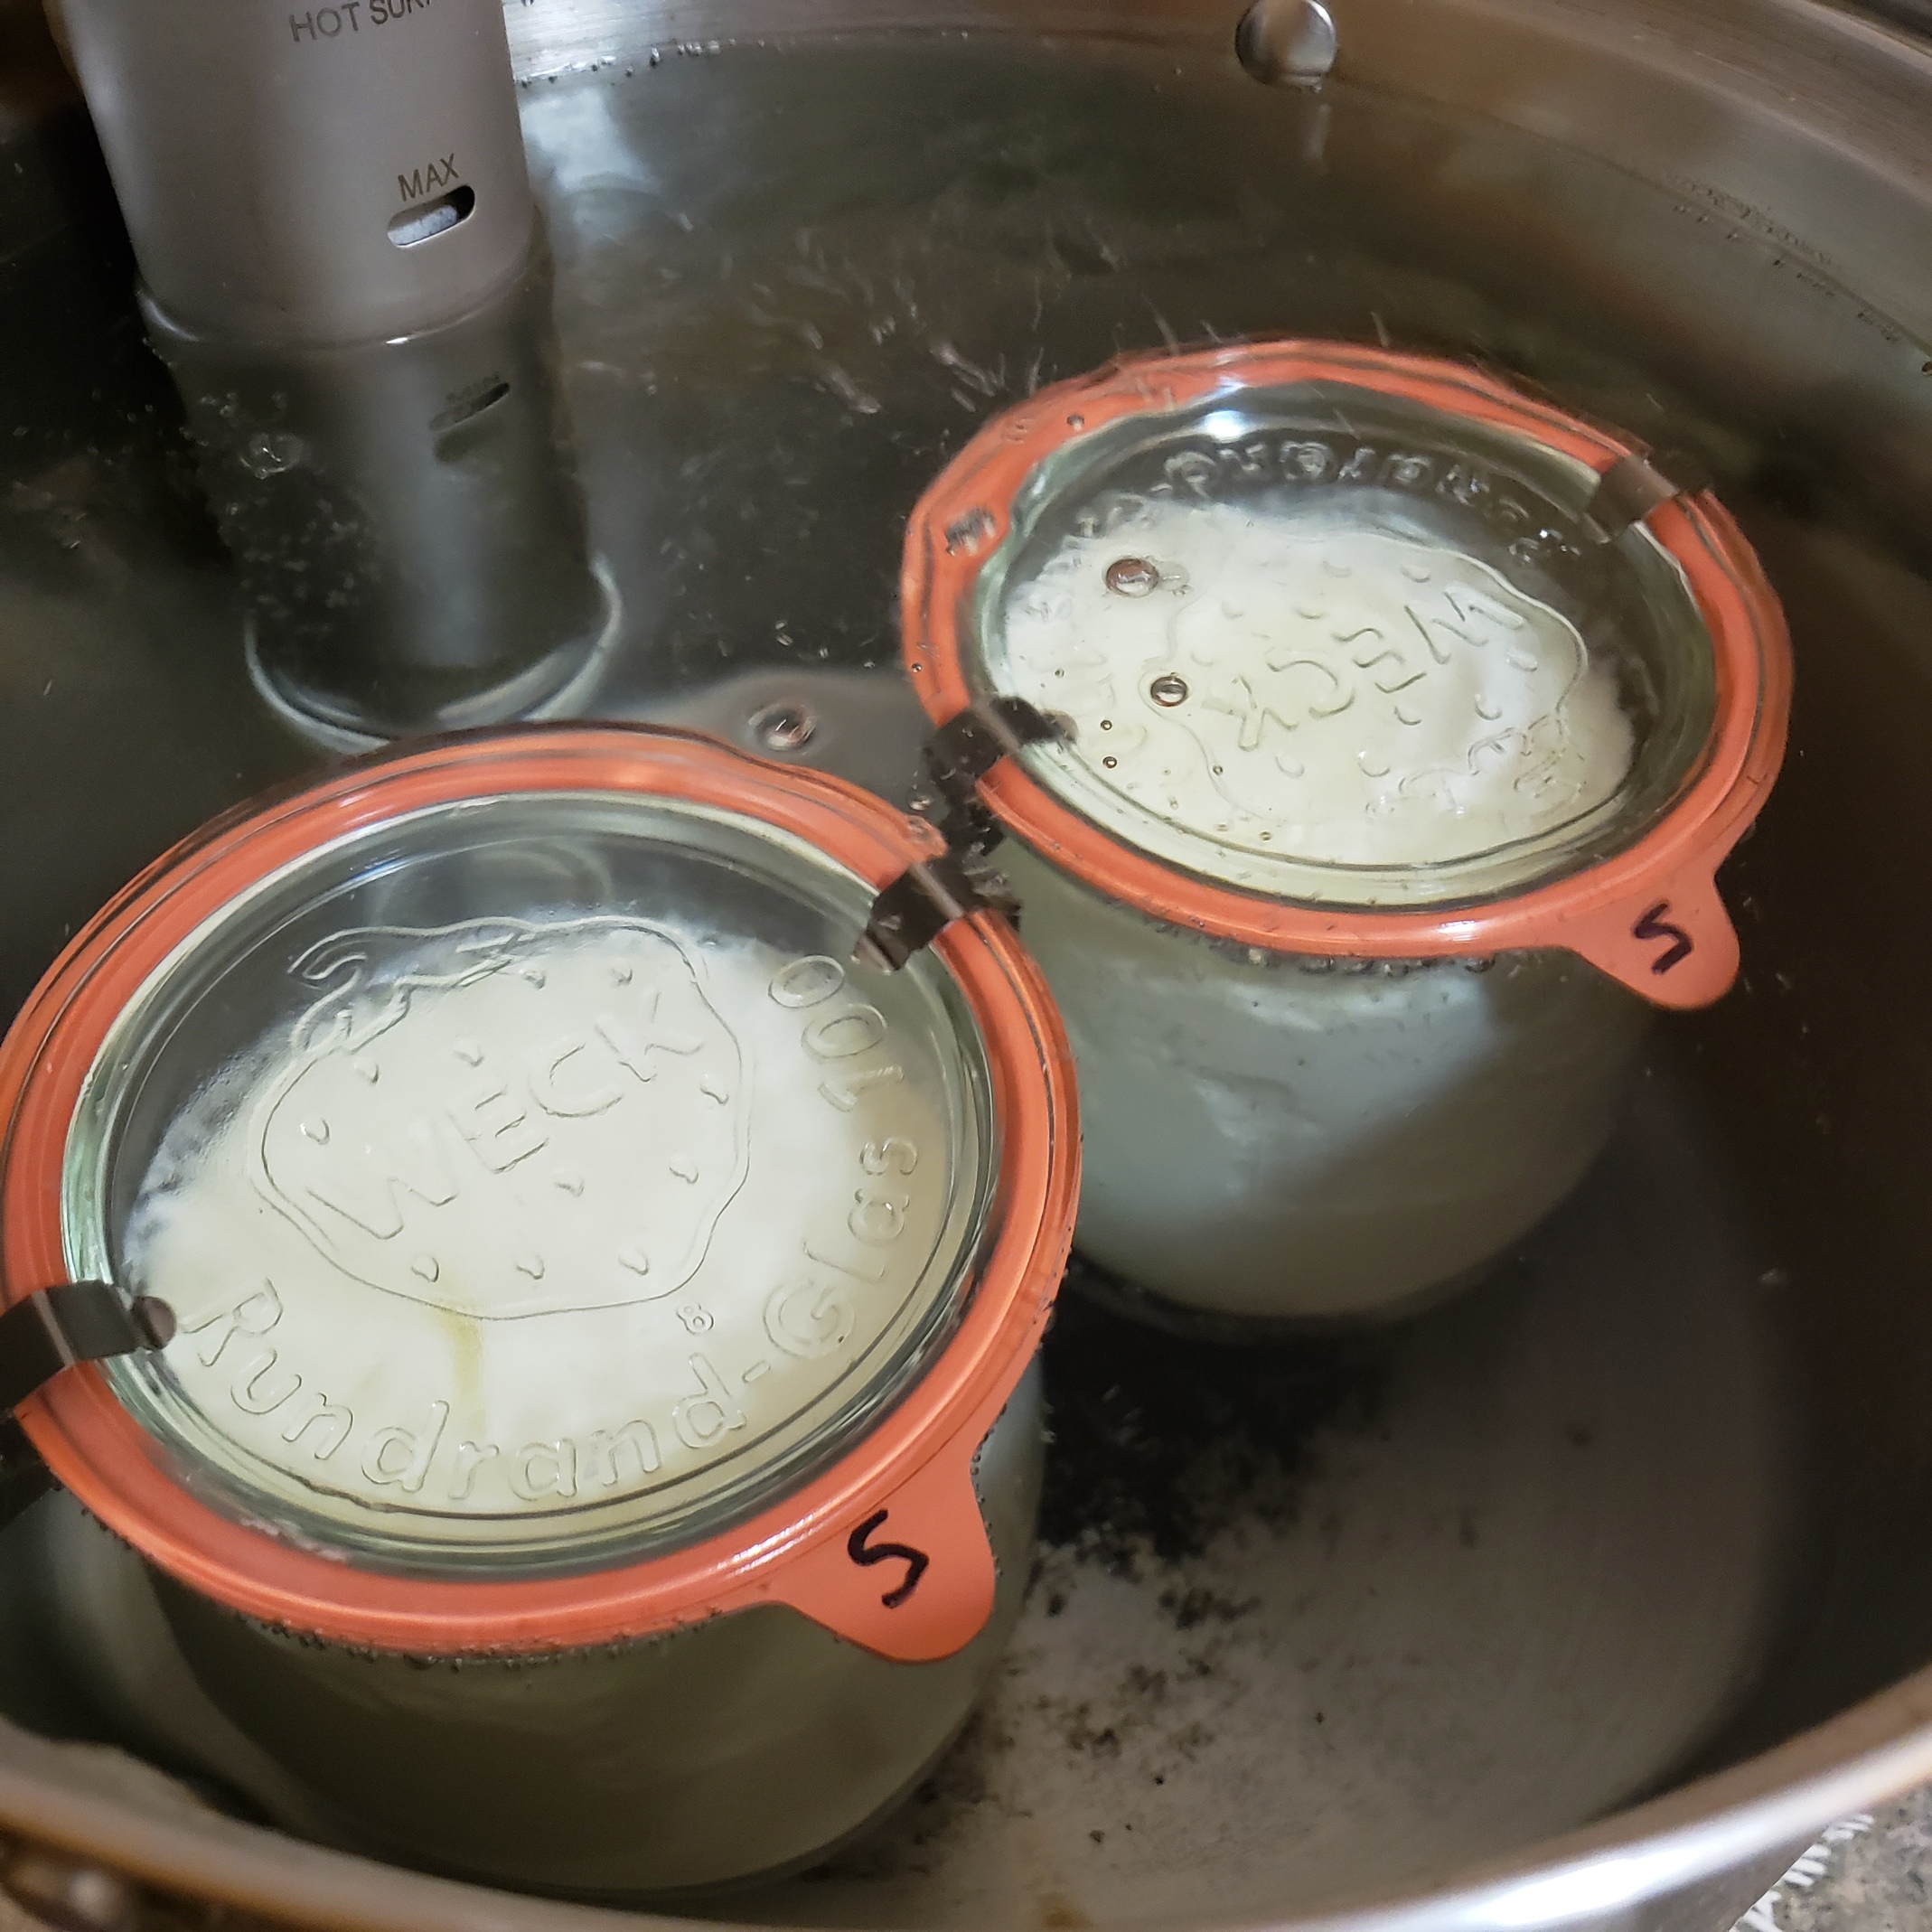
I like to use the Weck jars because they don’t have “shoulders,” which makes it more convenient to scoop the yogurt out. Mason jars work just fine too, preferably wide mouth jars.
I followed a tutorial from ChefSteps, but it should work with any circulator (I have a different brand myself). This is the basic recipe:
Ingredients
20 parts milk (I used 2qt of whole milk, which weighed 1936g)
1 part yogurt with “live and active cultures” (I needed 97g – I forgot to measure this, but it should be a little less than ½ cup. I don’t think extra would cause problems)
Method
Heat milk to 180°F (about 82°C, should be just steaming a bit with small bubbles). Stir occasionally to prevent a skin forming (skin will stay in the finished yogurt, which won’t hurt you but isn’t very nice).
Remove from heat and allow to cool to 110°F (about 43°C, lukewarm) or lower. Continue to stir occasionally to prevent skin. You can preheat your water bath to 109°F/42.8°C now.
Mix a little cooled milk into your yogurt to thin it out, then stir the yogurt mix back into the milk.
Pour milk into jars and close as for processing. Place in water bath and process for 5 hours.
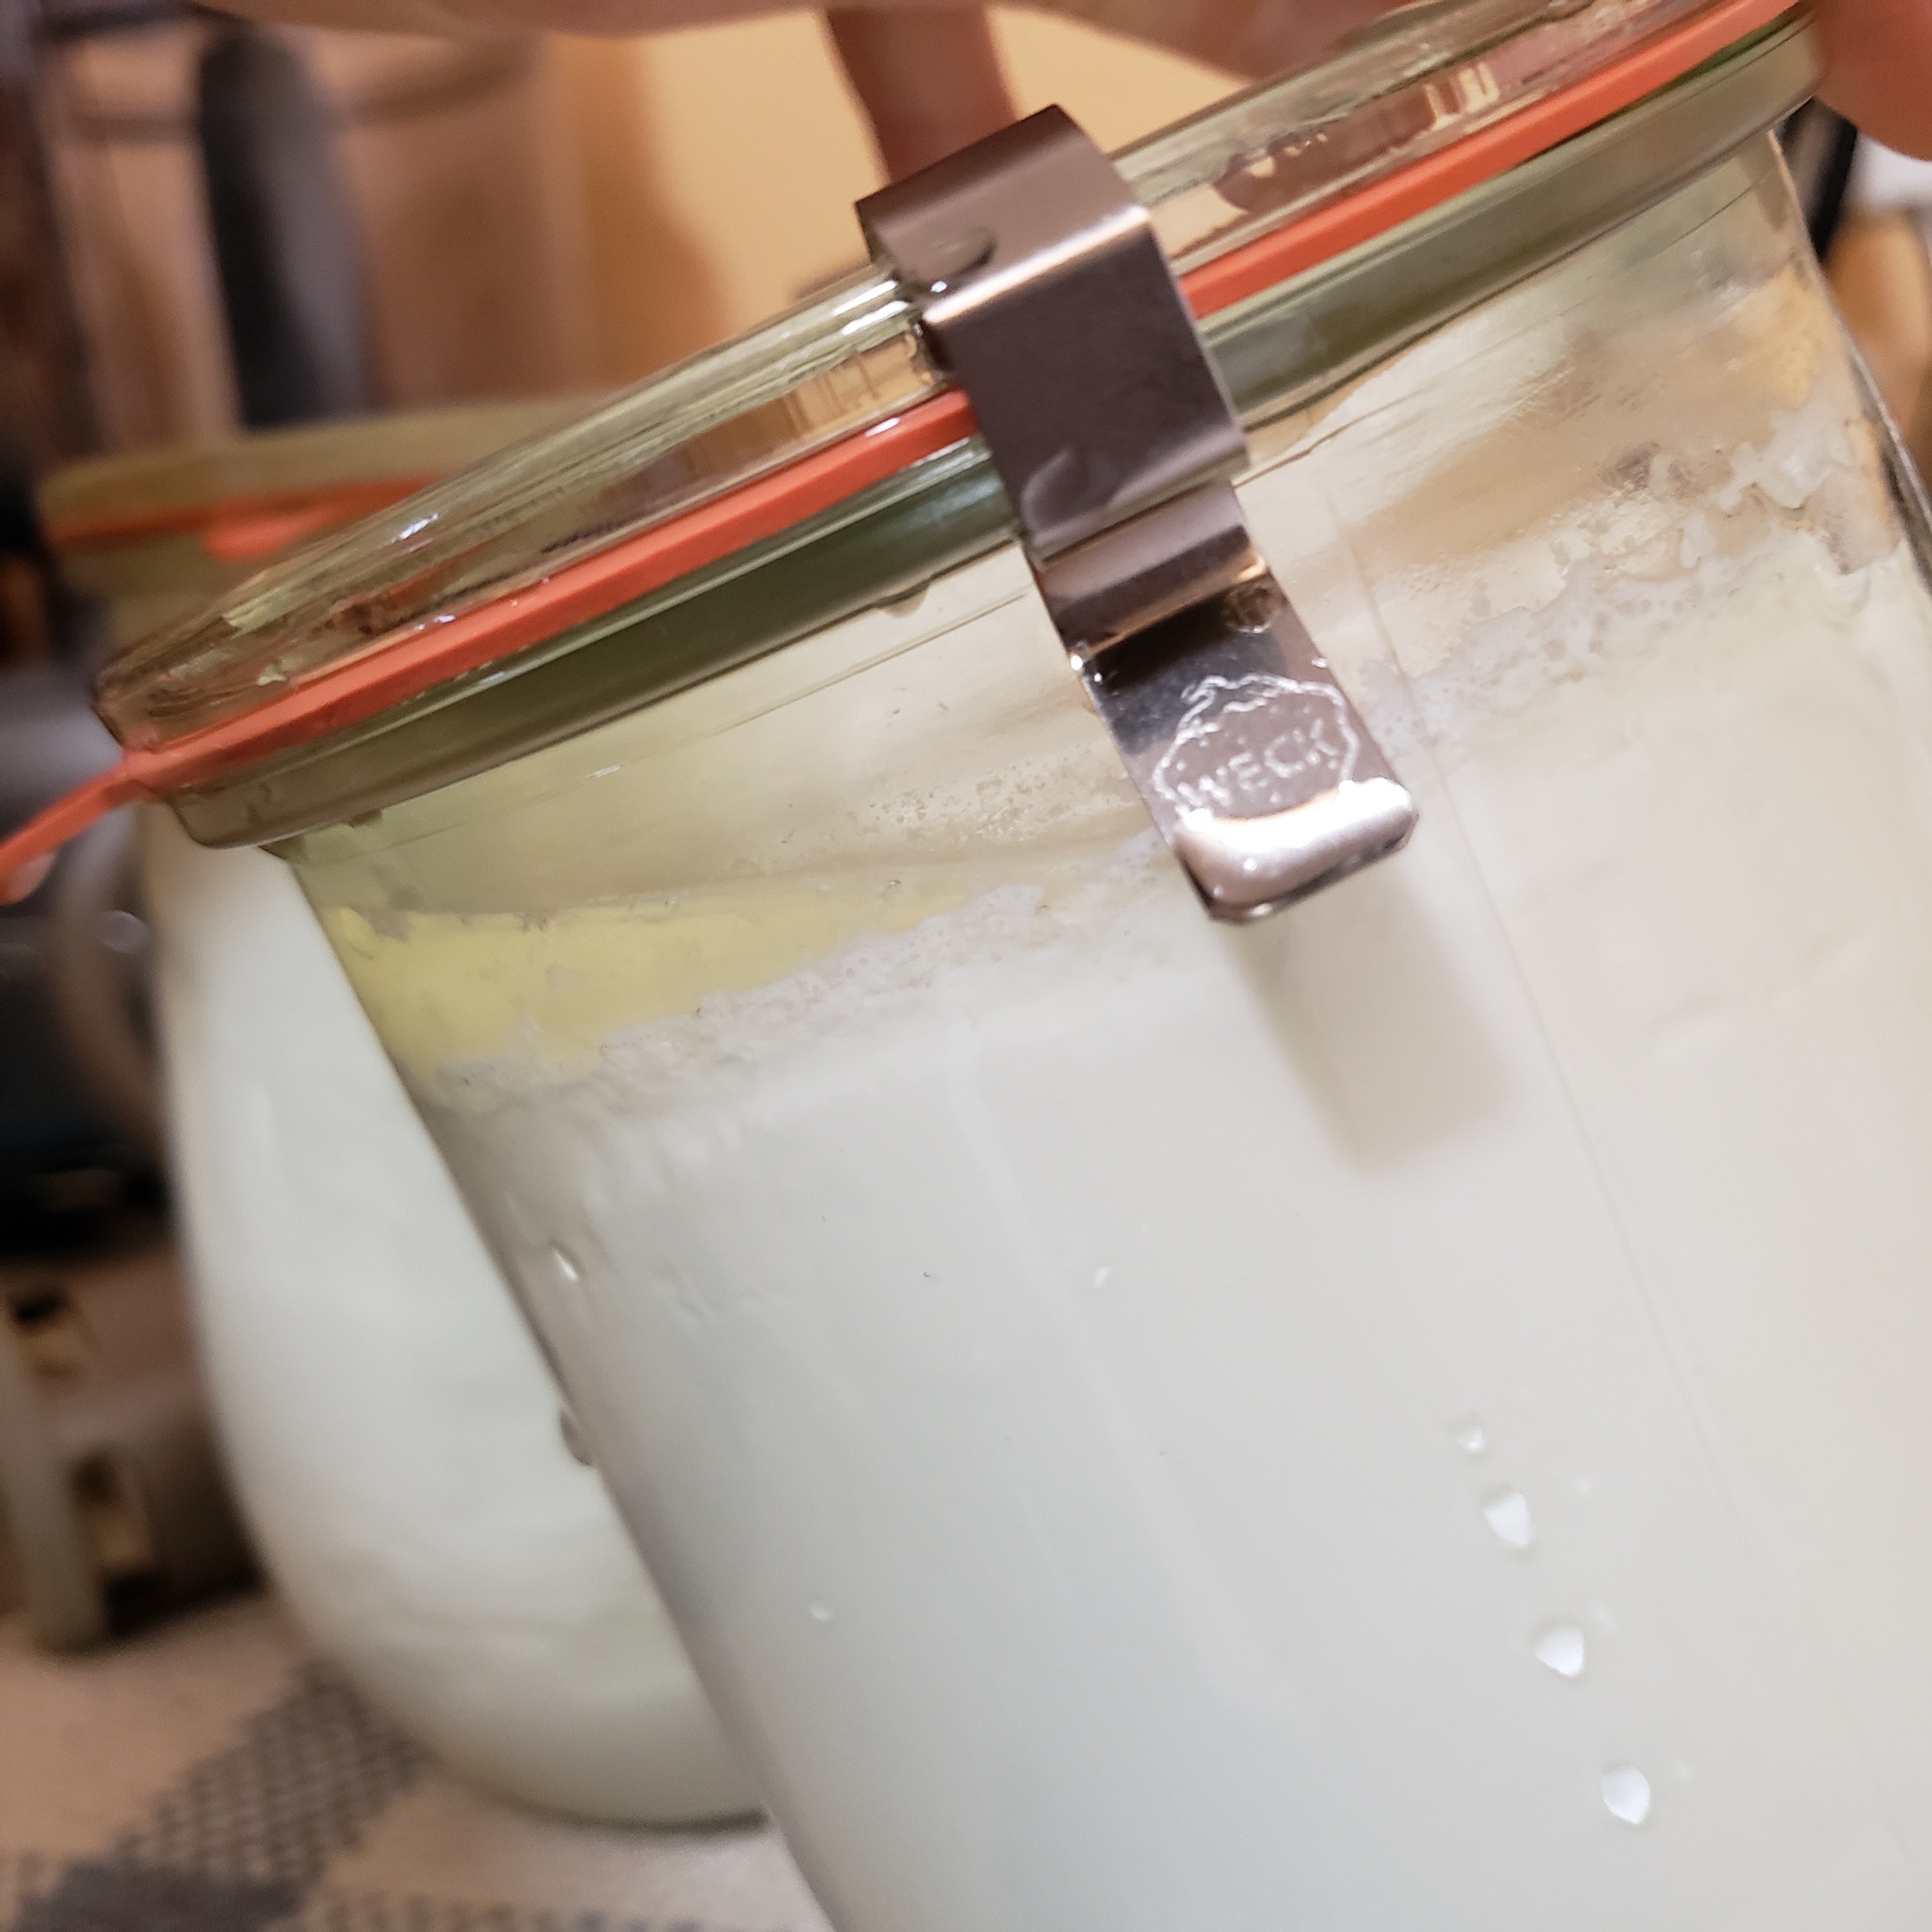
The yogurt thickens and holds its shape when the jar is tilted. There will be some whey around the yogurt, this is normal.
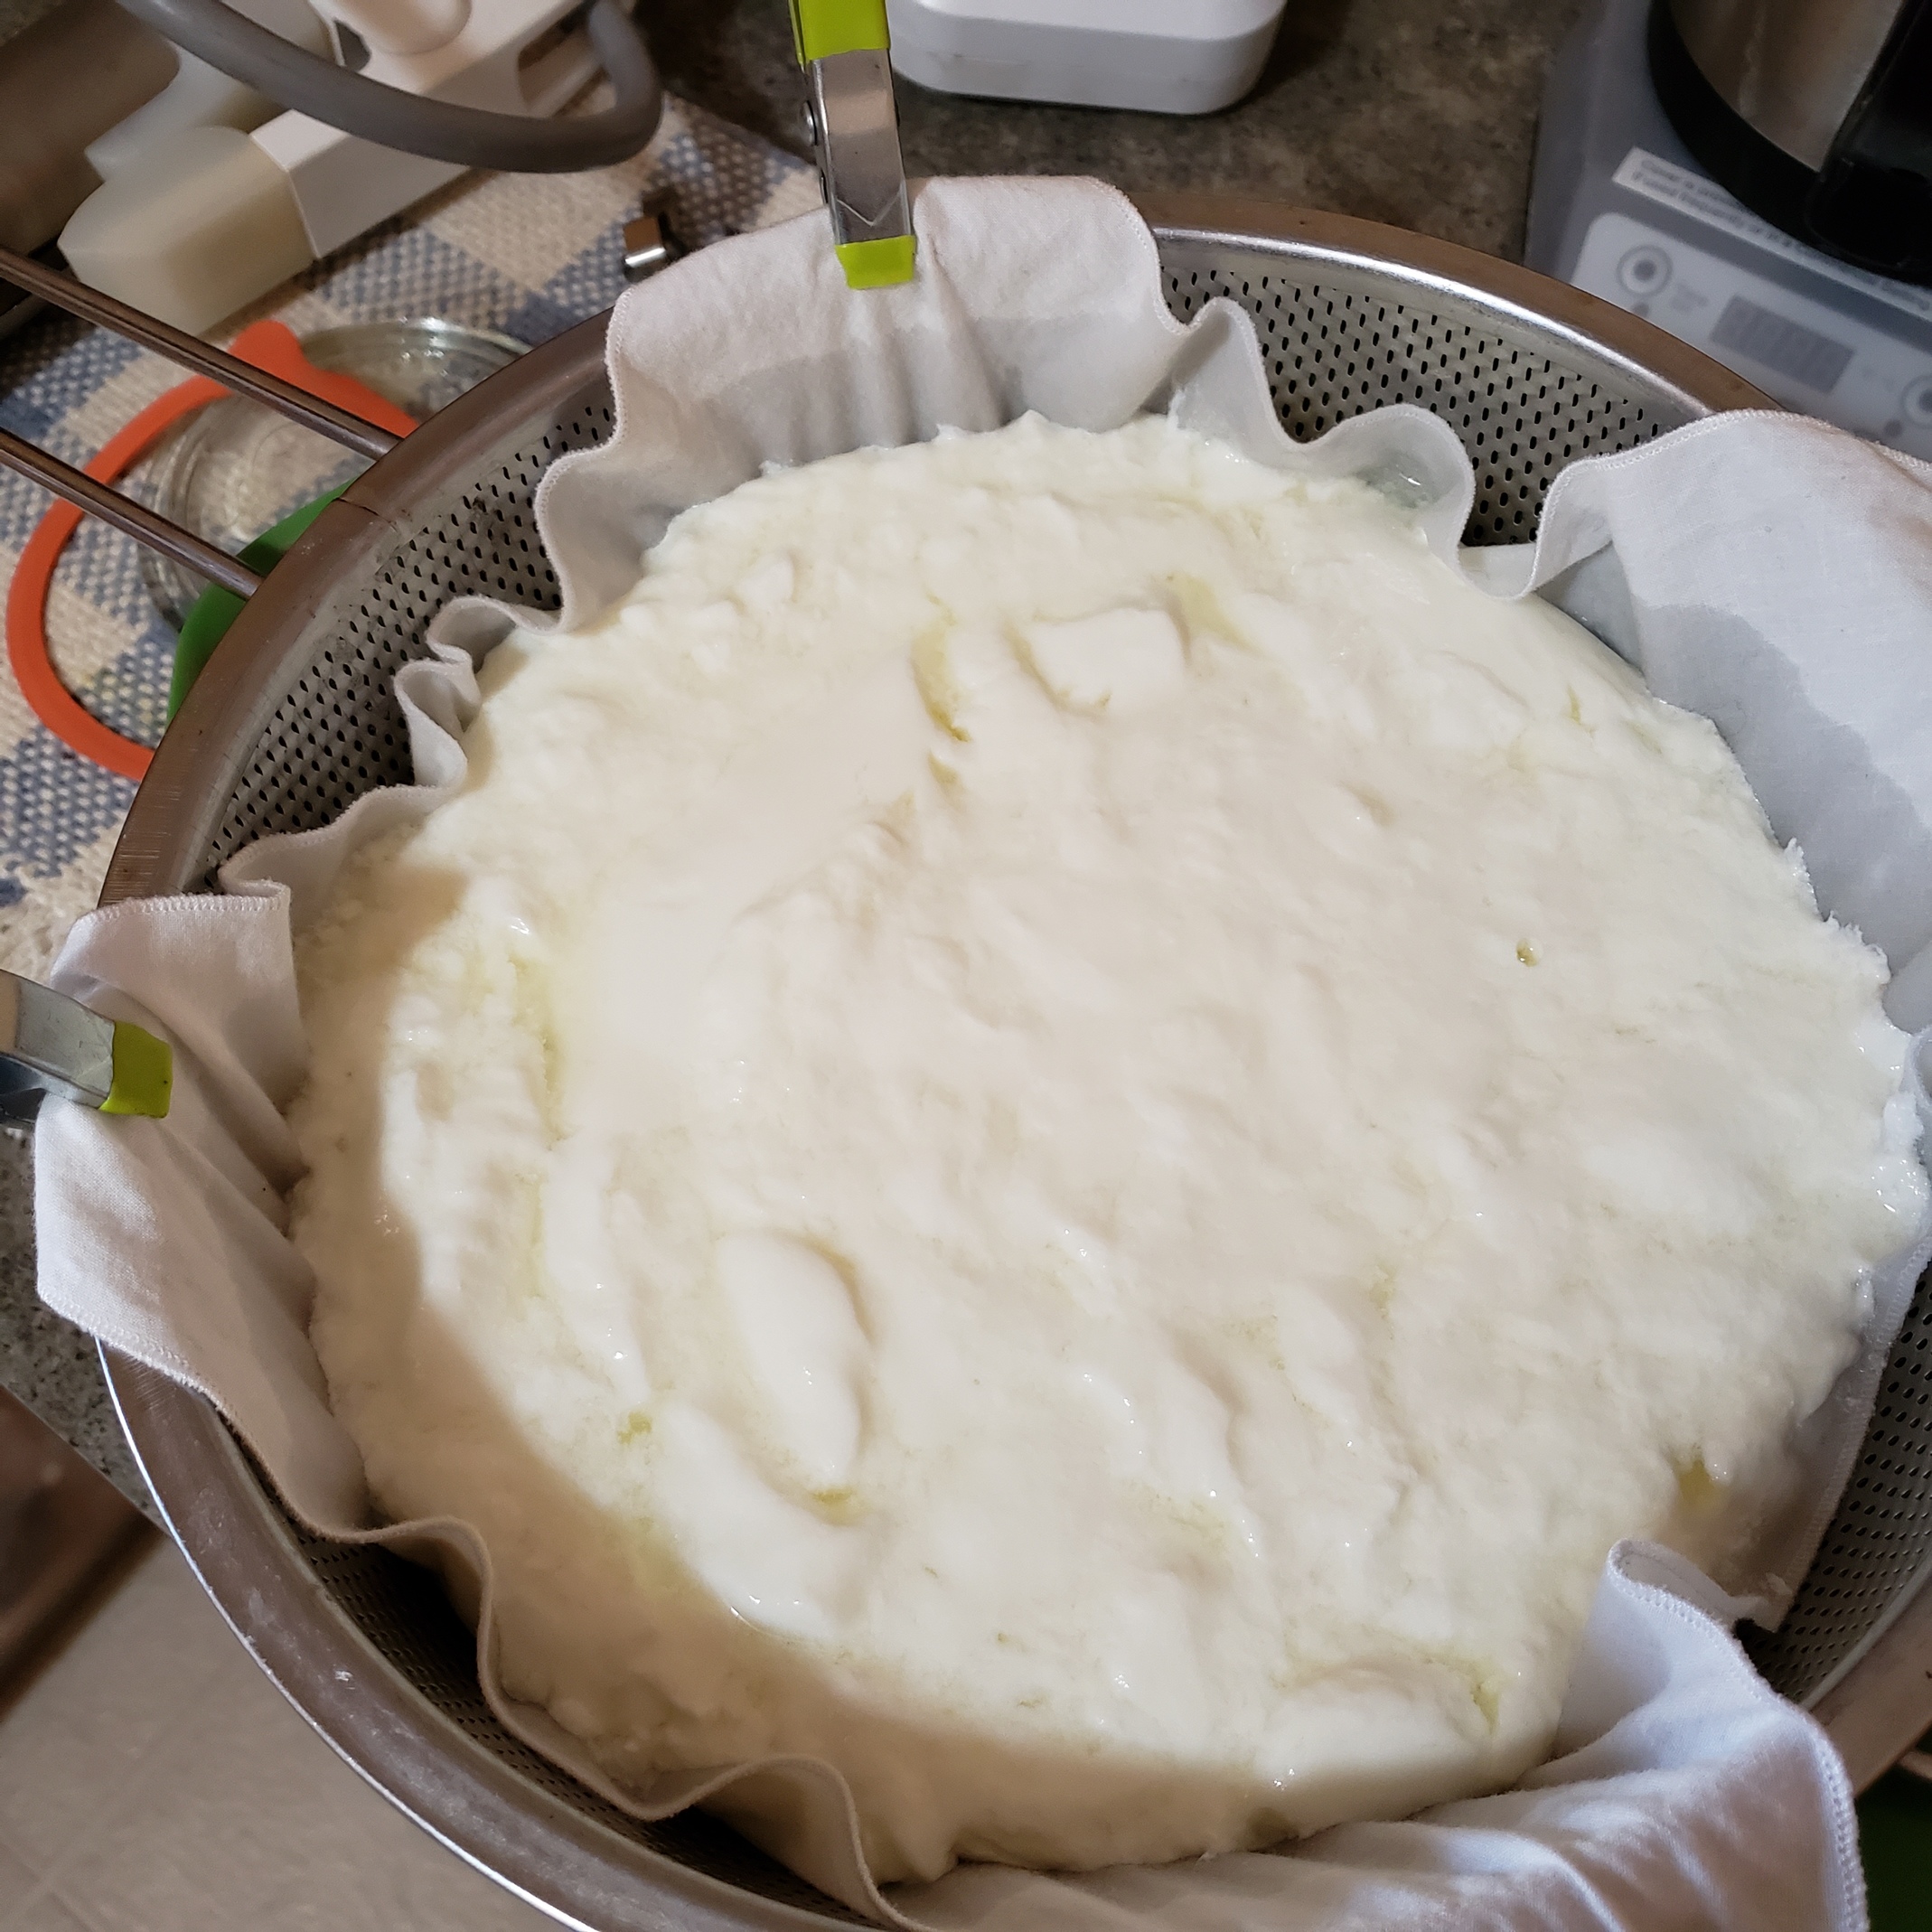
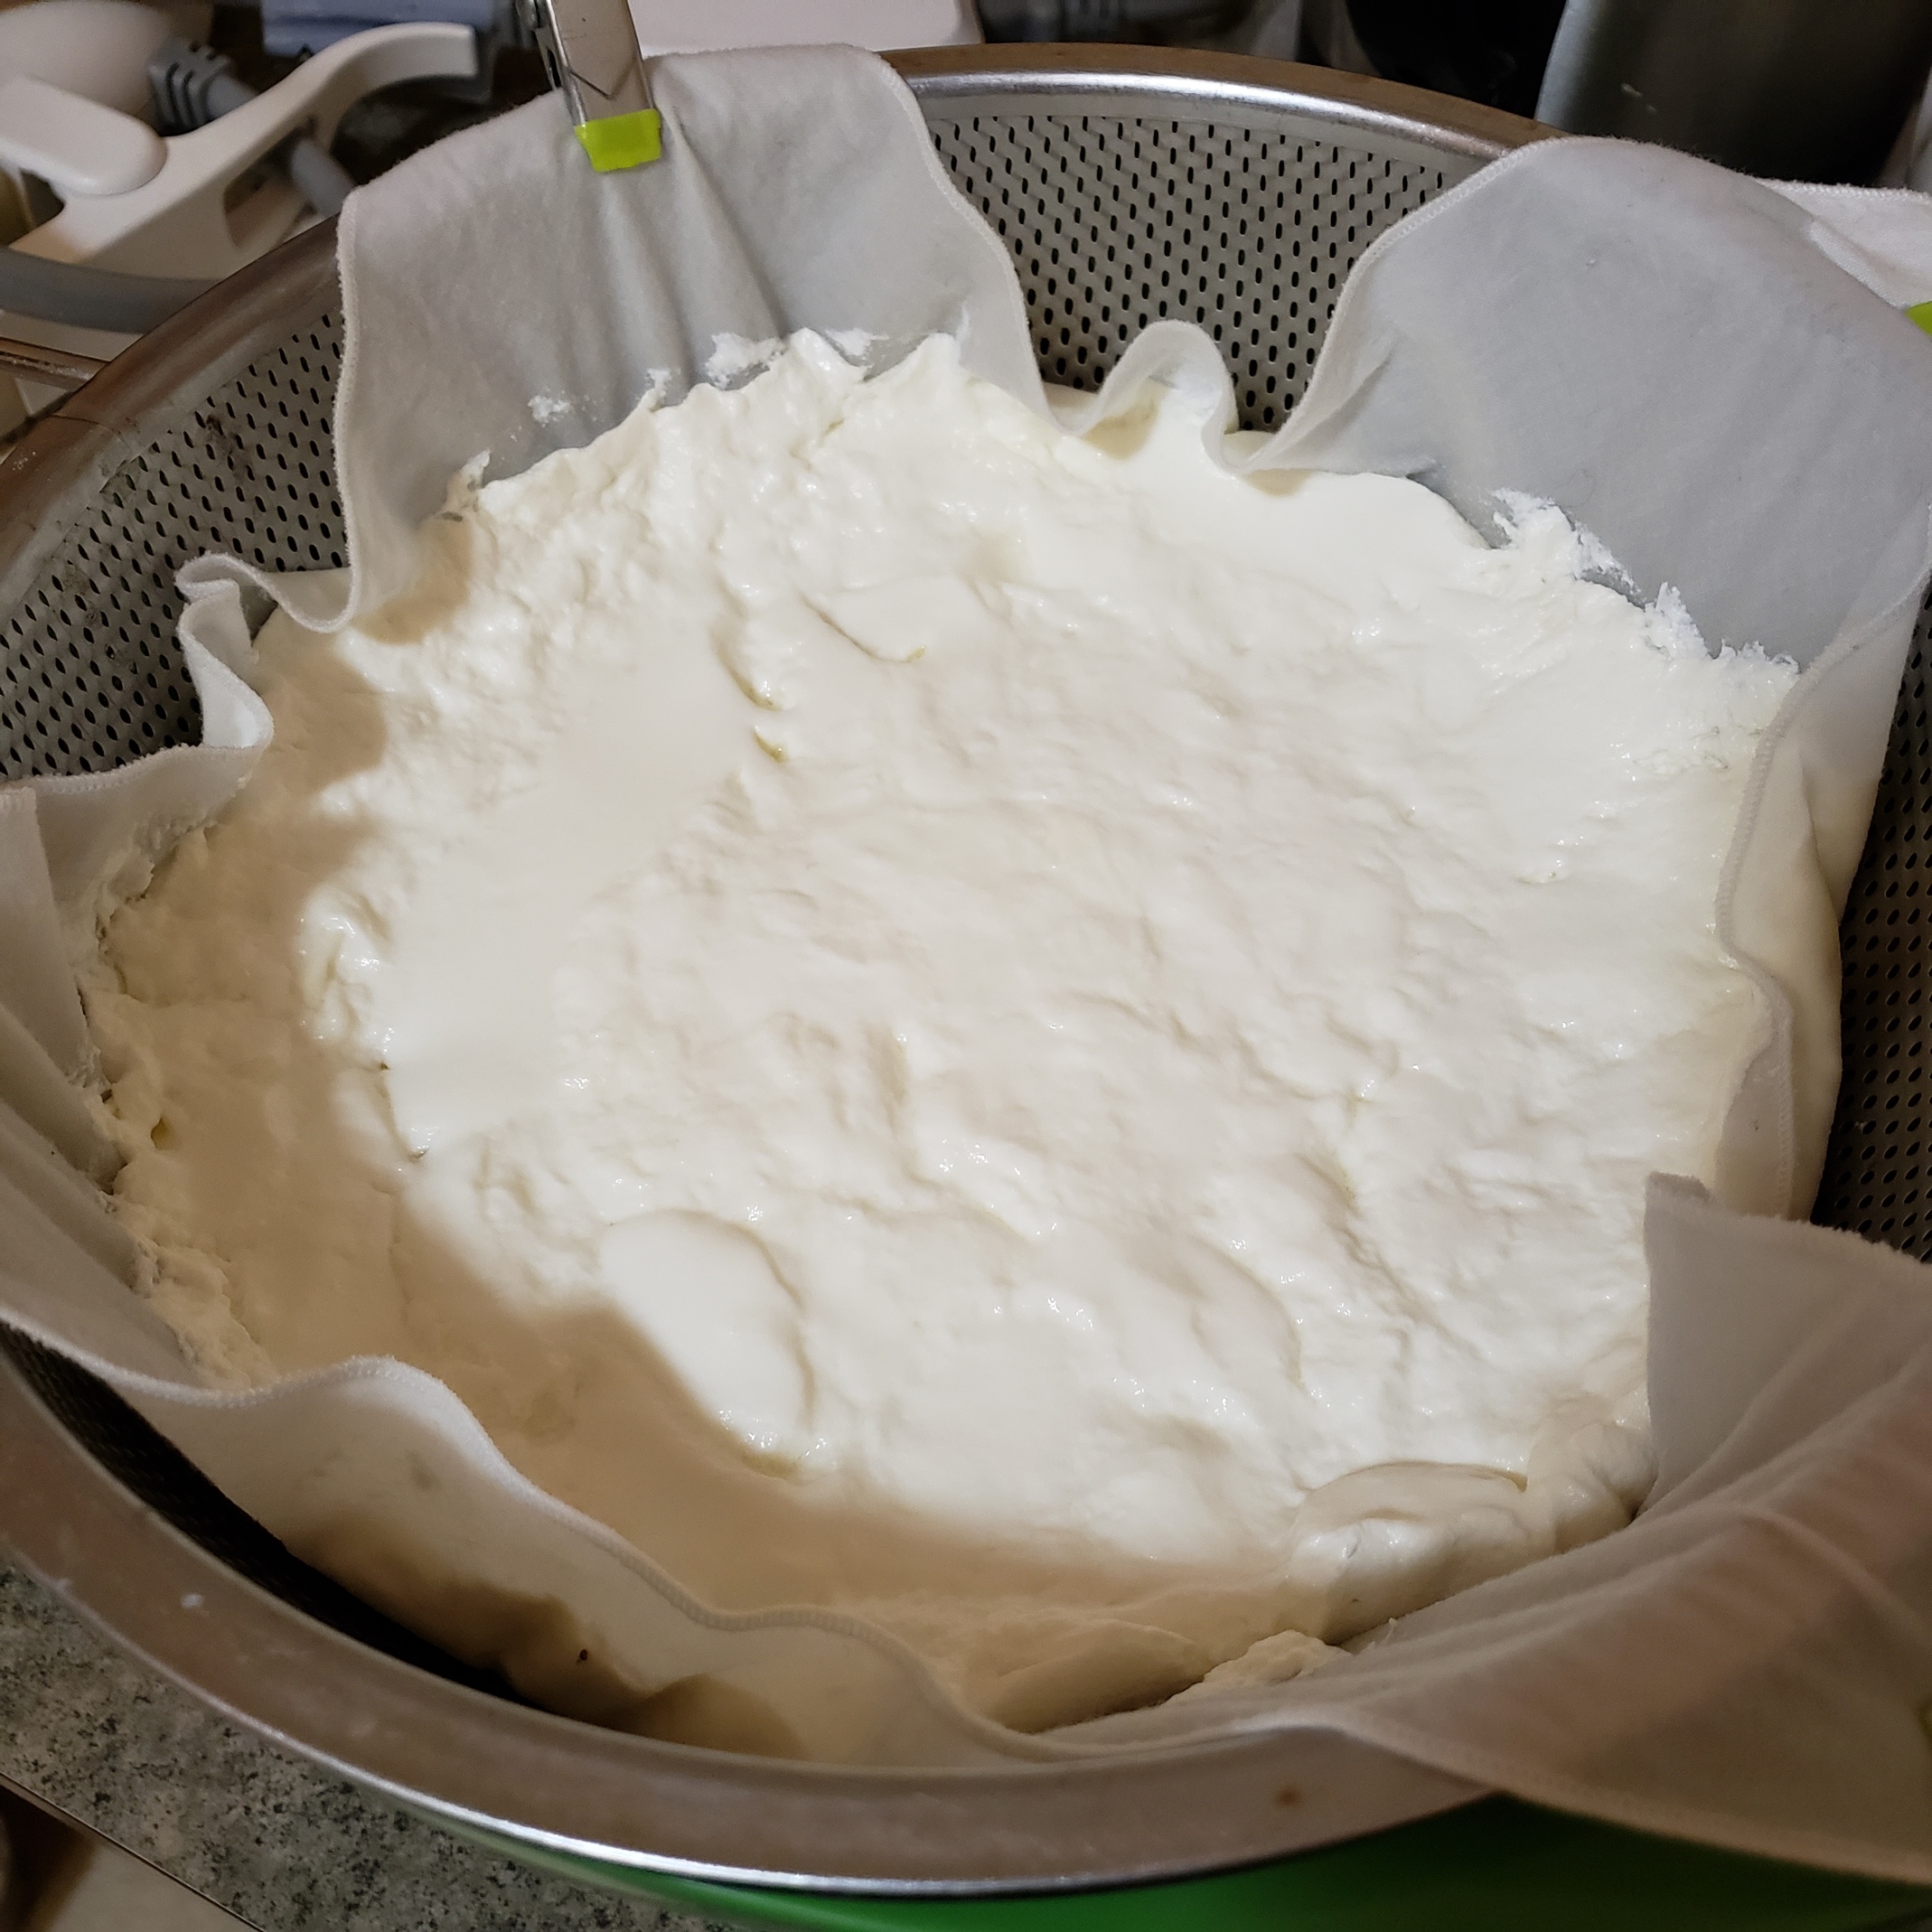
I like Greek-style yogurt so I strain next. Dump all the yogurt in a cloth lined strainer set over a bowl. Let it sit for a few hours until desired consistency is reached.
After a few hours it looks much drier and is very thick.
Return yogurt to one of the jars (depending on how long you strained, the volume can be reduced by up to 50%). Reserve the whey for another use. It makes delicious bread dough!
I was really pleasantly surprised by how easy it was. I think the hardest bit might be remembering to start early enough that I can complete a batch in one day. I’d love to hear how yours turns out!
Cool! I love making yogurt but never tried it this way. This takes less time than my instant pot method.
AIMR
(Linda -2026 time to regroup and renew :us:)
5
Looks so luscious! The whey makes excellent liquid for breads…mmmm…I also love making yogurt but using my crock pot takes hours and is not consistent…I also use yogurt to make yogurt…once you have a batch, you never run out if you don’t want!
I think the time can vary depending on how warm the water bath is. I don’t have an Instant Pot so I don’t know how much you can change the settings. When I was doing research before trying this method, I found a lot of different time/temperature recommendations.
Does the crockpot method also use a water bath? I have heard of people doing other sous vide recipes this way in slow cookers, though as you mentioned it does not keep as consistent a temperature. I have seen a slow cooker on Amazon that has a yogurt mode, too.
Ah, interesting. I don’t know if that would work in my slow cooker; it runs pretty hot. I’d be worried about it boiling the milk. Even if I make oatmeal in there I have to use the water bath or it burns.
AIMR
(Linda -2026 time to regroup and renew :us:)
11
Ahhh, it makes sense now. The cooker is only on for the initial heating, then it’s all residual heat. Very clever!
1 Like
AIMR
(Linda -2026 time to regroup and renew :us:)
13
My crock pot comes with an insulated carrier…after I add the yogurt, I put it back in and leave it overnight…anywhere from 8-12 hours…pop it in the fridge to cool, strain some…I like the thinner yogurts for dressing and putting in smoothies or pouring on oats…I use the whey for biscuits or bread and my dog likes it as well!
Do you find that you can keep using your homemade yogurt as the starter over and over? I’ve heard some people say that eventually it loses potency and one needs to start over with commercial yogurt again.
1 Like
AIMR
(Linda -2026 time to regroup and renew :us:)
15
I think it is sort of like sour dough starter…different areas have different bacteria? Yes, I have had to use commercial yogurt…live culture…one thing I did not know at first: no need to add the entire container…about 1/4 cup…yogurt bacteria likes room to grow!
I made another batch last night, this one being a “granddaughter” of an original batch that I had started from commercial yogurt. This one came out rather different! It was much runnier and the whey did not separate at all during processing. After straining it was about the consistency of American-style yogurt. Still tastes good though!
I have a couple of theories about this batch:
I used a different thermometer than I had been using before, which may have been more or less accurate.
Perhaps it is true that you can only make so many batches before you need to add in some commercial yogurt.
The “daughter” yogurt had only been made a week before I made this “granddaughter” batch, whereas the original “mother” batch had been made about two weeks before the daughter—maybe it needs to sit for longer before using as a starter.
Will do some more controlled testing on my next try!

 I’d love to hear how yours turns out!