I made this splash back to go behind the taps in my bathroom, this was a project that was a long long time coming. I actually haven’t checked to see if it’ll fit behind the taps yet fingers crossed
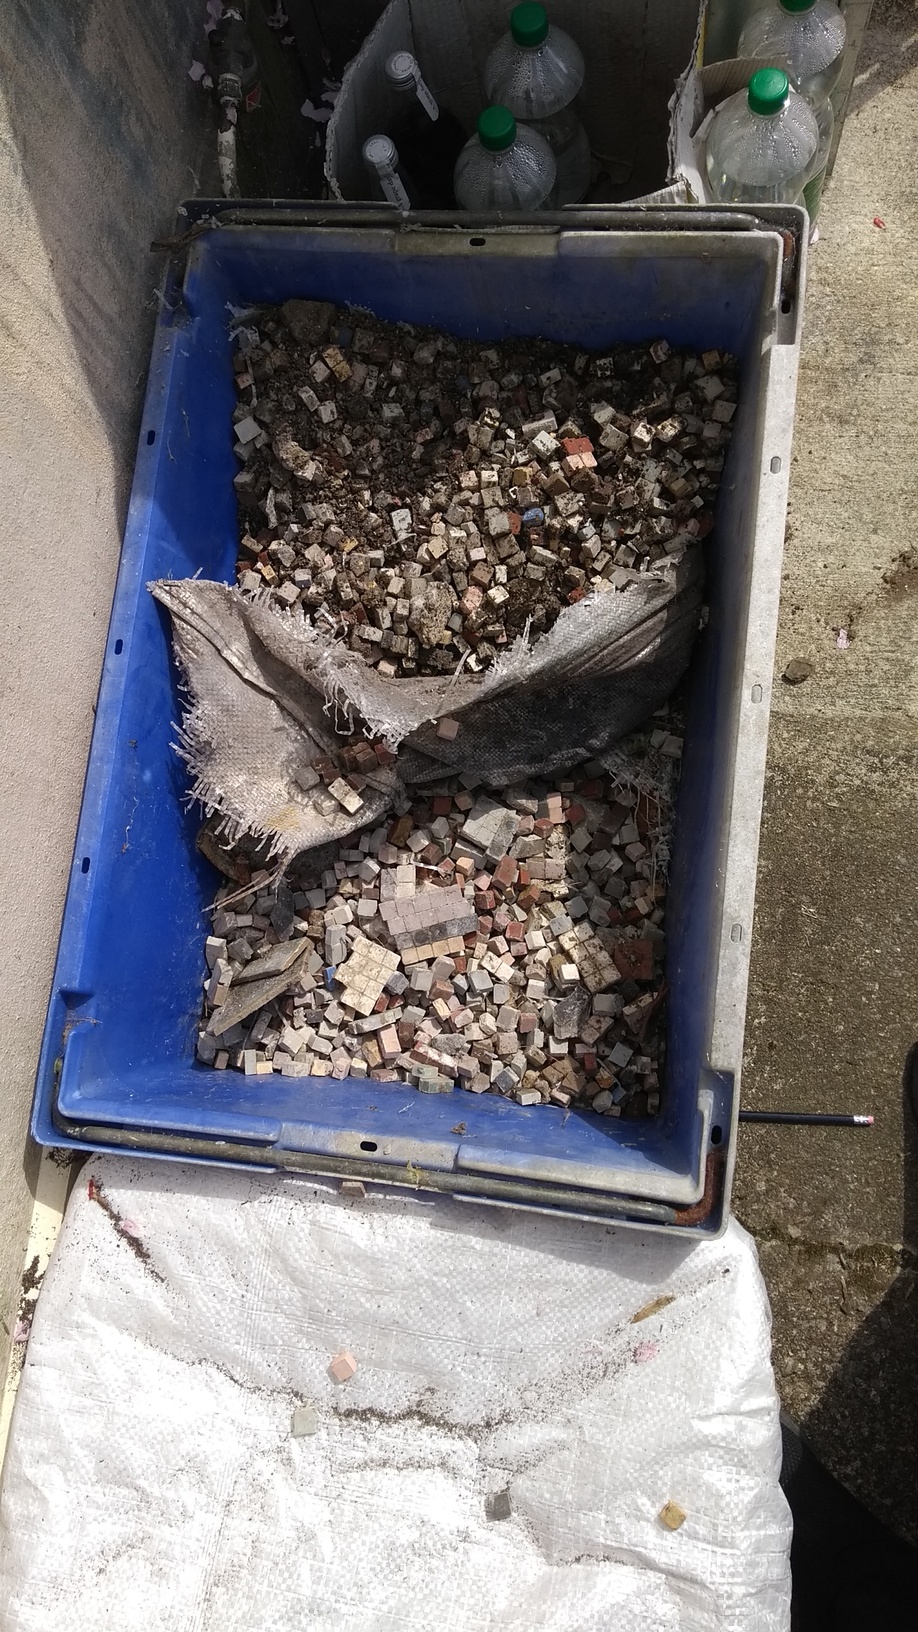
It’s just a simple abstract design. The tesserae were salvaged by my ex husband over 20 years ago. He was working on the renovation of an old church. The floor was all stone mosaics that had a carpet glued on top for the preceding few decades.
The renovation included ripping up the entire floor mosaic and all and throwing it away I despair of people sometimes. Anyway my ex brought some of the tiles home, without permission.
They’ve sat in a box forever, there are loads and they are solid stone. This was just an abstract to use the stones as is, without trying to shape any of them.
I glued them down, grouted it and then poured a coat of resin as the stone looks best of it looks wet.
It came out beautiful! I love the new life you’re giving those tiles.
When I was growing up my grandfather had the coolest yard. Two acres in the middle of the city, with a beautifully kept lawn, and a castle he built out back, about the size of a bungalow. The yard also had these beautiful white marble paving or stepping stones that he had set into a few paths, and as the boundary of a badminton court. Then, off the back of the house, he had built a curved stone wall, about 3’ high, out of beautiful deep red stone that had been cut into curved blocks. I never thought much of it, besides that it was beautiful, till after he died. At the funeral people were joking about how he had stolen the marble and stone blocks from the Manchester railroad station that was being torn down. The paving stones had been the white marble floor there, and the curved blocks had been the walls of the rotunda! Apparently when it was being demolished, everything was just supposed to be thrown away, and he hated the waste. So he would drive over at night, trip after trip, in his giant gold Cadillac, and fill the trunk, till the bumper was nearly dragging on the ground.
Here’s a link to a picture of the train station. The rotunda is on the right hand side. The blocks he walked off with were the deep red along the base of the building.
It was very easy. I needed a no brainer craft. The steps are
Glue tiles to the substrate-i used a piece of wood that was lying around. I used a fairly quick grab construction adhesive, because I didn’t have any tile adhesive. Also if you don’t have mosaic tiles you can use regular broken tiles.
Once dried, i used wood glue and panel pins to attach the border. This isn’t essential, but I have casting resin, and I planned to pour it on at the end, to make the tiles shiny, so a little lip was needed to contain the resin.
Grout. I used cheap white grout powder, mixed with water, and pressed it into the gaps. (Gloved hand was best) then while the grout is still will, you need to wipe it off the surface of the tiles.
Once dry. I poured on resin-this is optional, but made it lovely and shiny.
As little stirring as you can get away with. The reaction to cure it will happen in any case, so if you’re prepared to leave it sit for a couple of (stinky) days, it’ll eventually become unsticky, even if you’ve not mixed it really really thoroughly
Ugh, everything I’ve read harps on making sure it’s completely mixed. To the point I just assumed that was the primary goal.
I will have to test out another project. But I’m always working on something I don’t want to mess up. People who do samples SLAY me. (No, I never swatch knit) It’s the right thing, but I cant help but feel like my current go is a waste of materials. I’d rather just dive in and be devastated! Ha!
So I’ve been doing a bit of reading on these resins (it’s been years since I’ve studied the chemistry of them and I’ve forgotten it all-i actually have a PhD in these types of materials) you do need to mix well, but balance that with the fact that both the resin and catalyst are low viscosity, so it’s not like you’re trying to beat honey into peanut butter, more like milk into tea. So a gentle, slow mix, but making sure you get into the sides and the bottom of the container, should be sufficient.
At 1-2% catalyst should be enough. That’ll give it a slower cure, more time for the bubbles to leave the body of the resin. Plus it won’t heat up as much as with a fast cure , so you won’t be expanding any tiny bubbles with a hot resin.