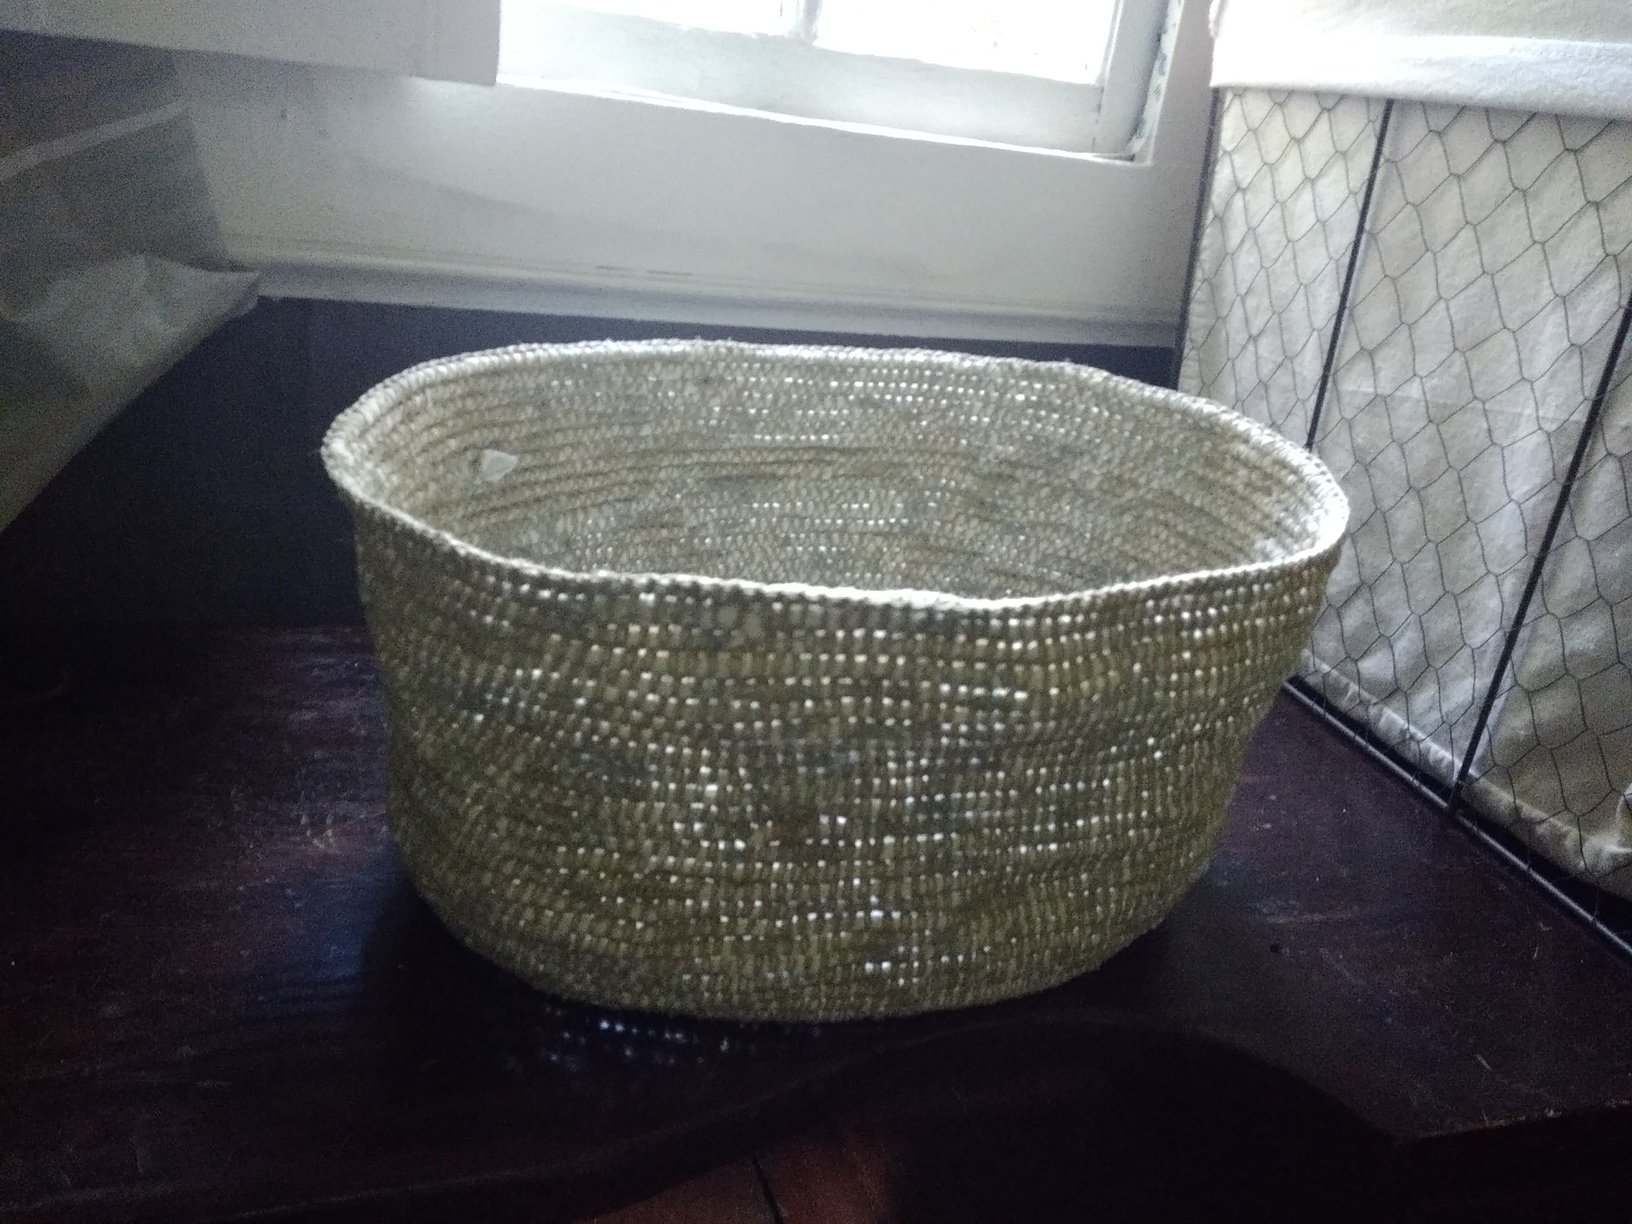
I used hemp cord to crochet over rag yarn I’d made from a bedsheet. It’s the same idea as the baskets made by crocheting around clothesline, but the cording ends up being stiffer than the base with this version.
The sides go up higher than I’d expected (I didn’t want to waste any of the materials so I just kept going until I ran out), so folding over the top makes it more sturdy and cat-friendly:
I spent much of last year trying to make a rug instead, using this tutorial/inspiration, but kept having to redo it when it wouldn’t lie down flat (partly a problem of using a stiff cord rather than yarn). And at some point I realized a white rug was a bad idea for my house, anyway.
Your basket turned out great! And obviously is cat-approved
I had a similar problem getting my rug to lay flat when I did the wrapped cord method. I ended up having to soak it in the shower and then lay it out with some heavy objects on top; it flattened out after that. In case you ever end up trying to make the rug after all.
How did you start to form the bowl? Like you crochet your base and normally I would think you would do just the front/back loop to start going up but with the cording wouldn’t it only have one loop?
Thanks! After at least a few fails, I decided I liked starting the bowl best by just ceasing to do increases when the base was big enough. Going through the front/back loops would work well in general (same using cord or yarn), but my base was a few increases short of being flat. So, I wasn’t sure whether the row worked front/back loop would really mark the bottom edge, or stick out awkwardly once the cat was sitting in it. This way it’s more like a bowl that starts flat. In the final inches working on the base I occasionally left increases out on purpose to start a gentle slope upward.
And here is where the stitches begin in the middle of the base; I’m pointing at the first turn of the fabric, where there are extra stiches added: