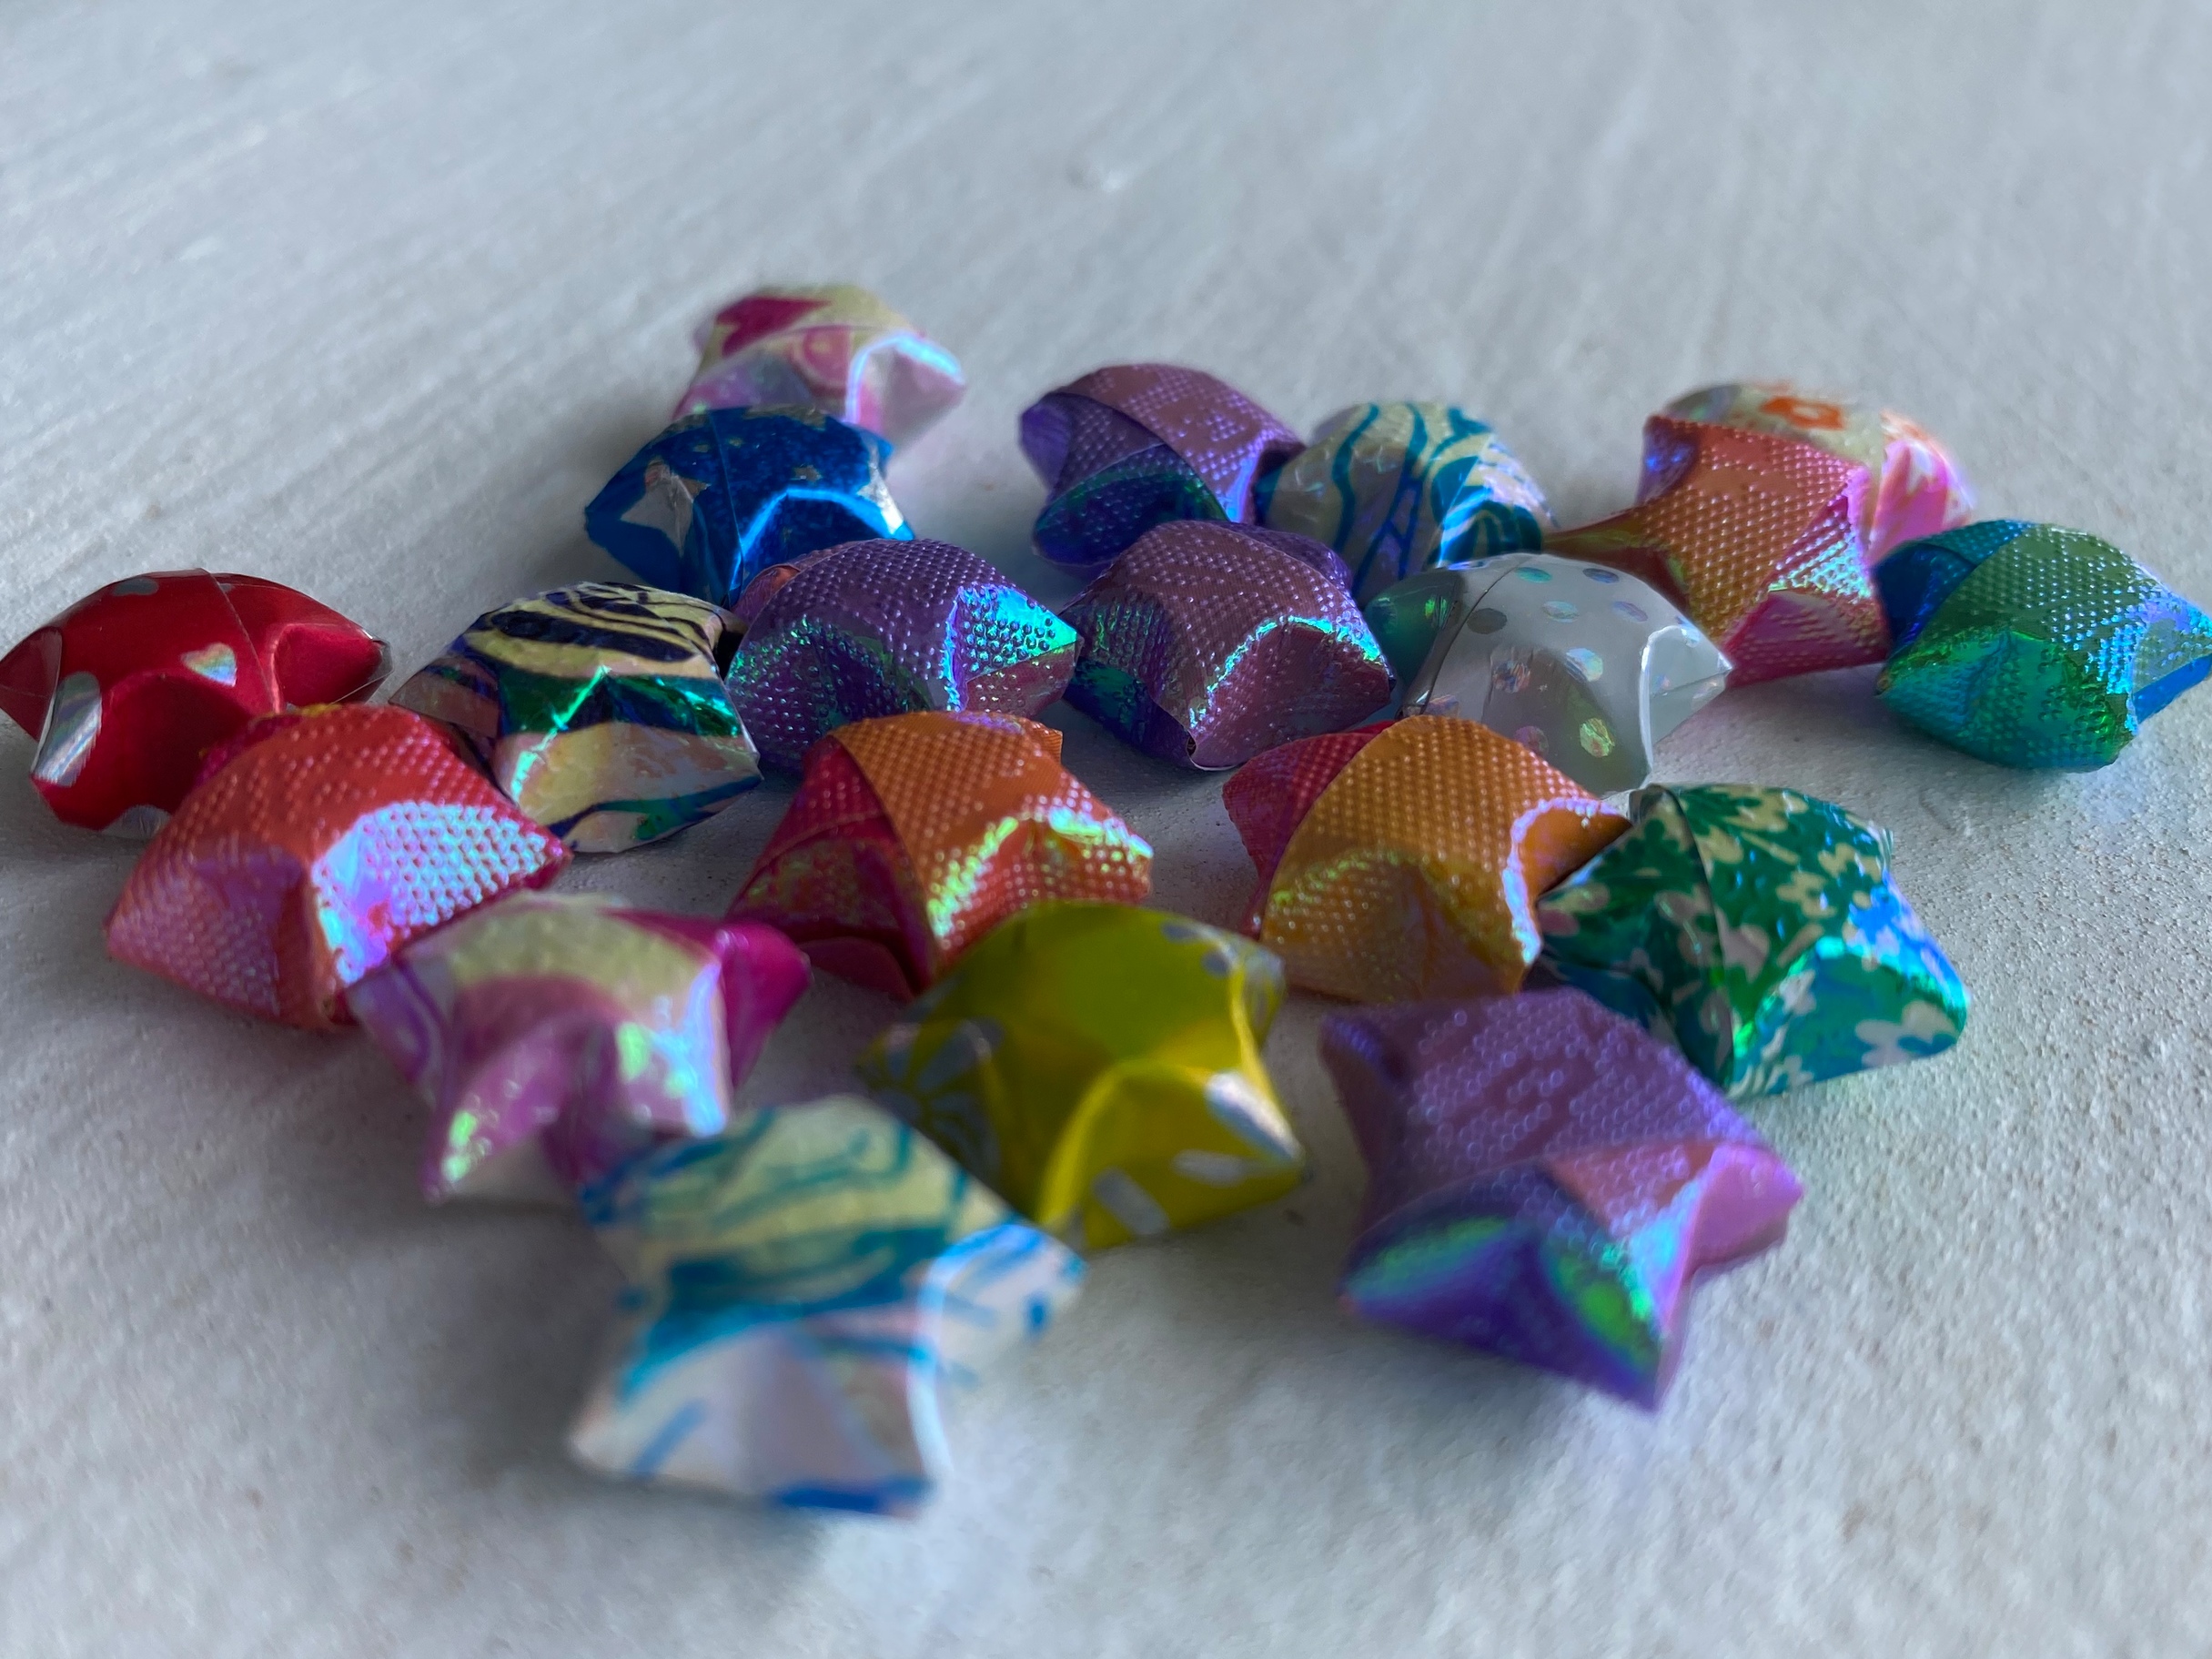
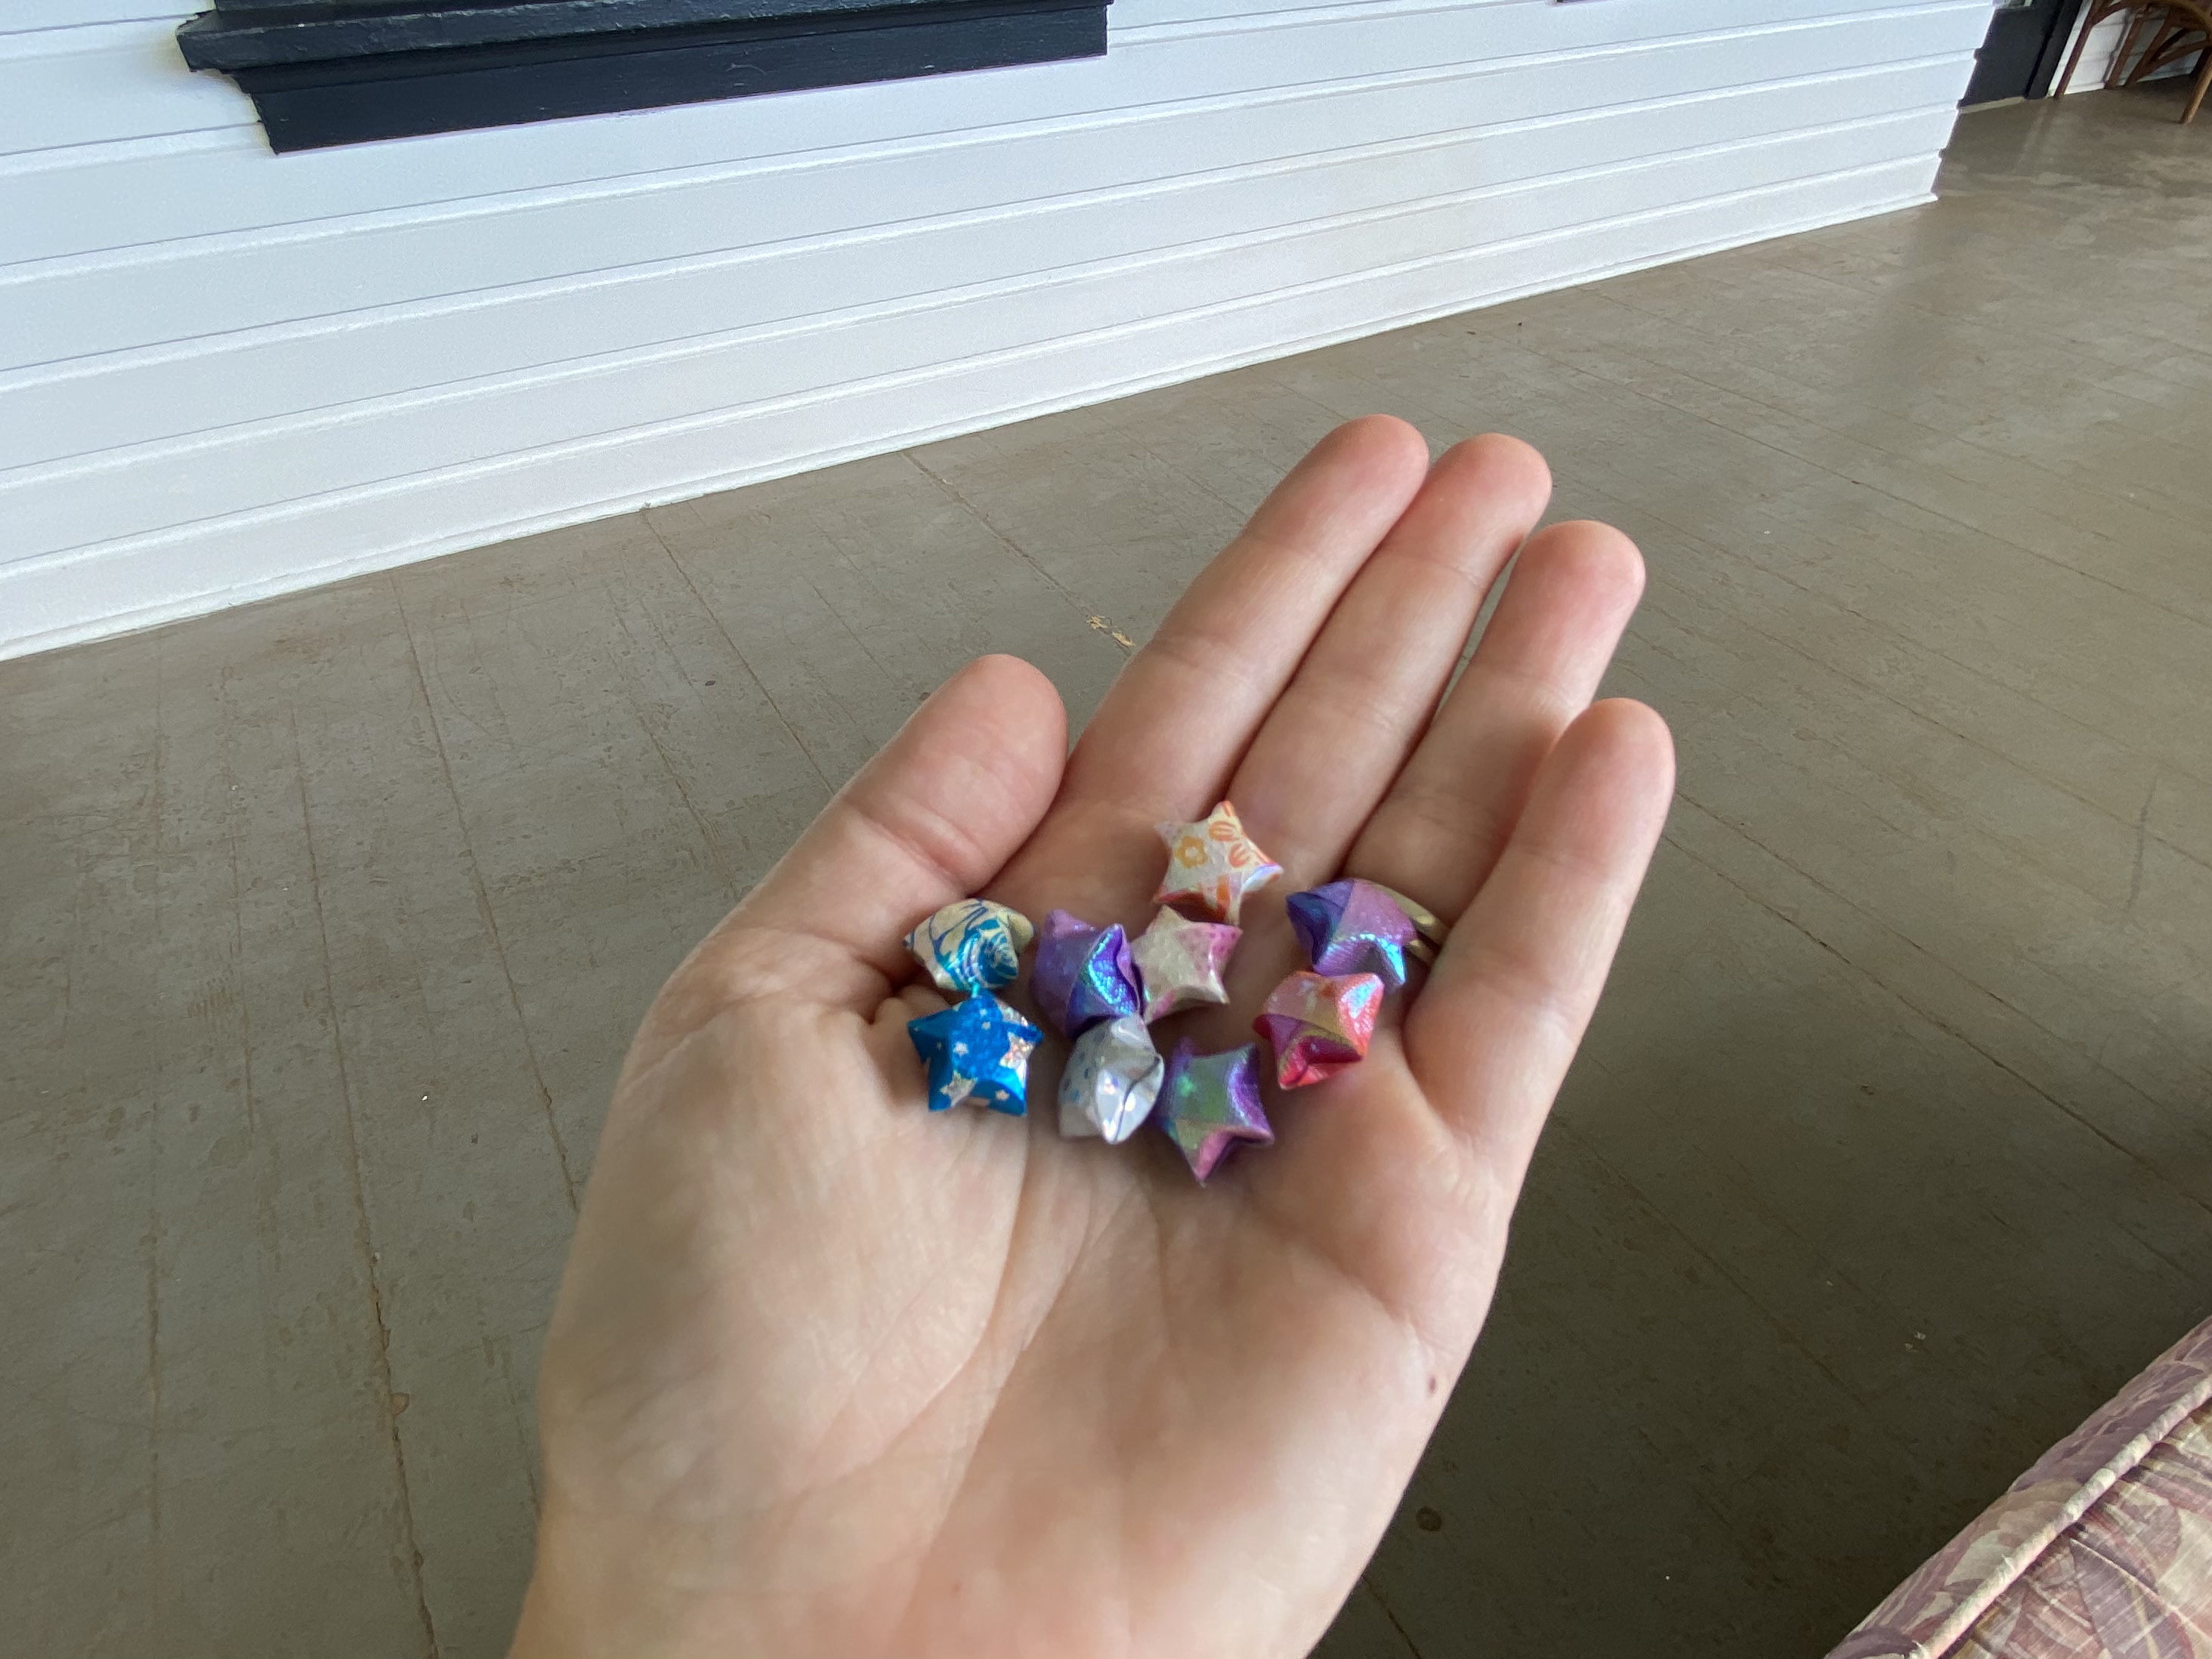
I always need to be fiddling with something when it comes time for me to sit still, so I tend to fold a lot of repetitive origami. One of my favorite quick and mindless pieces is the “lucky star.”
If you’ve seen these and wondered how, they’re really simple to make. You can usually find precut strips at Japanese or Korean stationery stores, but I have also made them out of old magazines, calendars, or any other fun paper. (Just cut to half-inch wide strips, length is flexible, but I’d say somewhere between 6-8 inches.)
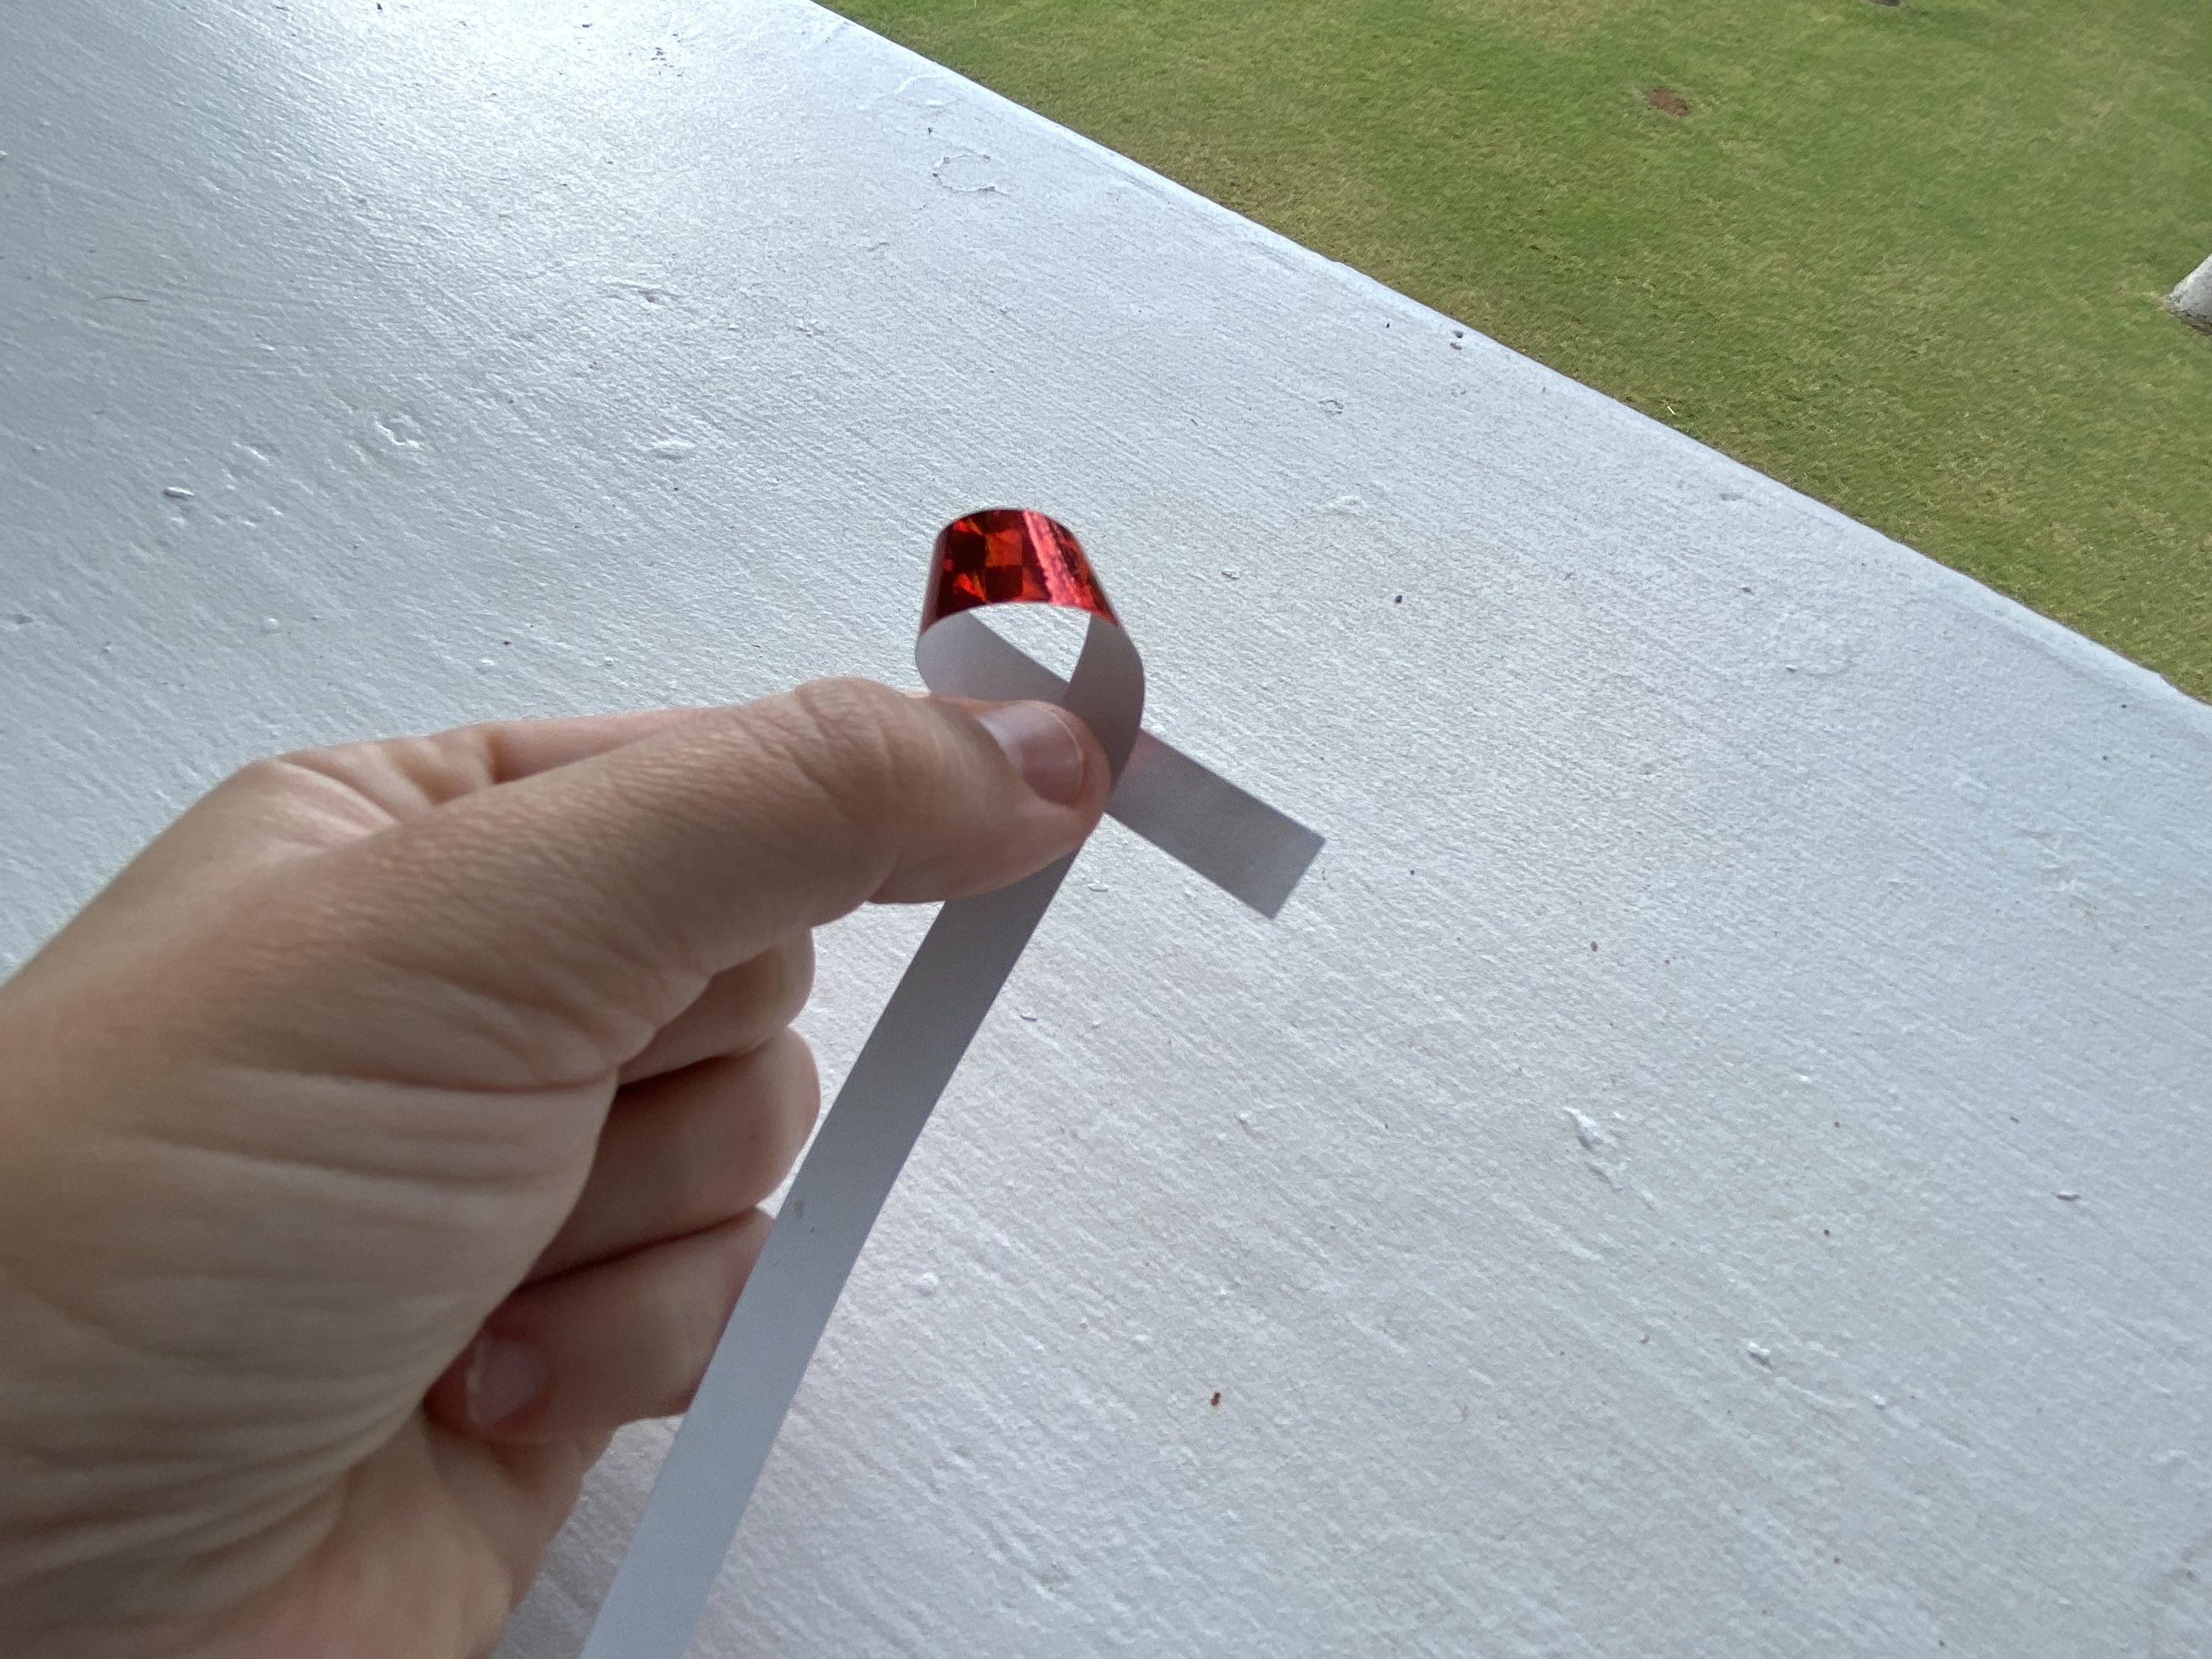
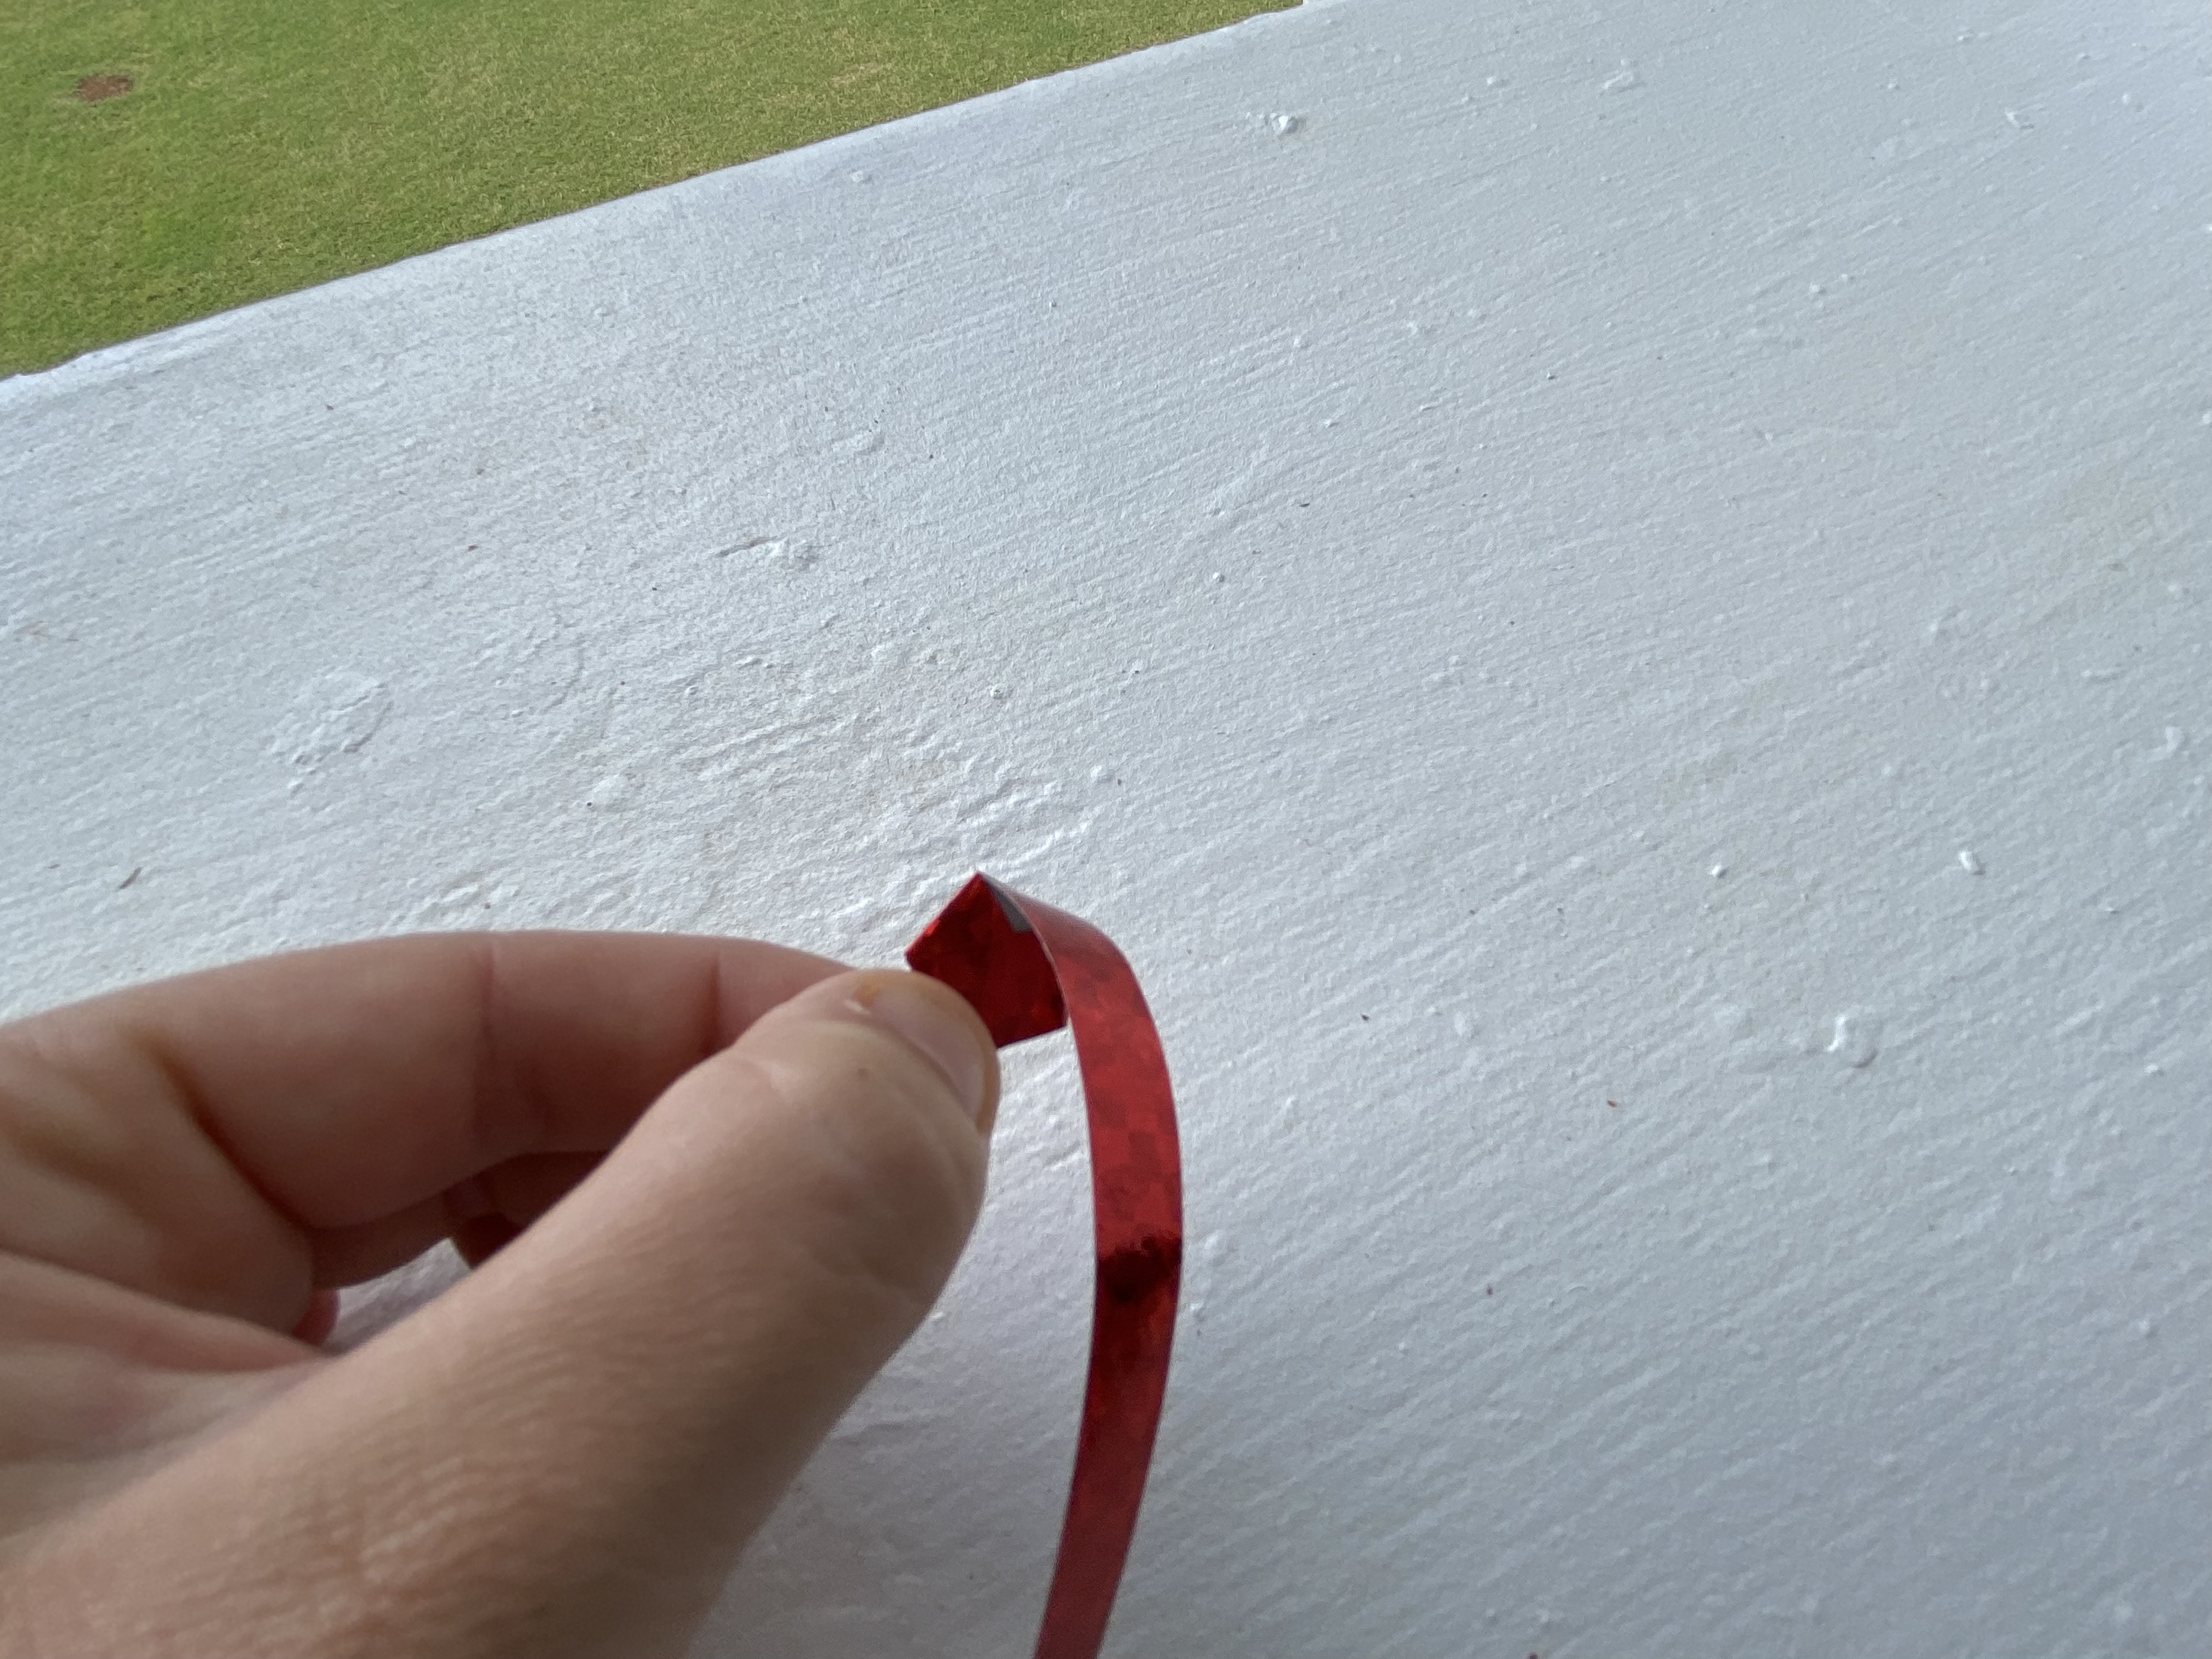
First, you need to basically tie (fold) a simple knot near one end…
I think the finicky-est part is finagling the knot so that it will lie “tight” when you flatten it. But you want to get the “knot” as clean as possible (with a “tail” of about a half inch), as that will give you the star shape.
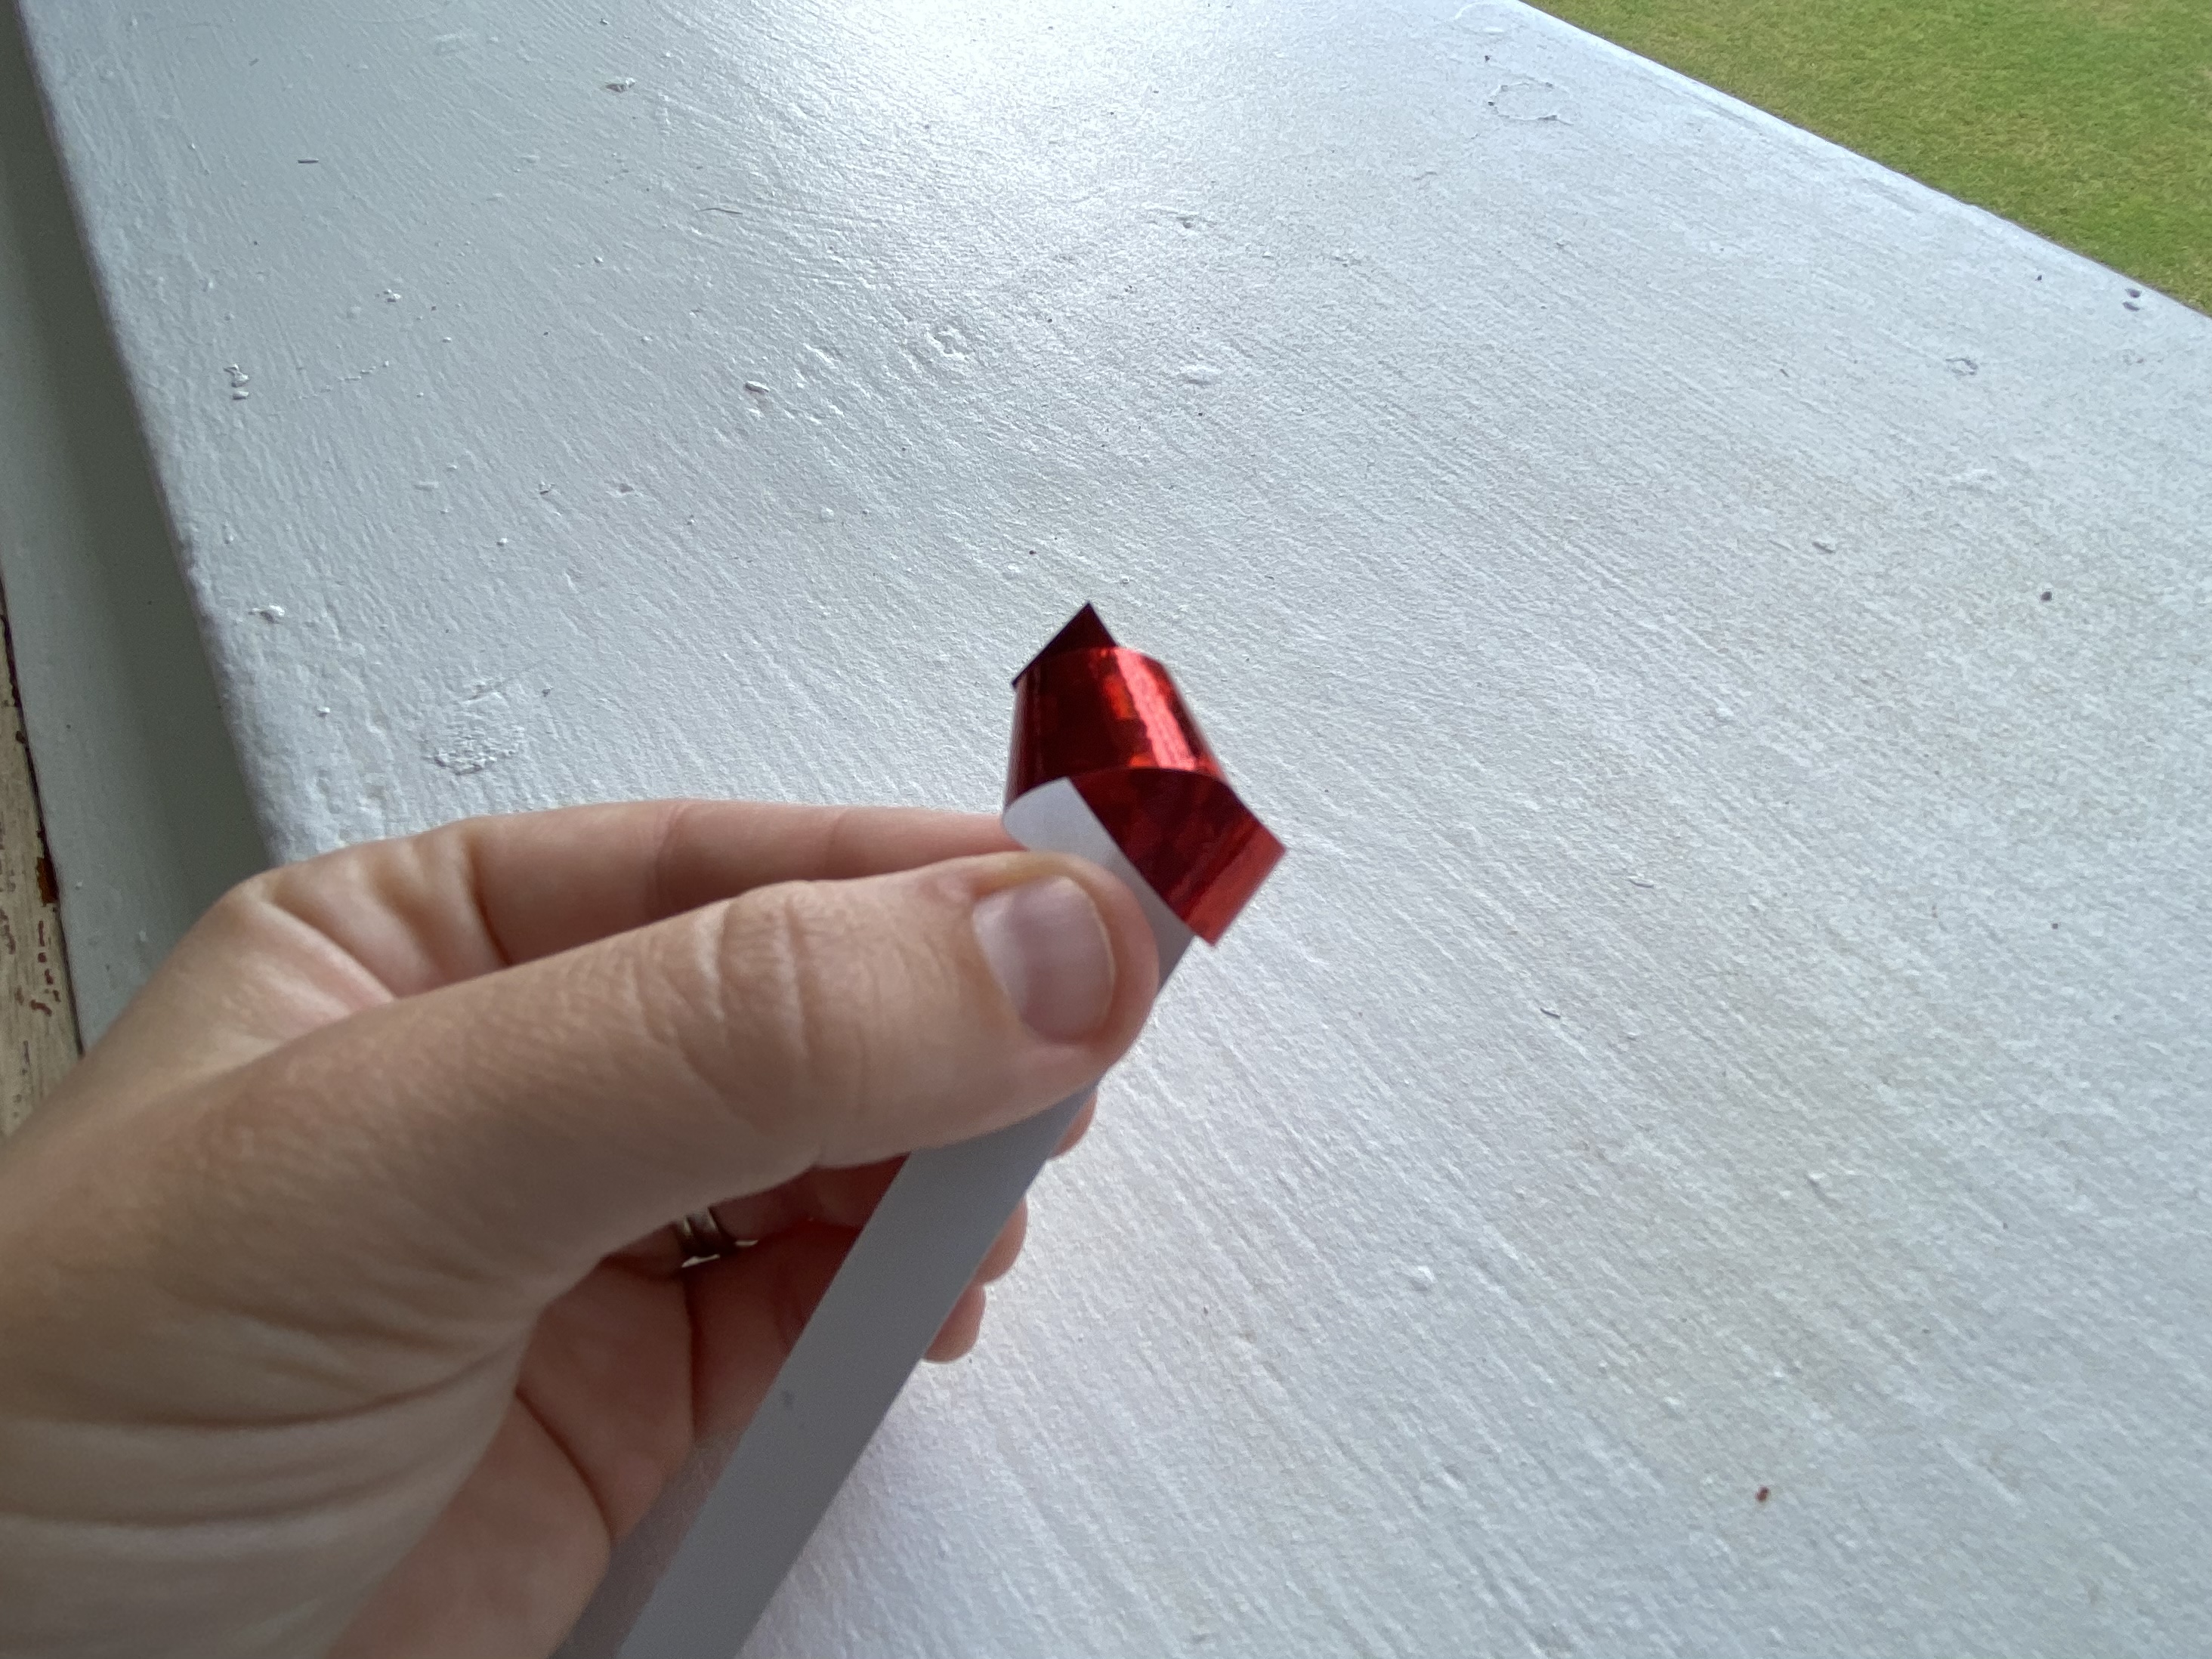
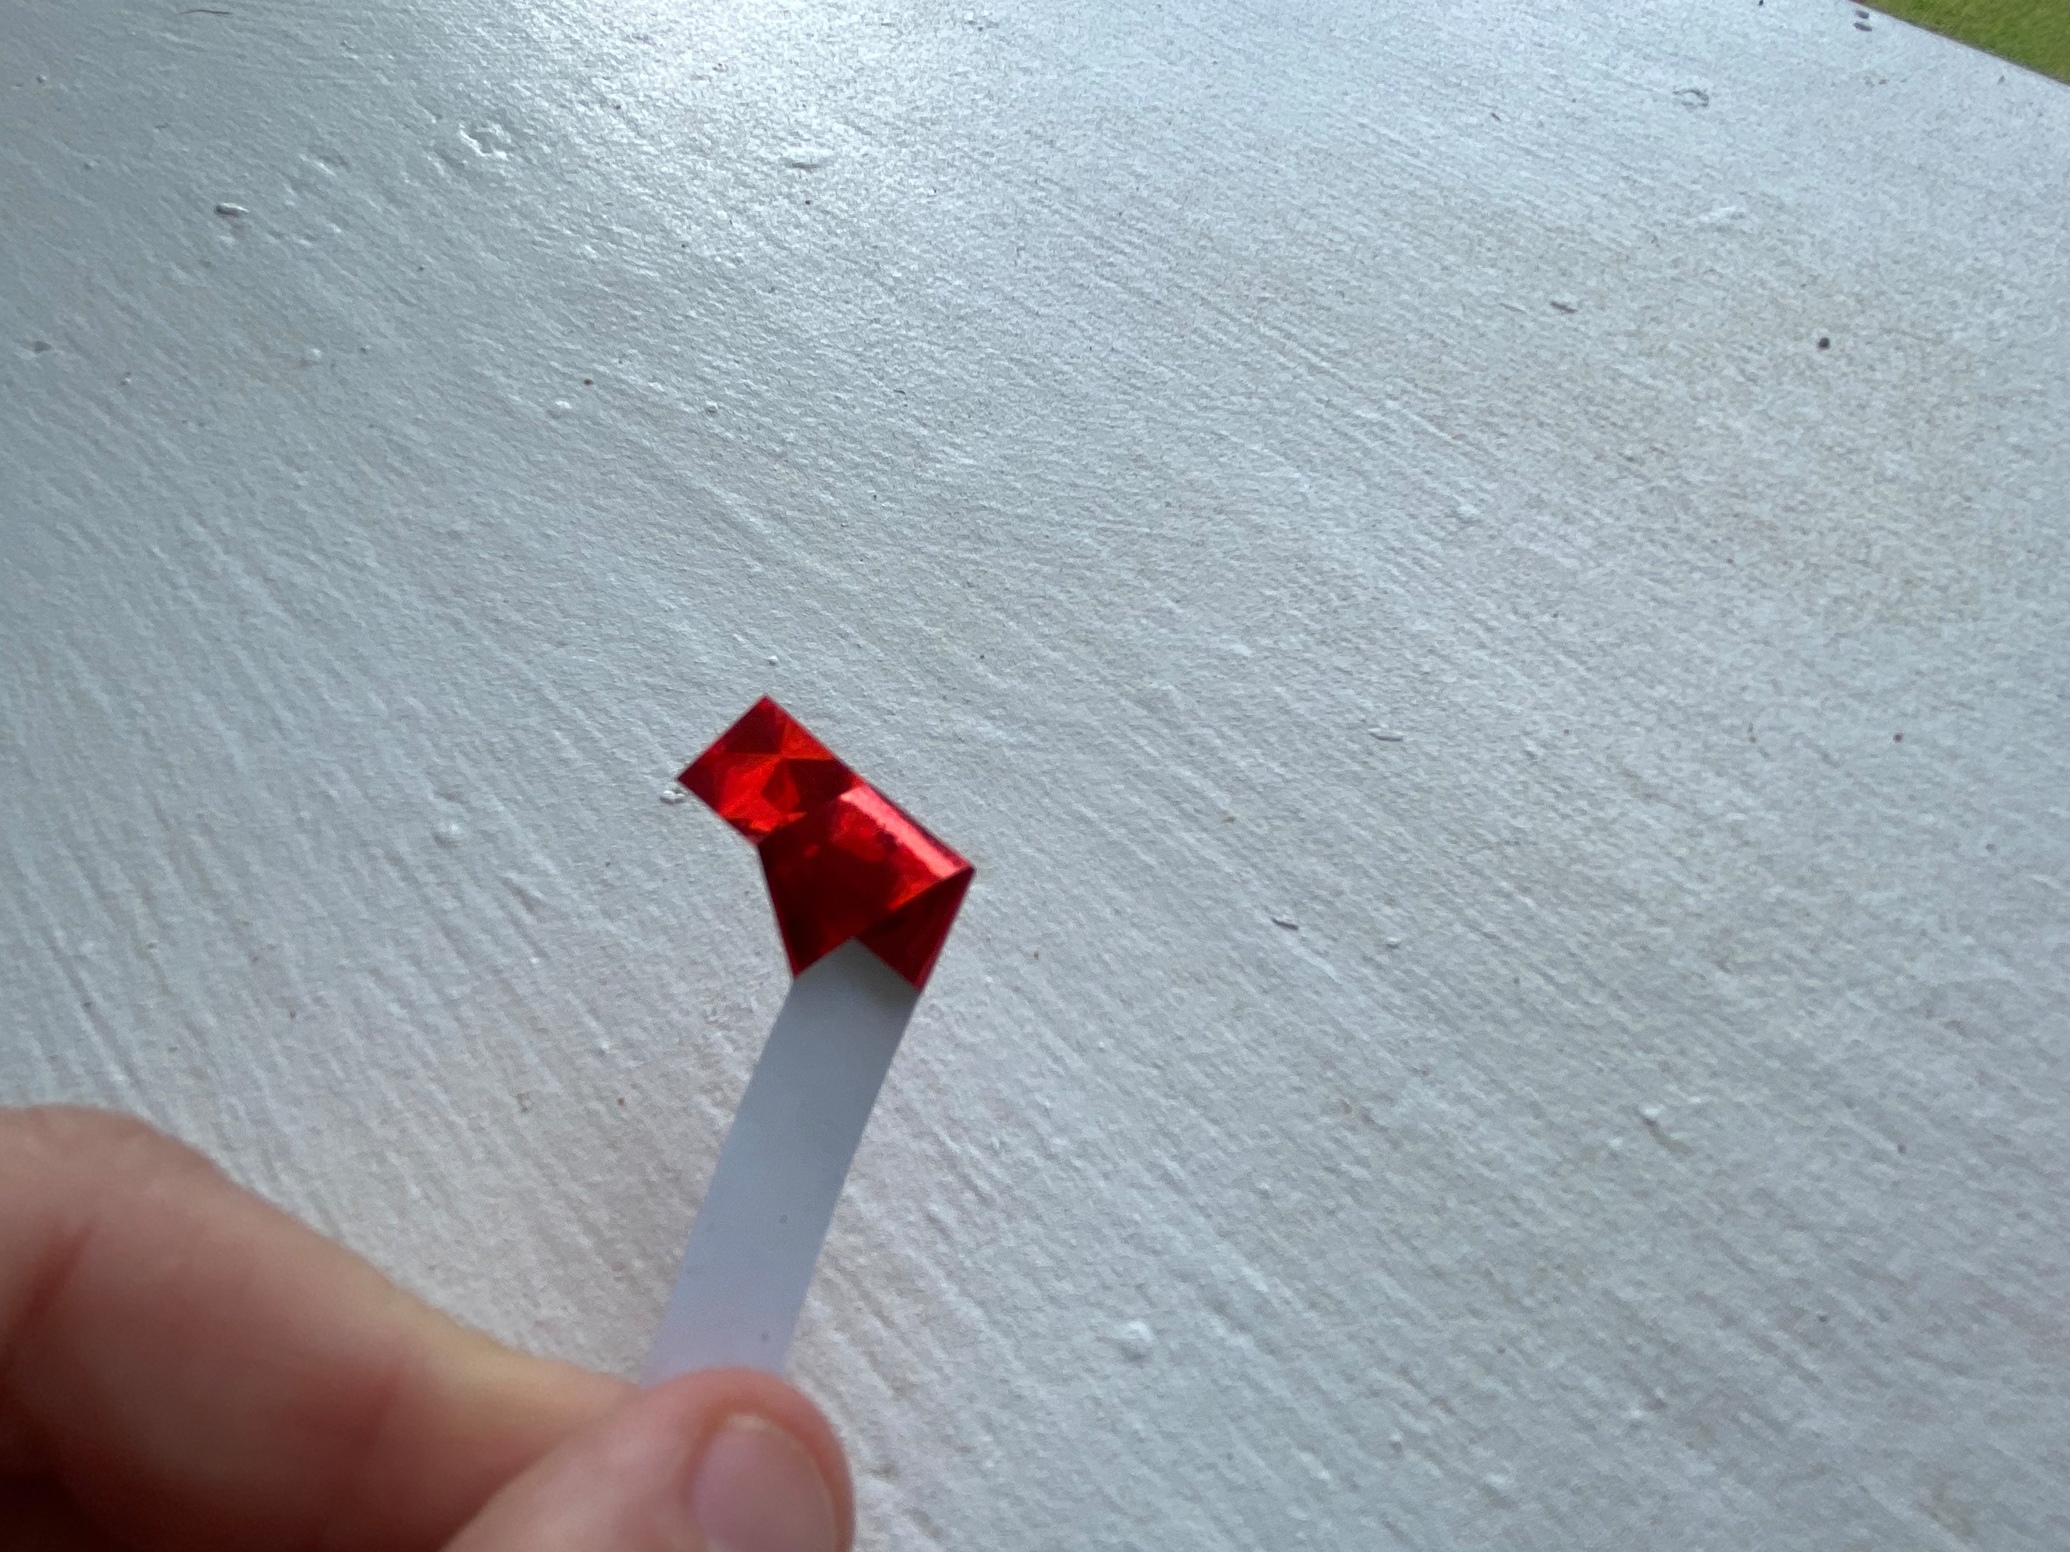
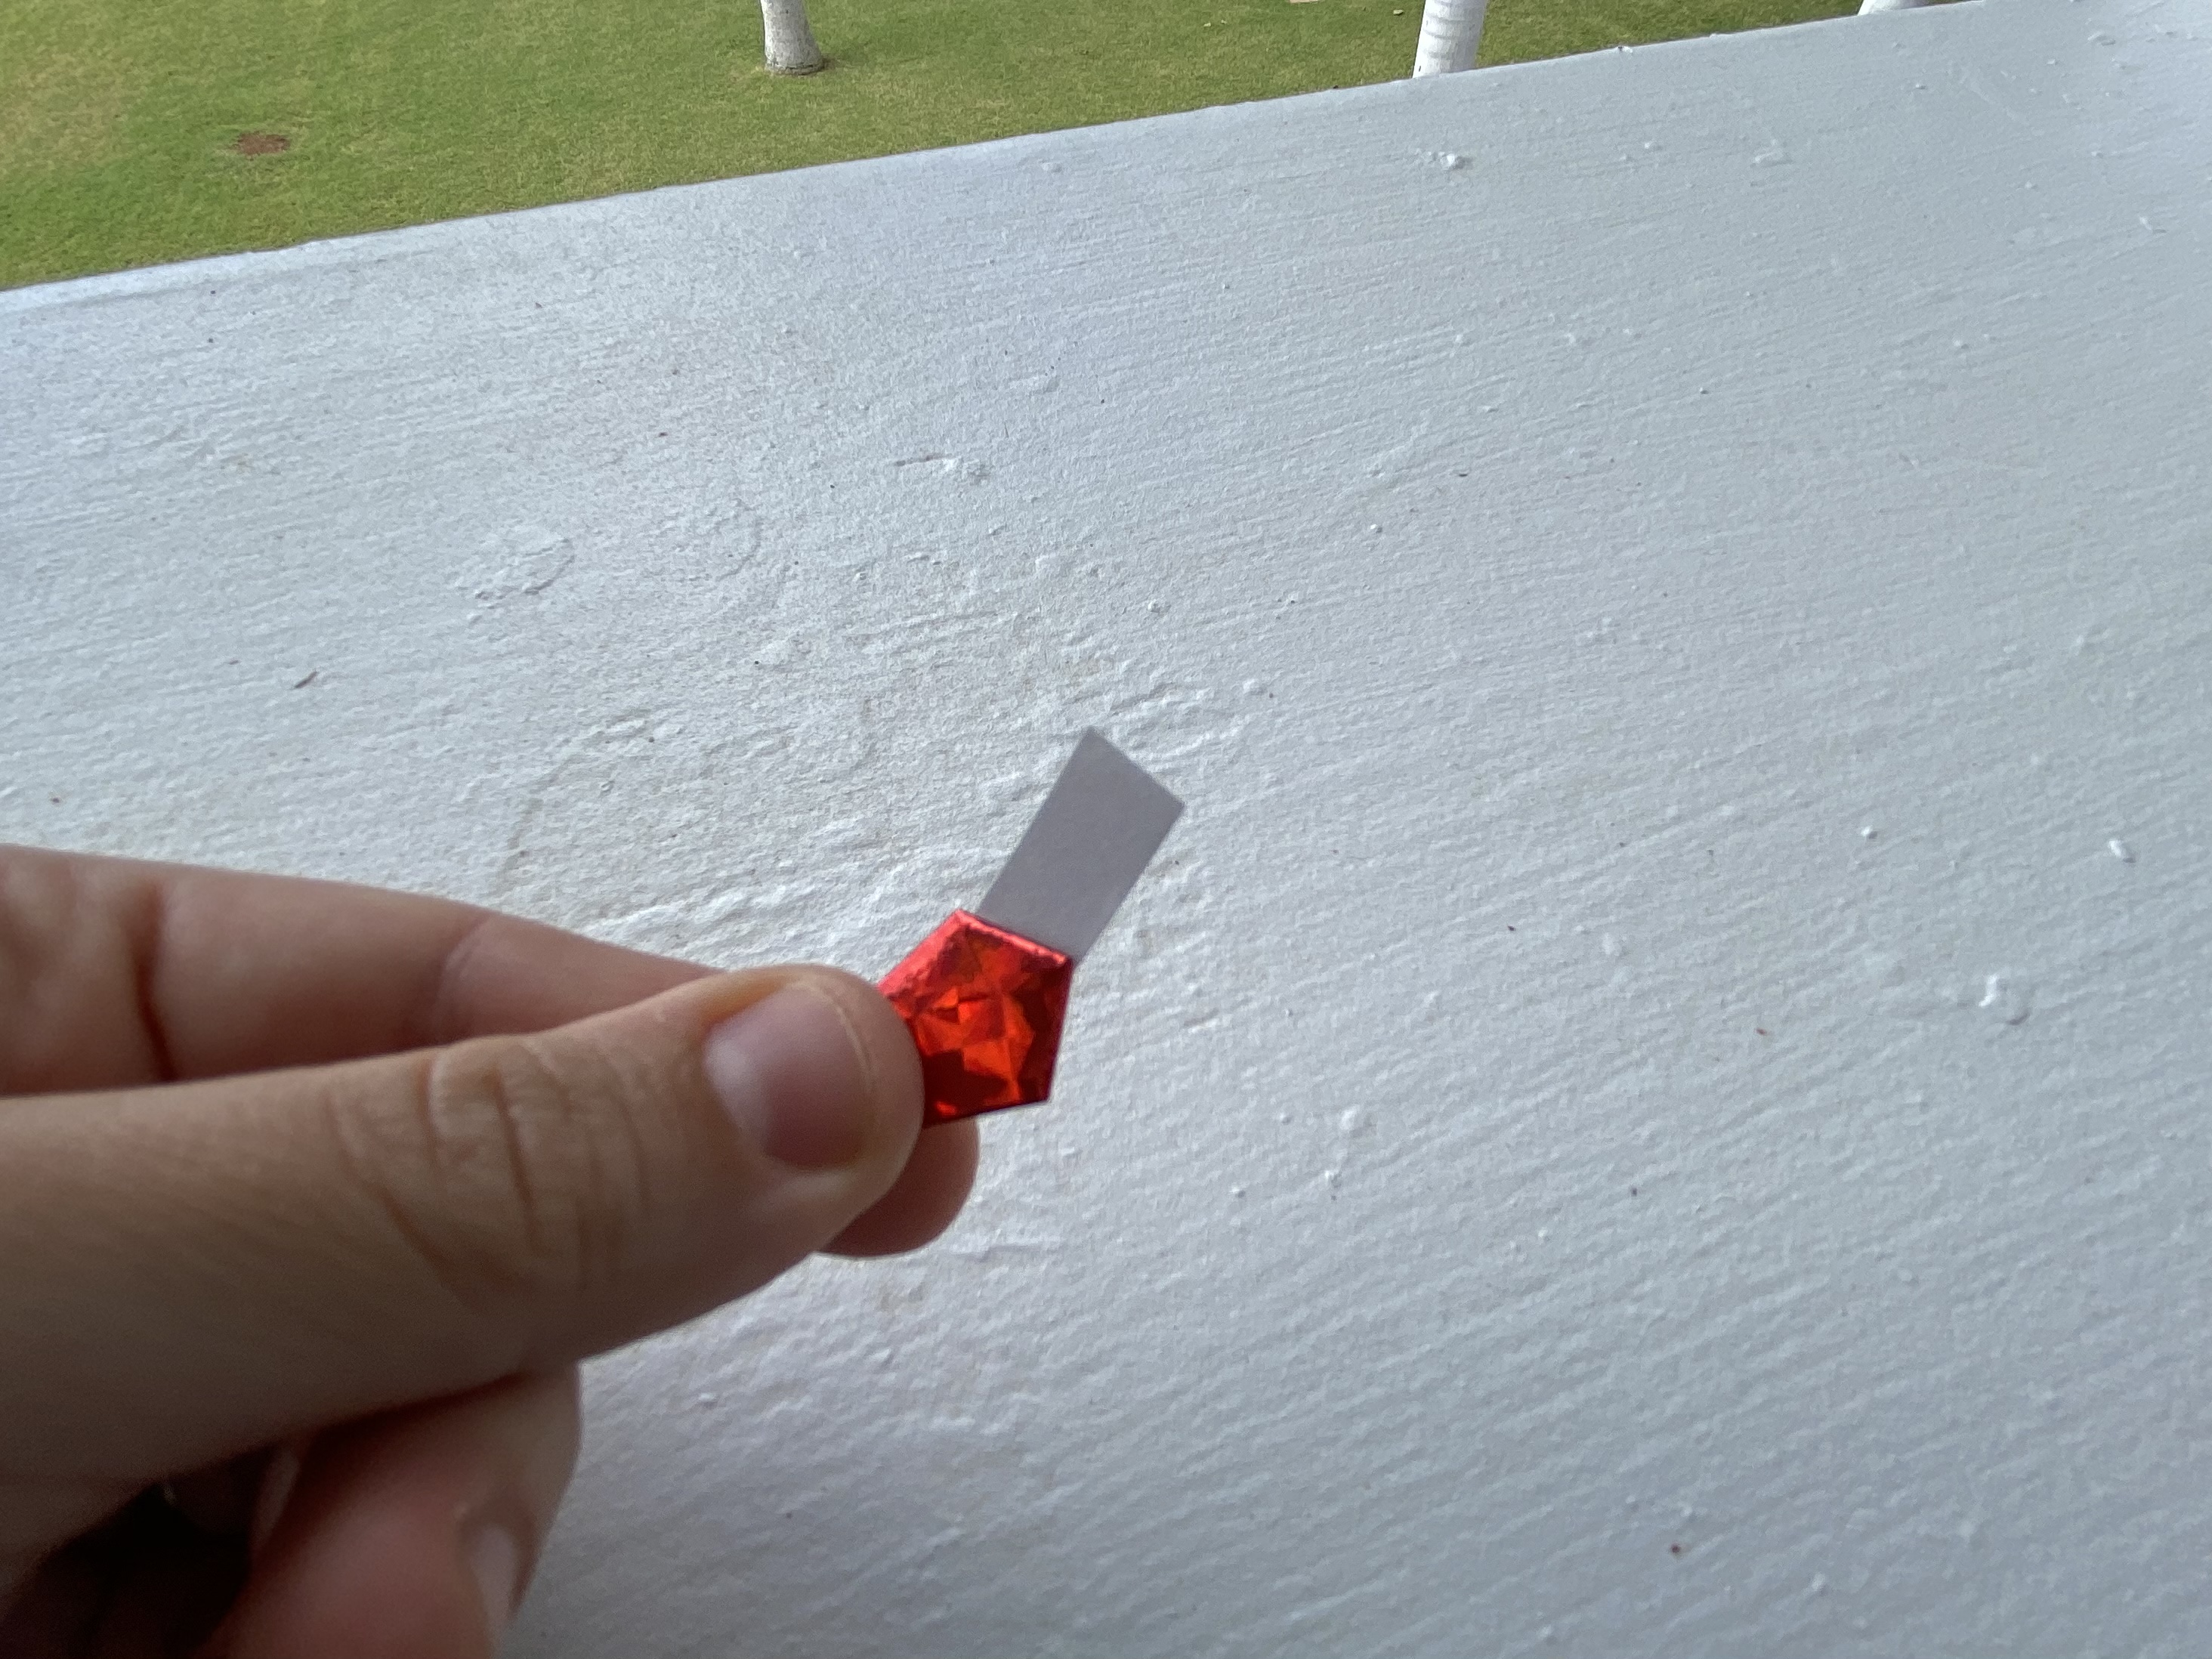
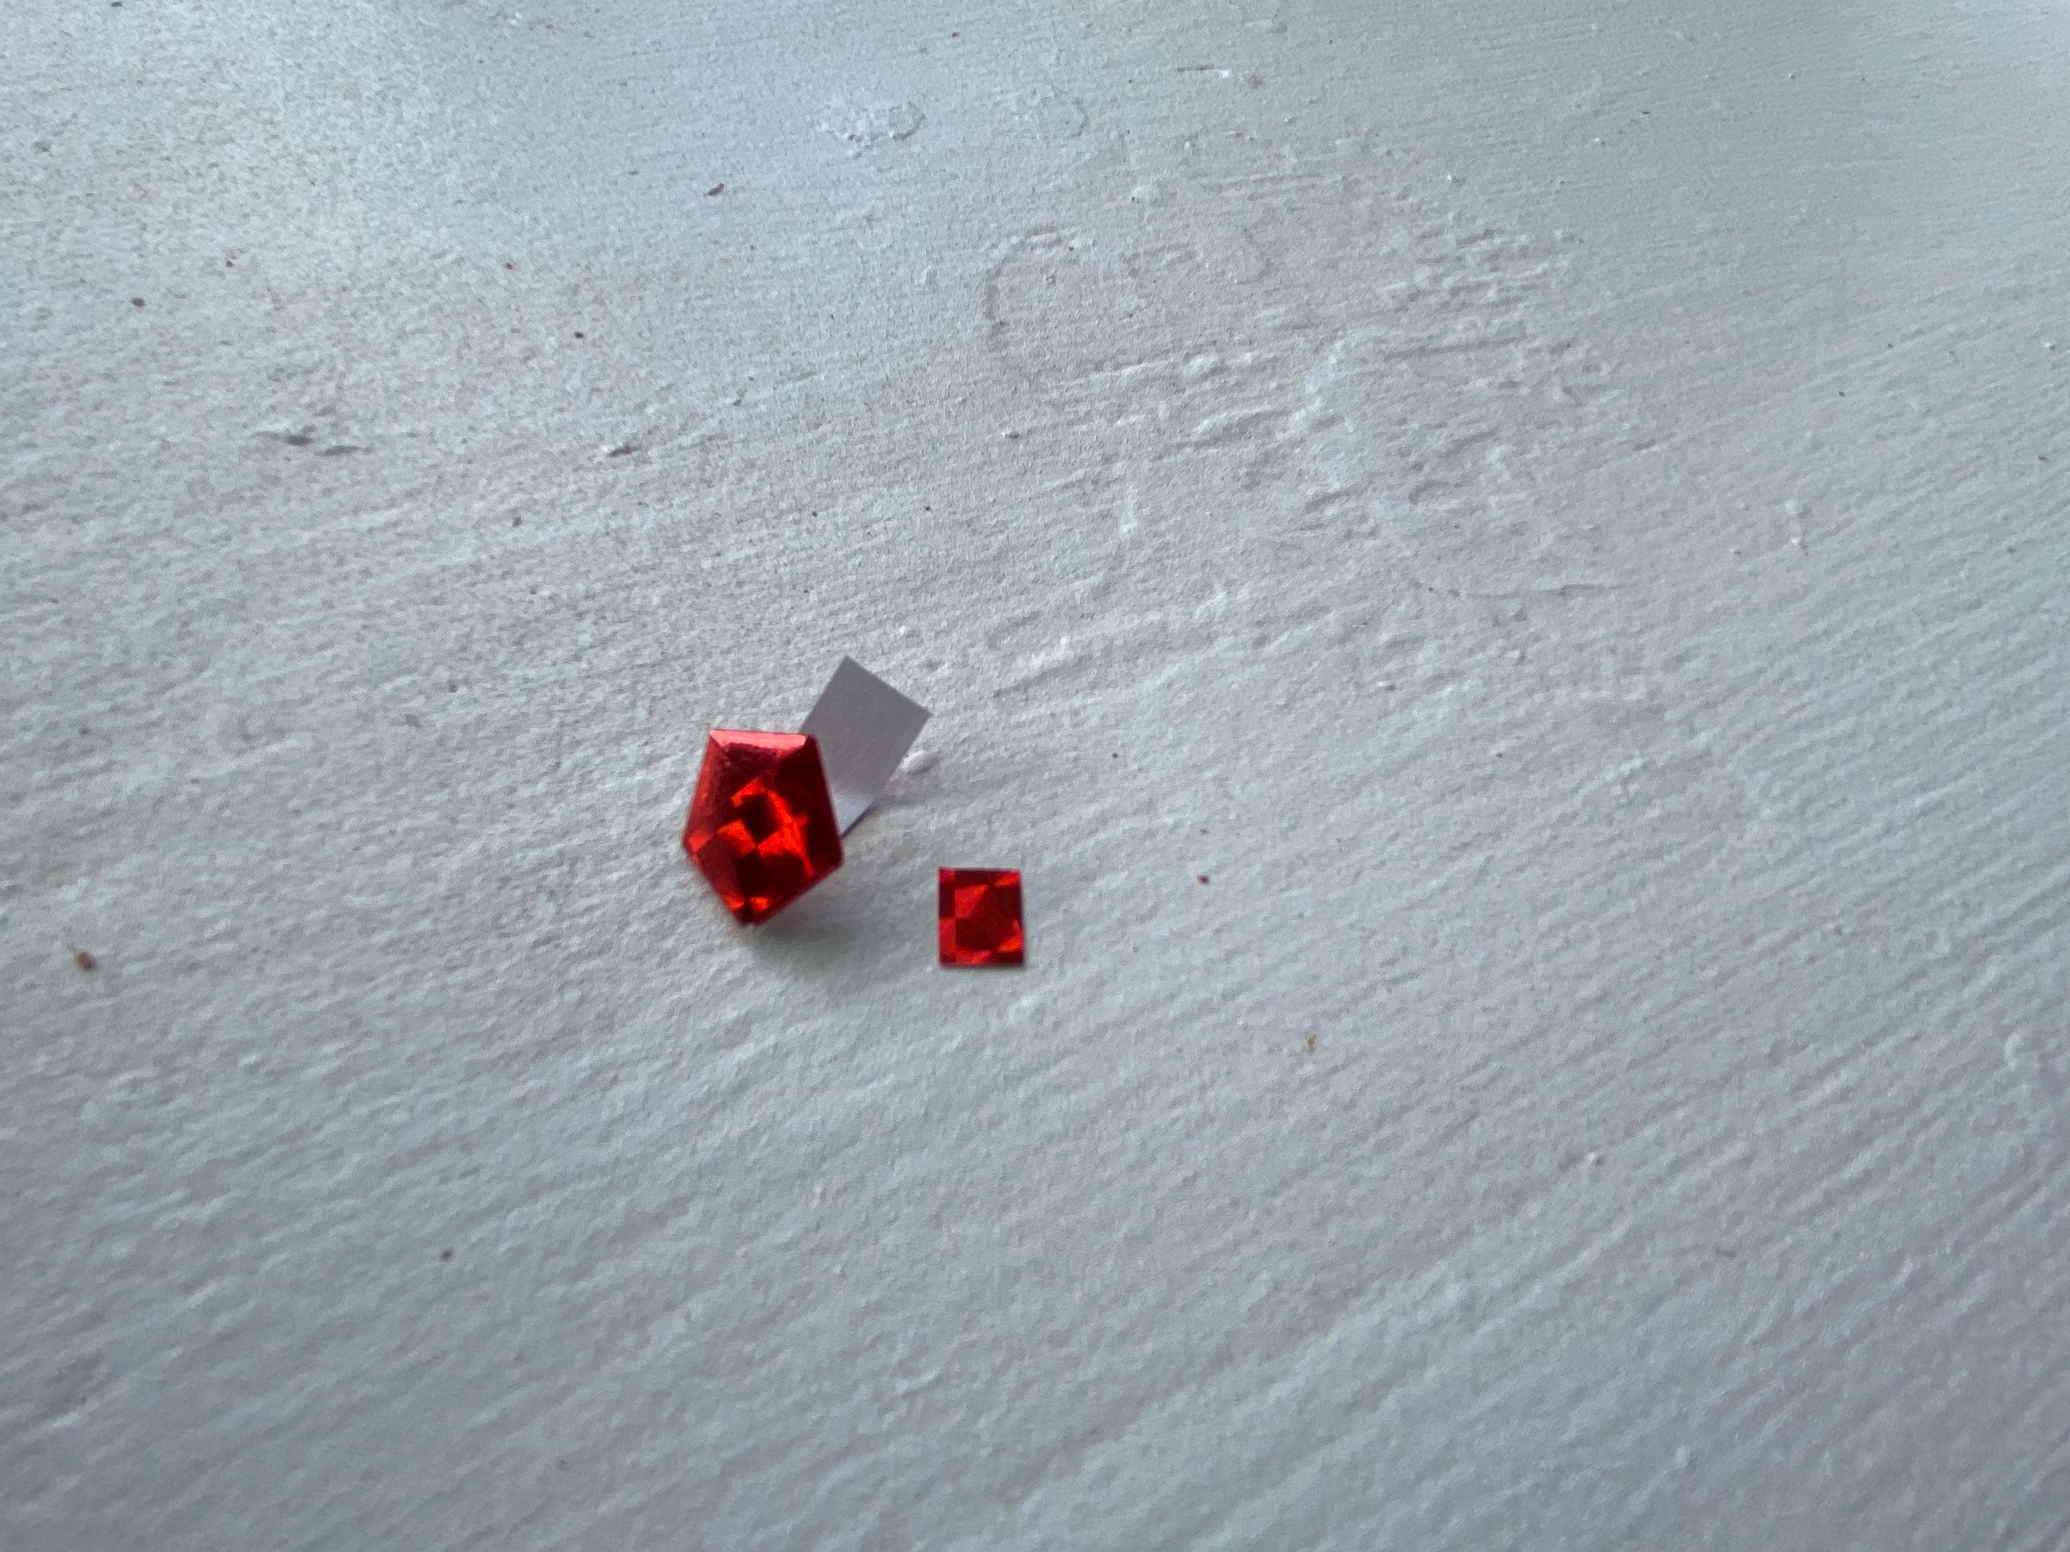
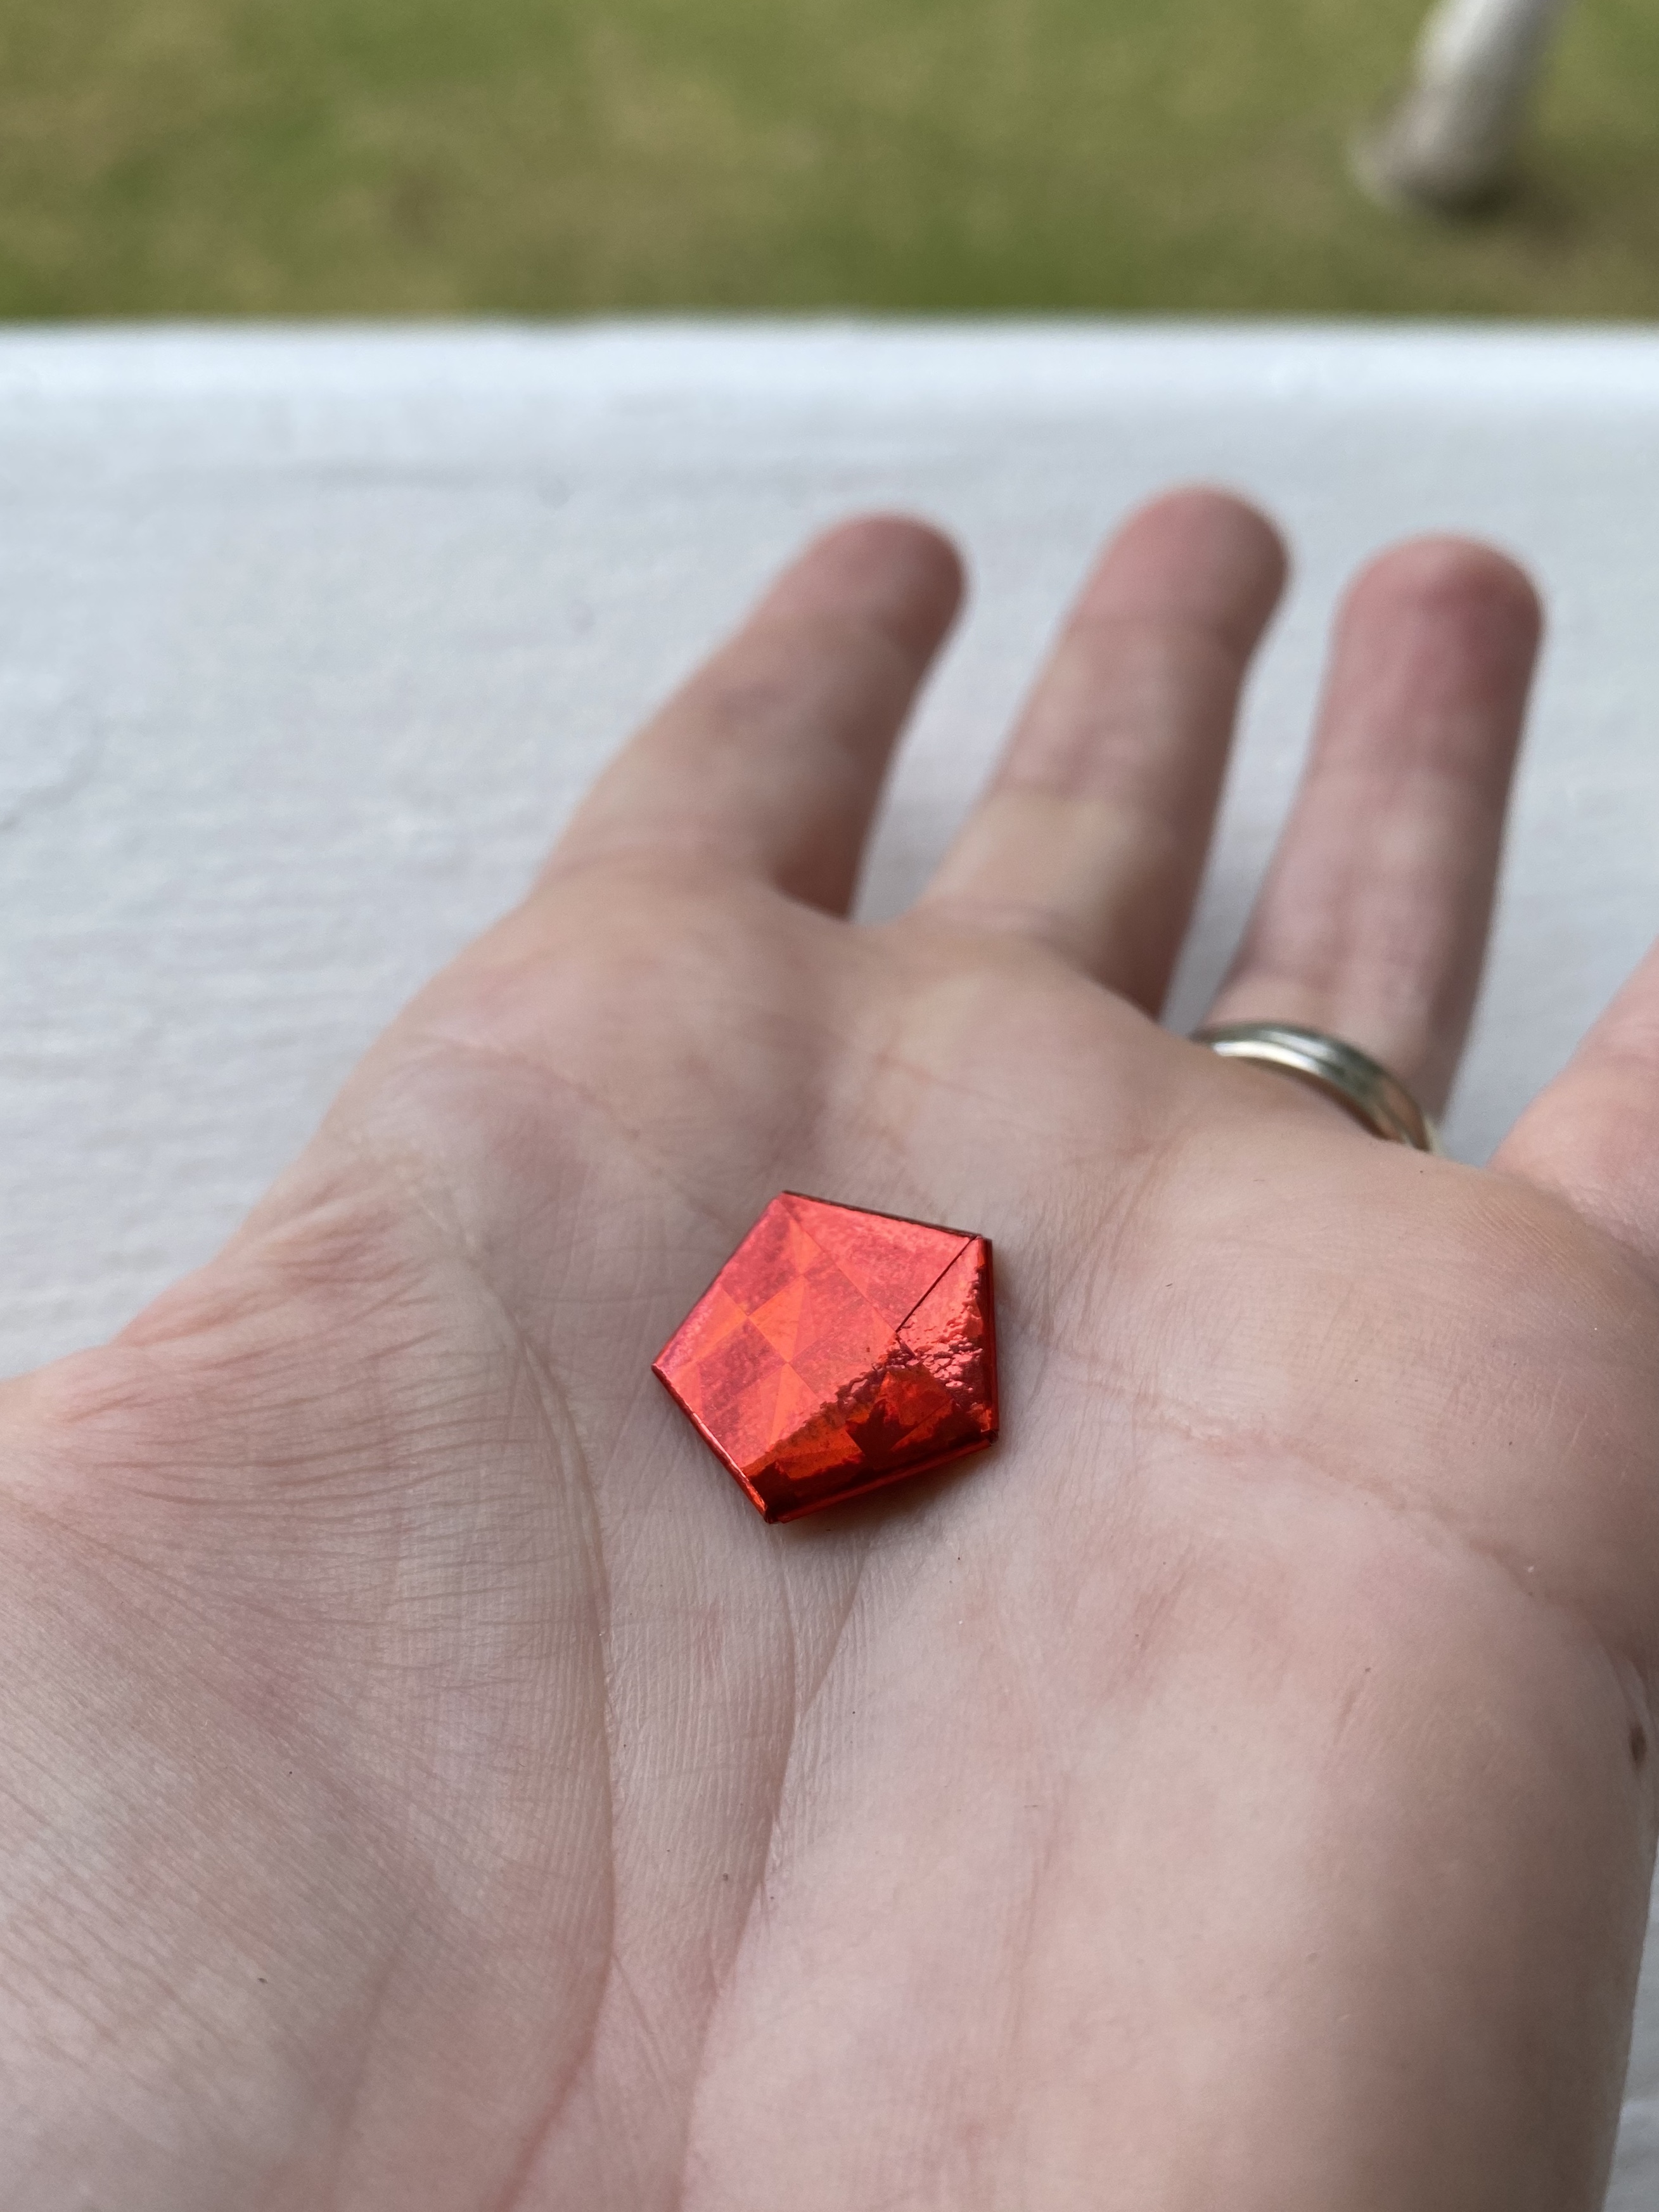
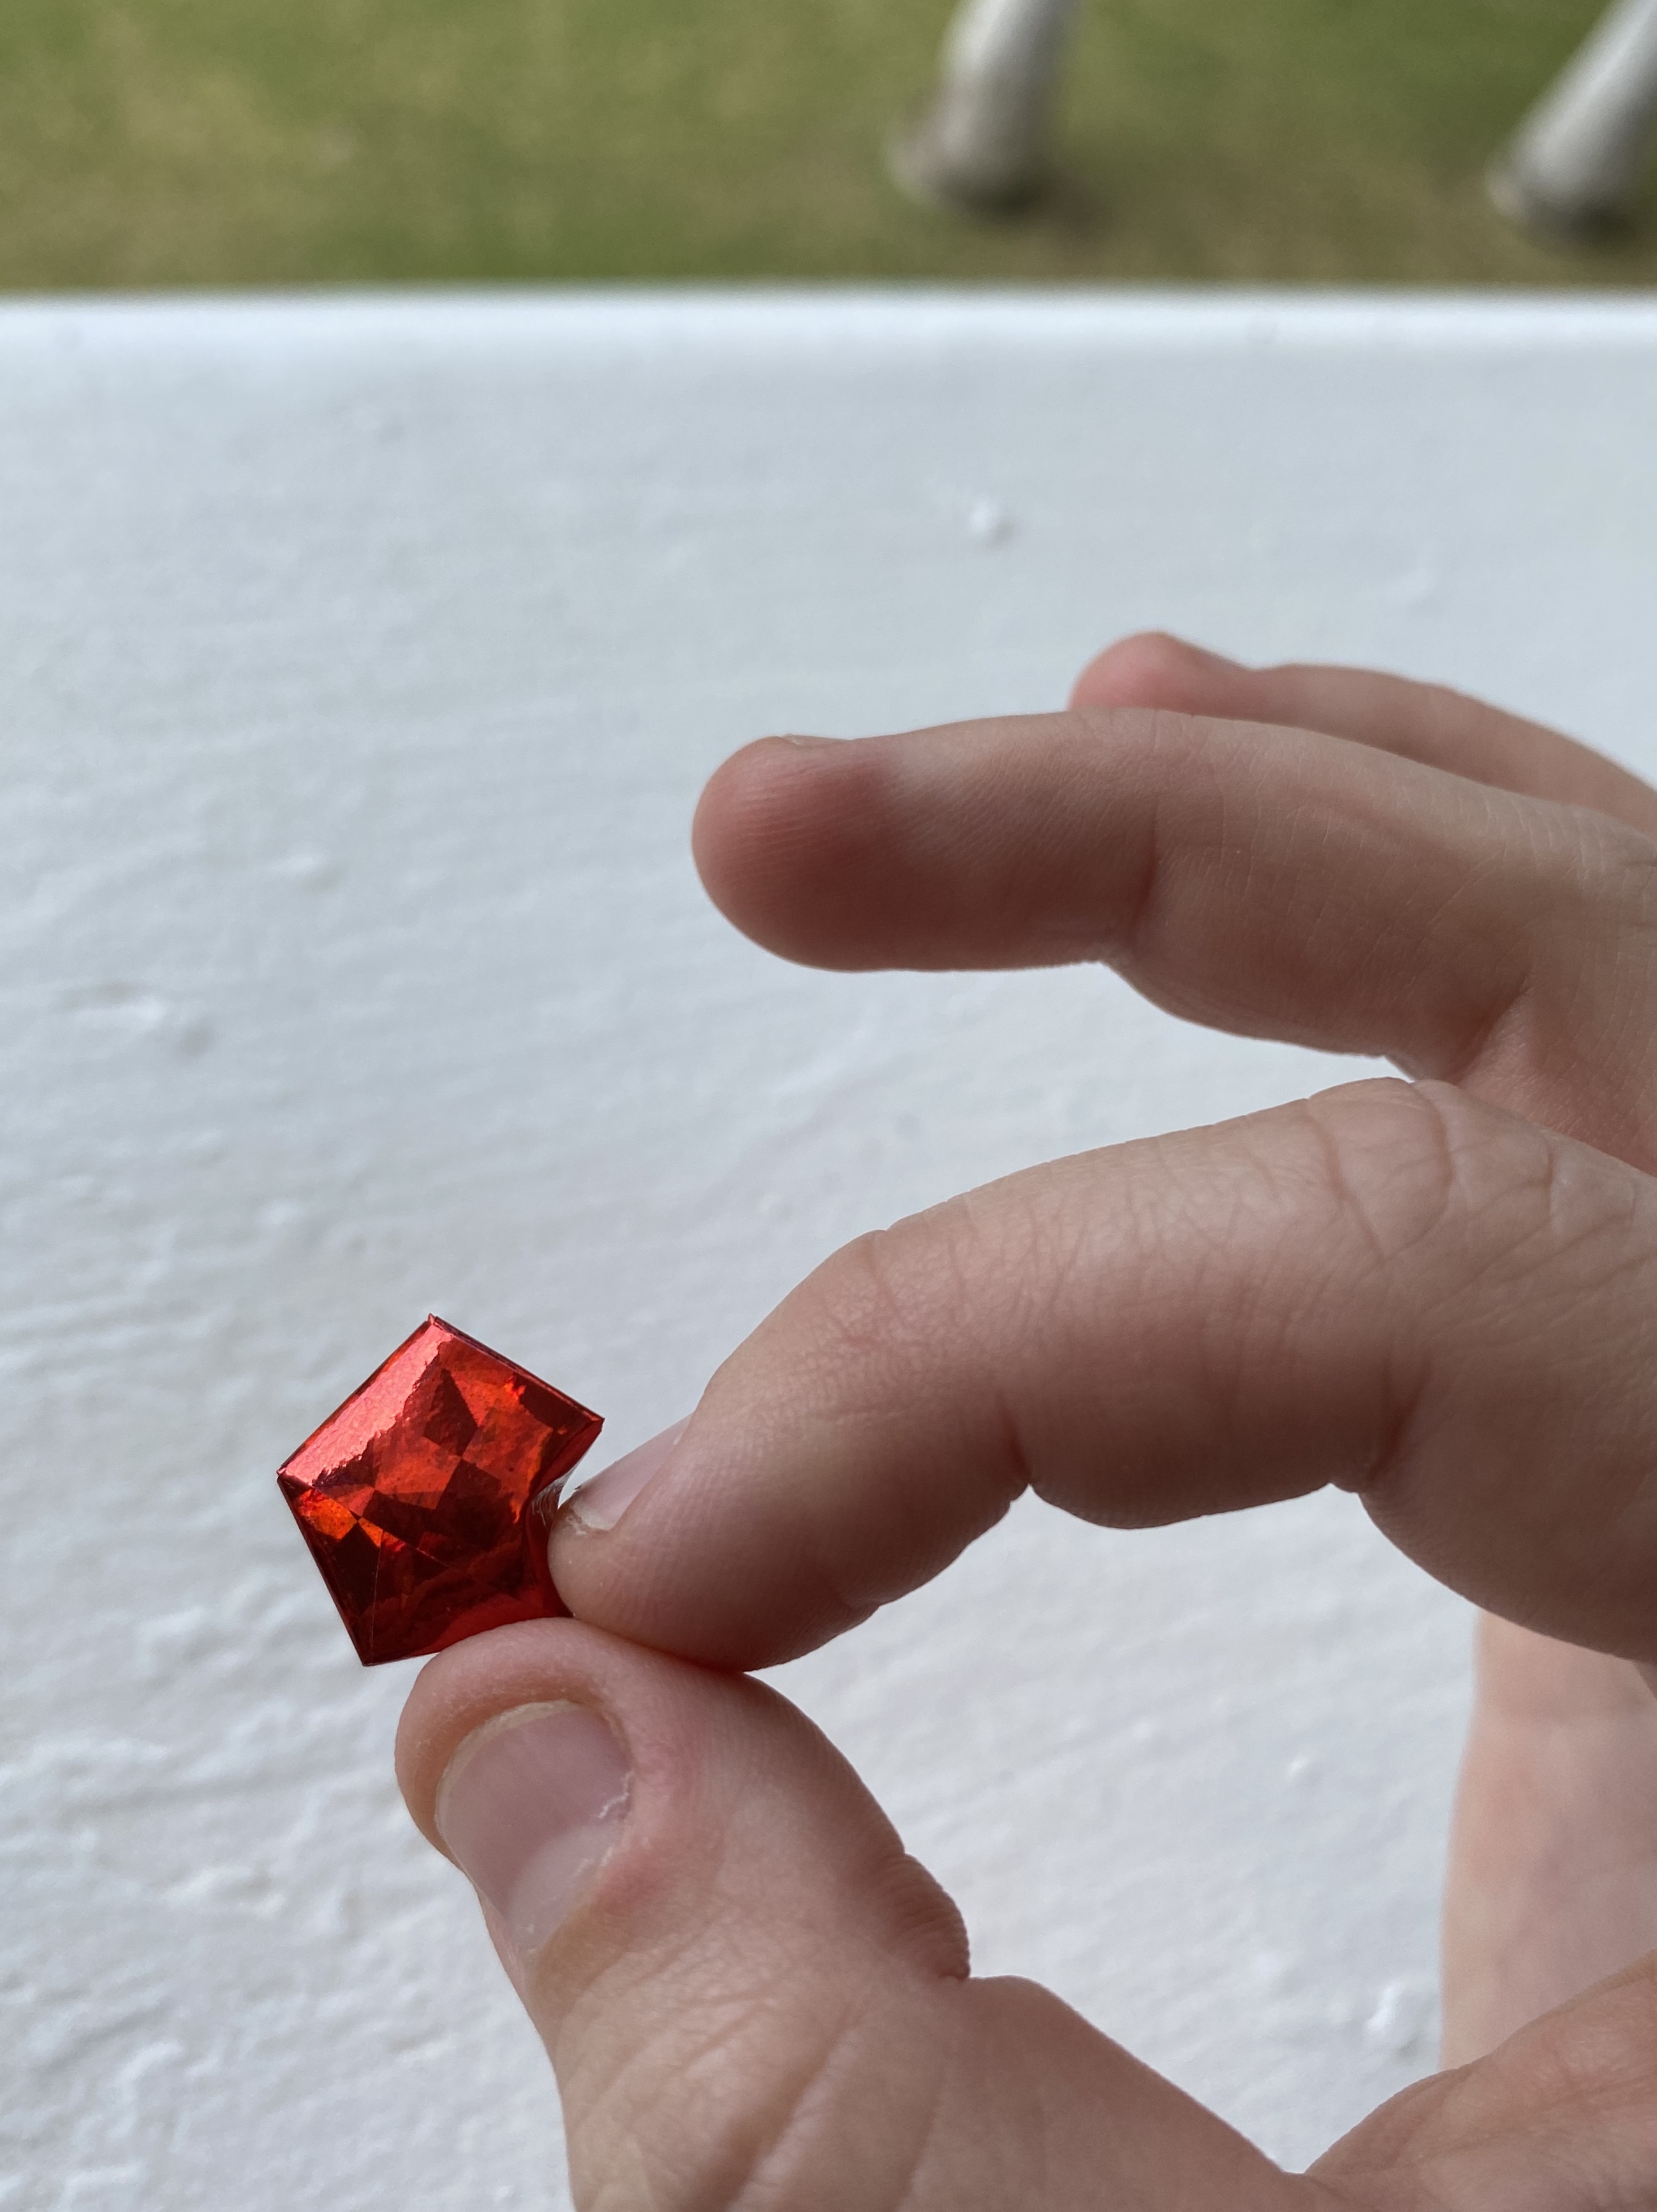
Then, tuck the end of the tail into the star by making sure both corners are under the two “pockets”/layers on the star. You should have a flat pentagon.
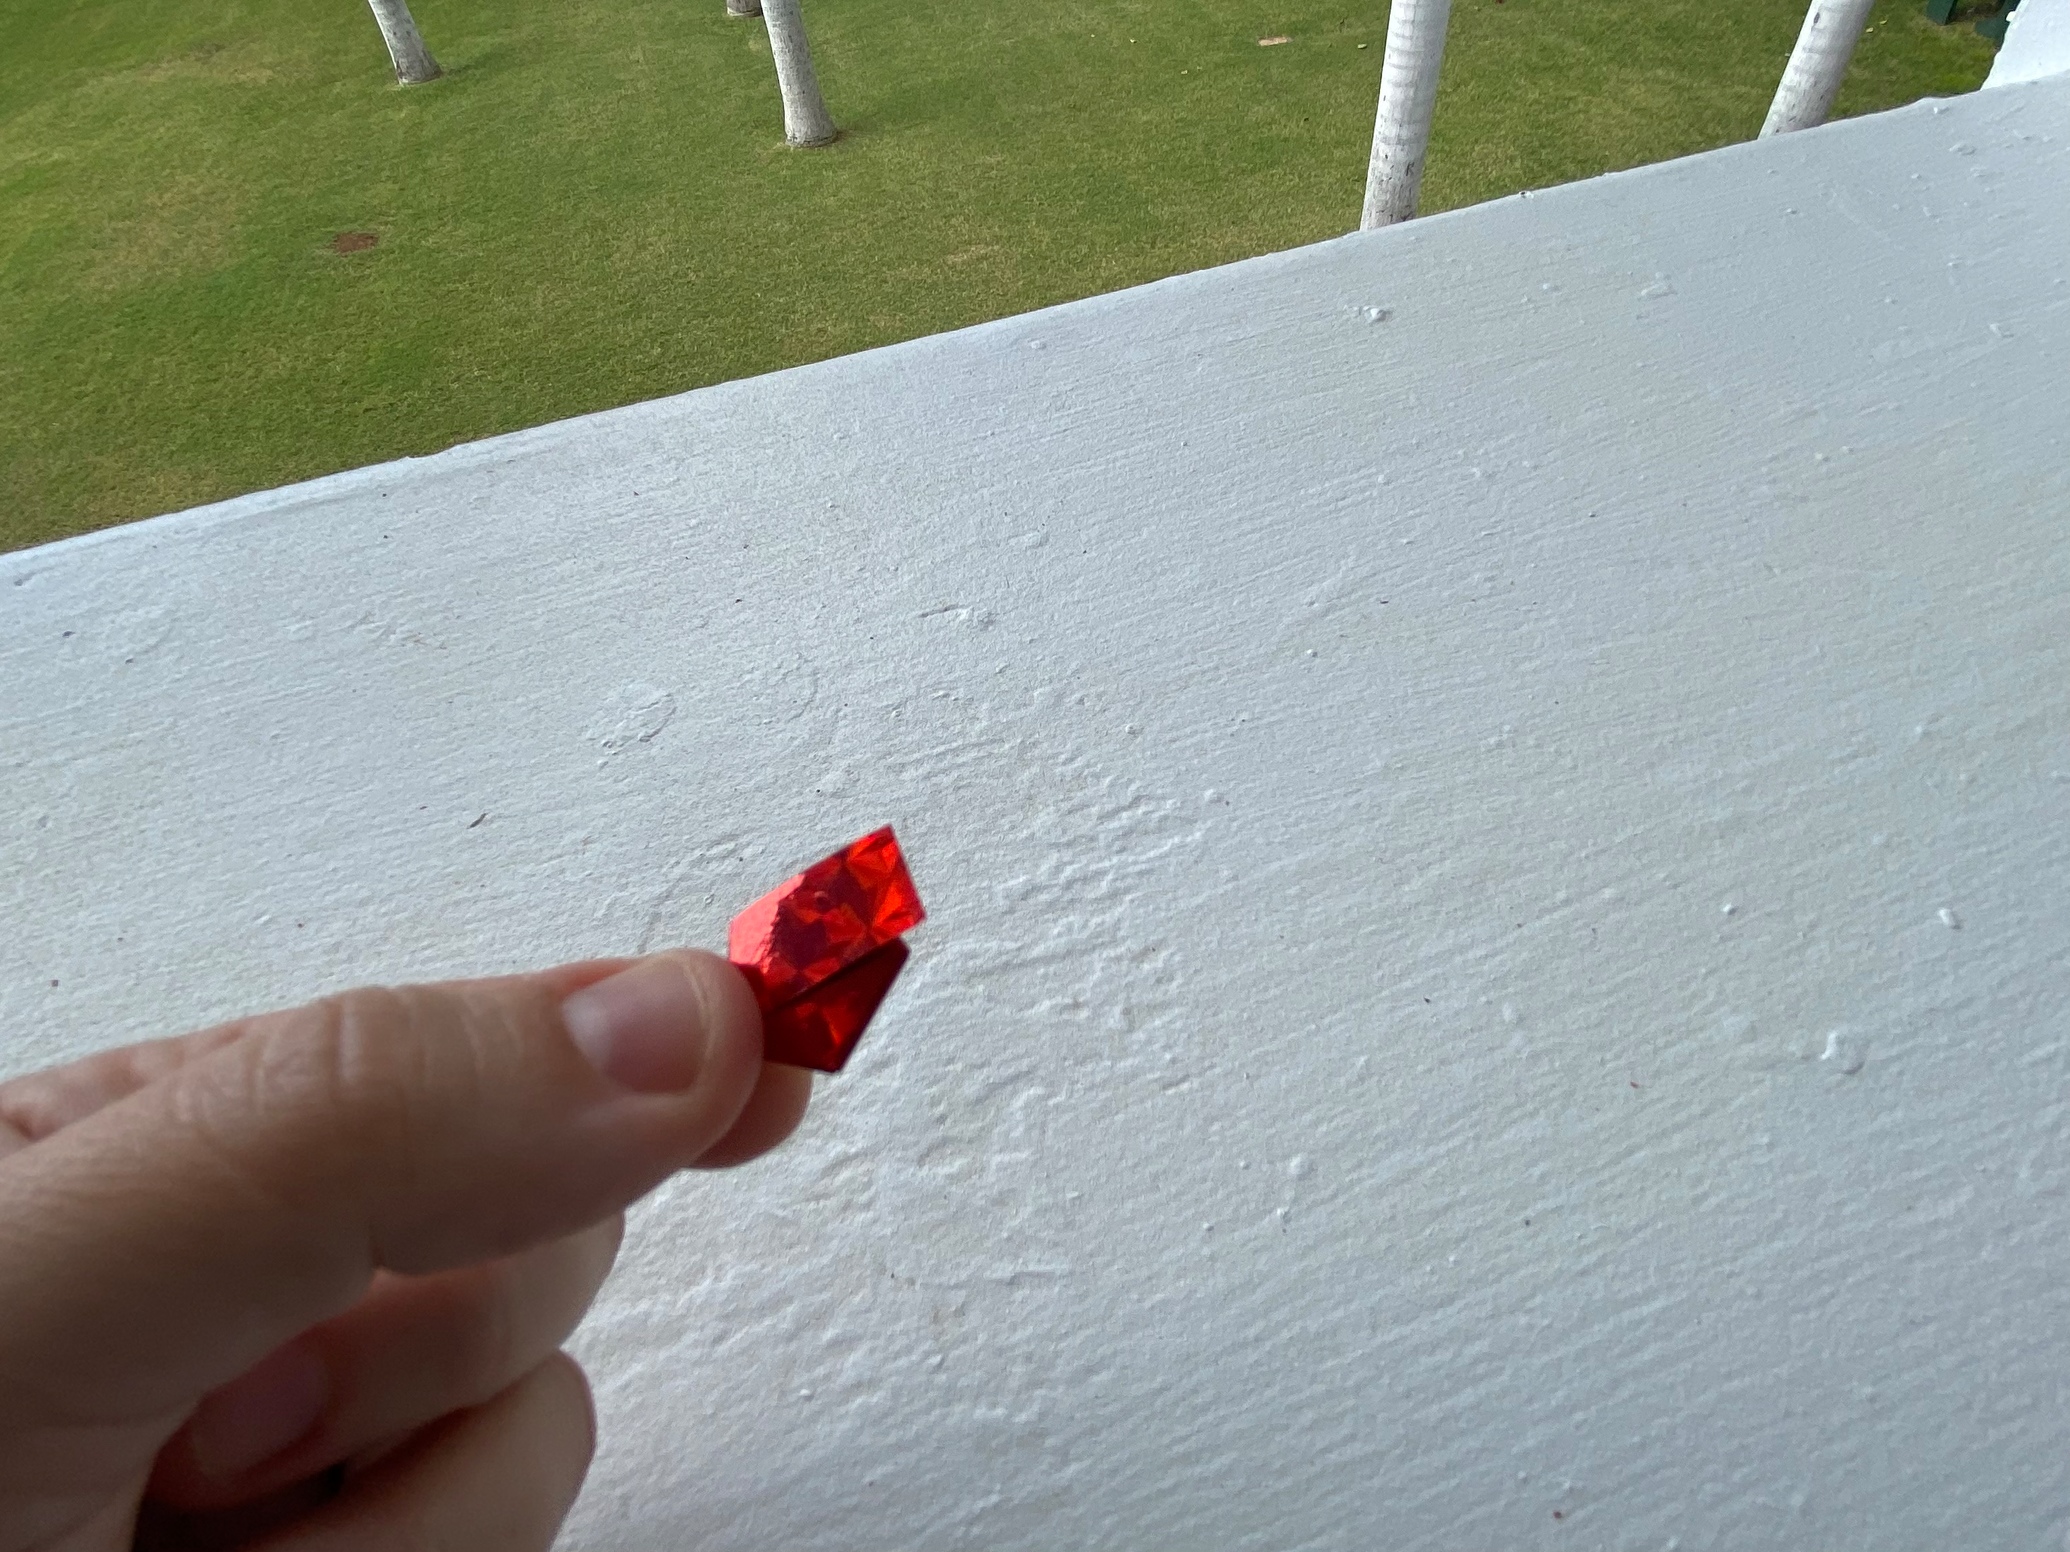
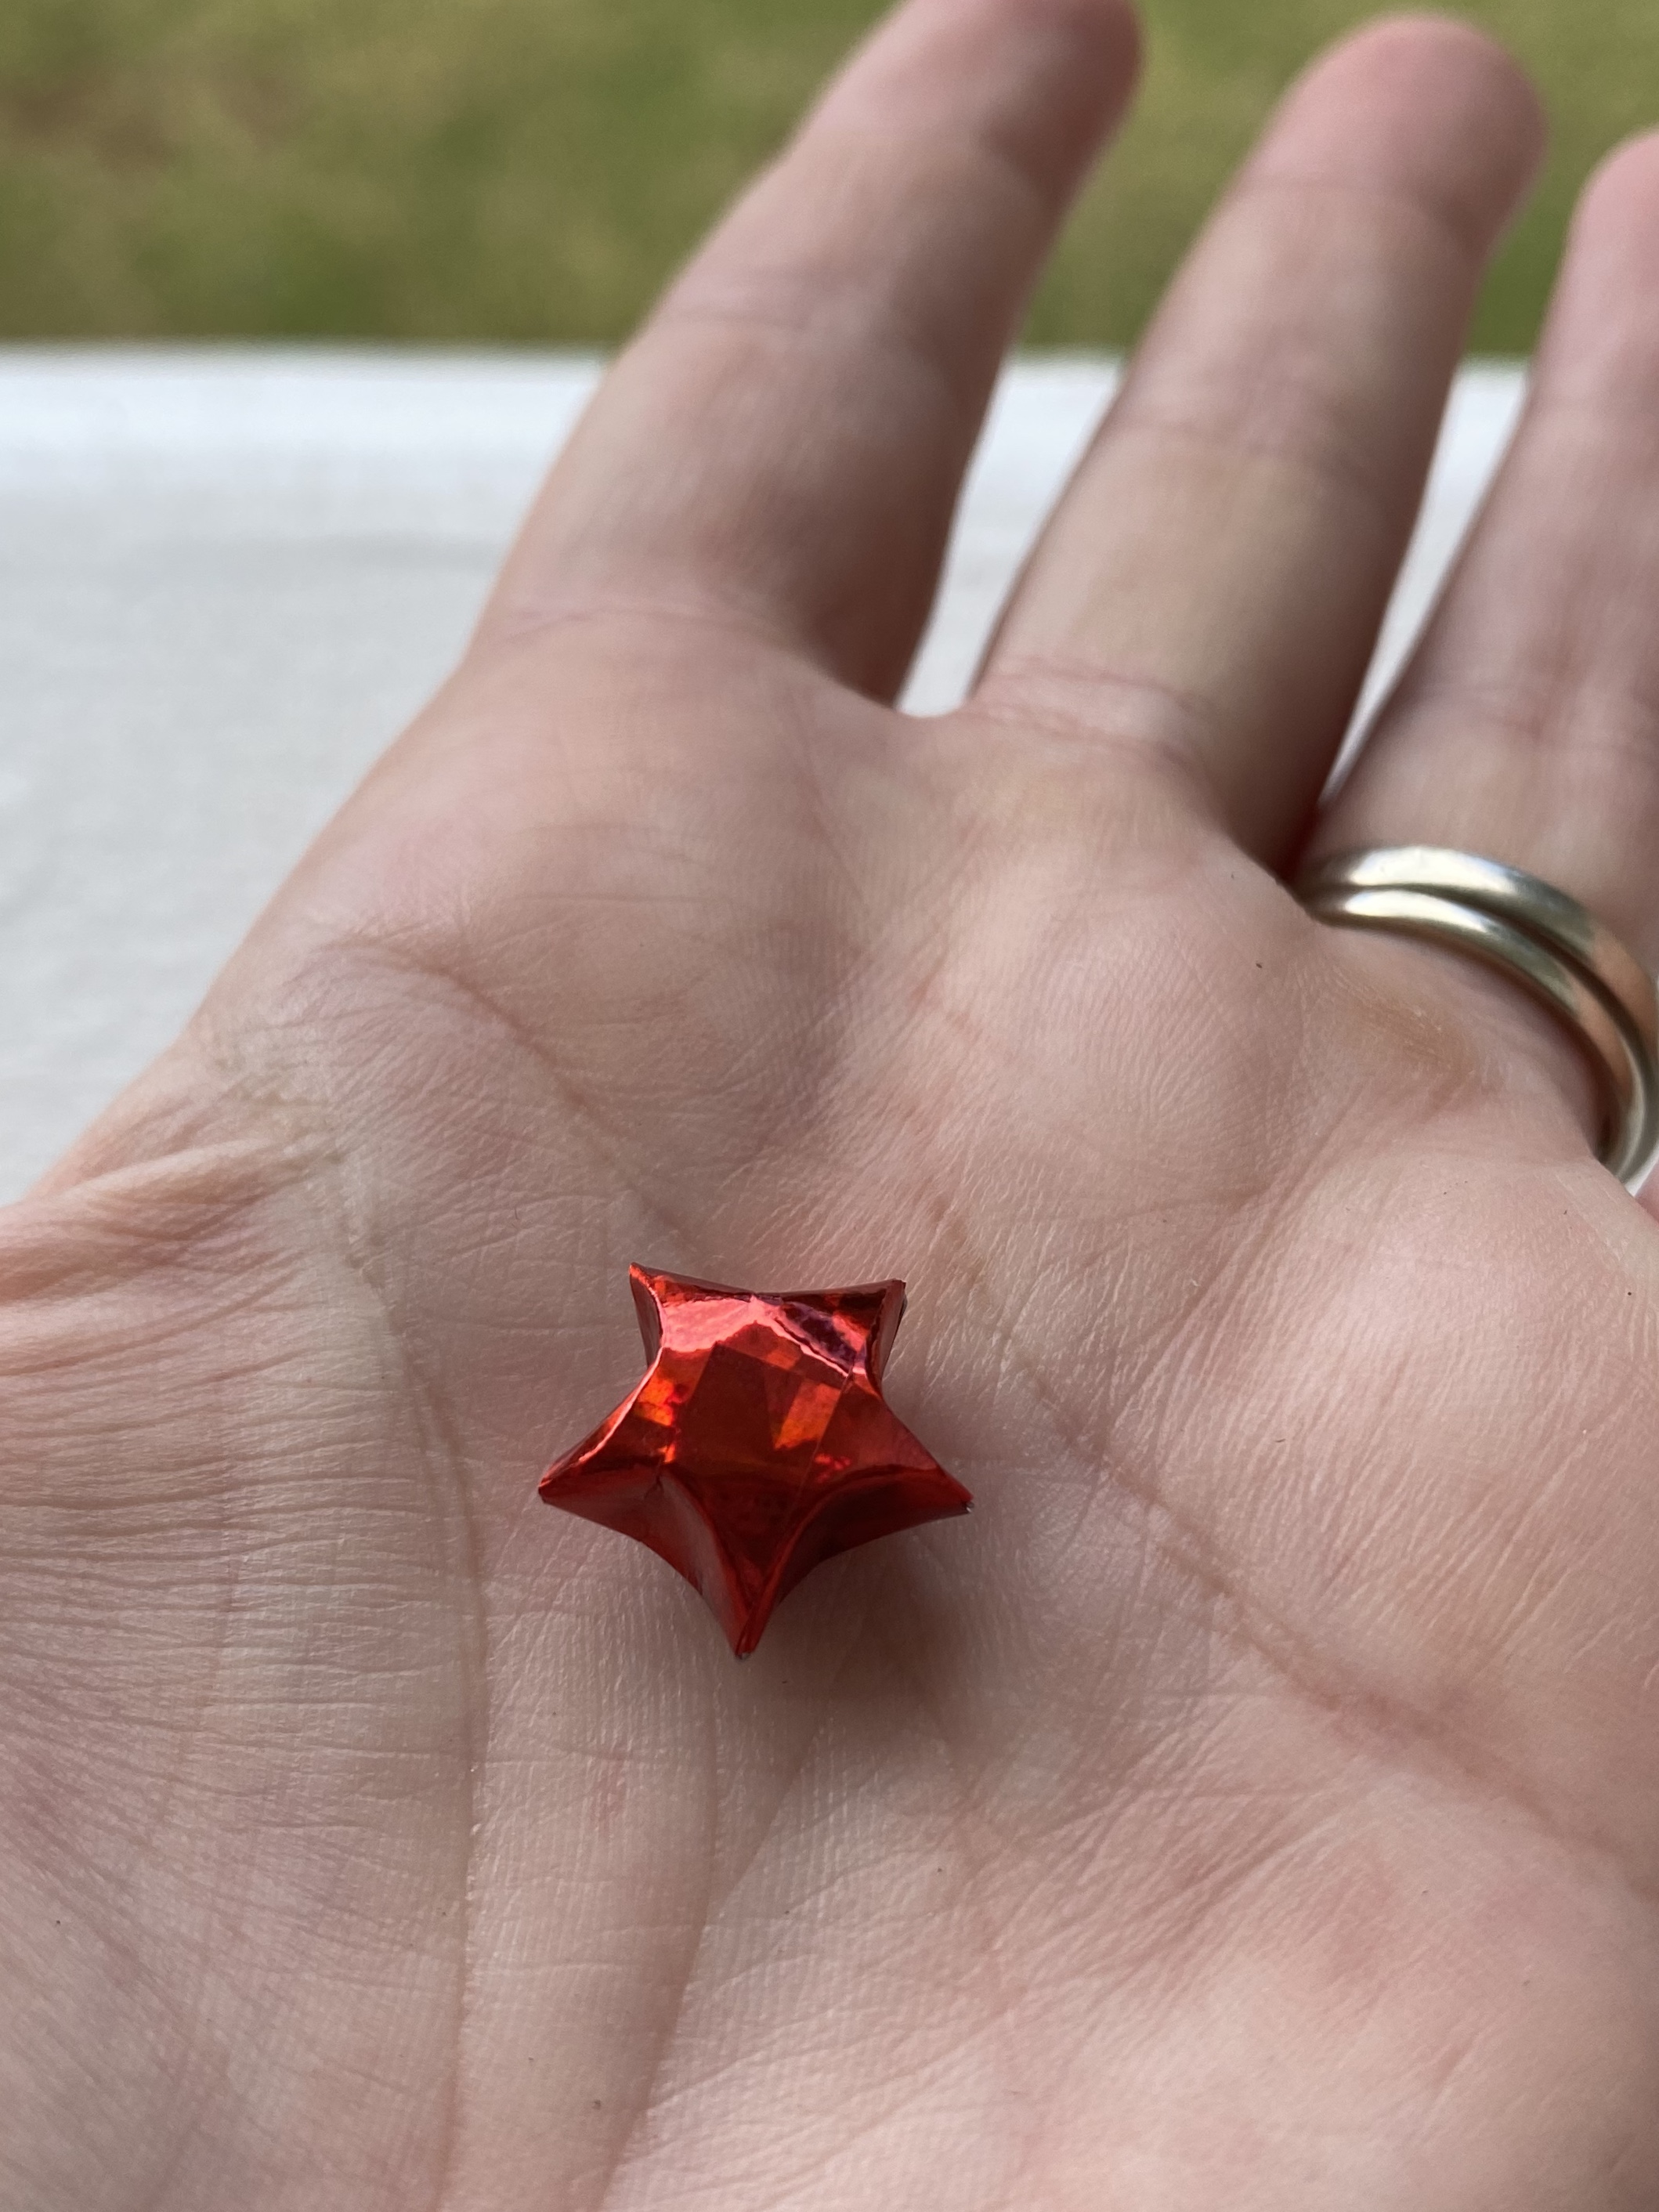
Lastly, puff up the star by pushing the flat sides inward, almost like you are trying to fold them in the opposite direction. (You can also think of “pinching” the points around the edges, if it helps.)
When I was making Prittens, I used to fold stars to put in their adoption packages. Among some of the strange things that survived the fire that destroyed my office/studio were some of those stars.
I’ve done these in metallic curly ribbon (tiny! String with seed beads…) and spent a month or so in high school making a thousand of them with edge strips from dot matrix printer paper. (That was the mid-90s, so it wasn’t exactly easy to find dot matrix paper, but anyone who still had some didn’t mind my pulling the edges off it.)
3 Likes
AIMR
(Linda -2026 time to regroup and renew :us:)
7
…I still have a dot matrix printer at my old office. We use it to print multi-page invoices.
I should tell me office to save the strips…ha ha ha
Yes! They are great to throw in packages.! (Which is mostly what happens to mine…)
I used to make them with curling ribbon too! That was a long time ago… I think I like this size better, heehee. (Easier on the fingers, but also a little more puffy cute.)
Yes!!! When I was a kid, I used to make springs out of them. (Where you zigzag fold two of them together, if that makes sense.)
@JoyfulClover, it seriously helps me pay attention better!!
Thanks for the tutorial on these! I love that you send them in your clay creations. The ones that came in the package you sent me are dotted around my studio!
How cute! Love the cuddly stars and especially the ones made from iridescent paper. Thank you for the tutorial! I’ve wanted a jar of these stars forever (Riechan gave me some with a bunch of inchies and twinchies for OWS for a start), and now I can hopefully make more.


 at my old office. We use it to print multi-page invoices.
