We made this as an end-of-year gift for baby.sweets4ever2’s teacher last year. It’s a Montessori classroom, so primary colors and bold prints in the decor would be quite a distraction. We chose colors we knew she would love, but also colors that would complement the space as well.
I turned to the wonderful world of Pinterest. Have you ever shown Pinterest to a five-year old? I don’t recommend it. I have regrets. Anyway, we eventually found the idea of the “teacher toolbox” (aka teacher toolkit). There are oodles of free designs out there you can snag, if you just want to print & go for it. We created ours with some free graphics I found online. I will link to them below. Our original inspiration came from Chandler over at The Teaching Willow, but her blog is dead now, so I sadly can’t link to give her more credit. 
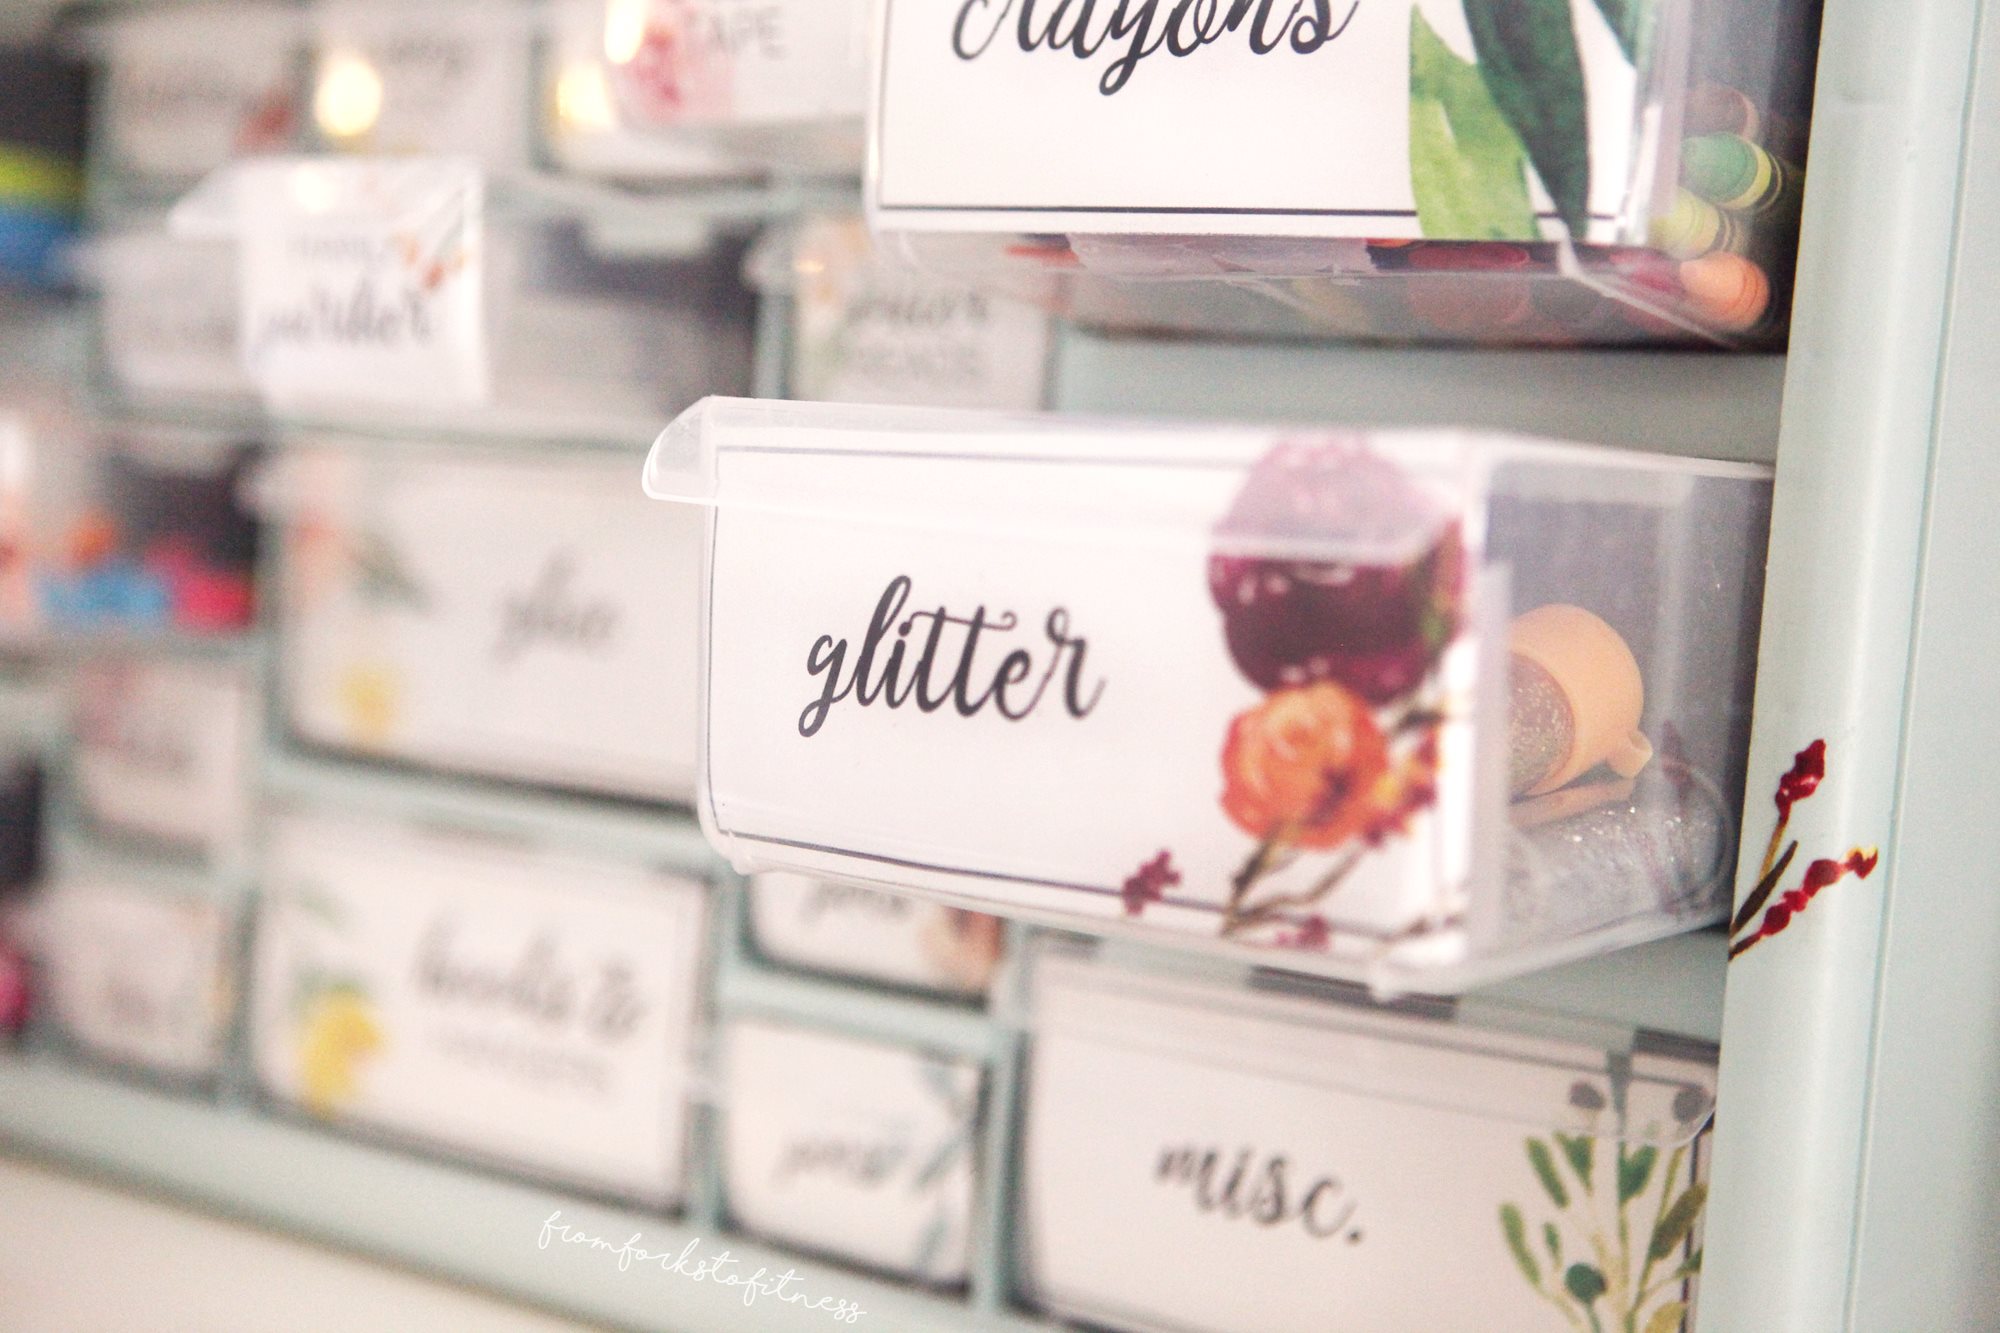
Aside from creating the actual organizer, we wanted to fill the drawers with supplies his teachers often use in their classroom. Ezra also got to fill some “surprise” drawers with things he “just knew they would like.”  Glitter, water beads, stickers, you get the idea.
Design & Construction
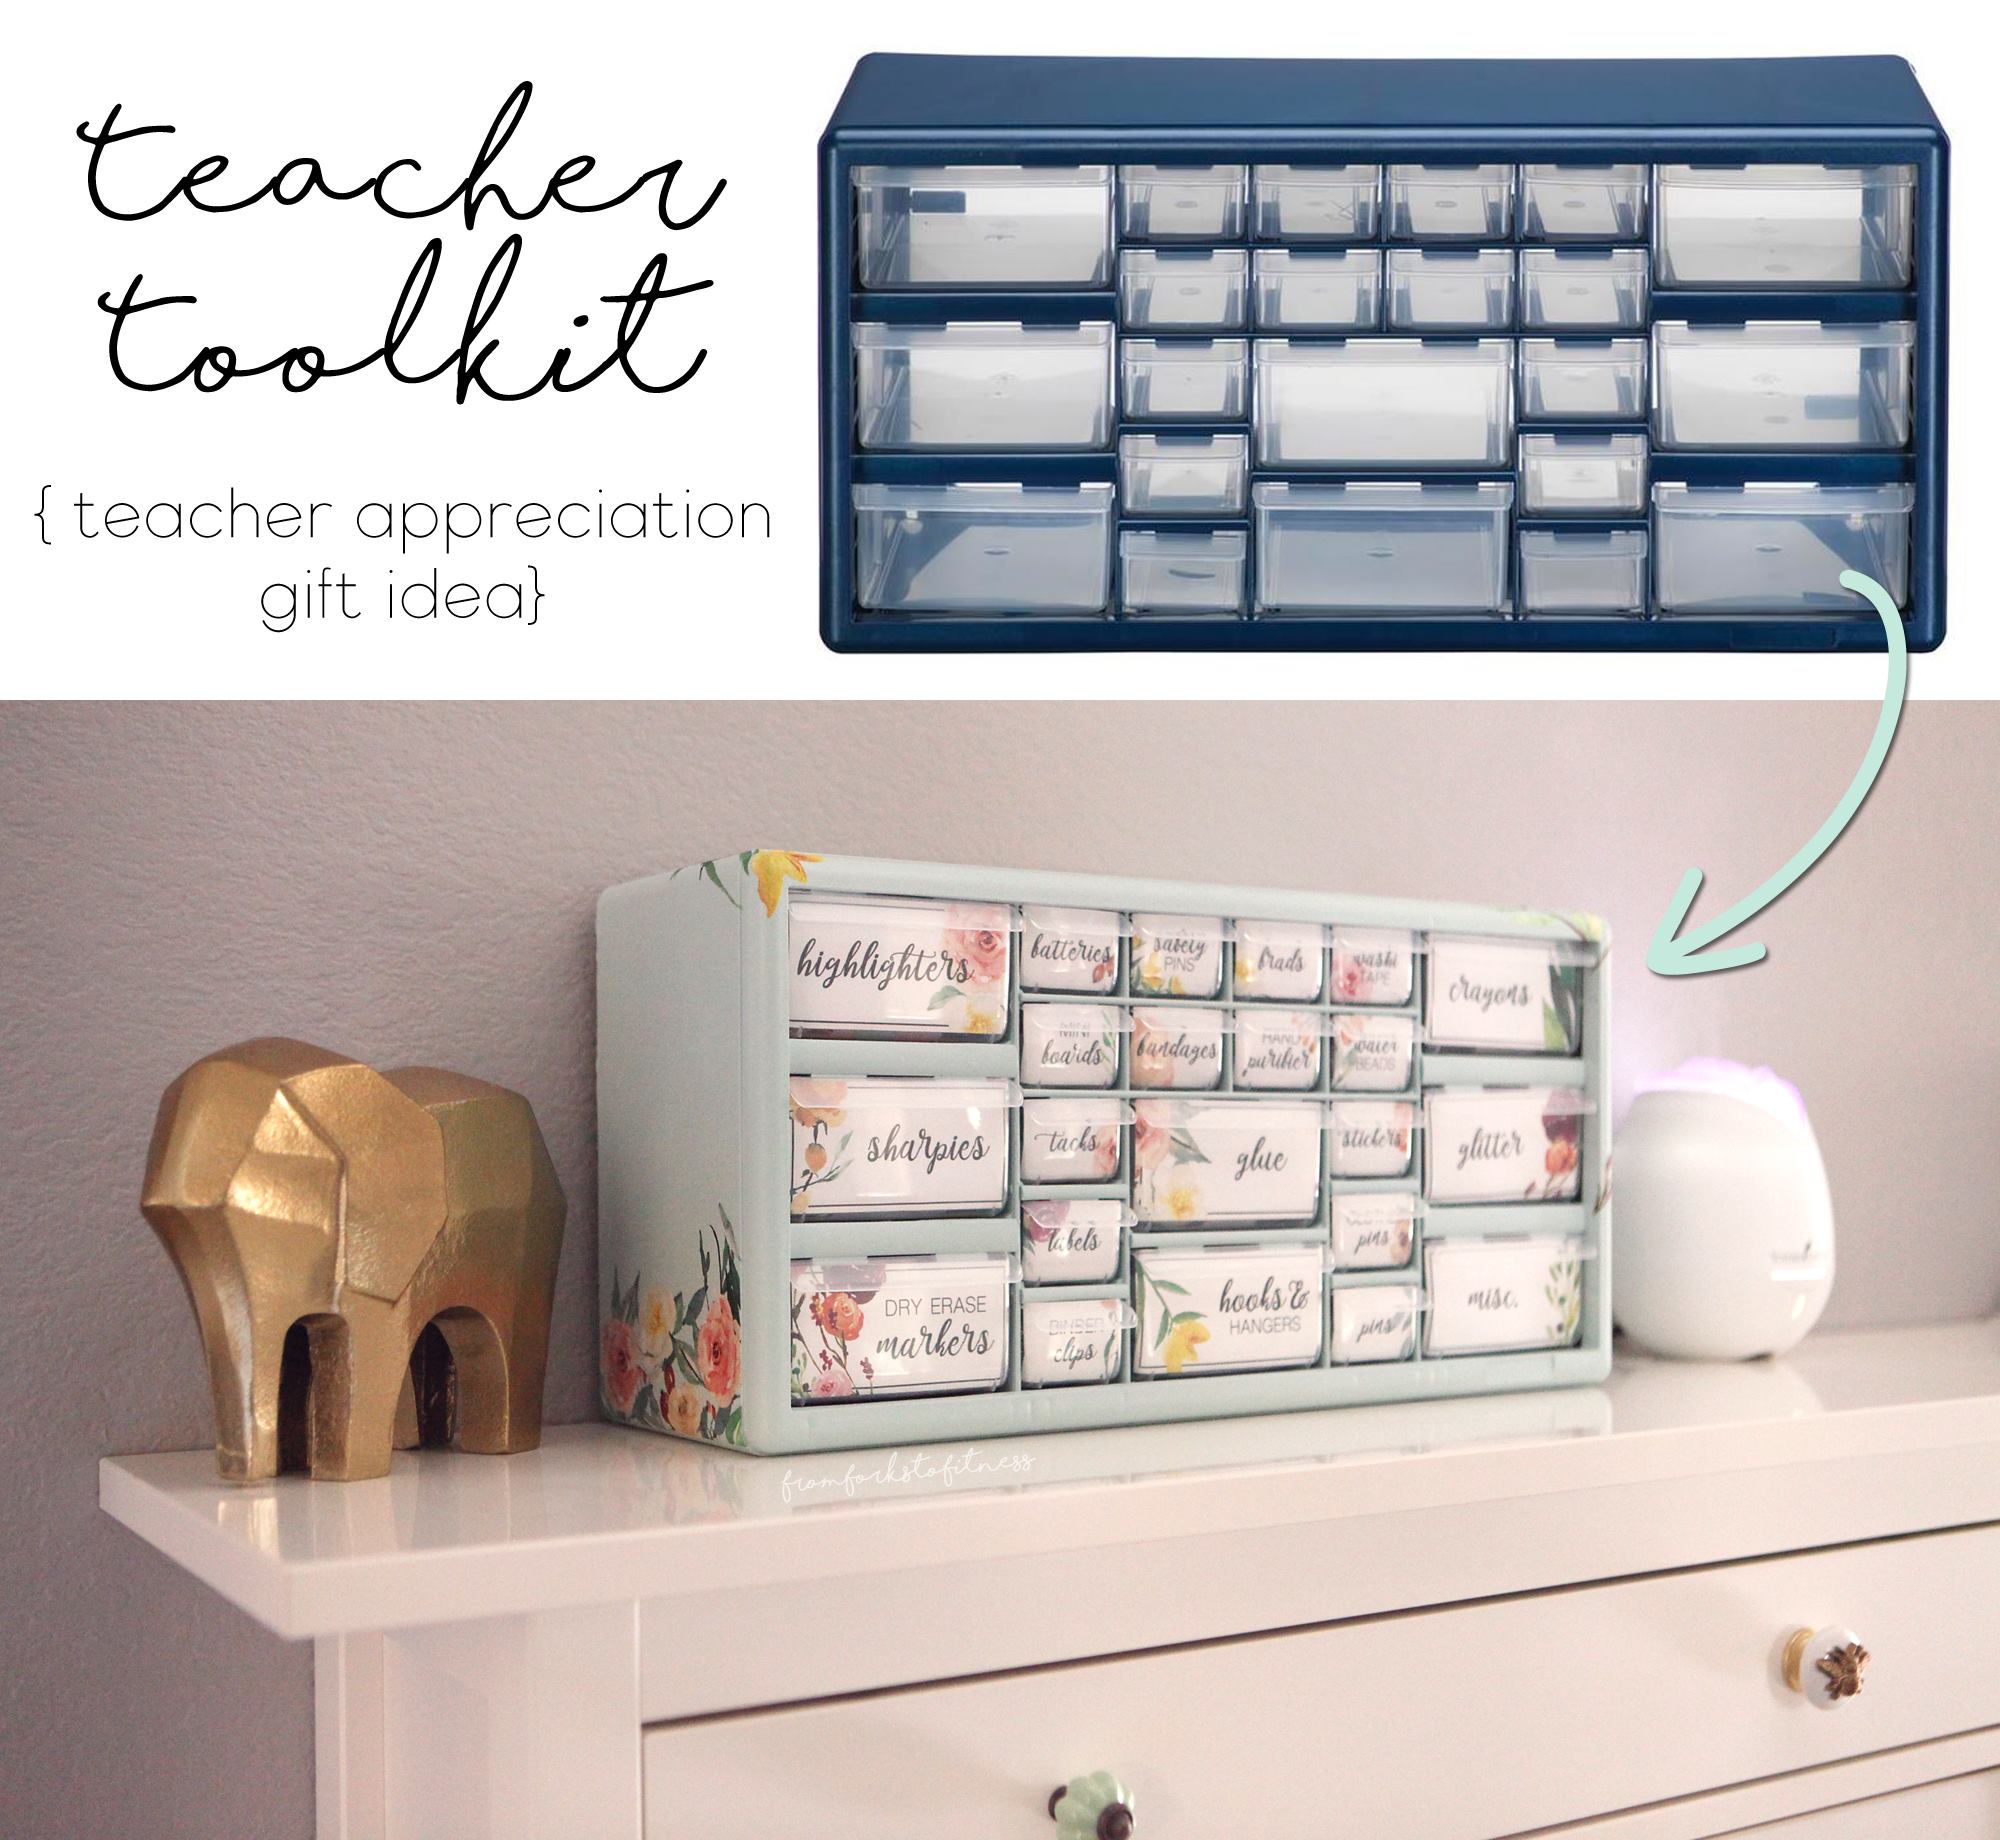
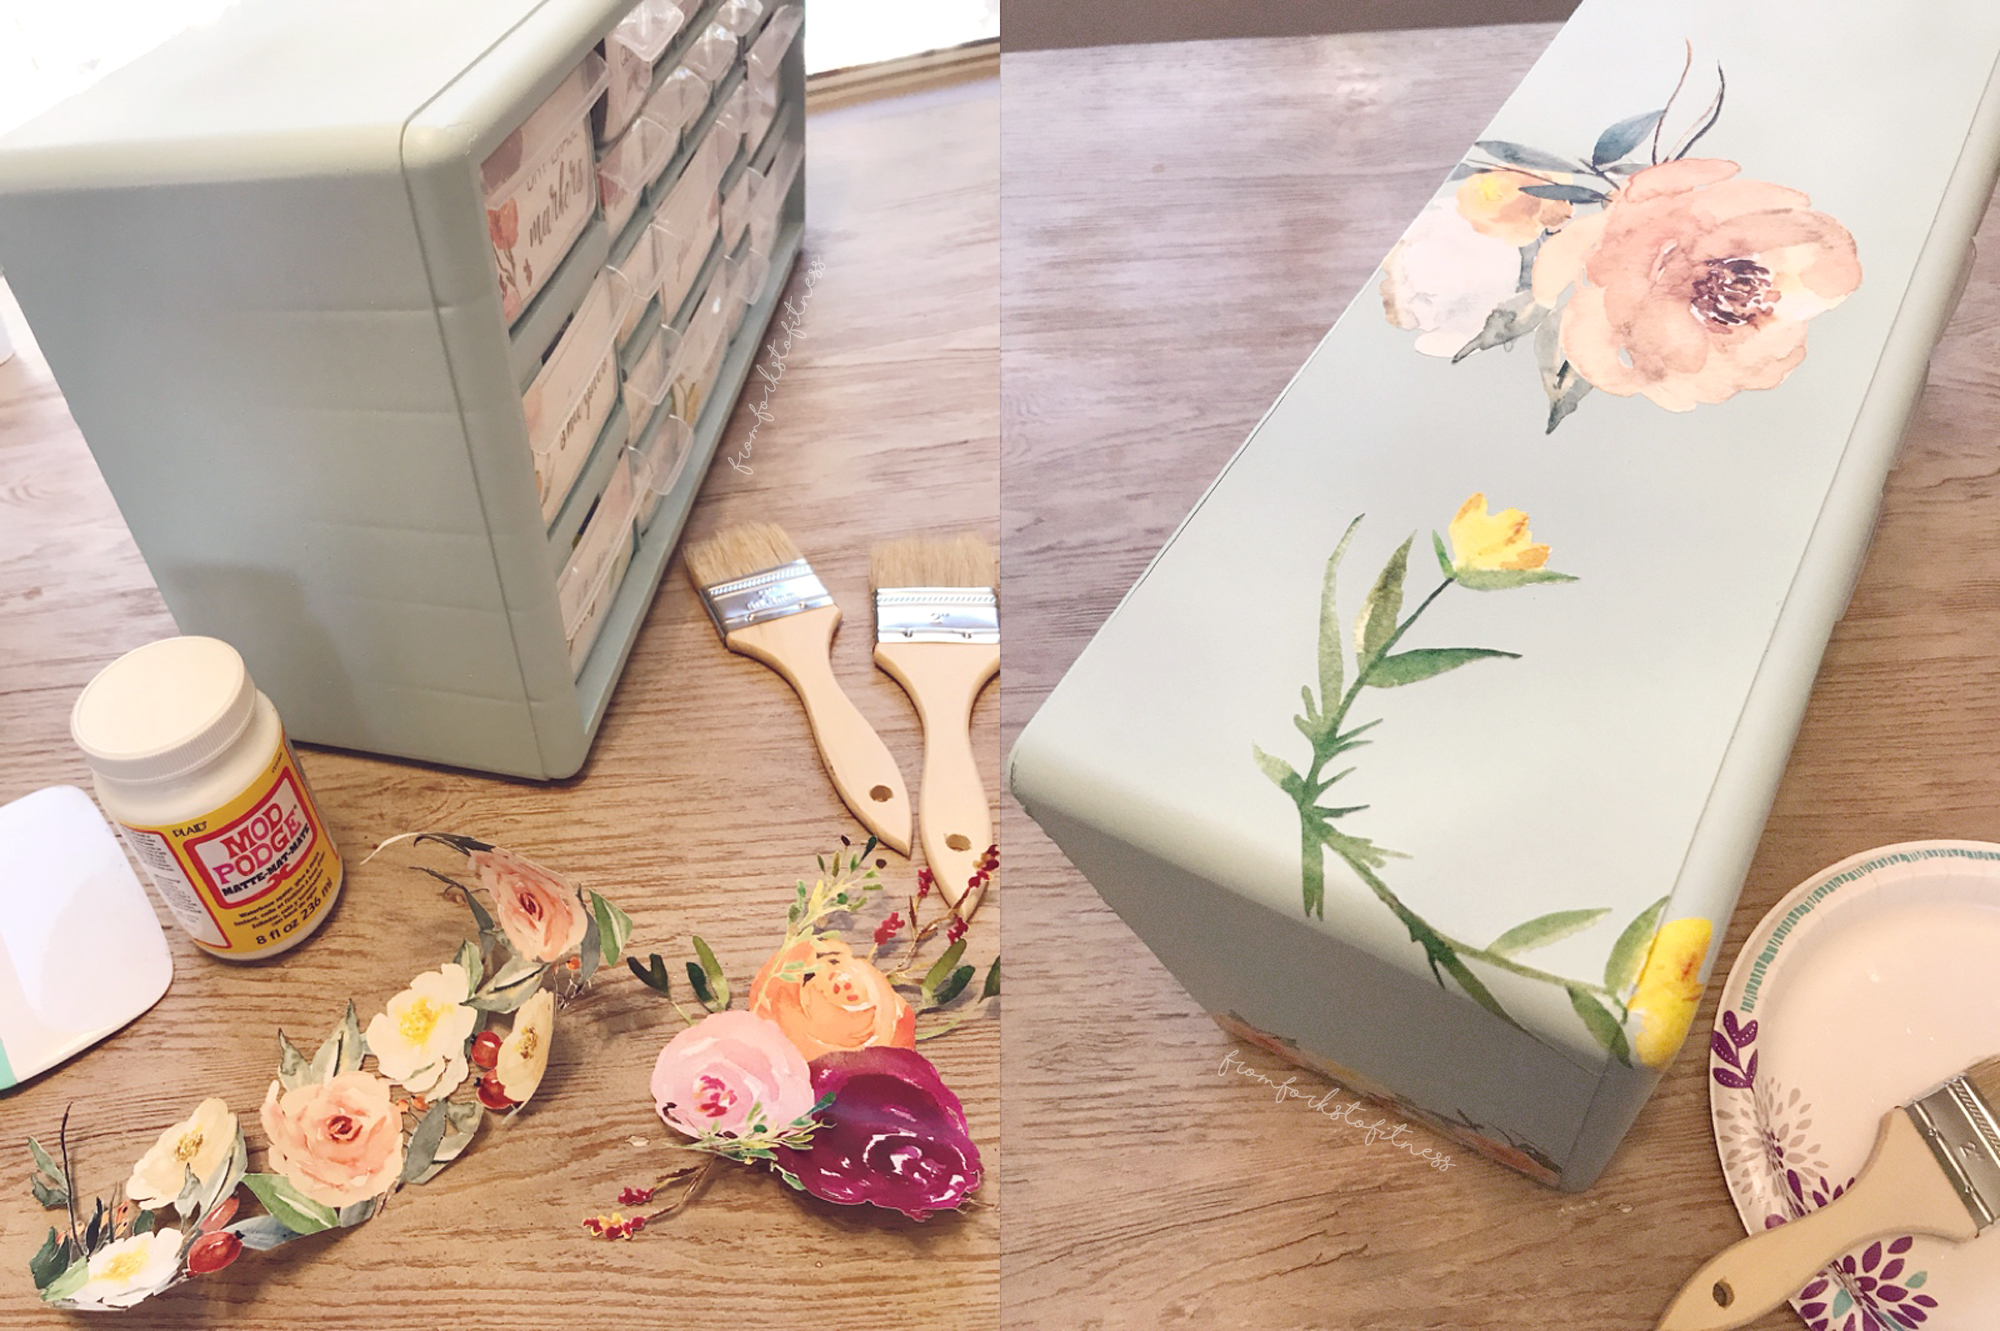
I picked up a plain old 22-drawer plastic organizer from Lowe’s like this one. It’s quite… well, utilitarian, so it needed a little sprucing up, if it was going to be a fabulous teacher gift.
First, I sprayed it with two coats of Valspar Color Radiance Paint + Primer (Flat) in the color Destiny. It’s the perfect shade of fresh minty mystical happiness and unicorns.
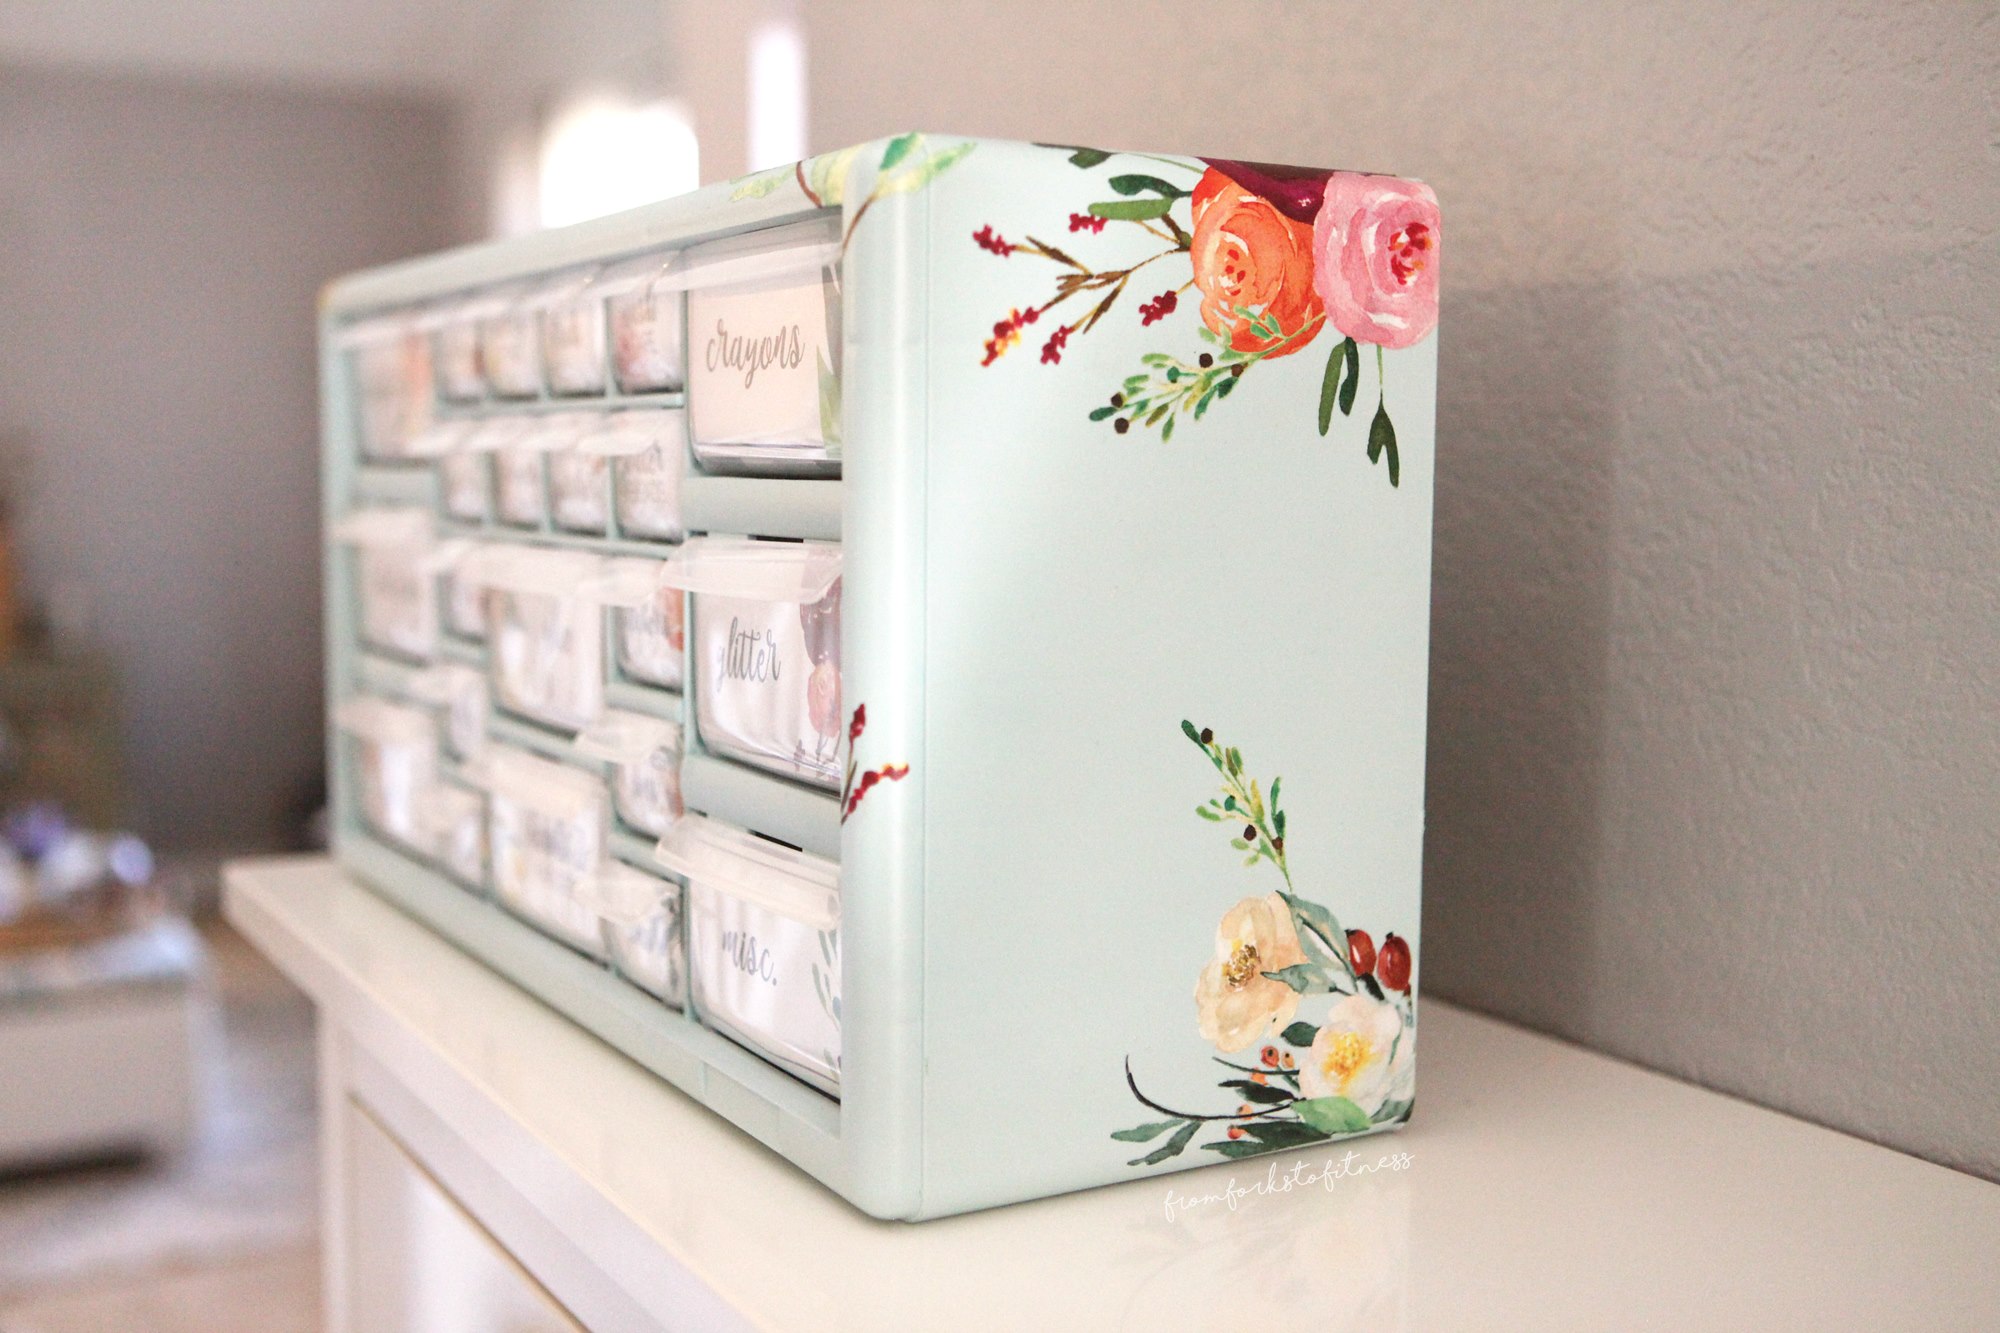
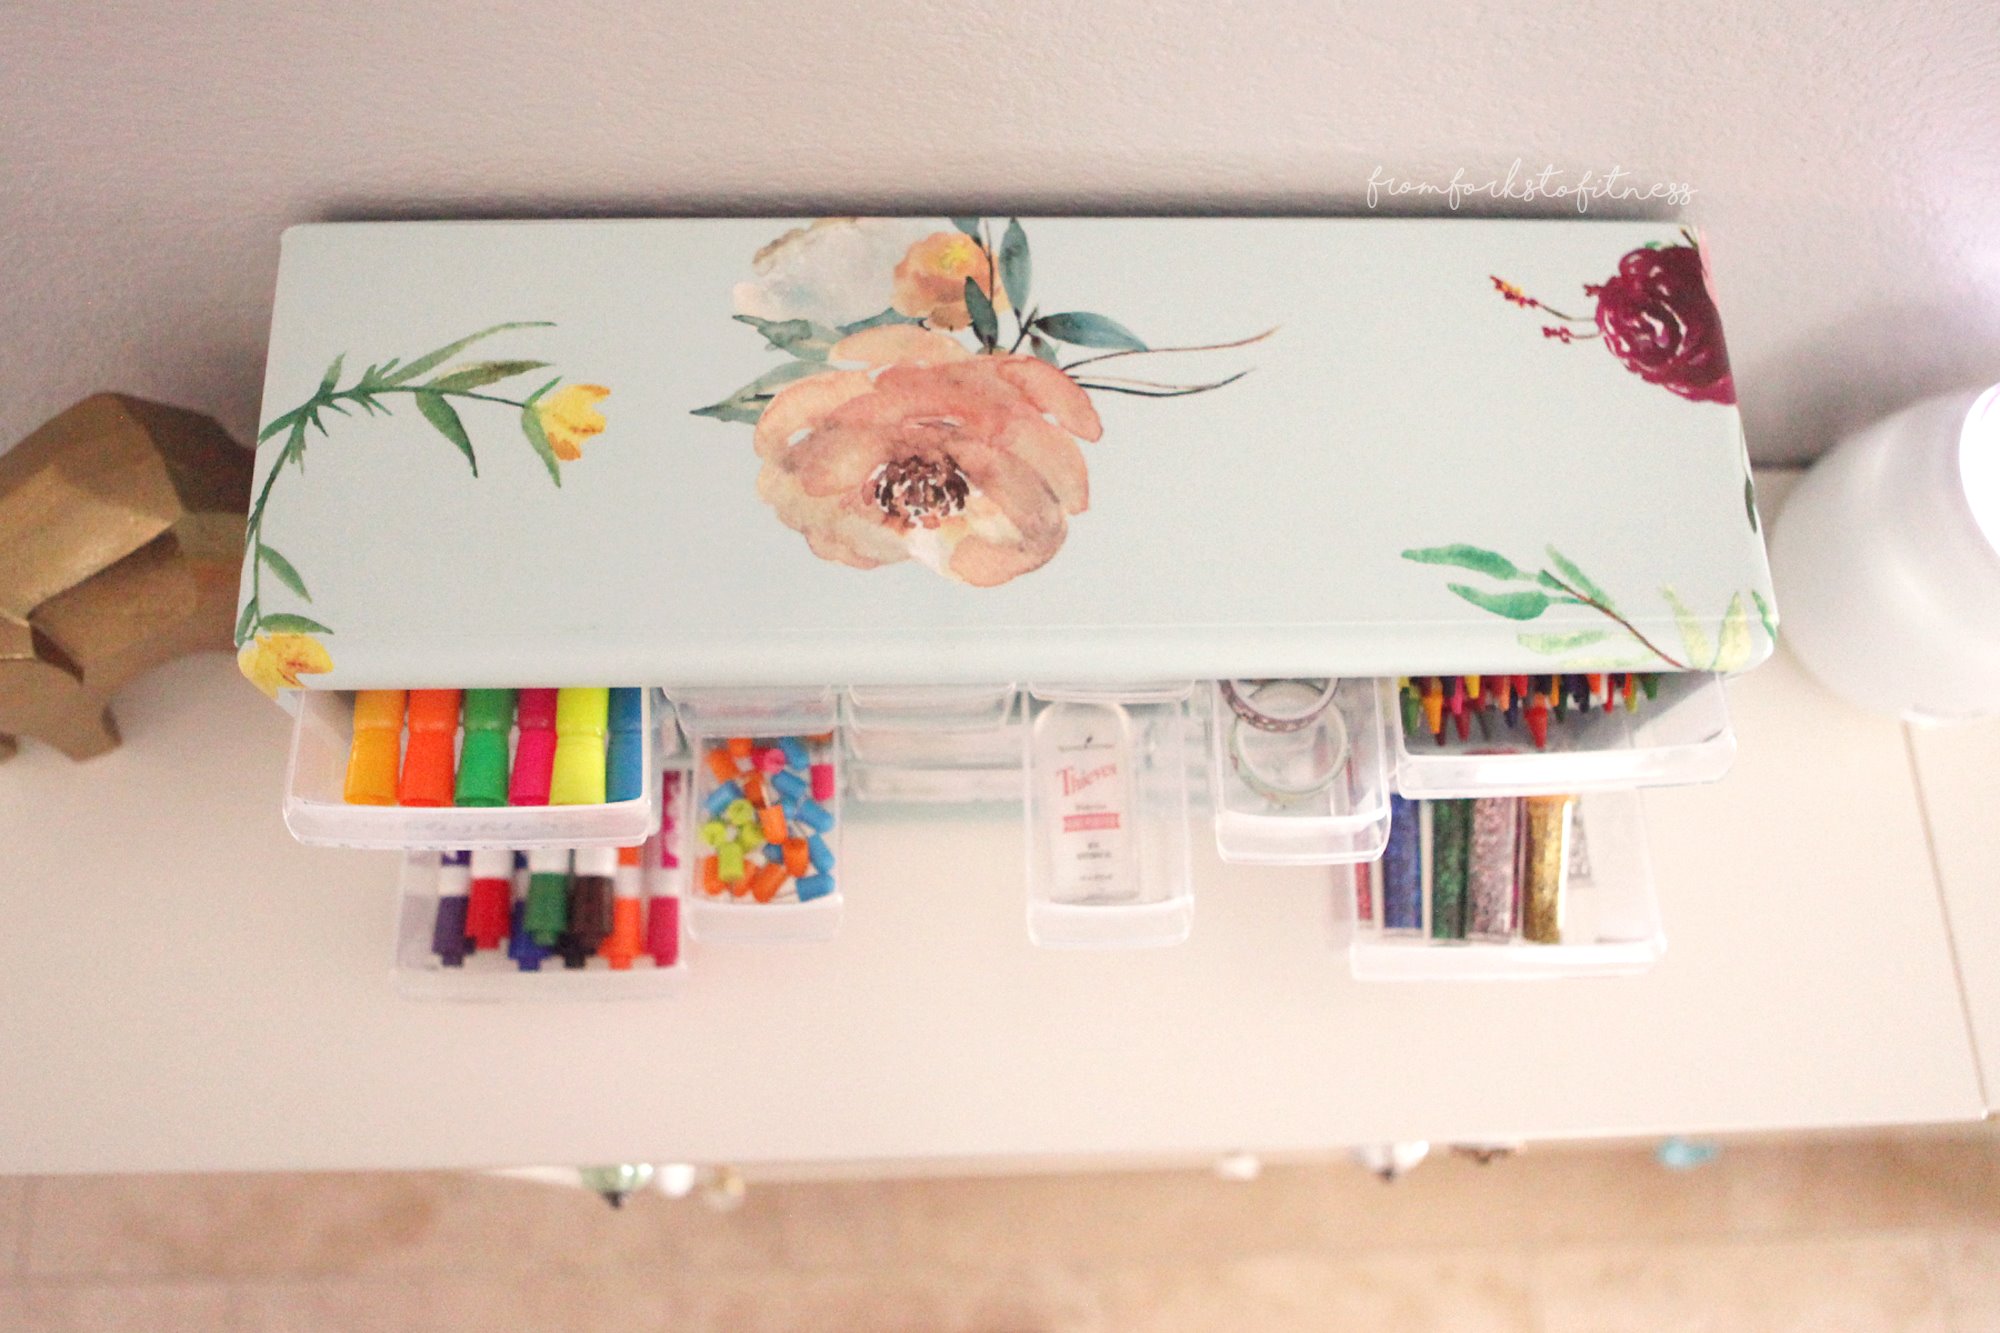
Then, using these beautiful Koko Loko watercolor flowers, They were free the day I downloaded them. Each day, that site has different freebie downloads options, so I always try to snag them and hoard them for later. I got to designing the drawer labels in Photoshop. If you want to make labels of your own, the drawers for this toolbox measure 1.38″ H x 2.00″ W (14 small drawers) and 2.12″ H x 4.25″ W (8 labels).
Bring on the Cricut!
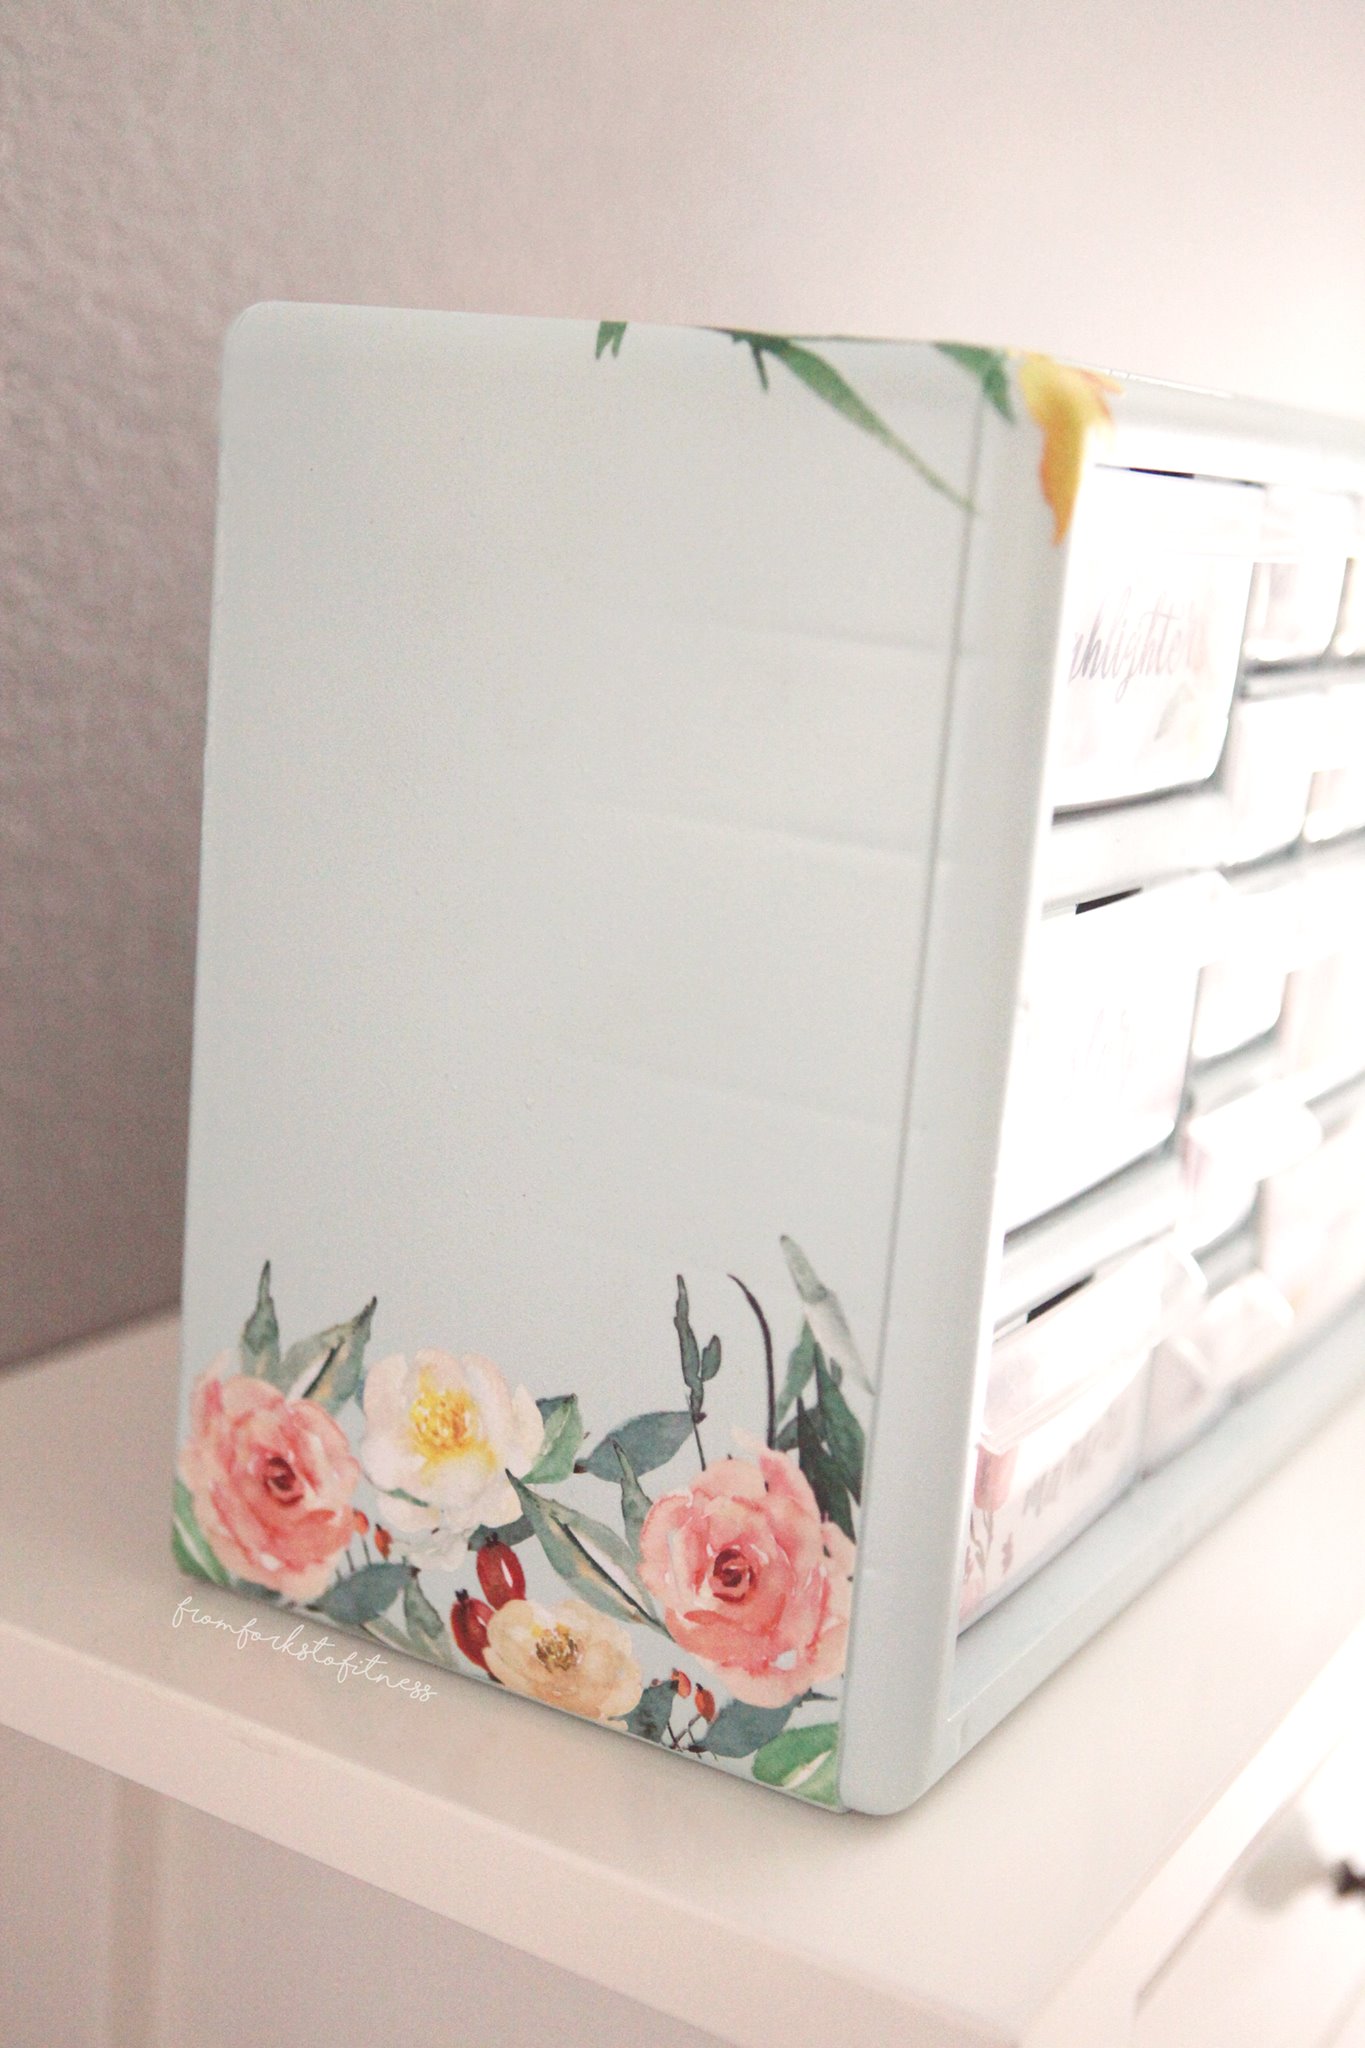
To decorate the sides of the toolbox, I printed the flower graphics as Print Then Cut images on my Cricut Explore Air 2. Until that project, I had no idea this feature was even possible, so needless to say, I was a wee bit giddy. I uploaded the files into Cricut Design Space, the software that comes with Cricut devices, and sent them to my printer. I used plain 8.5 x 11″ typing paper. You could totally use printable vinyl, but typing paper is much less expensive and works perfectly for this application. Just remember, if you are using plain paper like I did, you will need to seal your toolbox to protect the paper images.
So anyway, the Print Then Cut feature adds nifty little markings around the paper that tells the Cricut where to cut. I put the printed sheets of paper on a mat, shove them into the Cricut, and it cuts them out for me while I go about my business. All of those itty bitty nooks and crannies between the leaves and petals? All done automatically. Not a single scissor snip by me. Life changing.
Assembly
I brushed the back of each floral piece with Mod Podge and smoothed them onto the toolbox wherever I felt it needed a little pizazz. A thin layer of Mod Podge will do. Don’t get all crazy. After the flowers dry, spray a few coats of sealer over the entire toolbox frame (not the drawers). Any basic craft spray sealer will work. I use this sealer by Rust-oleum. It’s from their Chalked line of products, but I really just like it because it has a lovely matte, clear finish. It dries very smooth and doesn’t bubble like some other sealers I’ve tried in the past. I applied 3 – 4 thin coats. Fortunately, since I live on the face of the sun in Arizona, it dries basically instantly between coats.
The Goodies
After it dried, it was time to fill up the drawers with goodies for the teachers. I popped the labels into the inside of the drawer fronts and attached them with a small piece of clear office tape at each side. This attaches them securely to the drawers, but also makes it super easy for the teachers to change them to their classroom needs in the future. I made some blank labels and stashed them away in the Misc. drawer. Coincidentally, that drawer is also the perfect size for those mini liquor bottles you get on airplanes. Just in case you have a friend who wants to know.
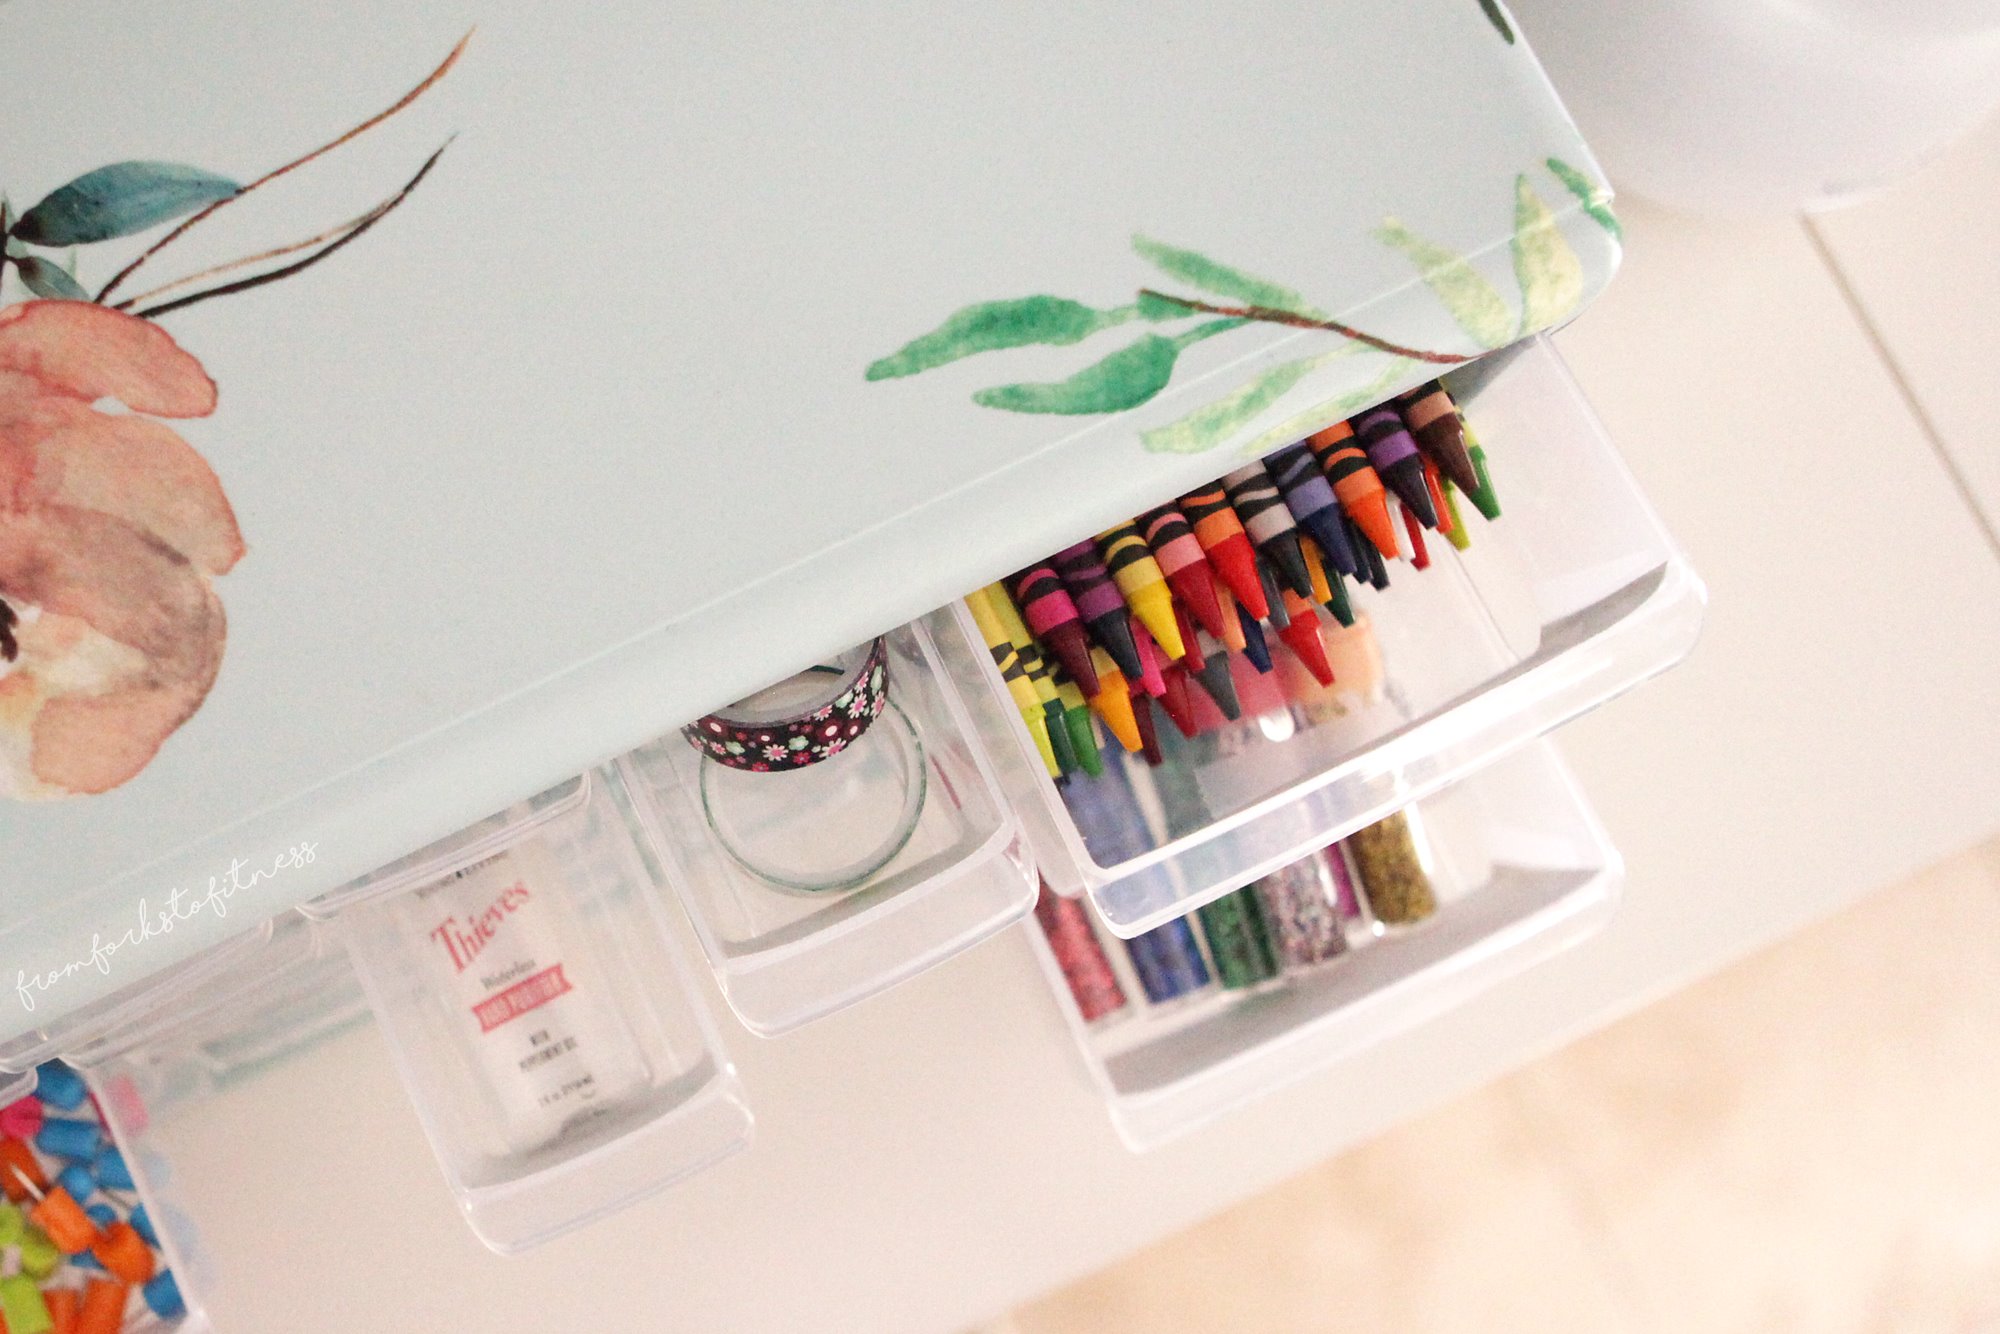
The drawers have everything from EXPO markers to little bottles of hand purifier [because kids are gross]. Don’t feel intimidated by filling the drawers, though. You could even just create some pretty labels and leave them totally blank for the teachers to personalize themselves.
His teacher loved it! Over summer break, she put it in one of the locking cabinets because she was convinced the other teachers would try to snag it for their rooms. 


