Tutorial: Mending a hole using duplicate stitch

Mending hand knits is an important skillset for a knitter and for anyone enjoying to wear handknits. Too much love goes into each stitch not to try mending the garment if there’s a hole.

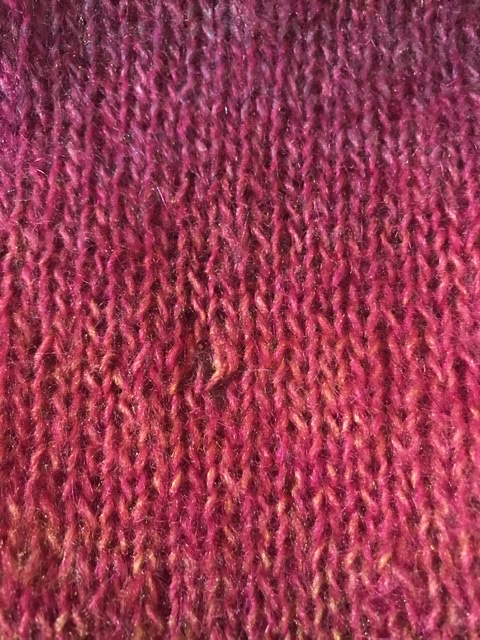
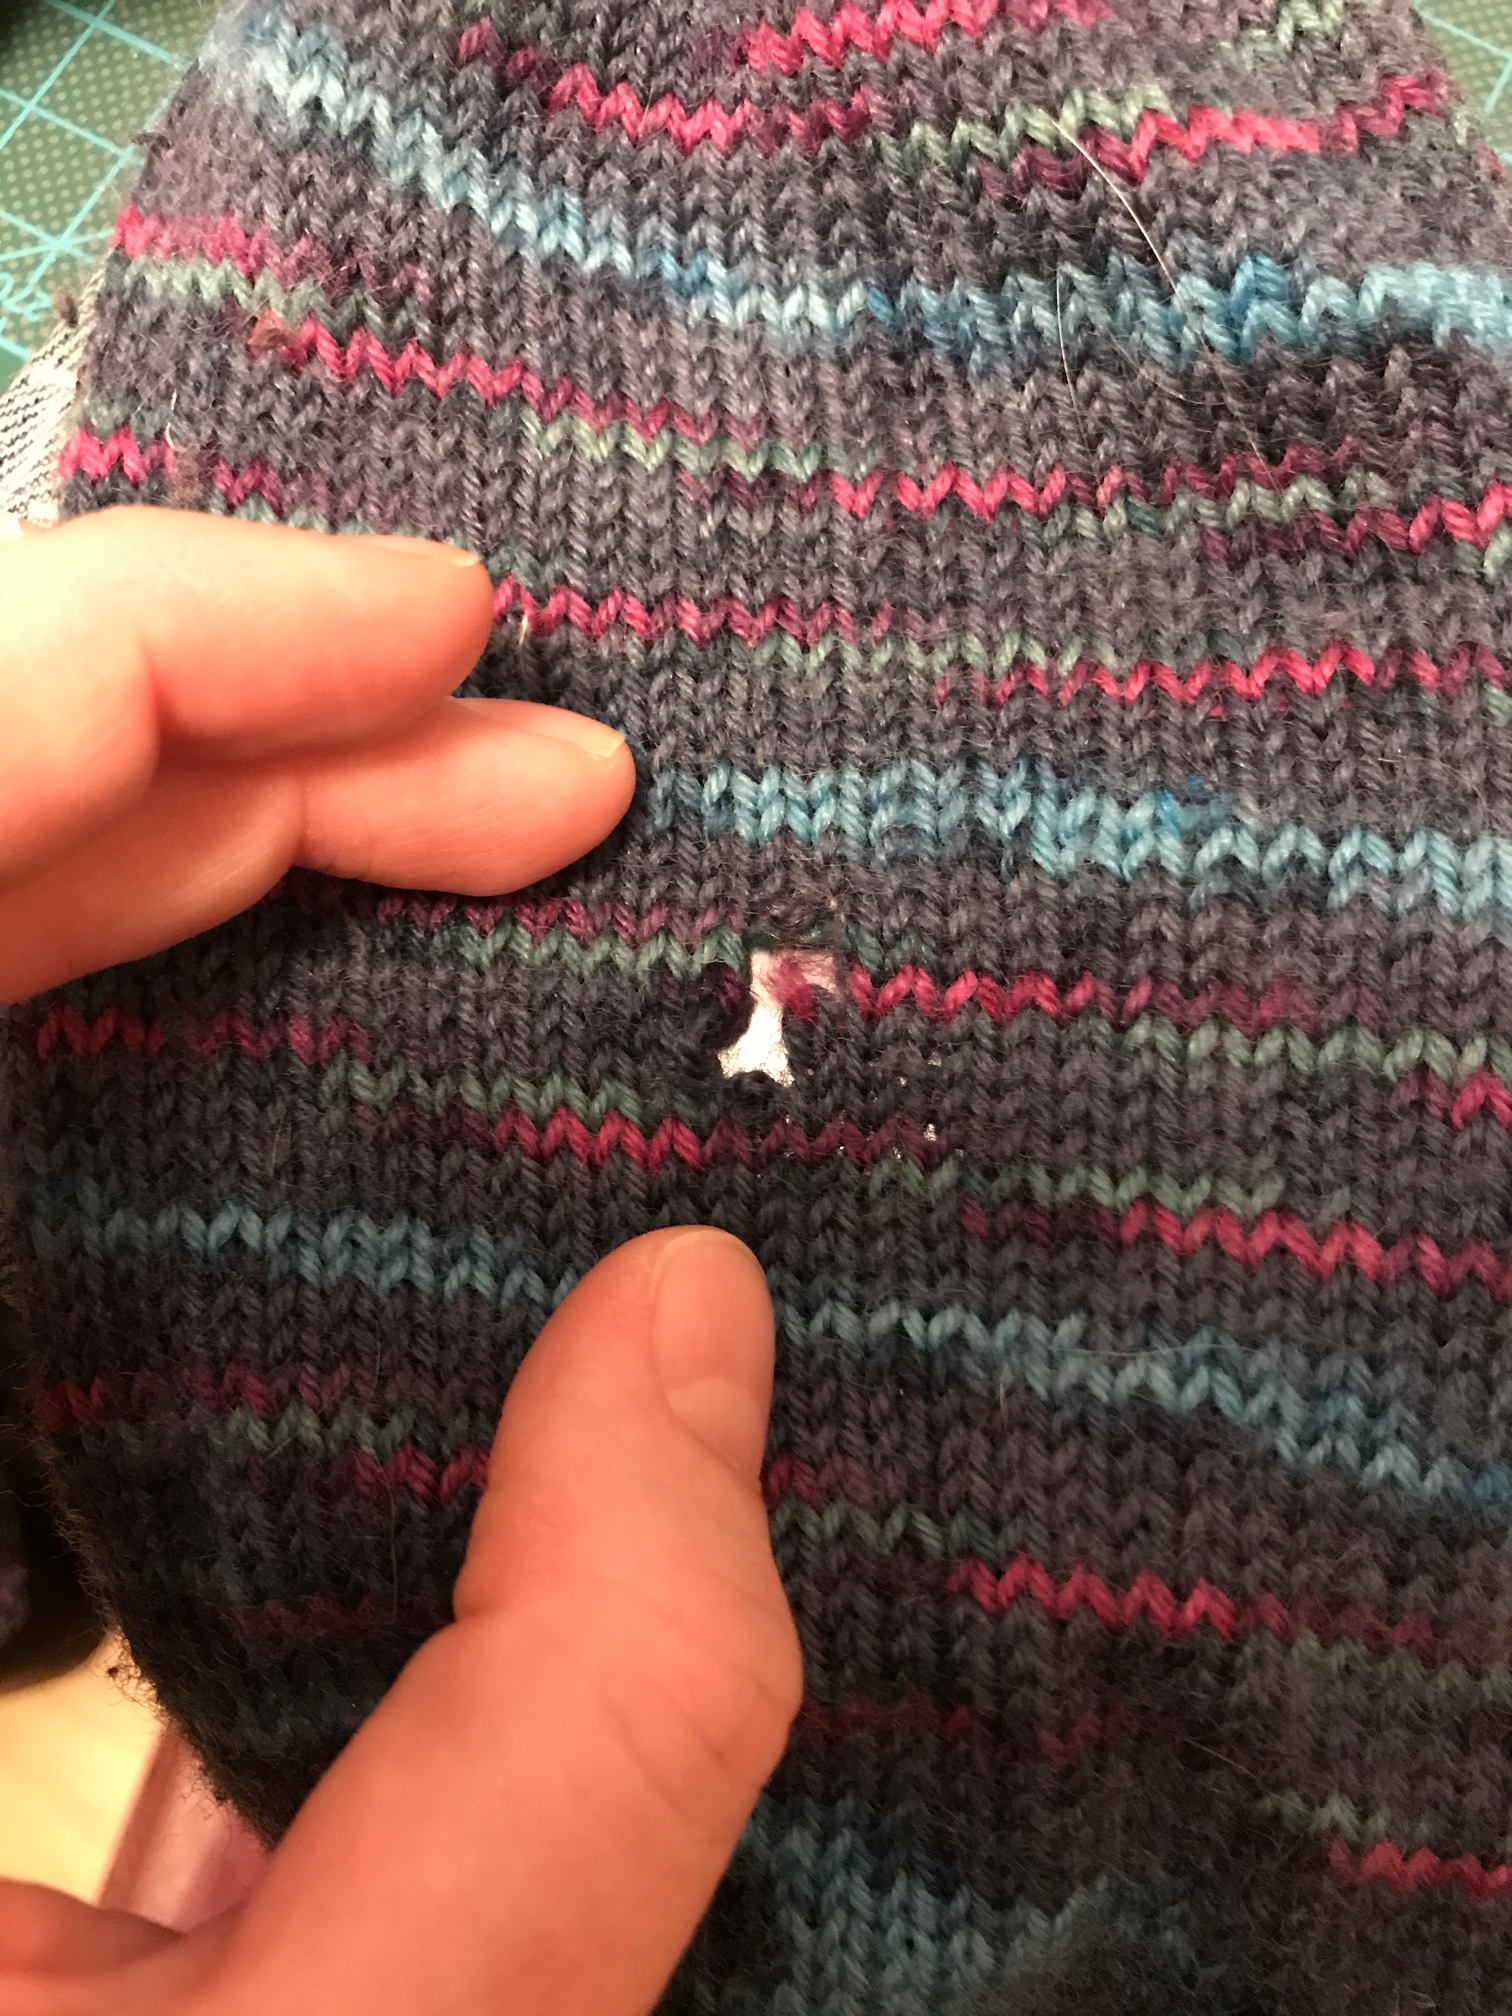
Case in point. This lovely mohair sweater was made by my mother in law. Unfortunately I found a hole in the front of it one day. As luck would have it there was just a single yarn break, and due to the sticky nature of the yarn nothing had unravelled yet. Can you see the break?

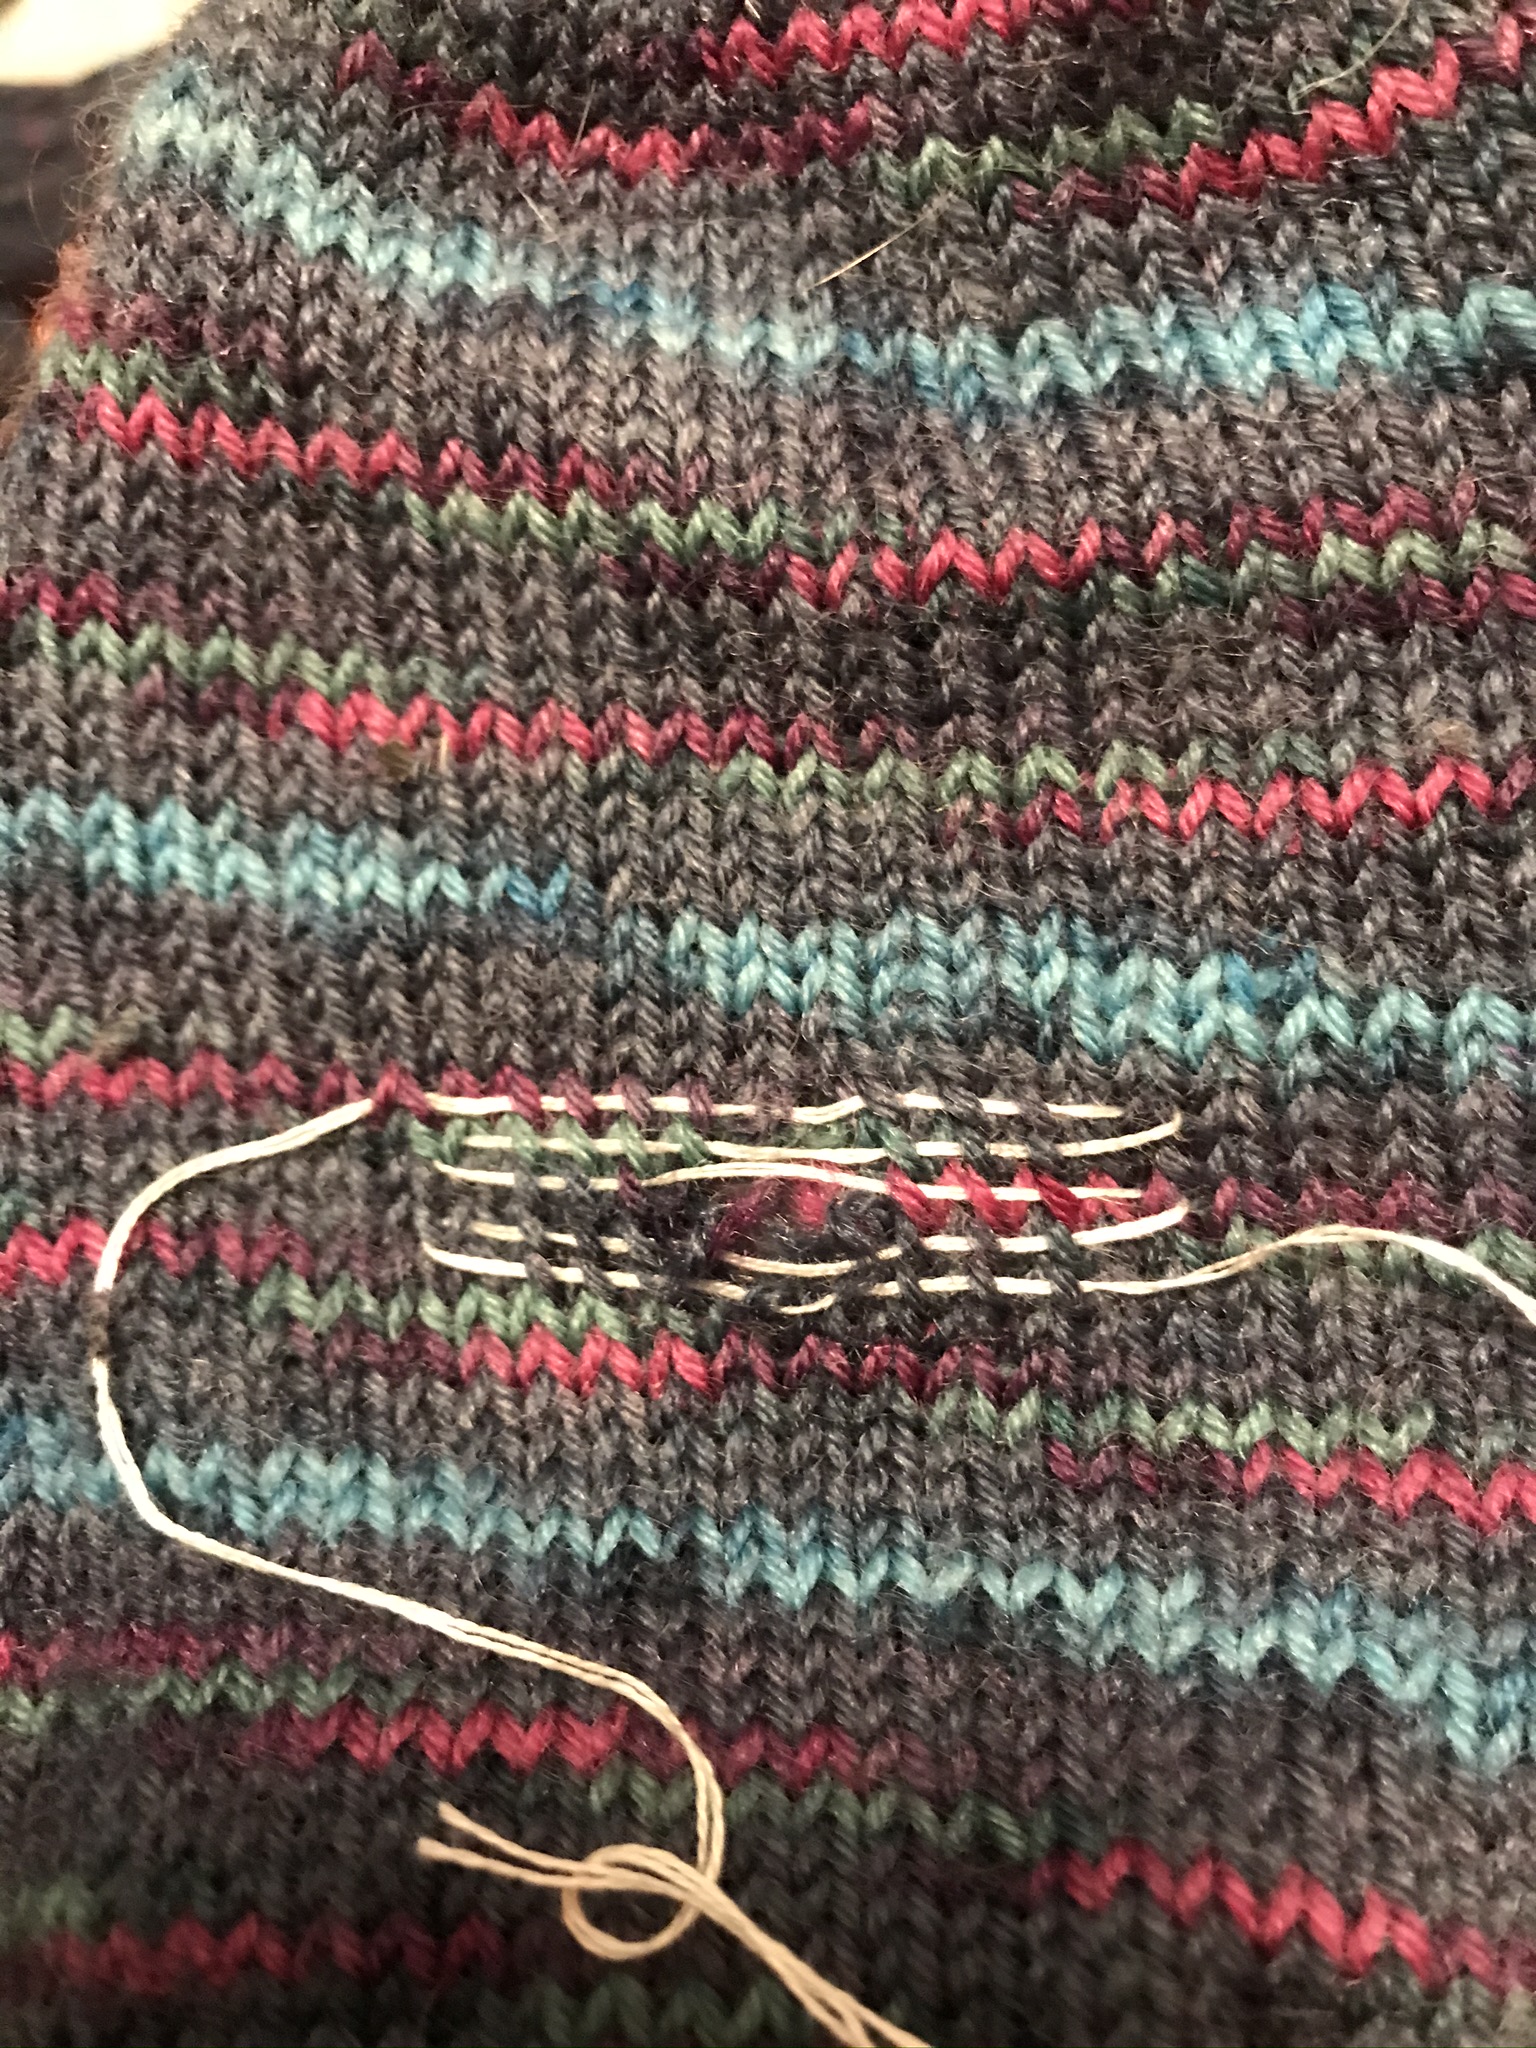
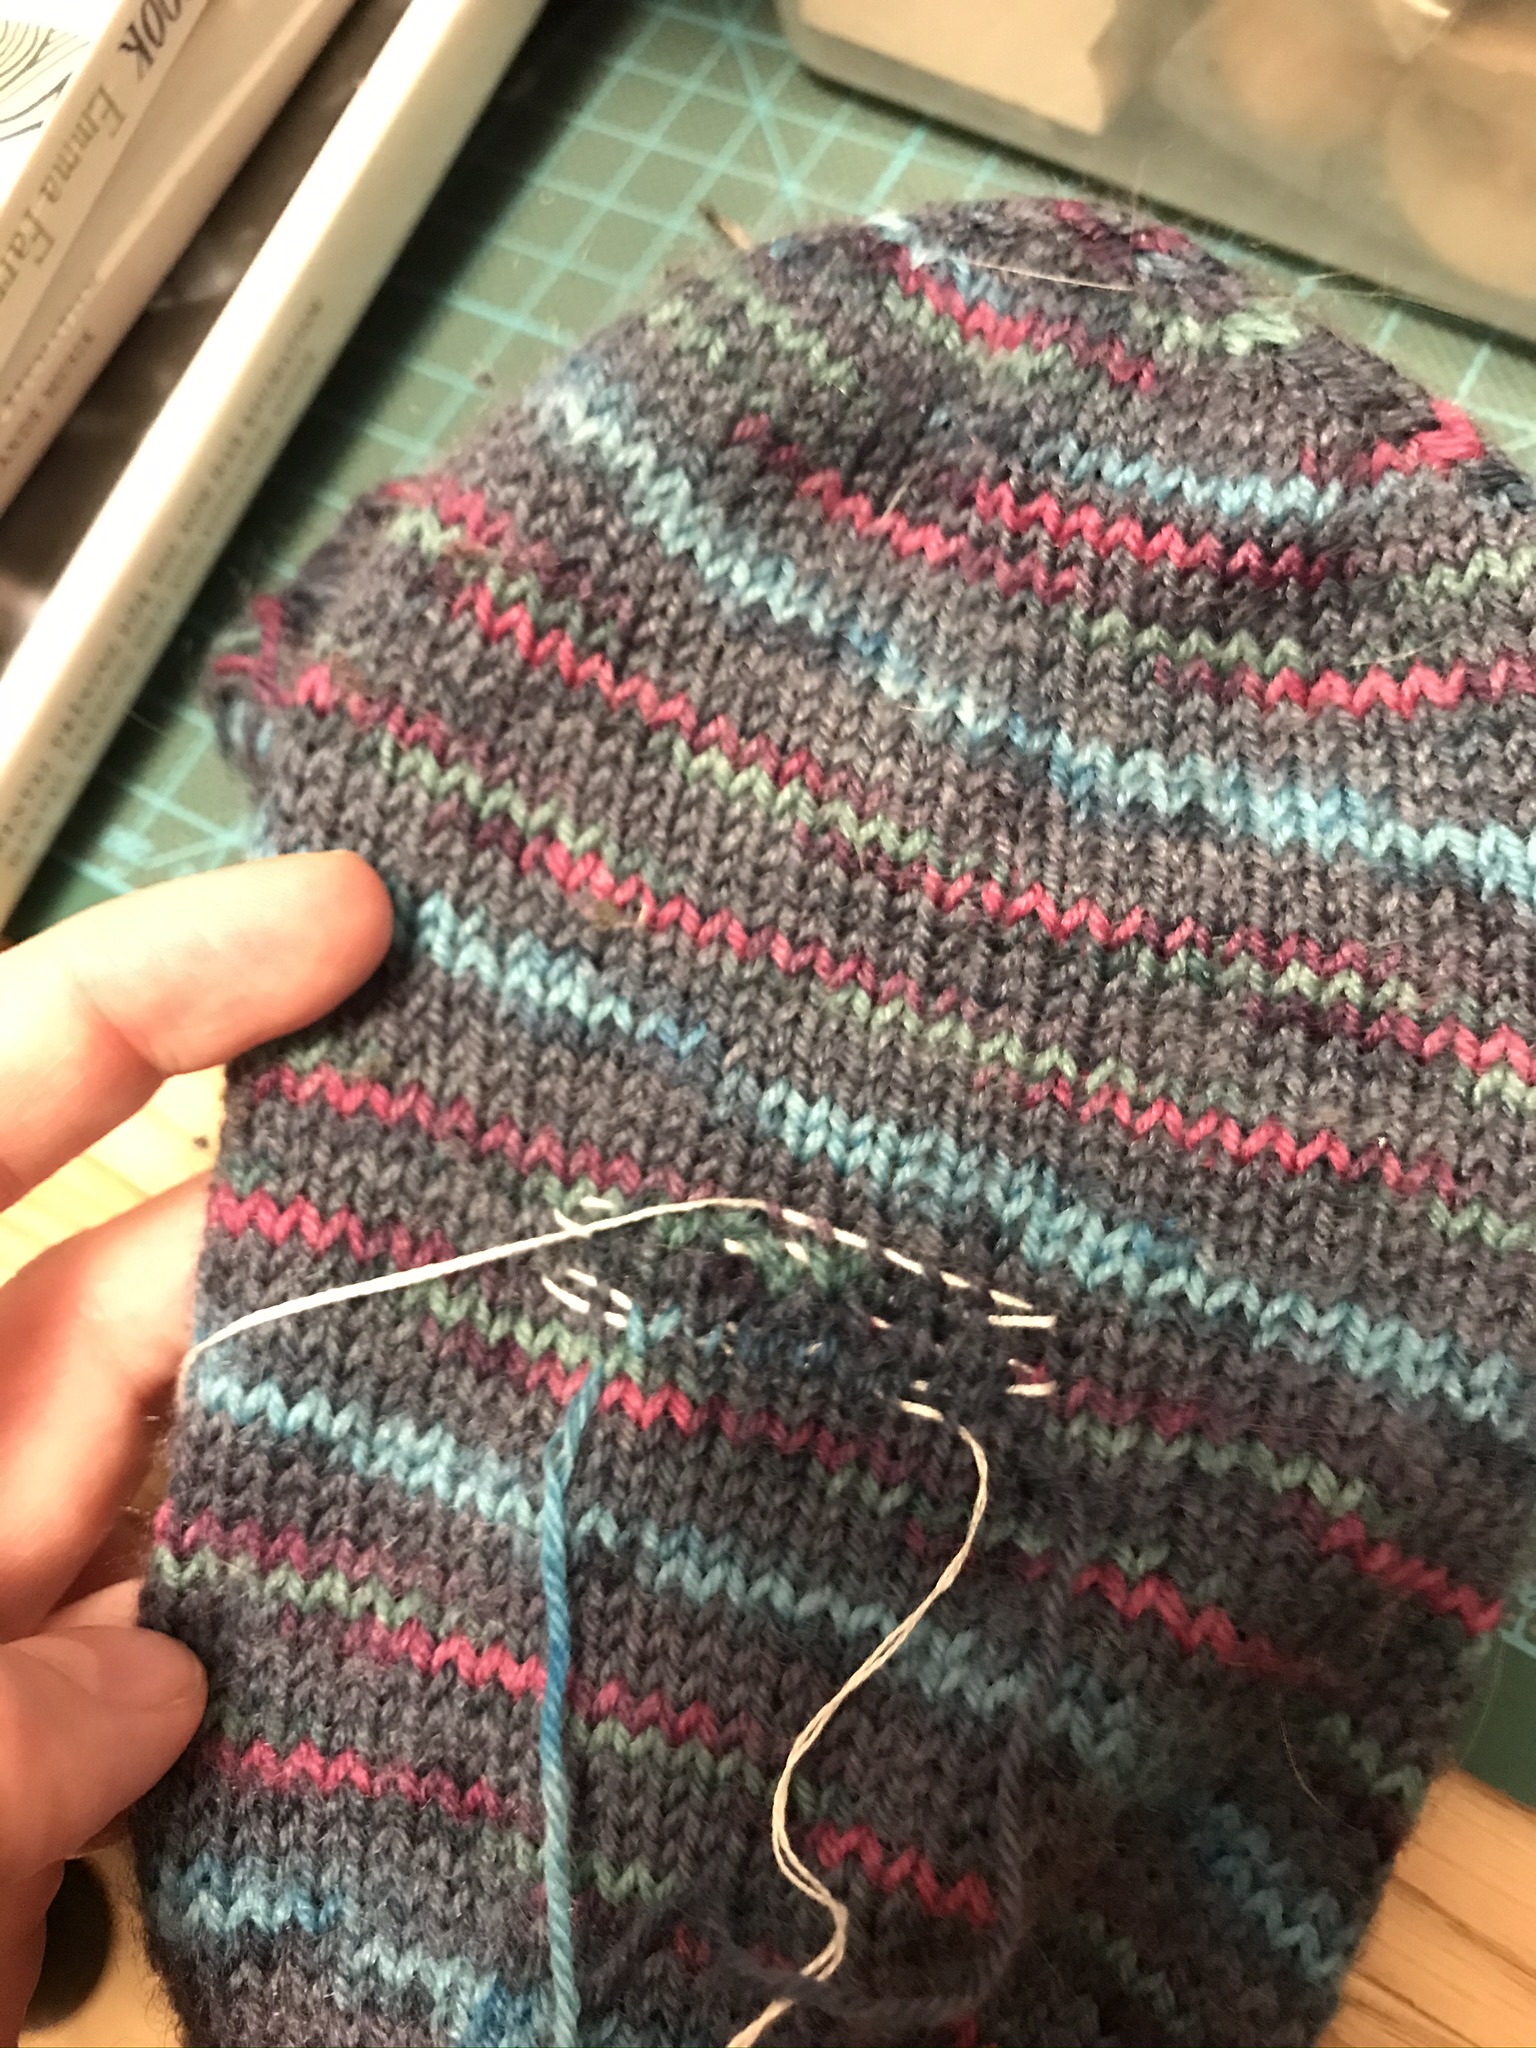
This one is a bit more tricky. Several breaks and more than one column of stitches missing. However, it’s in the sole of the sock and I want a neat and tidy mend that’s as flat as possible. I’ll try using duplicate stitch here too, but it will be a bit more work.

Right, lets do the easy one!

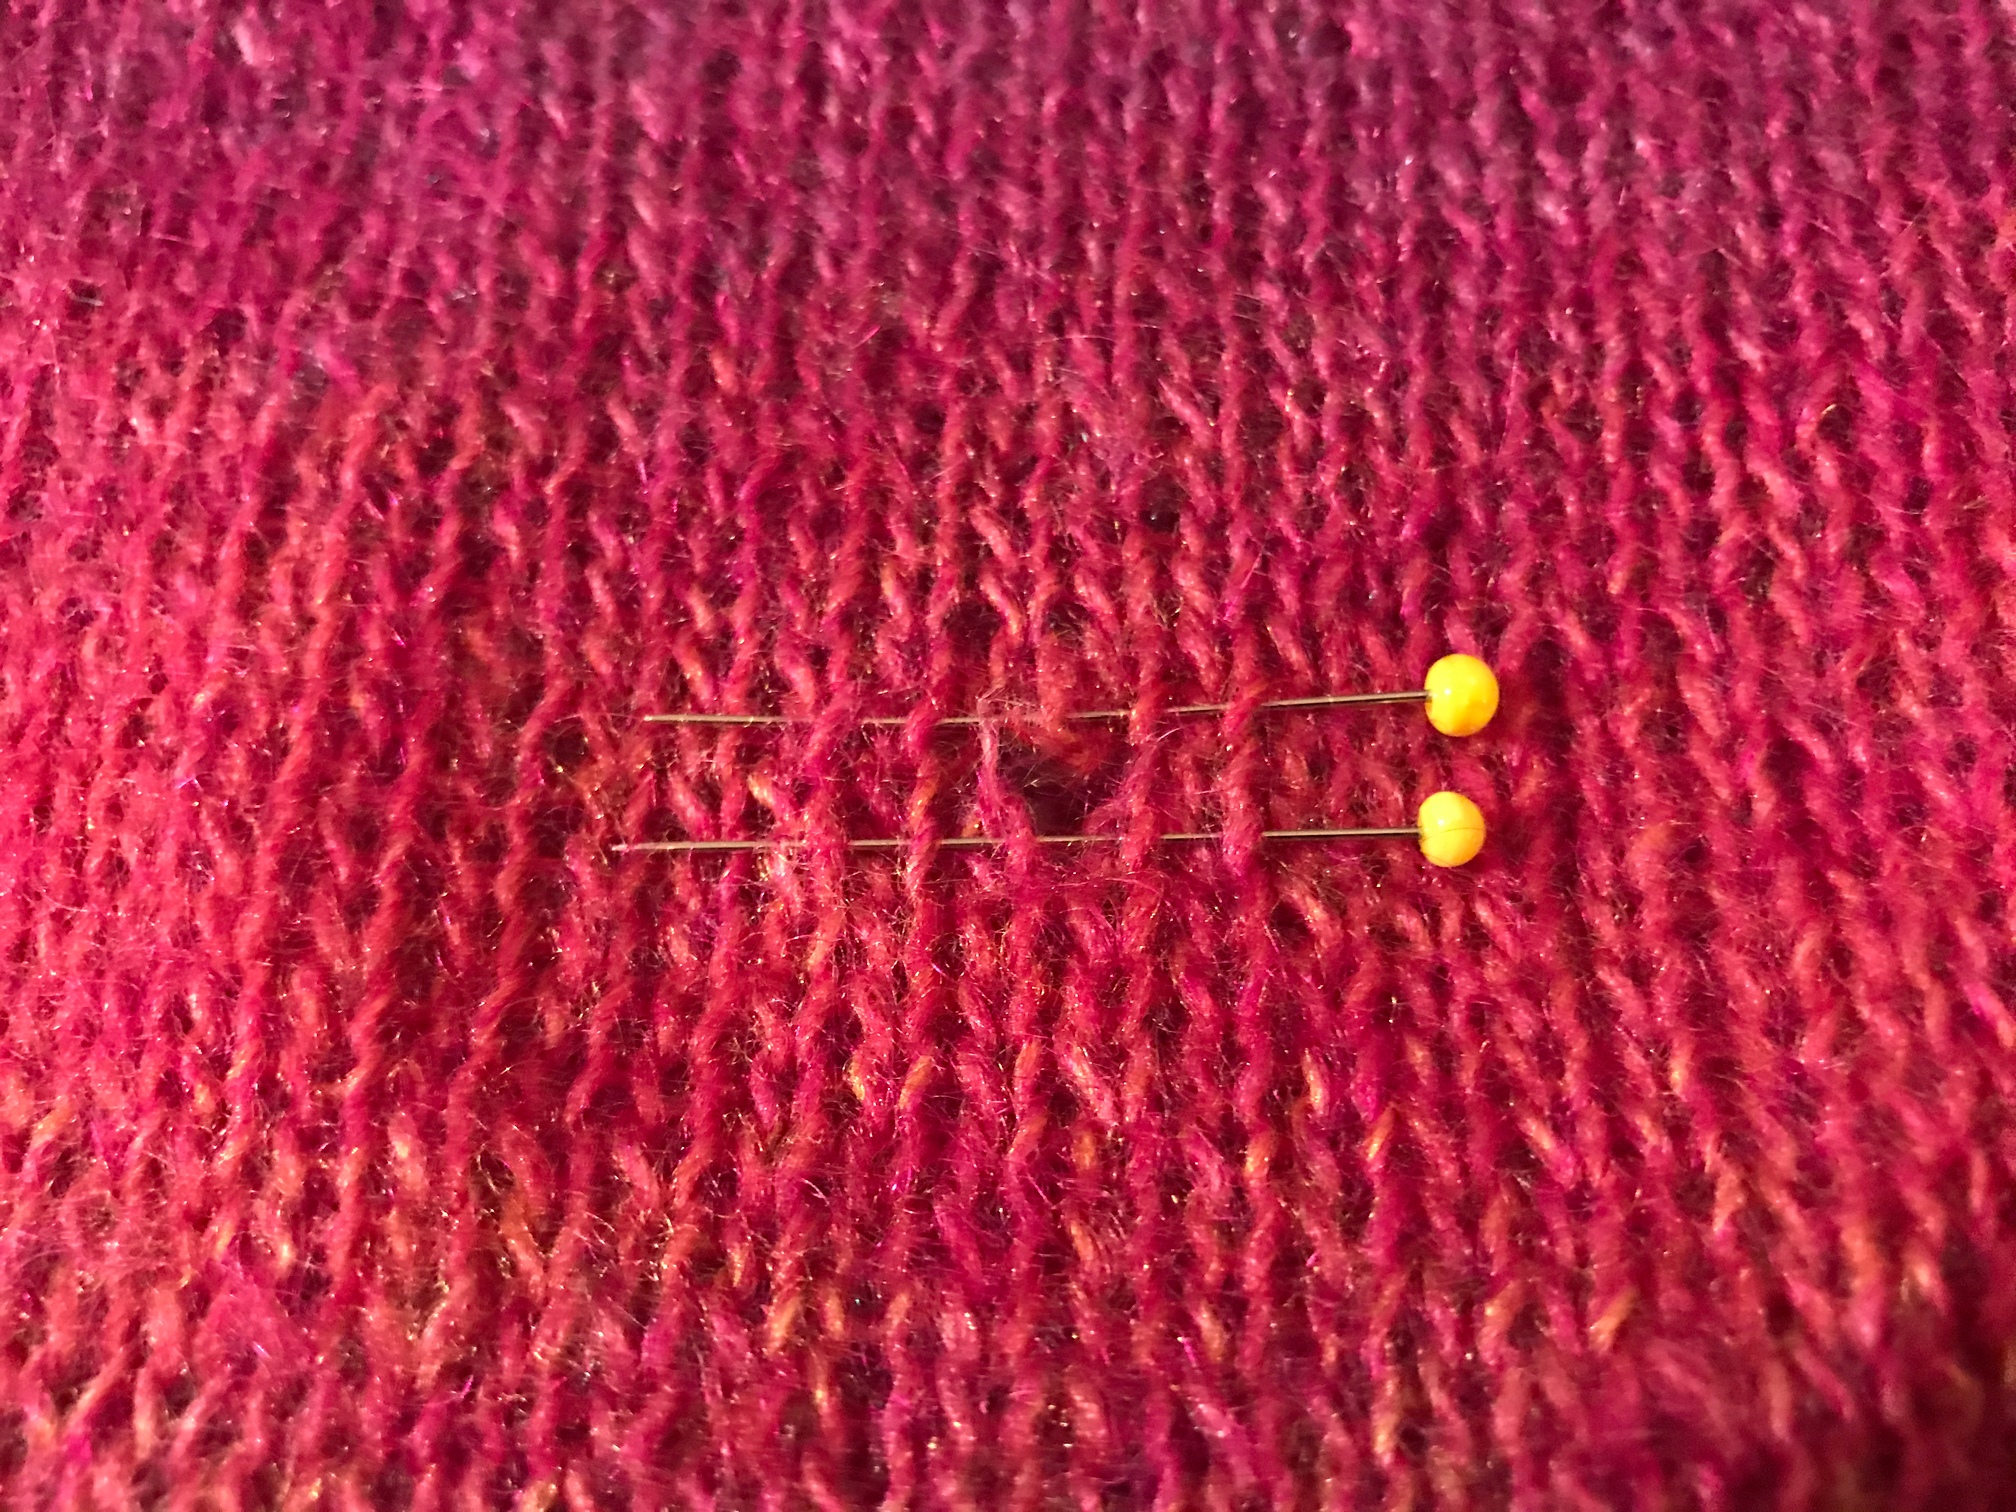
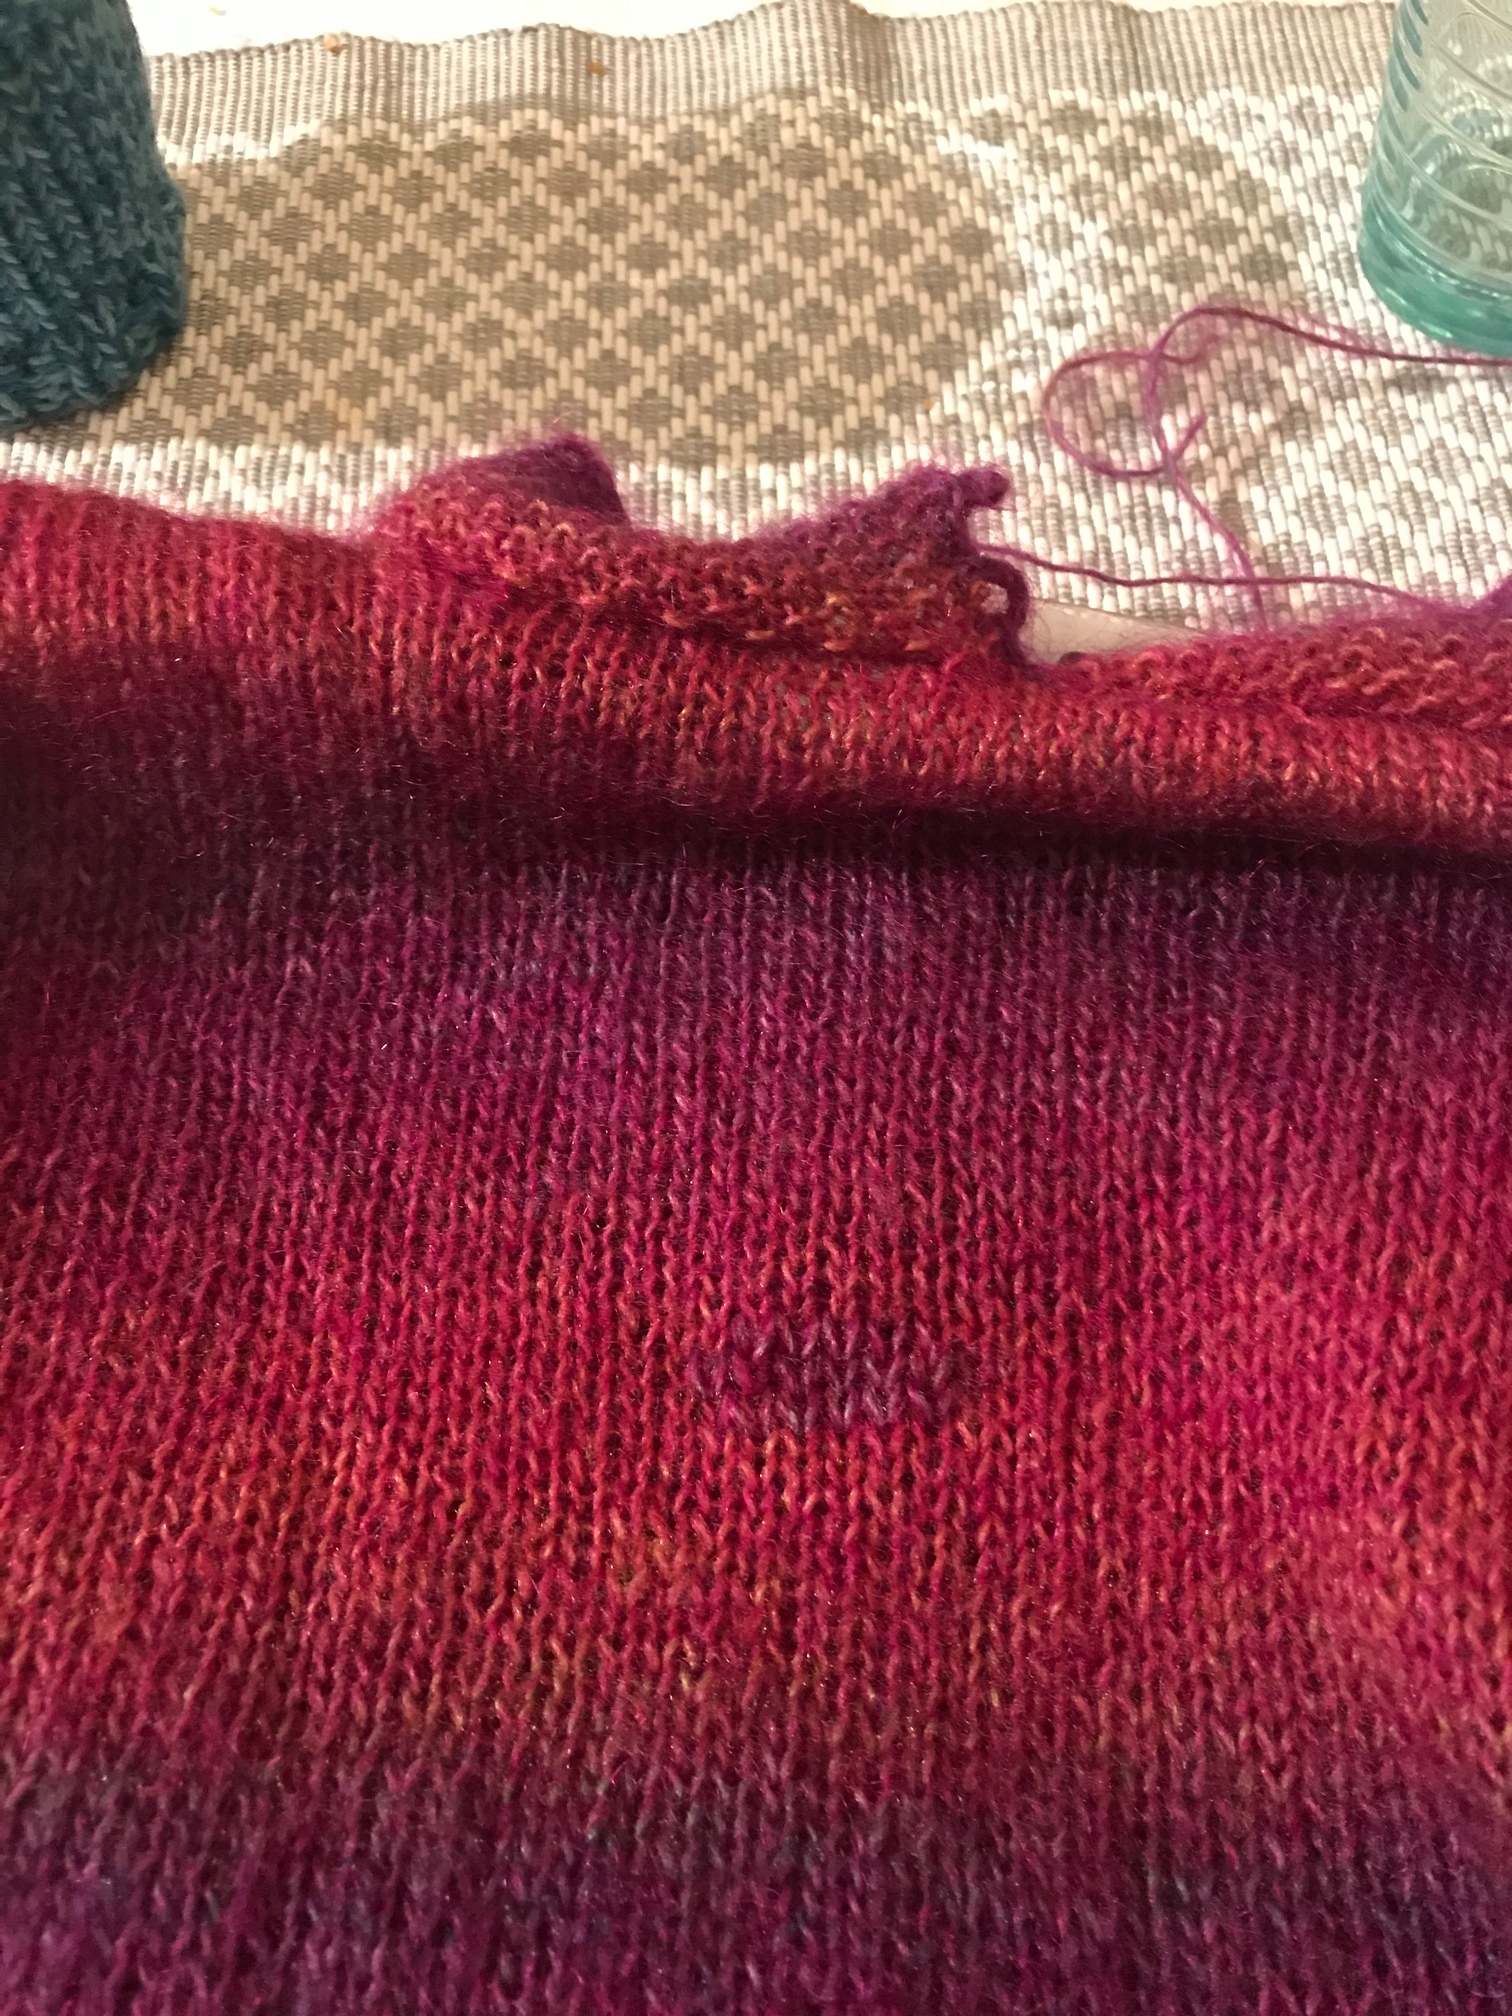
I’ve marked the rows above and below the hole with pins to make sure I keep everything straight and catch the loose loop of yarn on the top row.

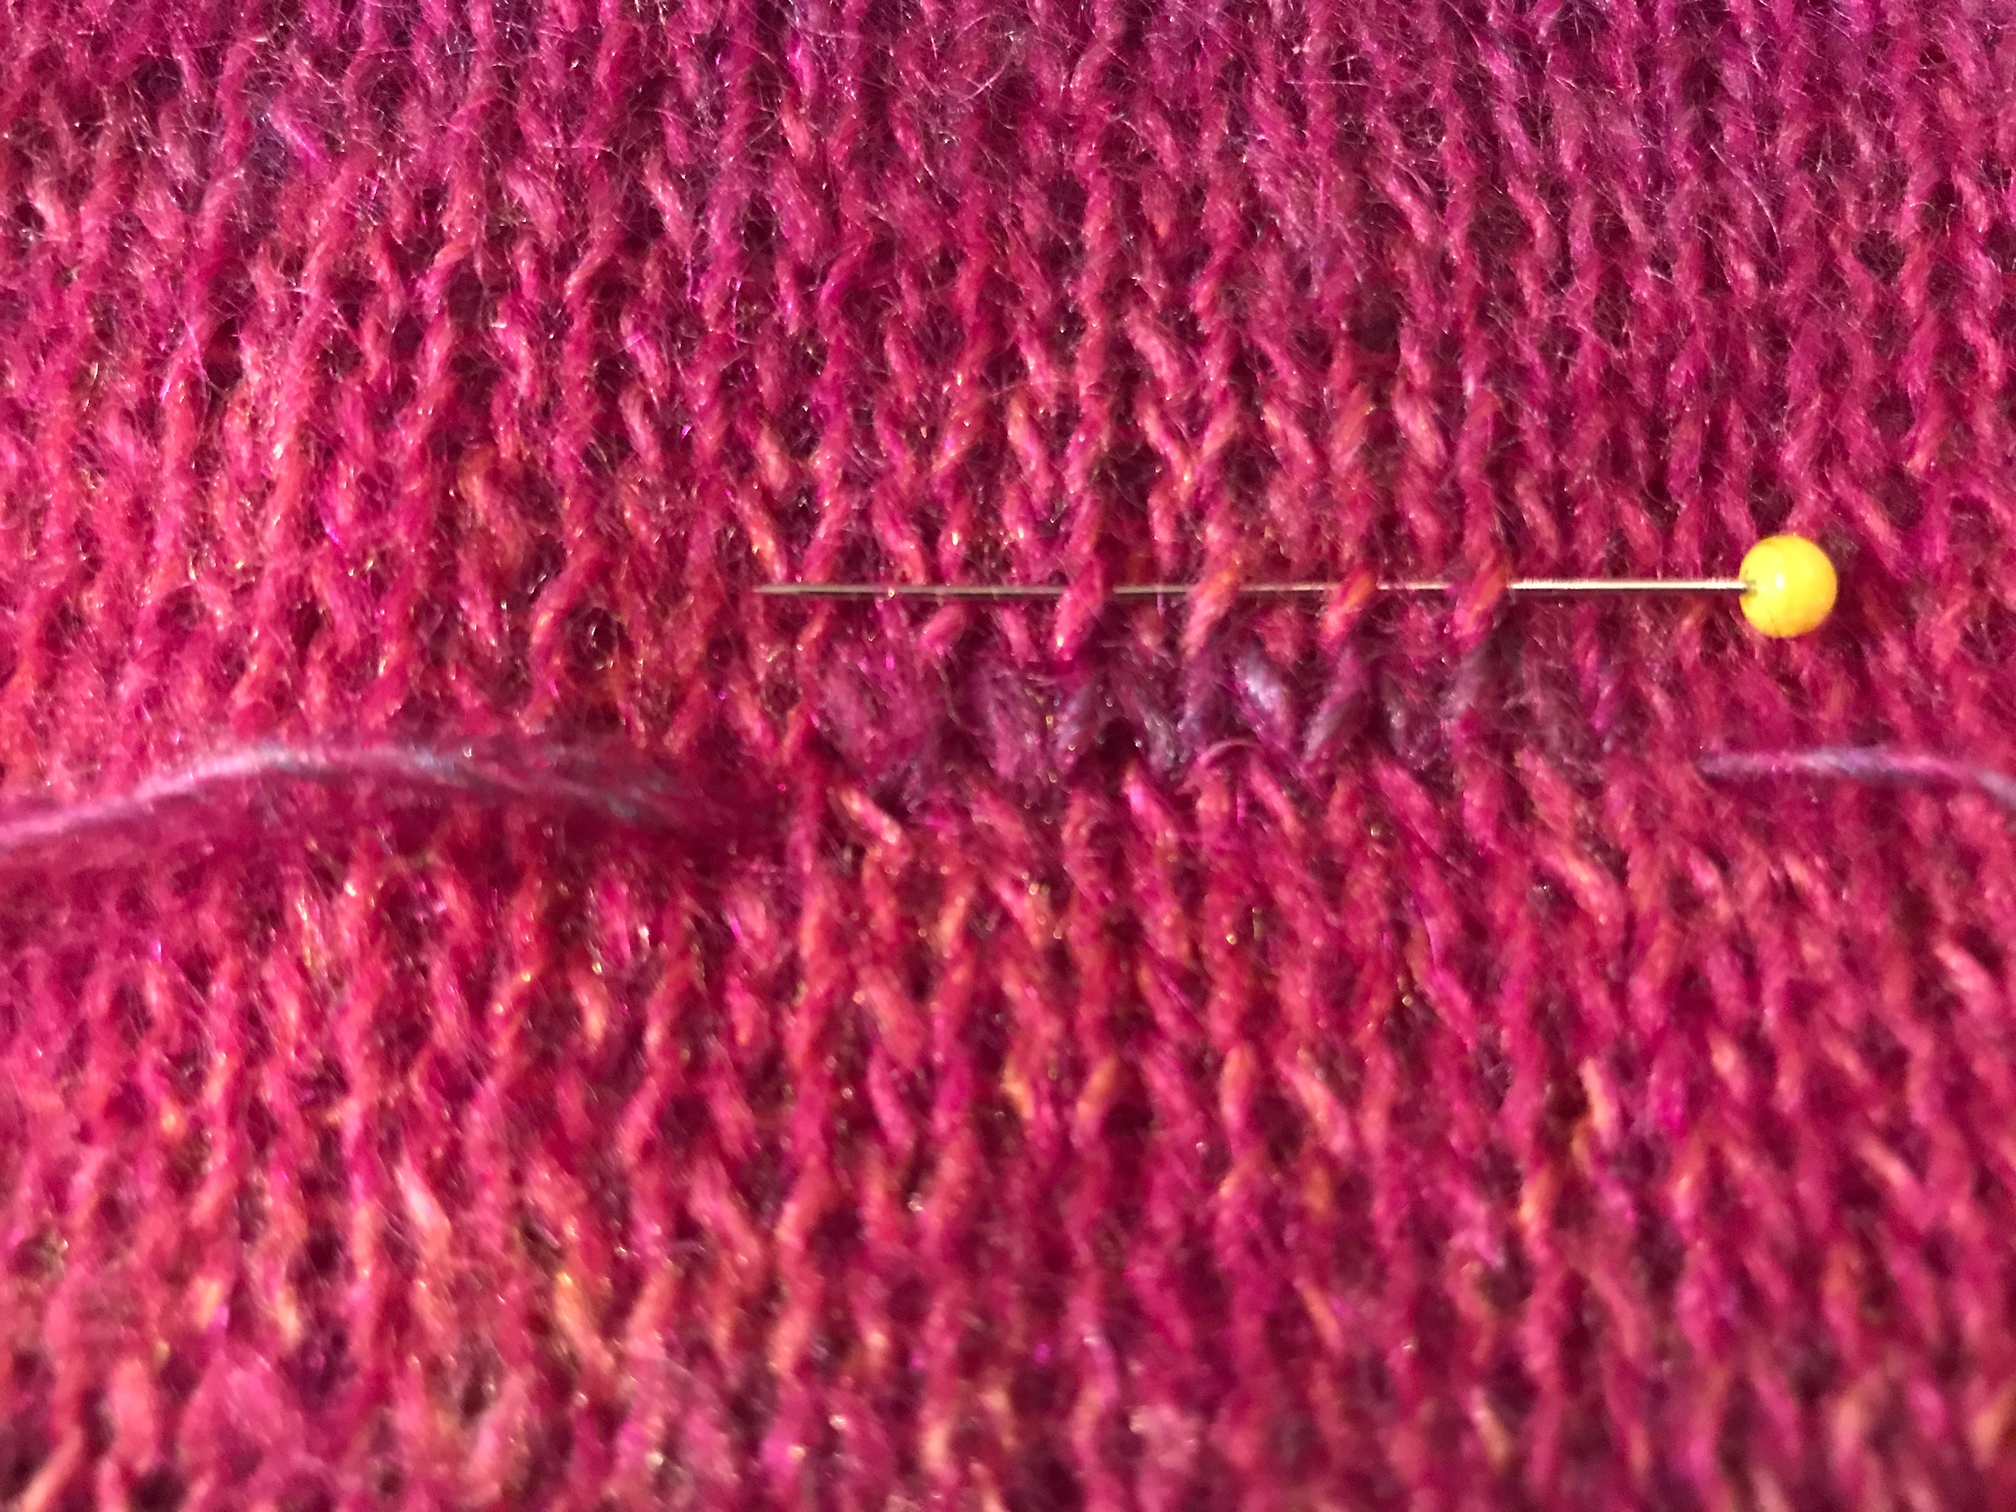
This is after the first row of duplicate stitches. I’ve done the first row of duplicate stitches and removed the bottom needle when I didn’t need the guidance any longer. I kept the top one since that held a loose stitch. If a garment starts to unravel it’ll run vertically and not horisontally. You can see the yarn end at the right in the picture. I keep it loose and hide/fasten it off at the end.

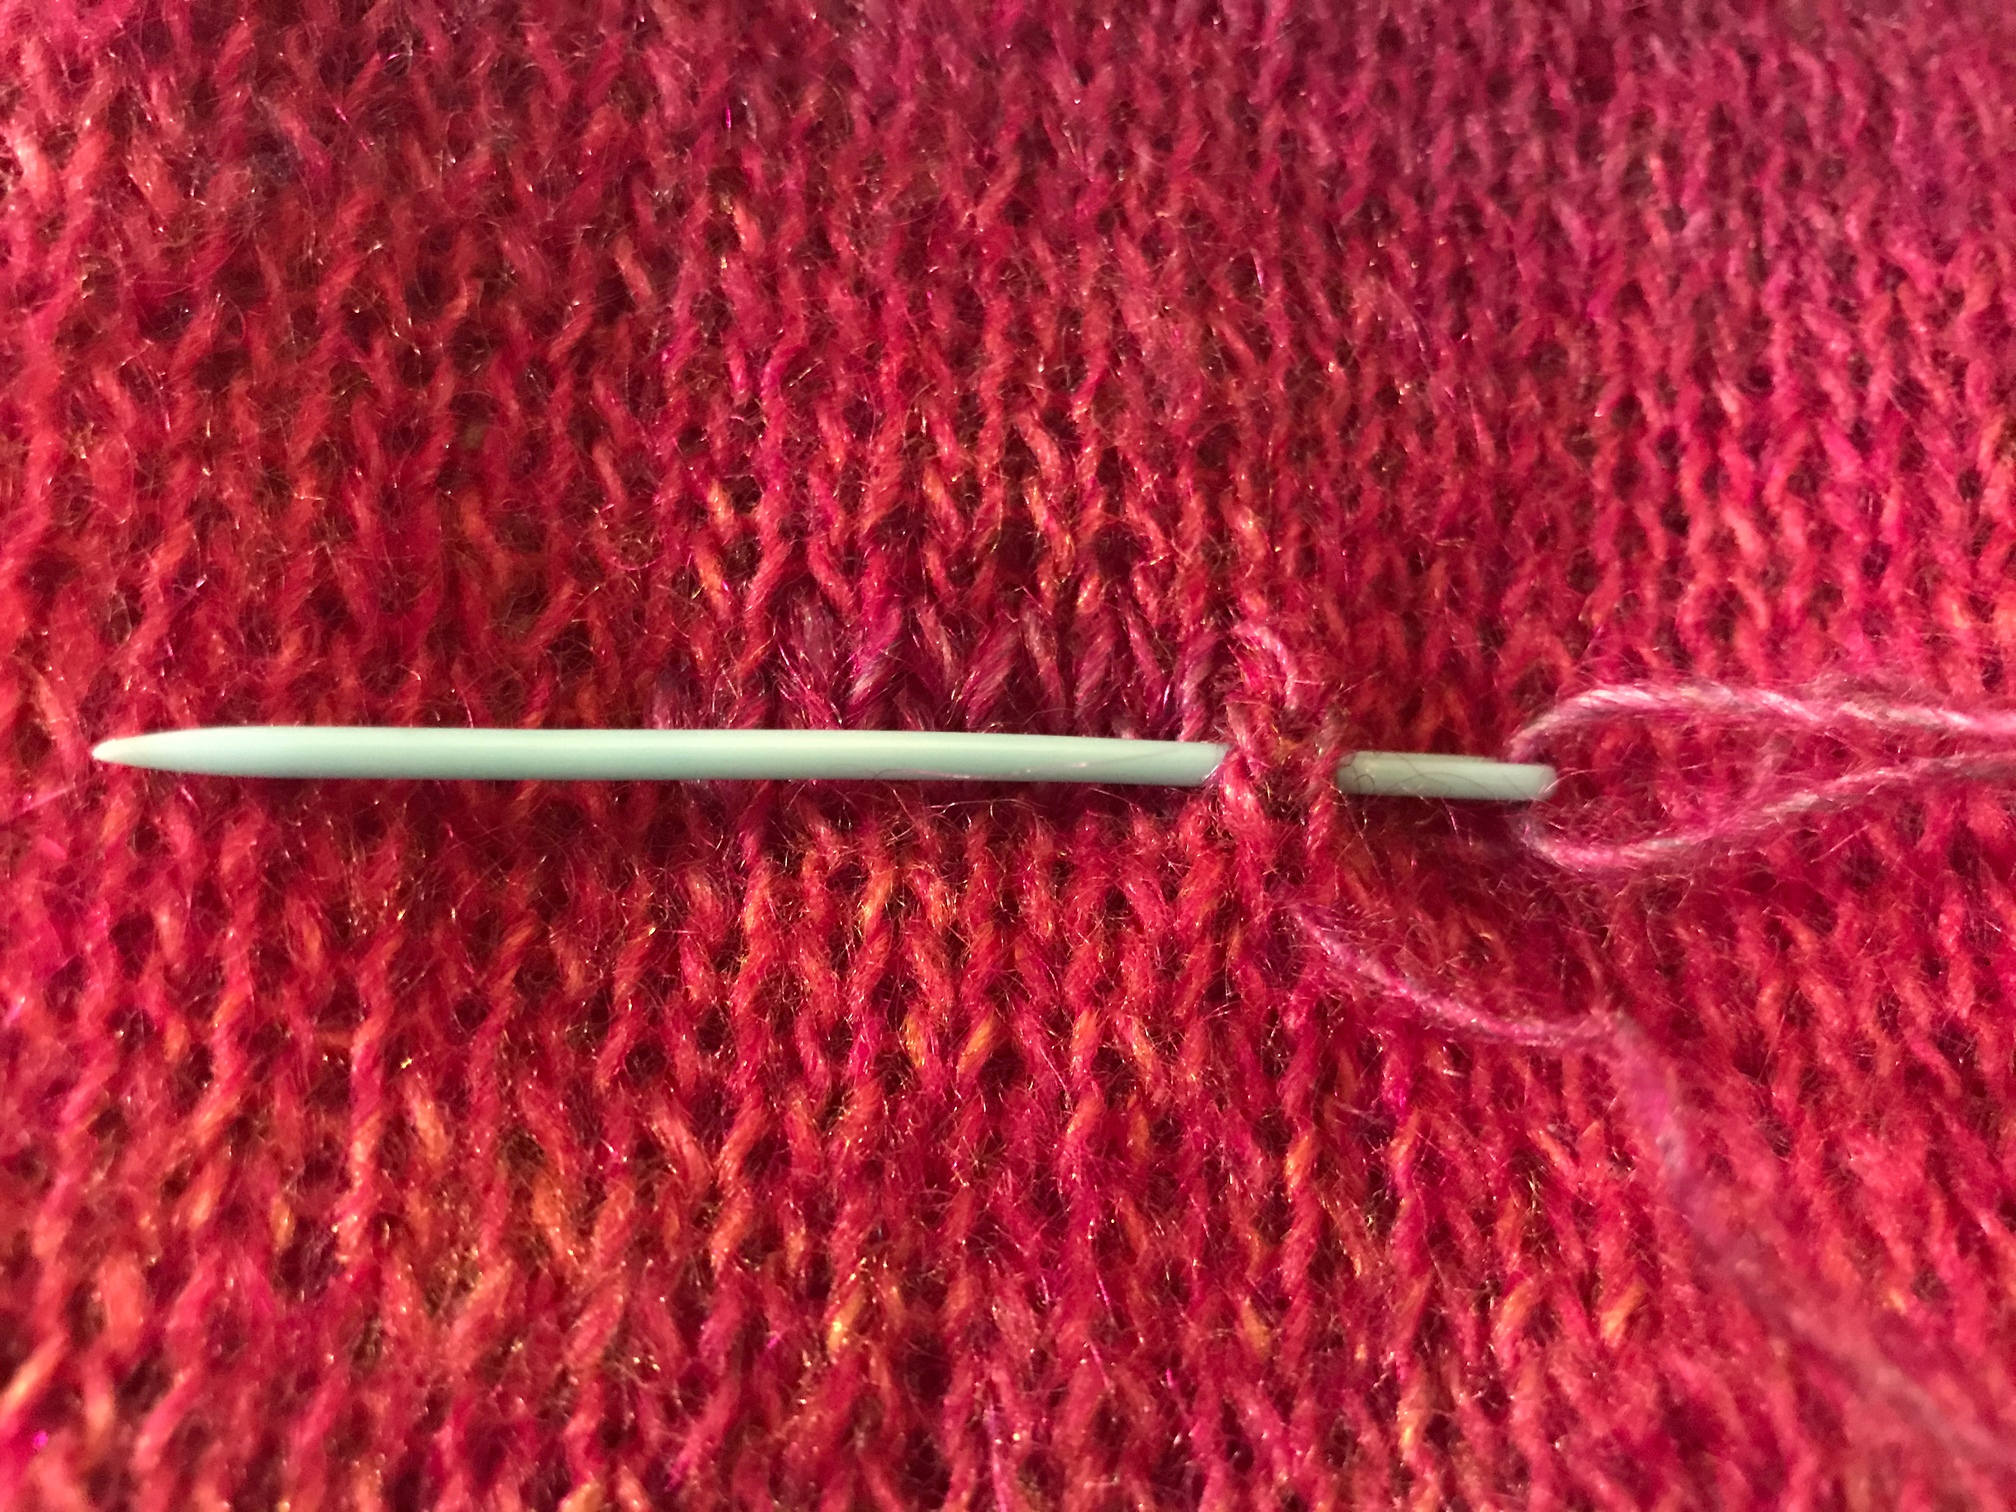
Here I’m trying to show how I duplicate stitch. Basically just follow the direction of the yarn and trace that loop, keeping the tension similar to the knitted tension. After pulling through I’ll insert the needle where you can see the yarn come out.

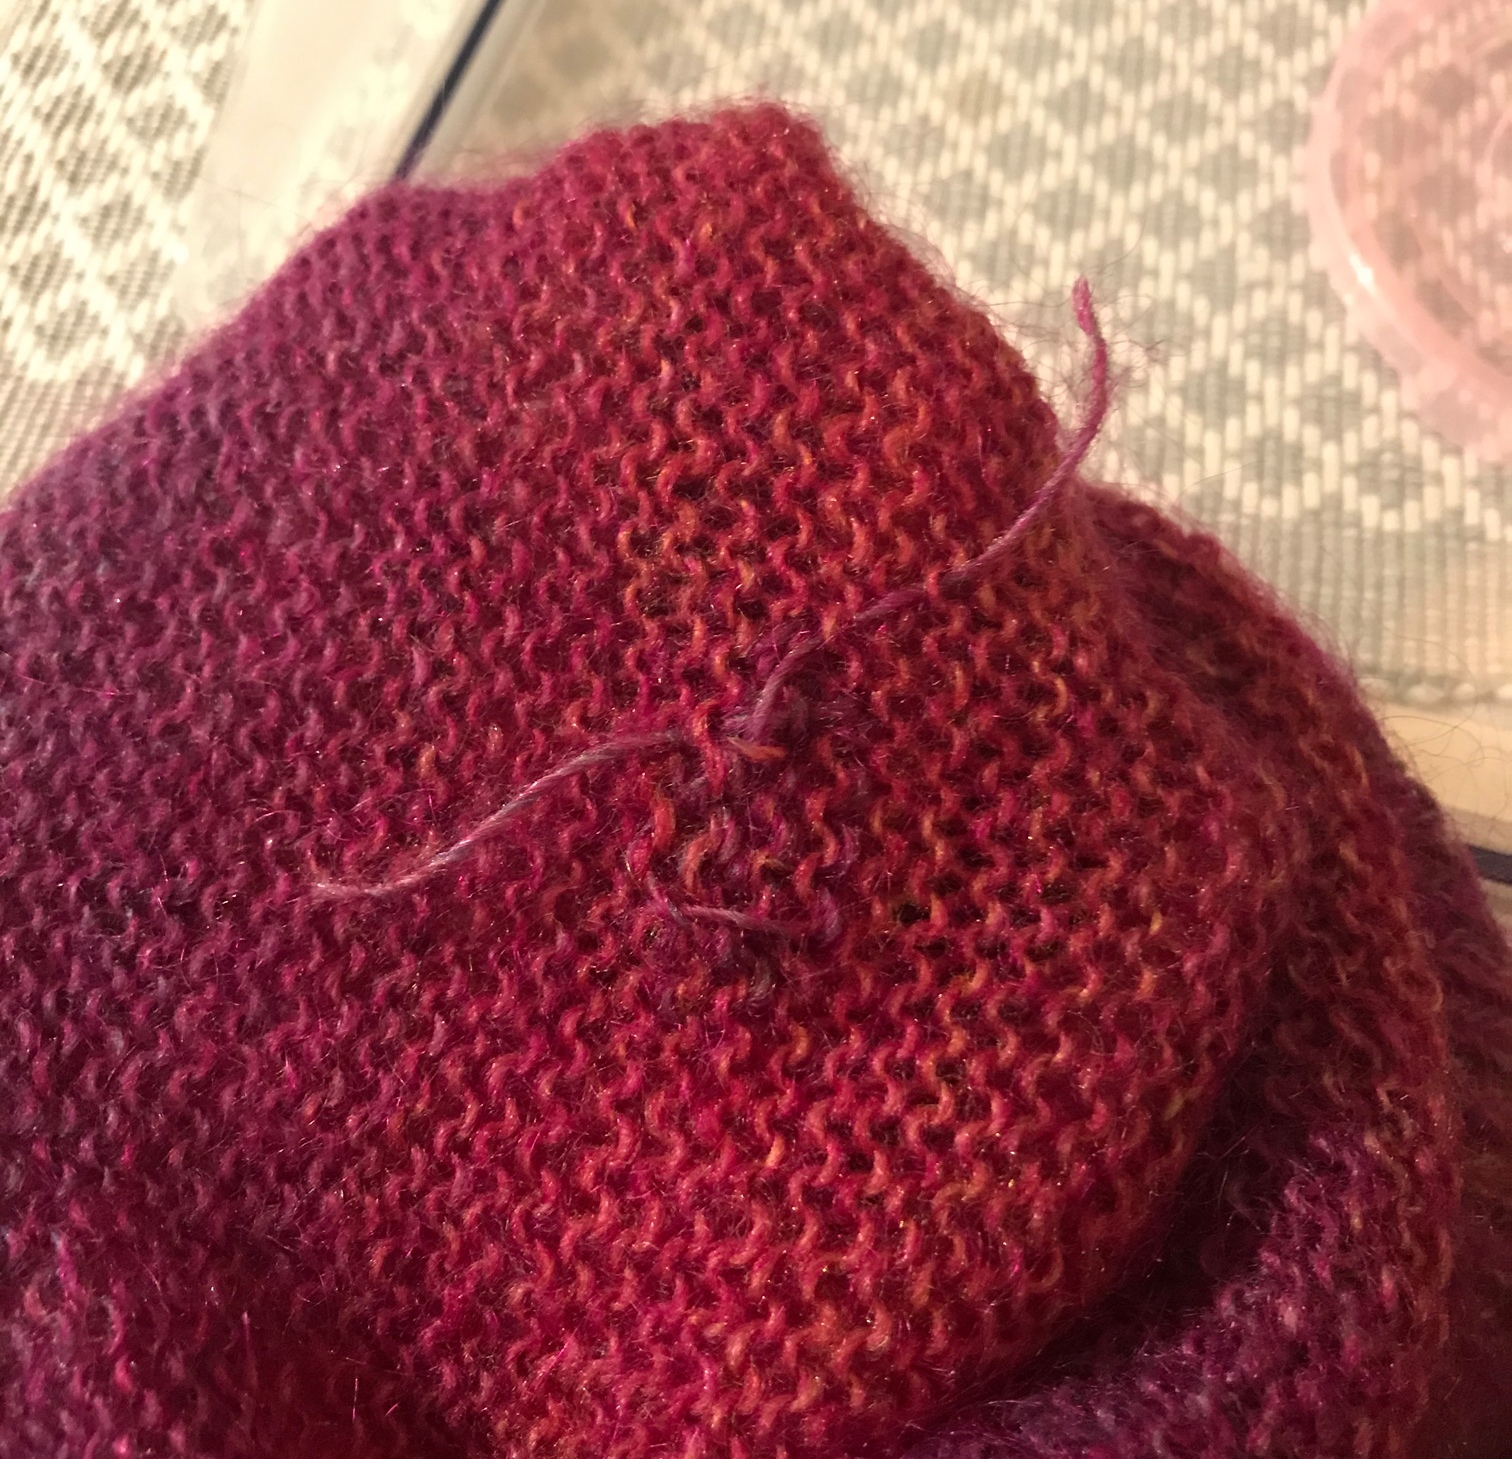
This is the back after pulling the ends to the back, fastening off and trimming the yarn. I like leaving a bit of length too it but might trim back more after washing it once,

All done! The middle row covers the hole and the top and bottom rows are there to reinforce the spot if there should be other weak spots in the yarn. Plus, it looked nicer. I could have made it truly invisible by finding a place on the spare skein that matched perfectly, but I like that it’s visible to me without being super obvious.

Back to the tricky mend in the next post.

6 Likes

First things first! I need to trim a bit of the loose ends and see what I’ve got to work with.

I tried the same method as I’d used for the sweater first, marking the rows with pins. I knew I needed something to help the stitches stay put since there simply wouldn’t be any fabric around some of the stitches I was going to create. Well, pins didn’t work out for me this time. I could ”hang up” the stitches on them, but they also got in the way. New plan!

This is two strands of white cotton embroidery thread, threaded through one ”leg” of each stitch and just trailed across where there were no stitches.

I then started duplicate stitching, one row at the time and starting on ”healthy” fabric a couple stitches from the hole. When I couldn’t anchor my stitch in neighbouring stitches I looped it around the guide thread. On the next row I’d sew into the new loose loop, creating solid fabric.

4 Likes

The second one is quite a challenge!
Looks like you’re acing it.

1 Like

Thanks! There will be some more edits to that post. I wasn’t sure about the result, thinking I’d have to tweak some bits before calling it done, but the sock owner was impressed. I just need to take a photo of the end result.

Thanks for your tips and detailed method!

In the past, I have just done visible mending on socks, but now I save yarn in a jar for the socks to repair later…nice job on both, but I was really curious how you were going to do the one with multiple missing columns…

The trick is to catch the holes early so there is less to mend…

Thanks for sharing…BTW, the mohair sweater is lovely and deserves to be saved so nicely

1 Like

Nicely documented! :slight_smile:

I love mending! Good job!

:metal:

Your precise method yields pro results! Thank you for sharing, I will file this away for future mending.

Excellent mending tutorial!!!

Great to see you again, @A2K!

2 Likes

I’m going to need to do this again soon… The filing cabinet at work tried to eat my shawl and the yarn is looking weakened. I think it’s about 3/4 broken so I better mend it before I try to remove the black smudge from being trapped in the filing cabinet or I fear the yarn will snap, and that’s bad news in a lace shawl!