I recently bought some scanned images of 1950’s and 1960’s paper dolls. This weekend, I used a couple of them to create this retro Valentine decoration.
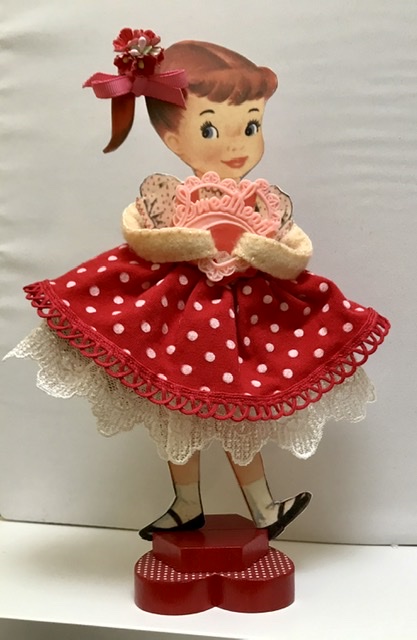
I’ve been seeing other people create similar little figures with chenille stems for arms and legs, using heads from vintage Valentines. I decided to try to make one using a paper doll.
Here’s a little tutorial and a few pictures of the process.
You’ll need:
Vintage paper dolls or images printed from digital downloads.
Cardboard, stiff enough so it doesn’t bend over
Patterned scrapbooking card stock
Chenille stem
All-purpose glue
Scissors
Craft knife
Mod Podge (I like matte)
Felt (try to match the color of the figure’s arms)
Needle and thread to match the felt
Wooden blocks or spool for base
Paints if you want to paint the base
Various decorations (fabric, lace, trims, little flowers, embellishments such as vintage cupcake picks, etc.)

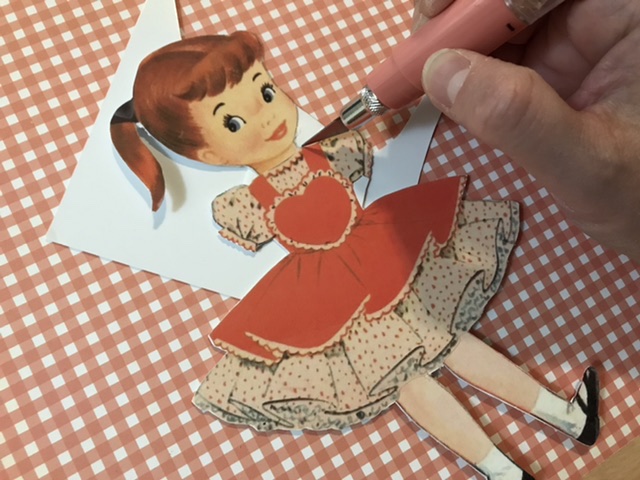
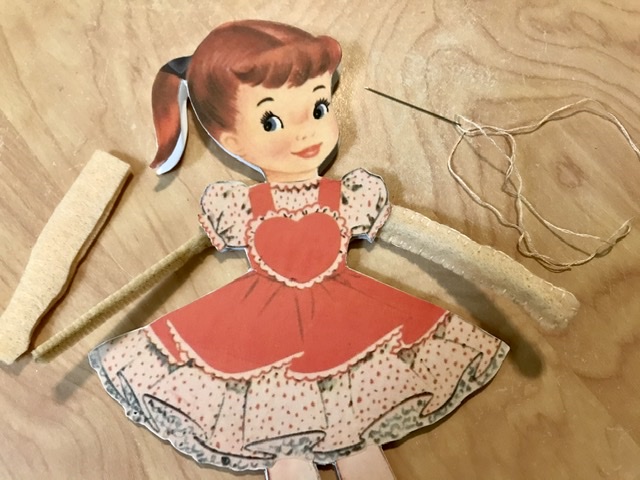
I wanted the head to be disproportionately large, so I chose the head of one paper doll and put it on the body of another. Cut everything out, including a cute dress. (I knew I was going to use something bendy for her arms, so I cut the arms completely off.)
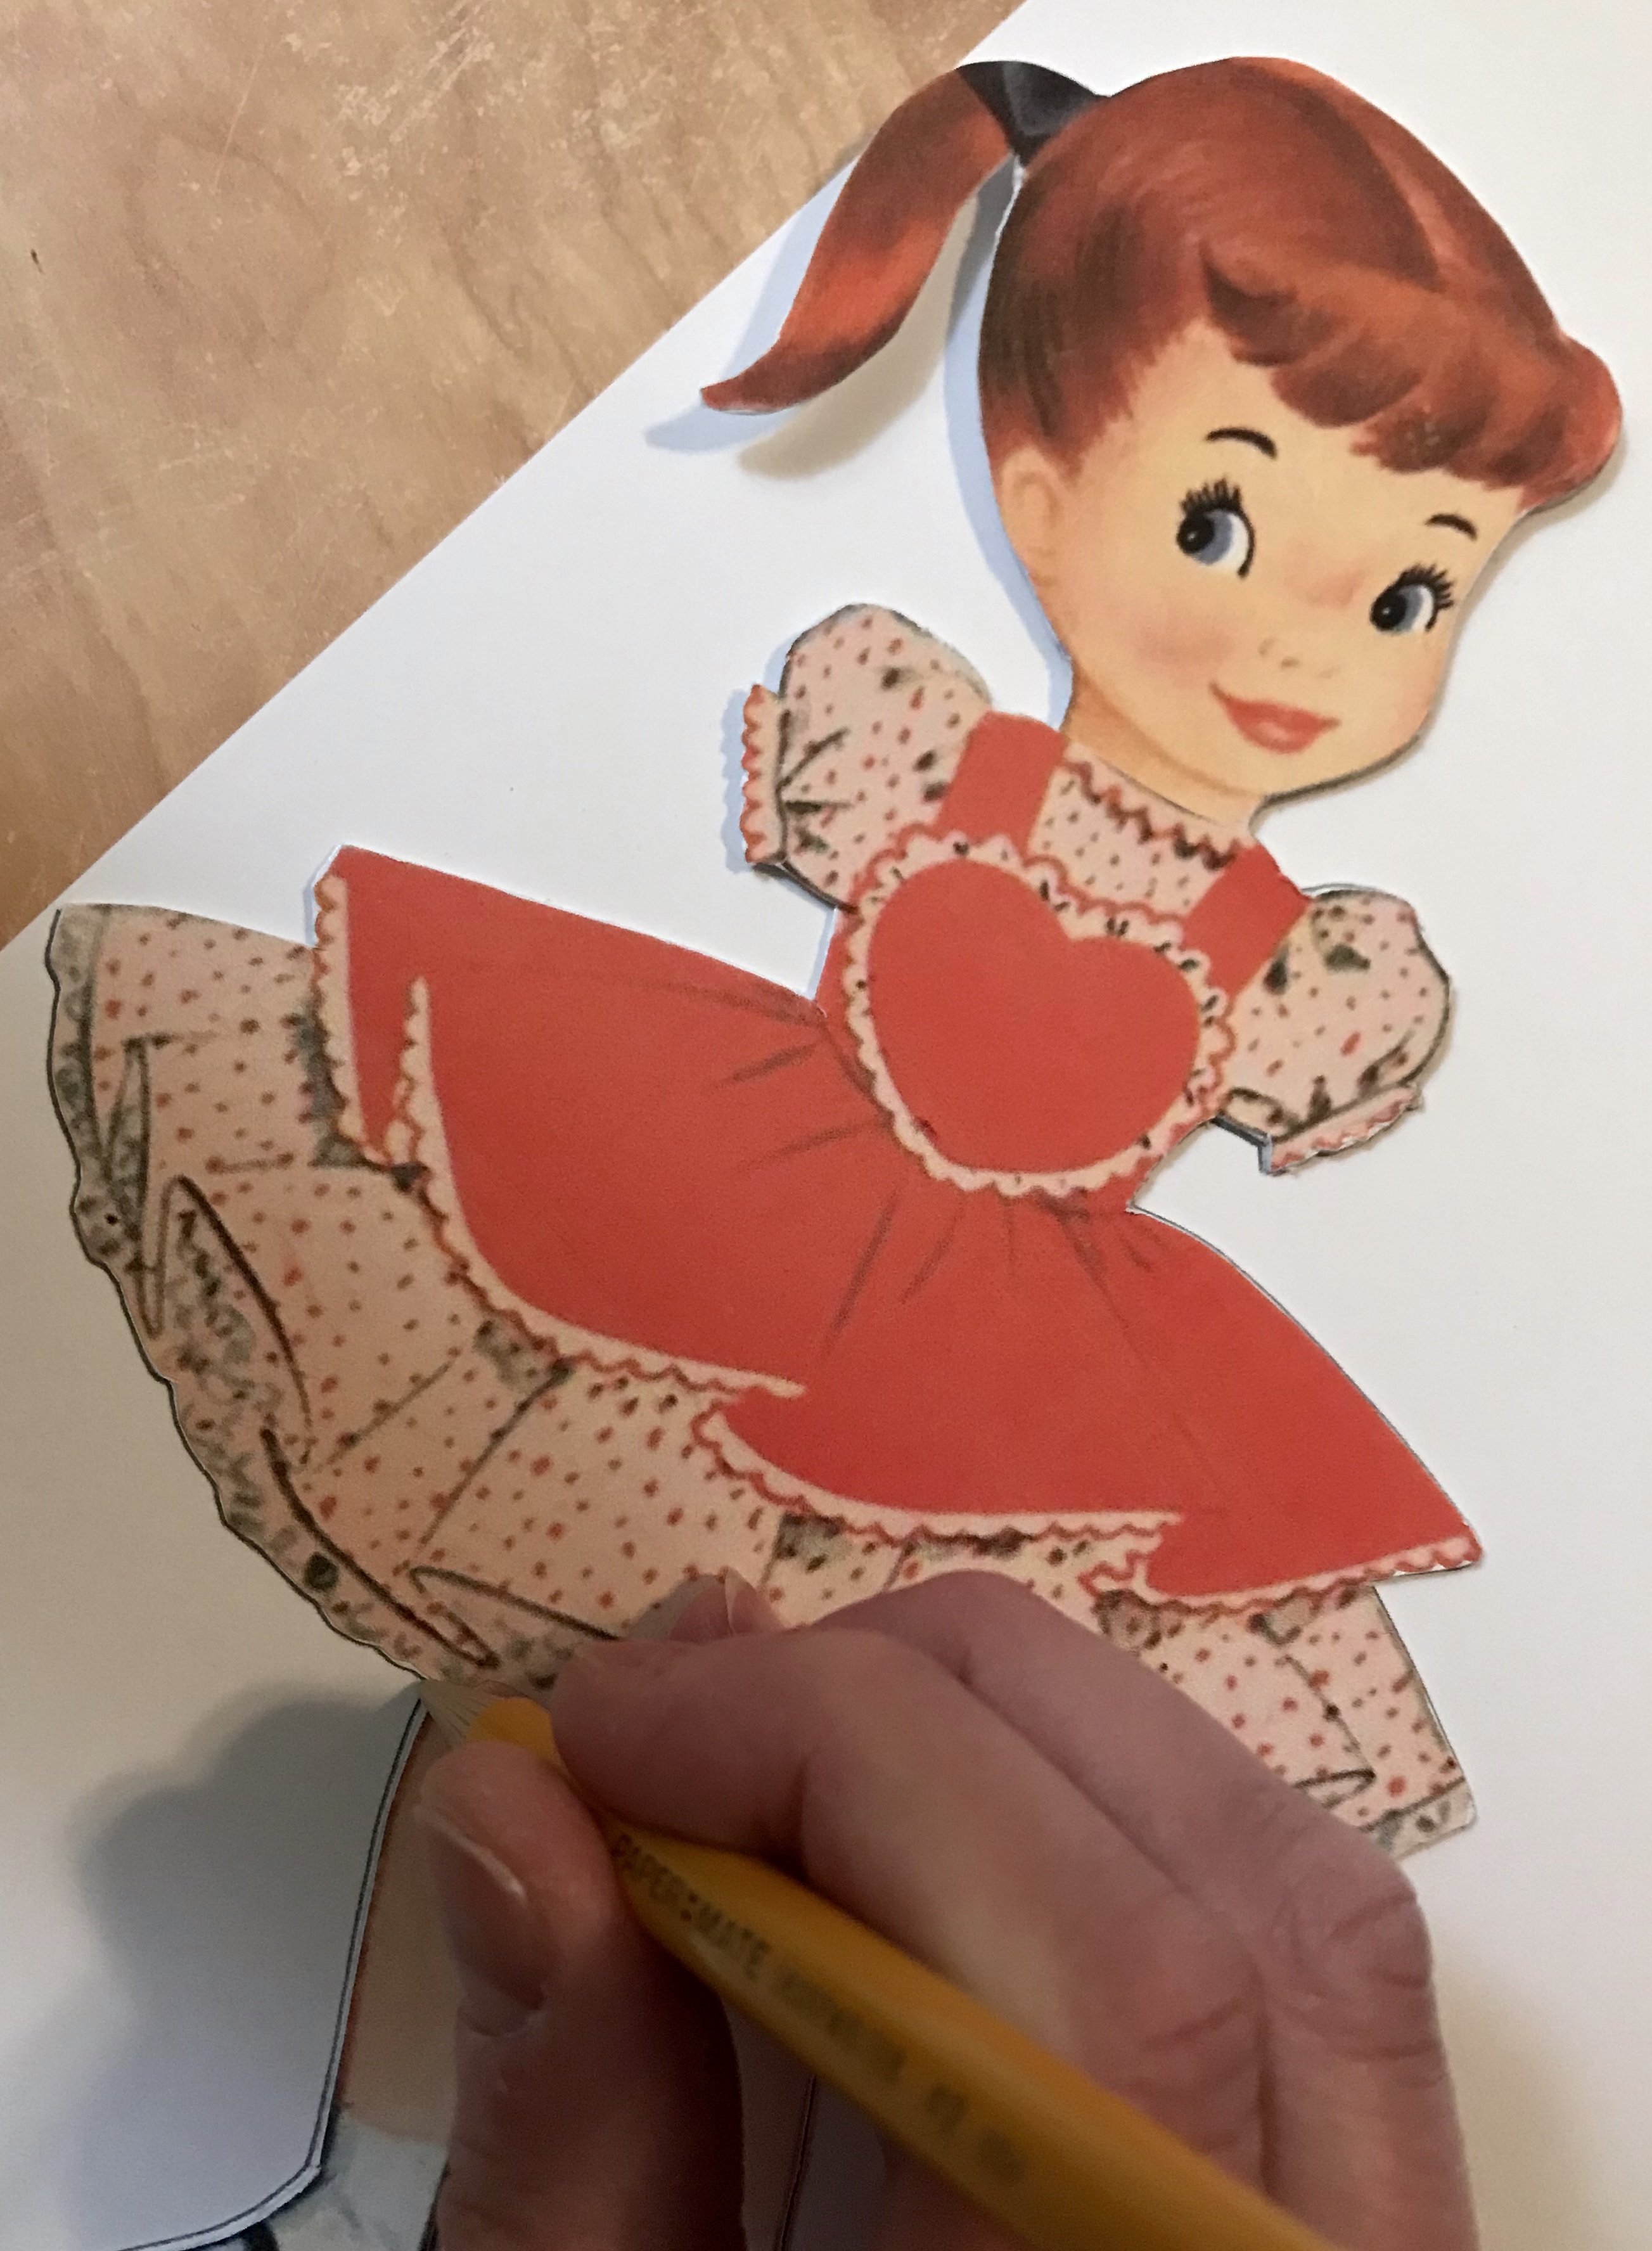
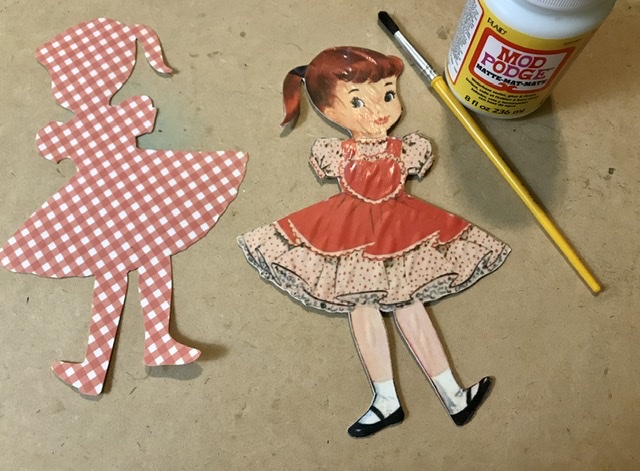
You can use glue or Mod Podge to stick everything on sturdy cardboard. The cardboard I used was white and acid-free, and stiffer than poster-board. Then cut the shape out of the cardboard, using a razor knife to get into the small areas. (Or maybe you could use something like a Cricut for this rather than doing it by hand.) I chose a cute gingham cardstock for the back.
Place the cardboard figure face up on the back side of the patterned card stock. Trace around the figure and cut it out. Don’t put the back and front together yet, though.
Seal the front and back. I used a thin coat of matte Mod Podge.
At first, I was worried because the figure got some bubbles on the surface. (I had just printed it on regular paper on an ink-jet printer.) Luckily, after it dried, the bubbles went away.
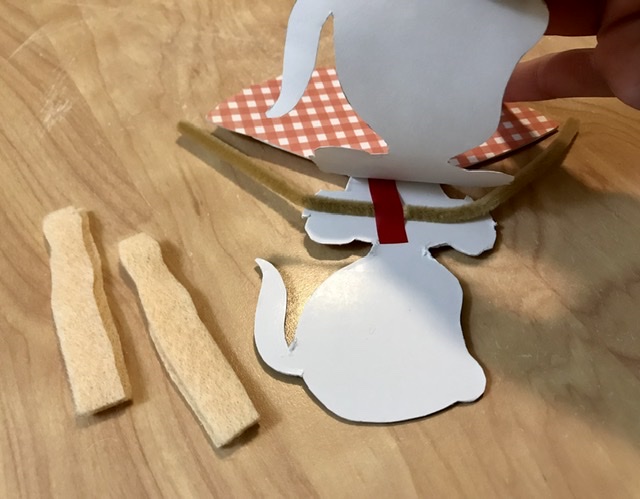
Next, position a chenille stick for arms, and tape it in place. Glue the bottom half of the figure to the backing, lining it up very carefully. Cut some felt into arm shapes (use the paper doll as a guide). Cut four pieces - two for the left arm and two for the right. They should extend into the sleeves about a quarter inch.
Sew the arms together on the edges, leaving the top edge open. Insert the ends of the chenille stick into the arms, making sure to put the left and right on the correct sides and making sure thumbs go upward (if there is a thumb). Glue the ends of the arms under the sleeves.
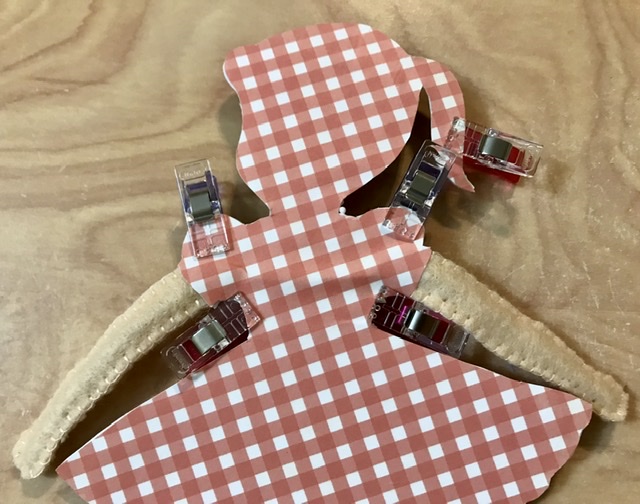
Then glue the top half of the paper doll to the backing, sandwiching the chenille stick in the middle. Use clips to hold the pieces together as it dries. (You may have to trim a little bit after it is dry.)
While it is drying, make a base. Use something with some weight, like a block or spool.
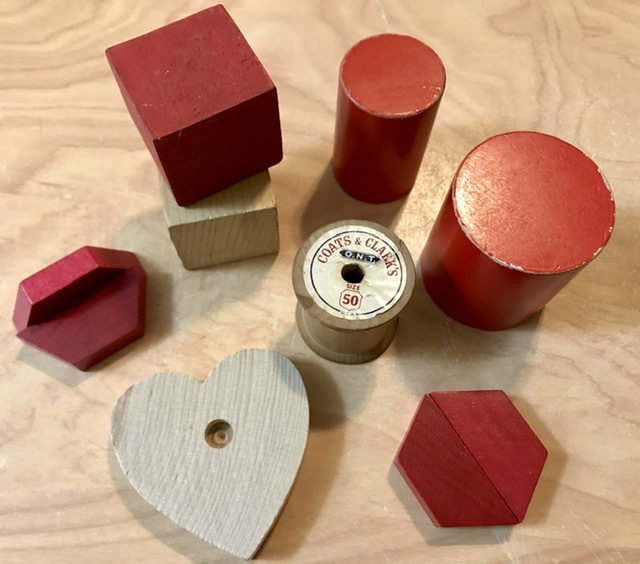
Cut a slit in the base, just large enough to insert the feet of the figure. I did not take good pictures of this part… and to be truthful, I did not cut anything. I glued two small half-hexagon-shaped blocks onto a larger heart-shaped block (which I’d painted and topped with Mod-Podged scrapbook paper.) I spaced the two smaller blocks just far enough apart to be able to insert the doll’s feet. You want it to be a snug fit so she stands up straight without leaning.
Once everything was really good and dry, I assembled and decorated the figure. Again, I forgot to take pictures of this part, but I gathered the edge of some lace and some dotty fabric to make a petticoat and skirt, put some flowers and bow in her hair, and stuck a plastic heart that says “Sweetheart” in her hands.
Be aware you might need to carefully coax her back into a flat shape if she tries to warp.
I’m not totally satisfied with the way the arms turned out. Next time, I might use fabric rather than felt.
Still, she’s a cheerful presence in my craft room. Happy Valentine’s Day!


