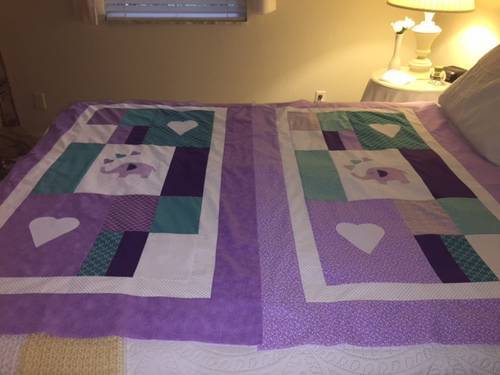
A few years ago, over Christmas break, my mom (@Mumscrafts) and I made 2 baby quilts. She had seen one online, but a pattern wasn’t available, so with the help of some graph paper and a bit of math, we worked out a pattern. She gave her quilt to her friend’s new granddaughter. Fast-forward 3 years… Due to some heavy use (and perhaps a bit of abuse), the quilt was in pretty rough shape. So, her friend asked my mom if she’d make another, larger one (the quilt is pictured on a queen-sized bed, I think).
So, over Christmas break, while visiting my mom we started to make another one. Once again, we needed to break out the graph paper and do some math so it could be scaled up.The layout is identical to the other one. My mom scaled up the appliques so they would be the right size, and we got to work.
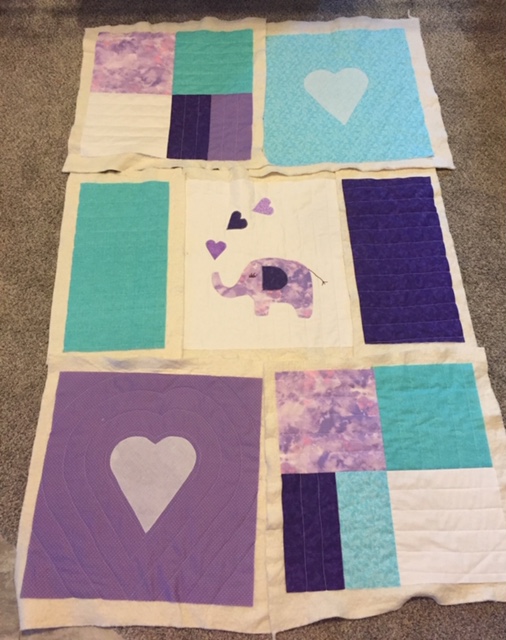
Because this version was so much bigger, we didn’t think it would look as nice if we tied it, so we decided to use a quilt as you go method (we used Wendi Gratz’s tutorial), and quilted the blocks separately (the sections with 4 parts were pieced first to make a larger block). I appliqued the hearts and did some echo quilting on them. For the elephant block, I quilted it first in straight lines, and appliqued on top of it.
For the rest of the blocks, we did straight lines, but did some vertically, and others horizontally.
Here are the blocks all quilted before they were joined. They were rearranged slightly in the end:
We didn’t quite finish before I had to go home, so my mom had to finish without me.
She decided to quilt the border strips as well (which turned into a bit of a nightmare… the batting kept getting caught… the next time we try this method, we’ll probably back it with muslin).
There was some swearing…
My mom had a flat sheet to use for the backing, but when she tried to do some stitch in the ditch quilting to secure it, her machine revolted, so she removed the orginal sheet, which had torn in the process.
There was more swearing…
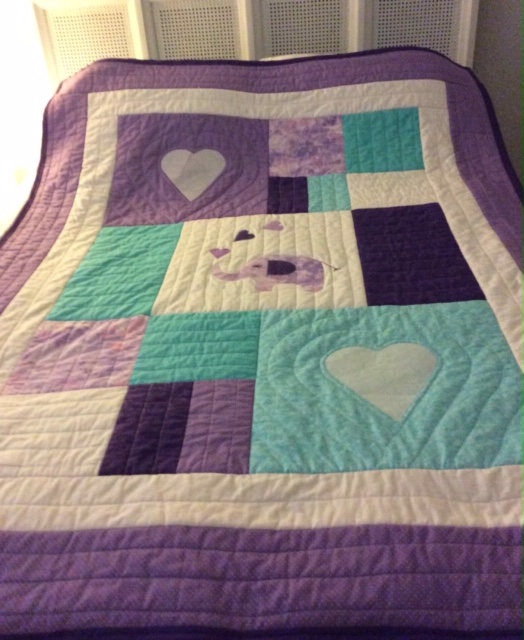
She cut the elastic off of the fitted sheet to use that, and it barely fit (there may have been a little trimming off of the top and bottom of the quilt top). And, after all of that, she ended up doing some tying anyway! But, it was only in a few spots to secure the backing to the front. And, I think the quilting on the front makes it look amazing! The binding was straight strips, and compared to the rest, was the easy part 
We had a lot of fun making the quilt top, and learned a lot along the way. We’ll probably use this method again with a couple of changes: 1) back the blocks with muslin, 2) use a larger seam allowance, 3) eliminate border strips, if possible.