Anna that sloth one is brilliant!
2 Likes
I don’t have interfacing so I’ll be trying just the 2 layers as well. Glad to know you had success!
1 Like
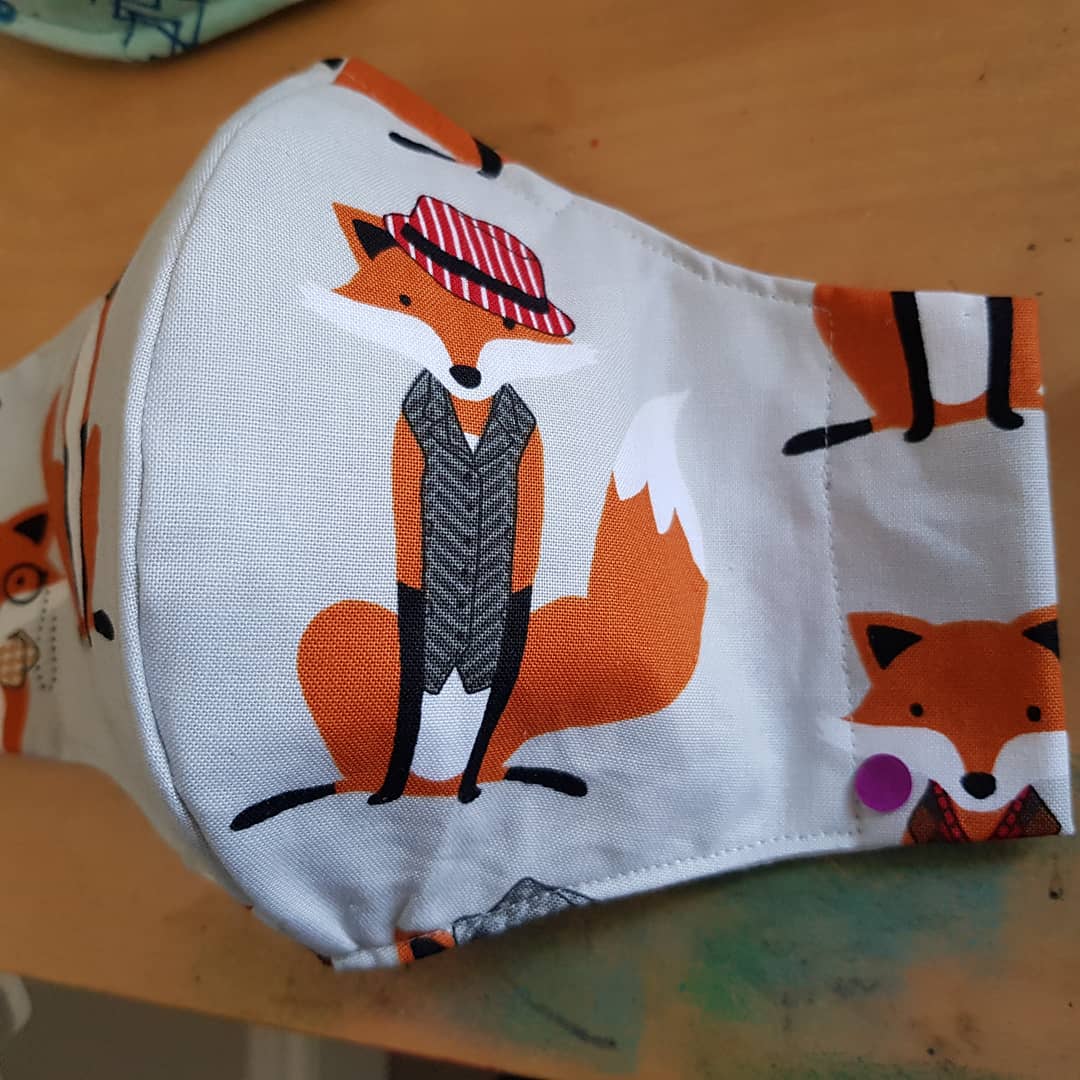
@anna.wahnsinn your sloth fabric is super cute! That pattern looks very tight to the face though, I have some breathing issues so fabric right up against my face makes it difficult for me to breathe. That’s why the pleated masks don’t work for me, or anybody with asthma etc I’d think. A stiffer mask that stands away from nose & mouth was my aim. I haven’t tried jersey but I happen to have some large pieces of it in the donation pile. I’ll use some with interfacing & see how it holds up. I really prefer the interfacing but eventually I’ll run out and have to consider making masks without it so I’m glad you are all having success.
Yes, I love those little sloths, aren’t they the sweetest critters ever?
Yup, I see your point. I’ve tried a two layered woven fabric for my first mask-clad shopping trip and I didn’t like it at all, couldn’t take those quick deep breaths (when you try to suck up that mostly imaginary snot) as the fabric would just suck up to nose and mouth and not really let enough air through. Ack. Jersey is less tightly knit, but a lot thicker, so I’m counting on that to keep me and others comparably safe. I’m trying to keep my distance anyway. The fit is quite snug so the fabric doesn’t close over the nose. I’d love something with a bit more space though, I’ll keep playing with that. I think I have some interfacing left, I’ll wait for that new darted pattern of yours to make one with the sloth fabric though, I don’t have much left – I bought half a yard for one hat and cowl set for myself… 2017 or 2018 I think? Might have been in September 2019. I know which craft fair I got it from, just not which supplier or year…
1 Like
They are so comfy! Like a sock for your face. Maybe (and especially if you plan on throwing your mask into the dryer) go a little larger, or use a favourite t-shirt or something thoroughly prewashed, my mask seems to keep shrinking a little!
2 Likes
Here are 4 sizes for a mask with 2 darts, top & bottom. You could use different fabrics for both sides. I haven’t tested it but there are lots of this style out there for free. I’m working on my own similar with step-by-step instructions for less and quicker sewing and NO folded over side seam for the elastic, for me that’s what ruins a lot of mask patterns. It’s fussy, it’s thick, it doesn’t seal to the face well, and it is utterly unnecessary.
3 Likes
shoe laces sounds like a great idea!
1 Like
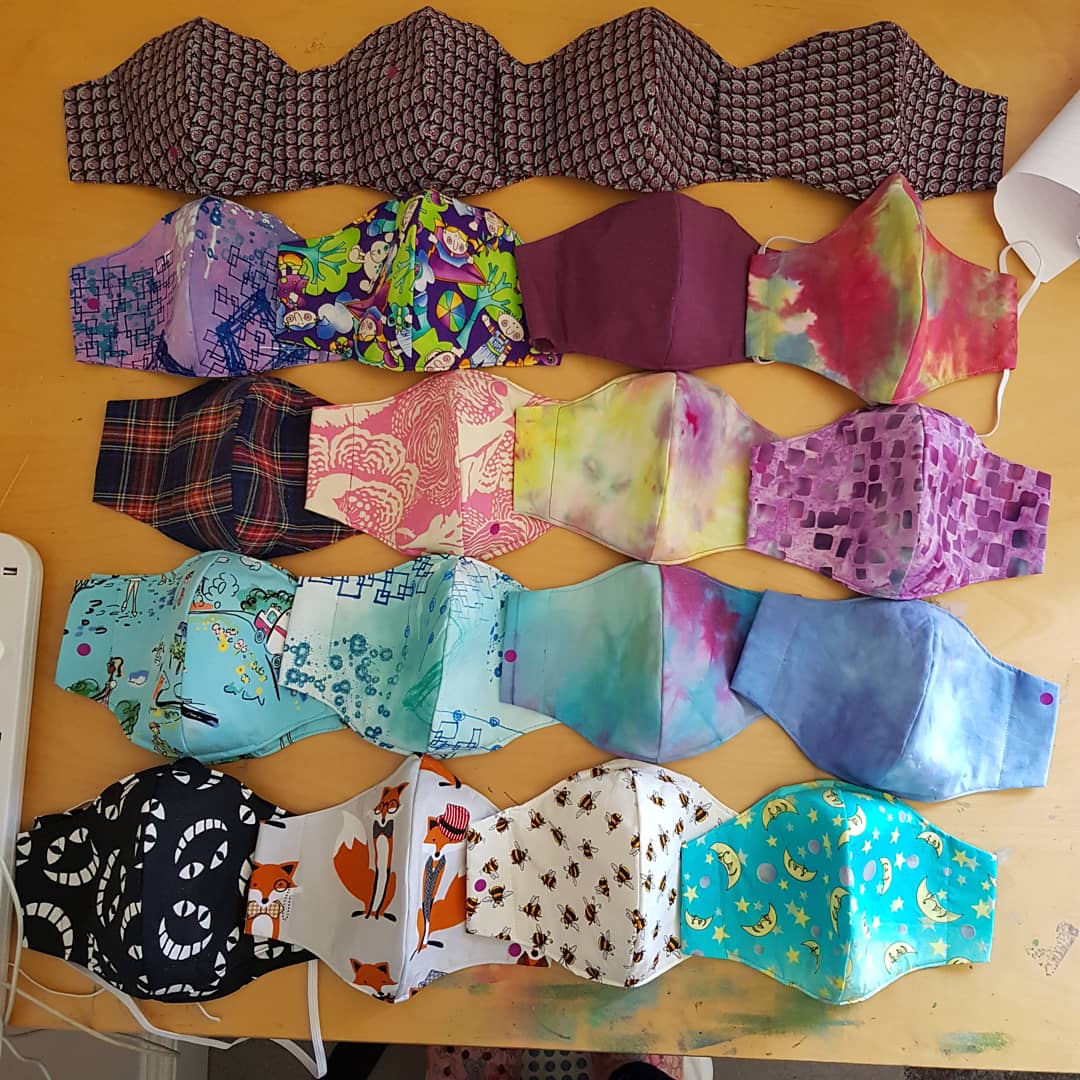
A dozen more masks for friends with kids.

And I’ve modified the pattern to use different fabric for front and back. It fits just as well as this one and takes the same amount of time. The side seams are a bit different but I’ve tried to keep them as simple and non-bulky as possible. Please give me your feed back if you try it.

2 Likes
Pretty.
I’ll be trying that pattern out tomorrow
1 Like
Alter the pattern to have a clear plastic window so the mouth is visible for kids, hearing impaired, etc.
I FINALLY got a chance to try @Maggie’s mask pattern and it was a breeze. The tutorial is crystal clear and sewing was much faster than other patterns I have used. The strings are cut from a tshirt and nose wires are from bread ties because that’s what I have available. Thank you so much Magpie!

4 Likes
Excellent! I love that cute chippie, so adorable. My whole point was to cut down on extra steps so I’m happy to hear you found it a quicker stitch. If you have smaller cuts of fabric , this pattern is similar but uses a different fabric for the lining. I found it helpful to fussy cutting.
1 Like
Very pretty masks and I LOVE the green! Well done.
1 Like
Incredibly easy to follow, thank you. I did one prototype today, and I’m going to production line more at the weekend for myself and my family.

I’m just holding the elastic in place as I wanted to tie it when I’m a bit more awake. The stitching round the nose wire is a bit wonky, but I’ll get better with practice.
3 Likes
Here are my masks. It’s a great pattern, thank you for creating it. I found that the zipper foot was good for topstitching.
8 Likes
Excellent work @LittleCogs! I have sewn so many of these masks by now, it’s really fast once you get into a groove.
My only 2 suggestions are that stitching a bit closer to the sides will work to keep the seam allowances folded under and the elastic firmly in place, I am sewing ab out 1/2" away from the side folds myself. Also, it is so worth it to take the time to include the edge stitching on the front as I’ve found it helps people identify front from back more easily, particularly after laundering. Also, it helps create a nice stiff “spine” that keeps the mask fabric from collapsing inwards on the inhale. Including fusible interfacing also really helps with that. I have a breathing condition that is exacerbated by fabric touching my mouth, not only does it hinder breath, it also causes me a bit of panic that creates shortness of breath in and of itself. Not everybody is that sensitive but this mask is quite good for those who are.
3 Likes
Thank you for taking the time to give me this really useful feedback. I can see now that the elastic channel can be smaller, so I’ll do that next time 
I’m struggling with your second point. I can see on the green and yellow tie-dye mask that you have an additional stitching line down the front seam. Is this through one layer only? I’m sure it’s me being daft, but I couldn’t work that bit out.
4 Likes
I interface the outside fabric and then sew down the center, pushing the seam to one side. On the lining, I also sew down the center, pushing the seam to the opposite side. It does help to keep the mask away from the lips…like a little front pocket of air. This is what everyone that I give these to loves the best…they can not feel so claustrophobic when breathing.
I also sew on nose pieces so that people can remove them if they don’t like them.

7 Likes
Yes, I sew the front seam and then push the seam allowance to one side and edge stitch to hold it in place. I only do that on the front piece with this pattern.
The example looks like this alternate pattern that uses different fabric for the front and the back. In that case, you could easily edge stitch both as well as choose to only interface either front or lining (I recommend trying the lining fabric Linda, I have found that decreases fabric moving during the inhale). For this pattern though, the interfacing ends up on the entire piece which when folded includes both front and lining so you end up with 2 layers of fabric and 2 layers of interfacing.
I’ve used the other pattern when I haven’t got enough of the fabric to use it for both sides but I do prefer this one for both fit and speed of assembly.
@AIMR, this note is for the other pattern with different fabrics used for front and lining and doesn’t apply to this one. I notice you are edge stitching at the sides and then again about 3/4" in. If it’s because the seam allowance gets fiddly inside the mask and makes either turning or inserting the elastic tricky, I have been cutting the seam allowance a bit larger and the ironing it open flat before sewing the top and bottom curve. Alternately, if you trim about 1/2" from the lining fabric only, it moves the seam allowance to the inside of the mask so the fold is only comprised of the front fabric and that seam allowance doesn’t interfere at all. I will make a video for both patterns and link them in the original post. We’ve just been so busy here with other things lately…
2 Likes
It is the pattern that is done on the fold, yes. I leave one edge of the ear part undone so I can turn it easier and then iron and fold back and top stitch. I have been topstitching past the openings to secure the folded edges from flipping out. The reason I leave a larger tube is so that people can use ties made of knits if they want. I generally sew down a bit closer to make it half inch opening.
2 Likes