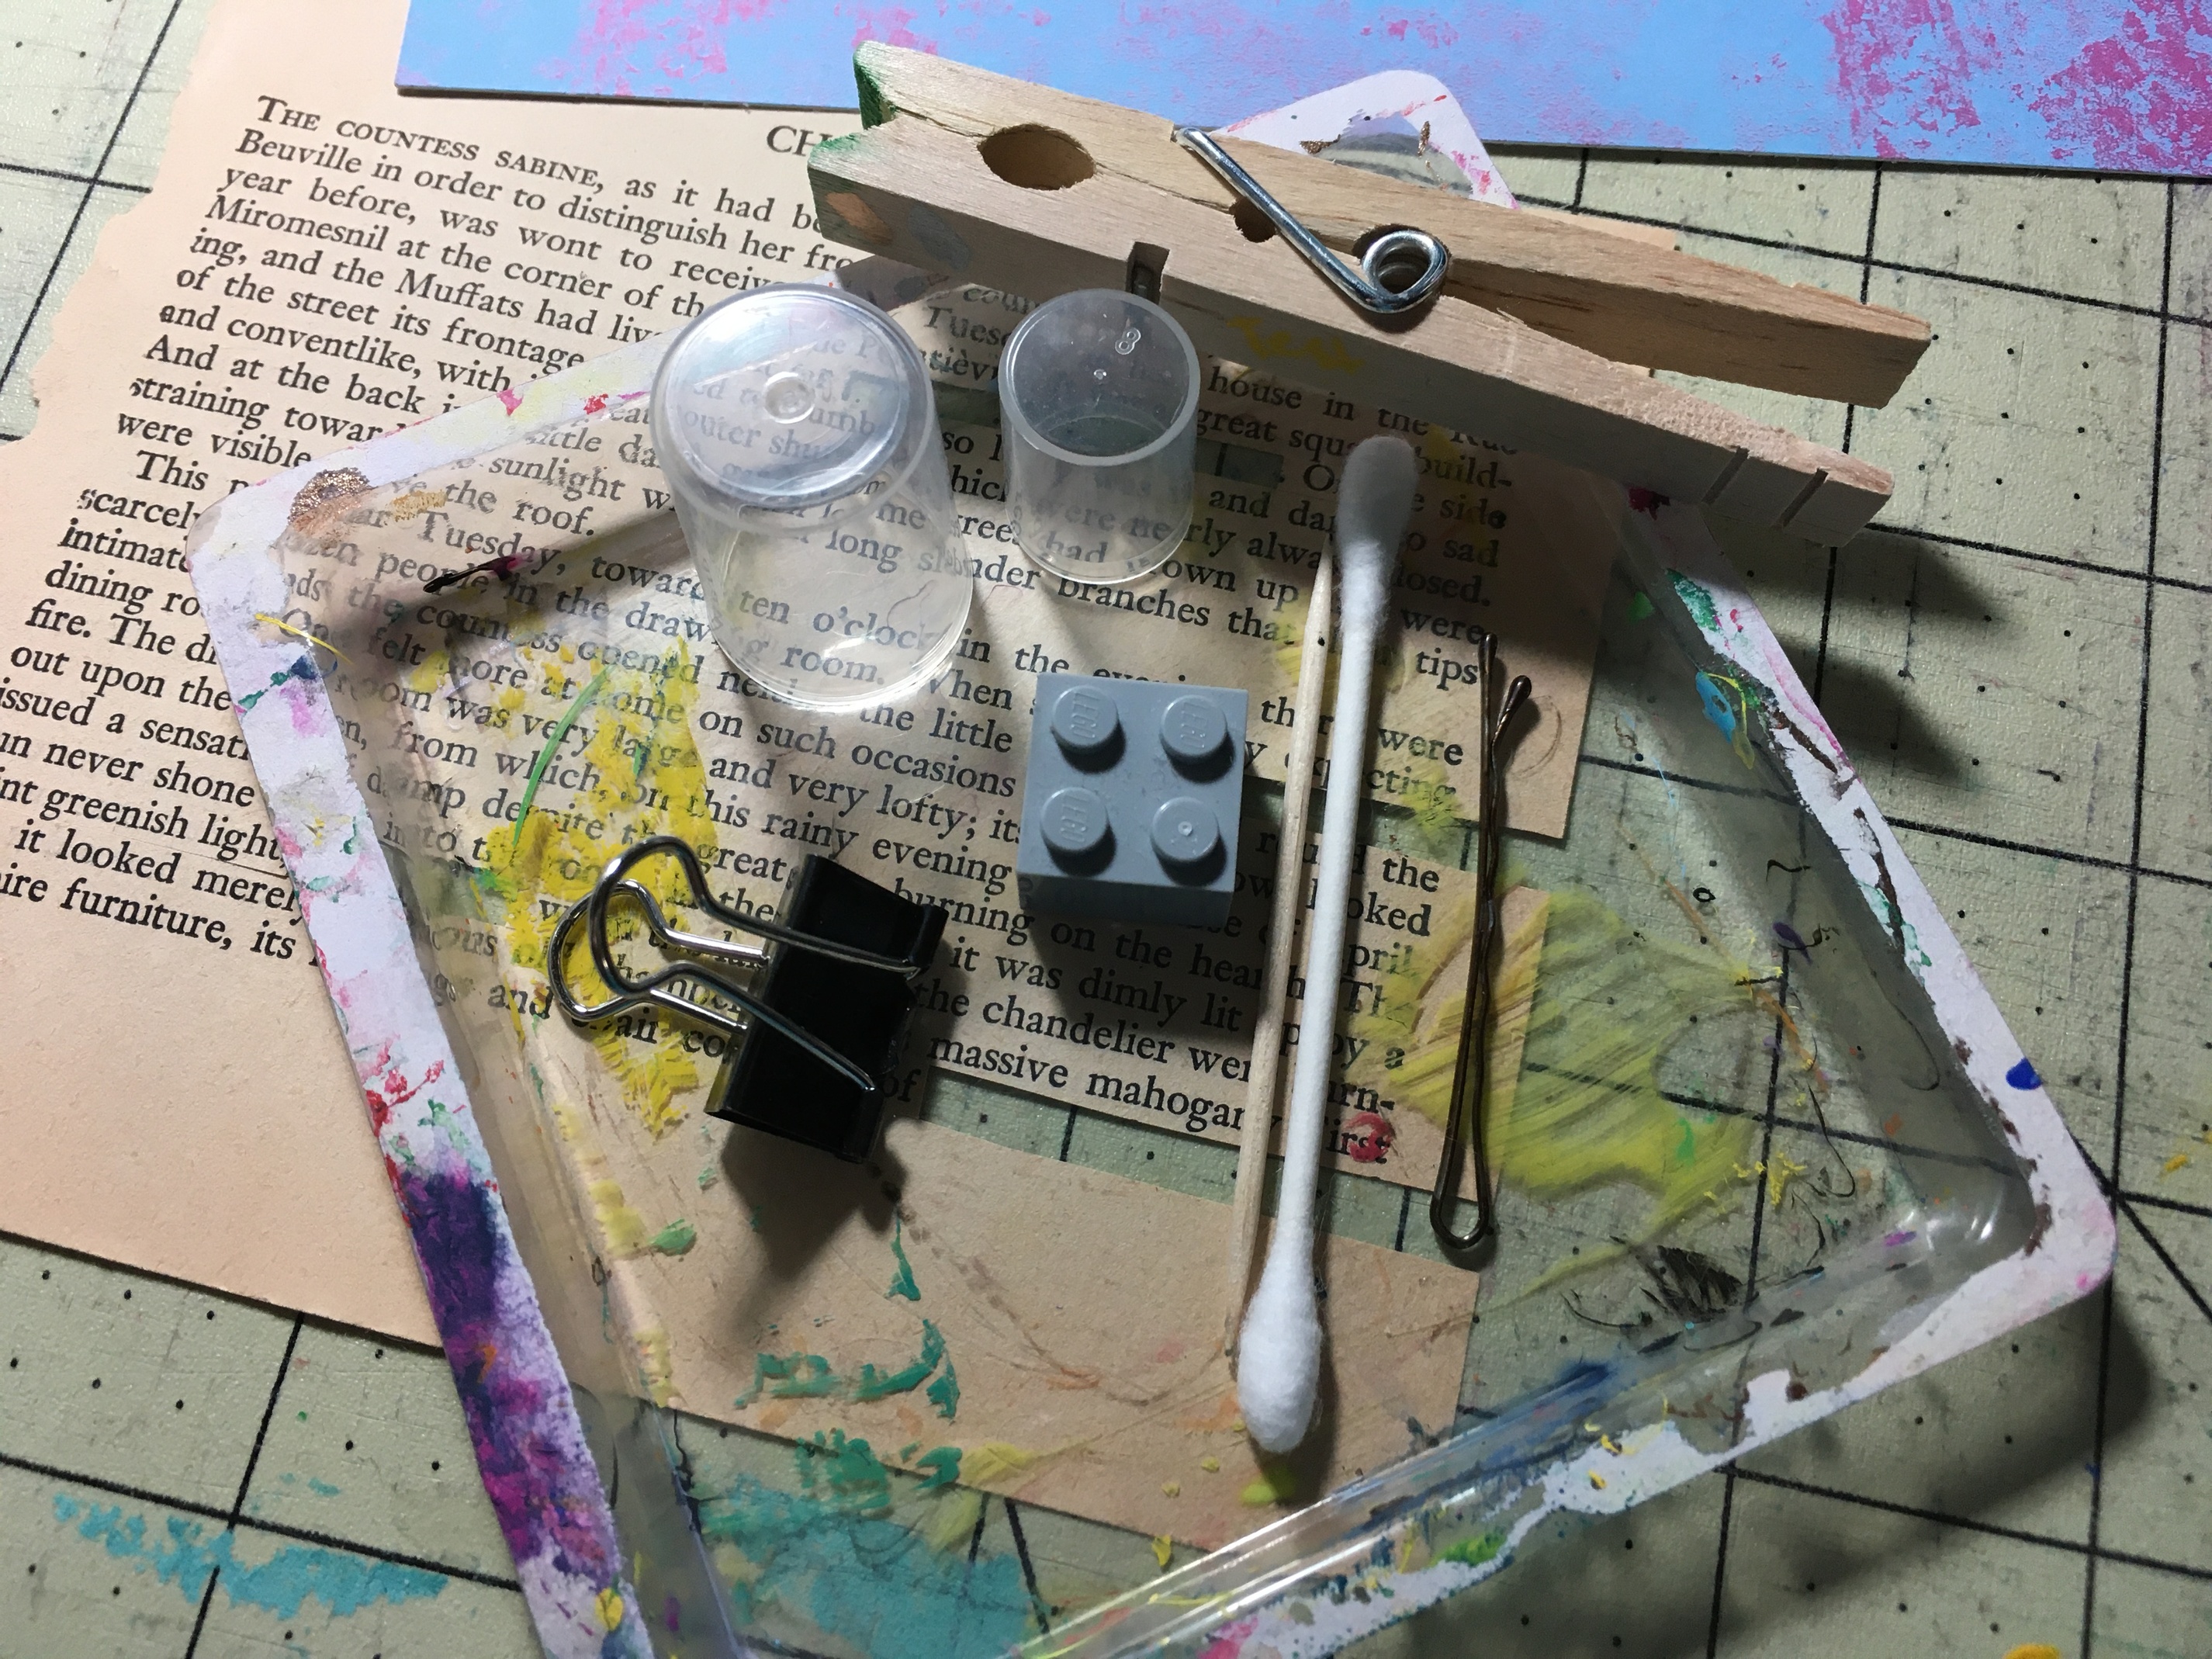
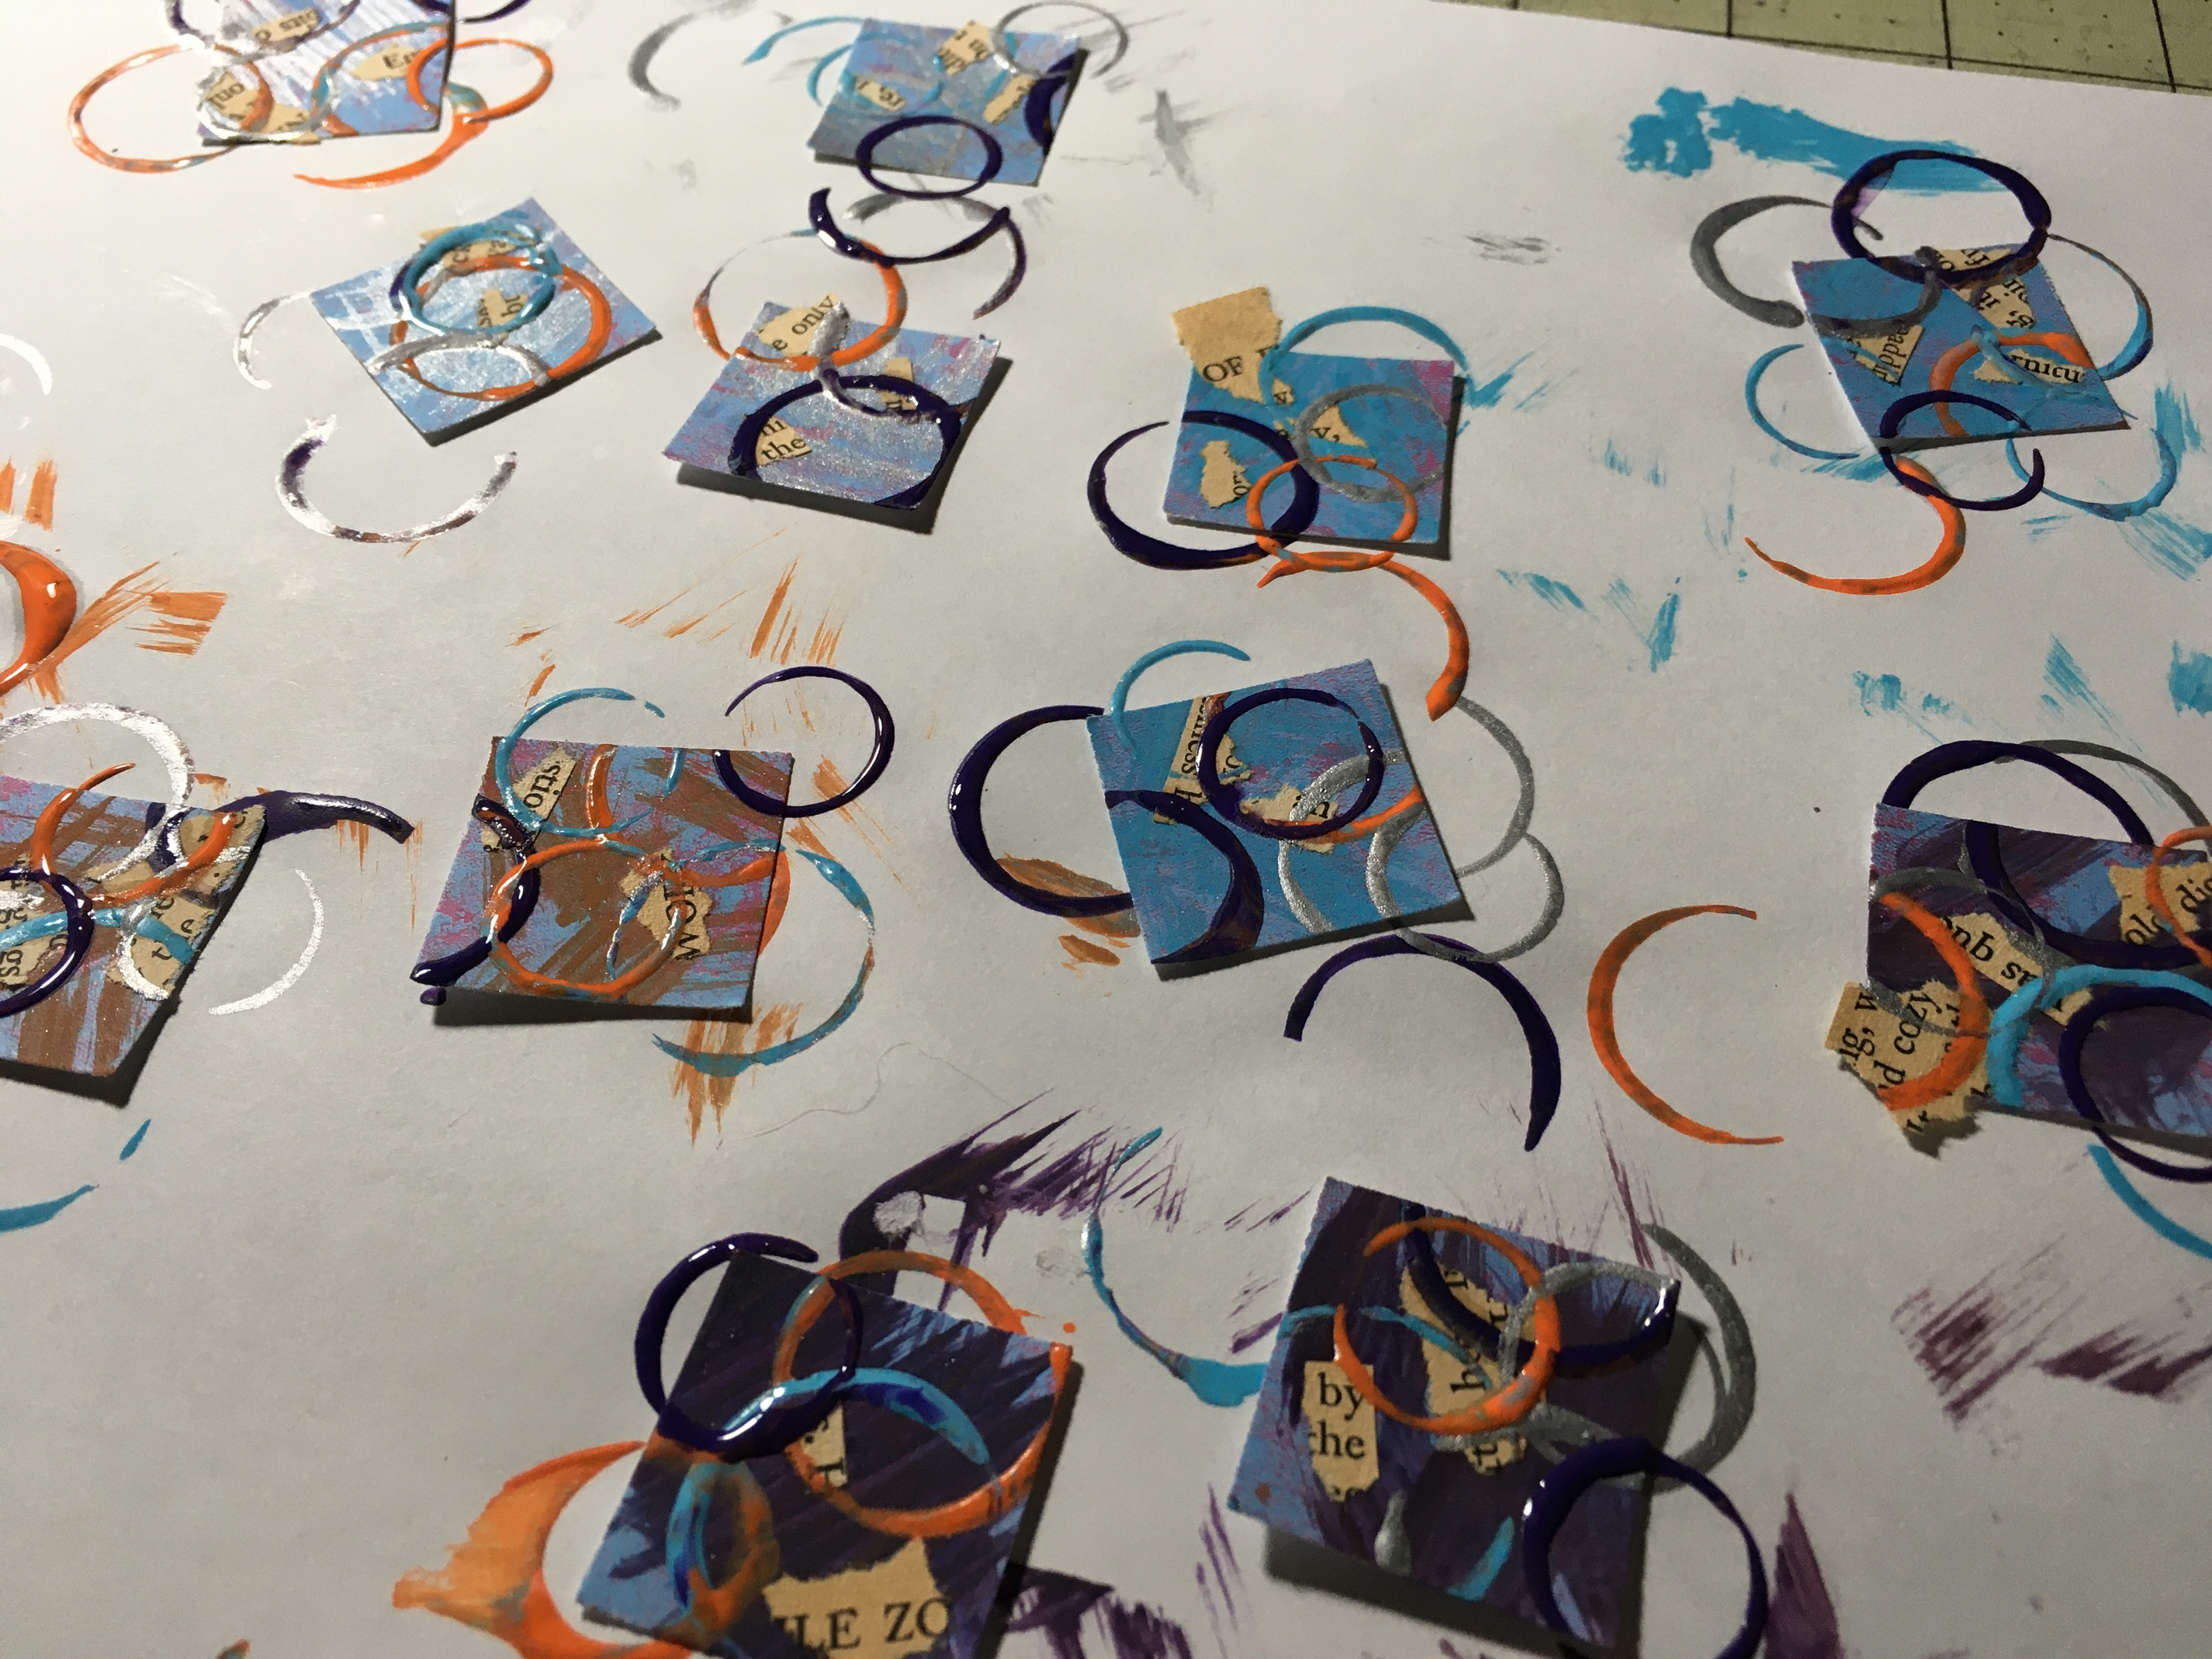
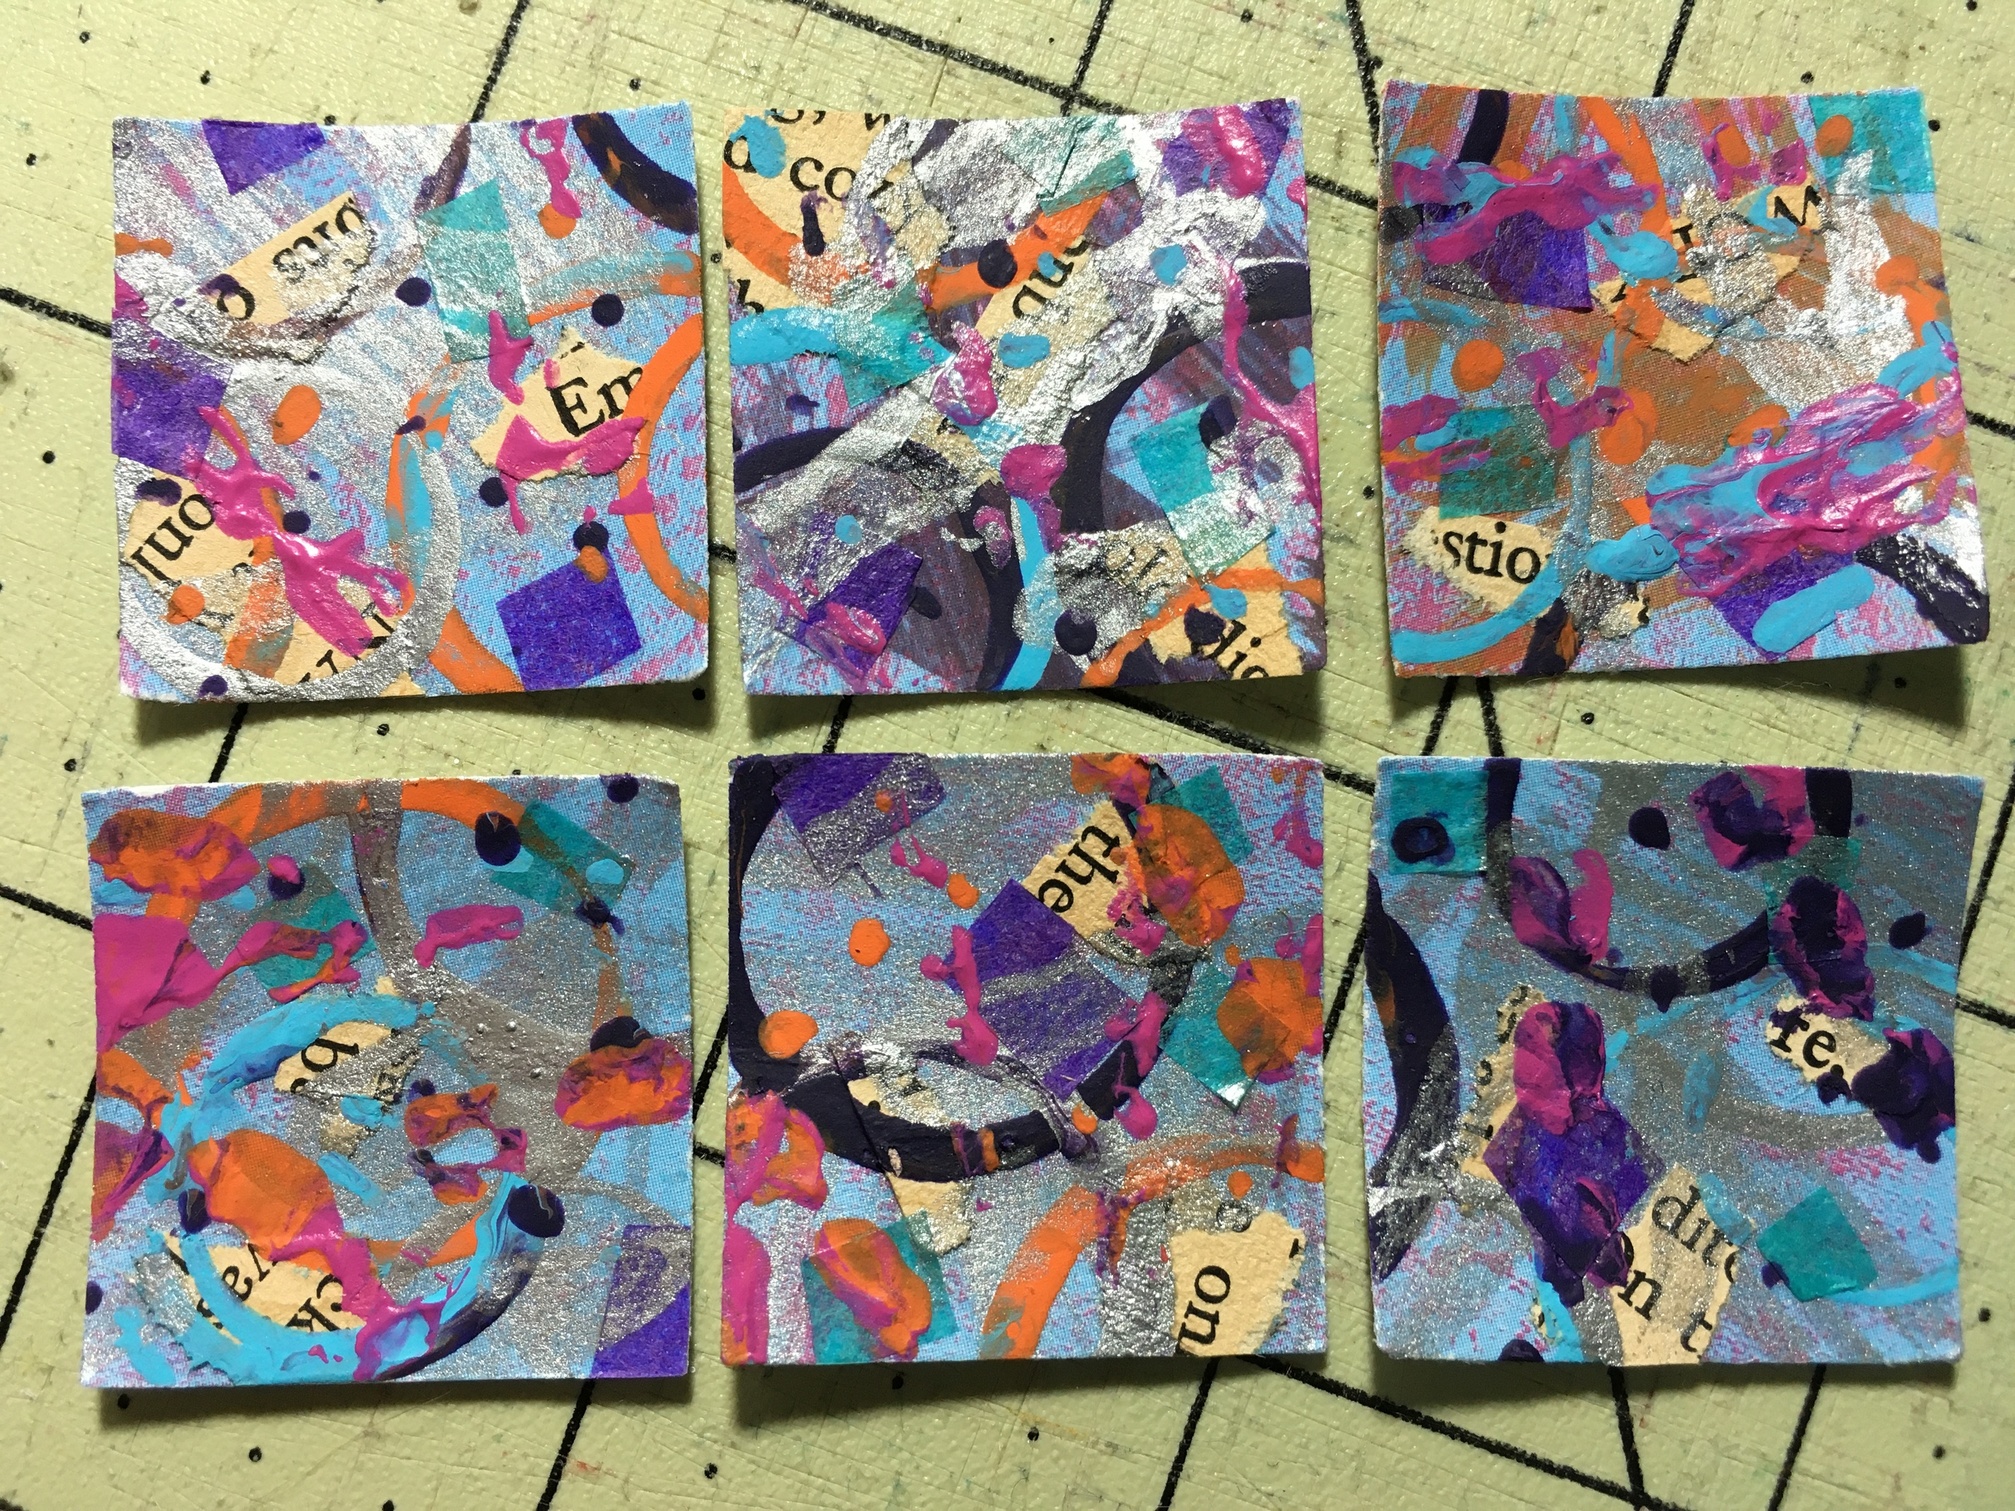
This Challenge really got my brain turning! I started by thinking of all the things I could make in miniature but I didn’t want to make the first things that came to mind. So then I re-thought the challenge “MINIATURIZE one of your favorite types of craft methods!” and then it was easy!!! My favorite craft method (right now) is masterboards! So I gathered some miniature supplies, some paint, and a 1 inch paper punch. You could call these inchies if you want, but I made them in the style of masterboards so that’s what they are to me. Now I usually make huge masterboards and there is no set size for crafting them but since the two swaps I’ve been in for masterboards have a size requirement of 6" square I decided to use that as my reference for scaling down to 1:6 (hence the 1 inch paper punch).
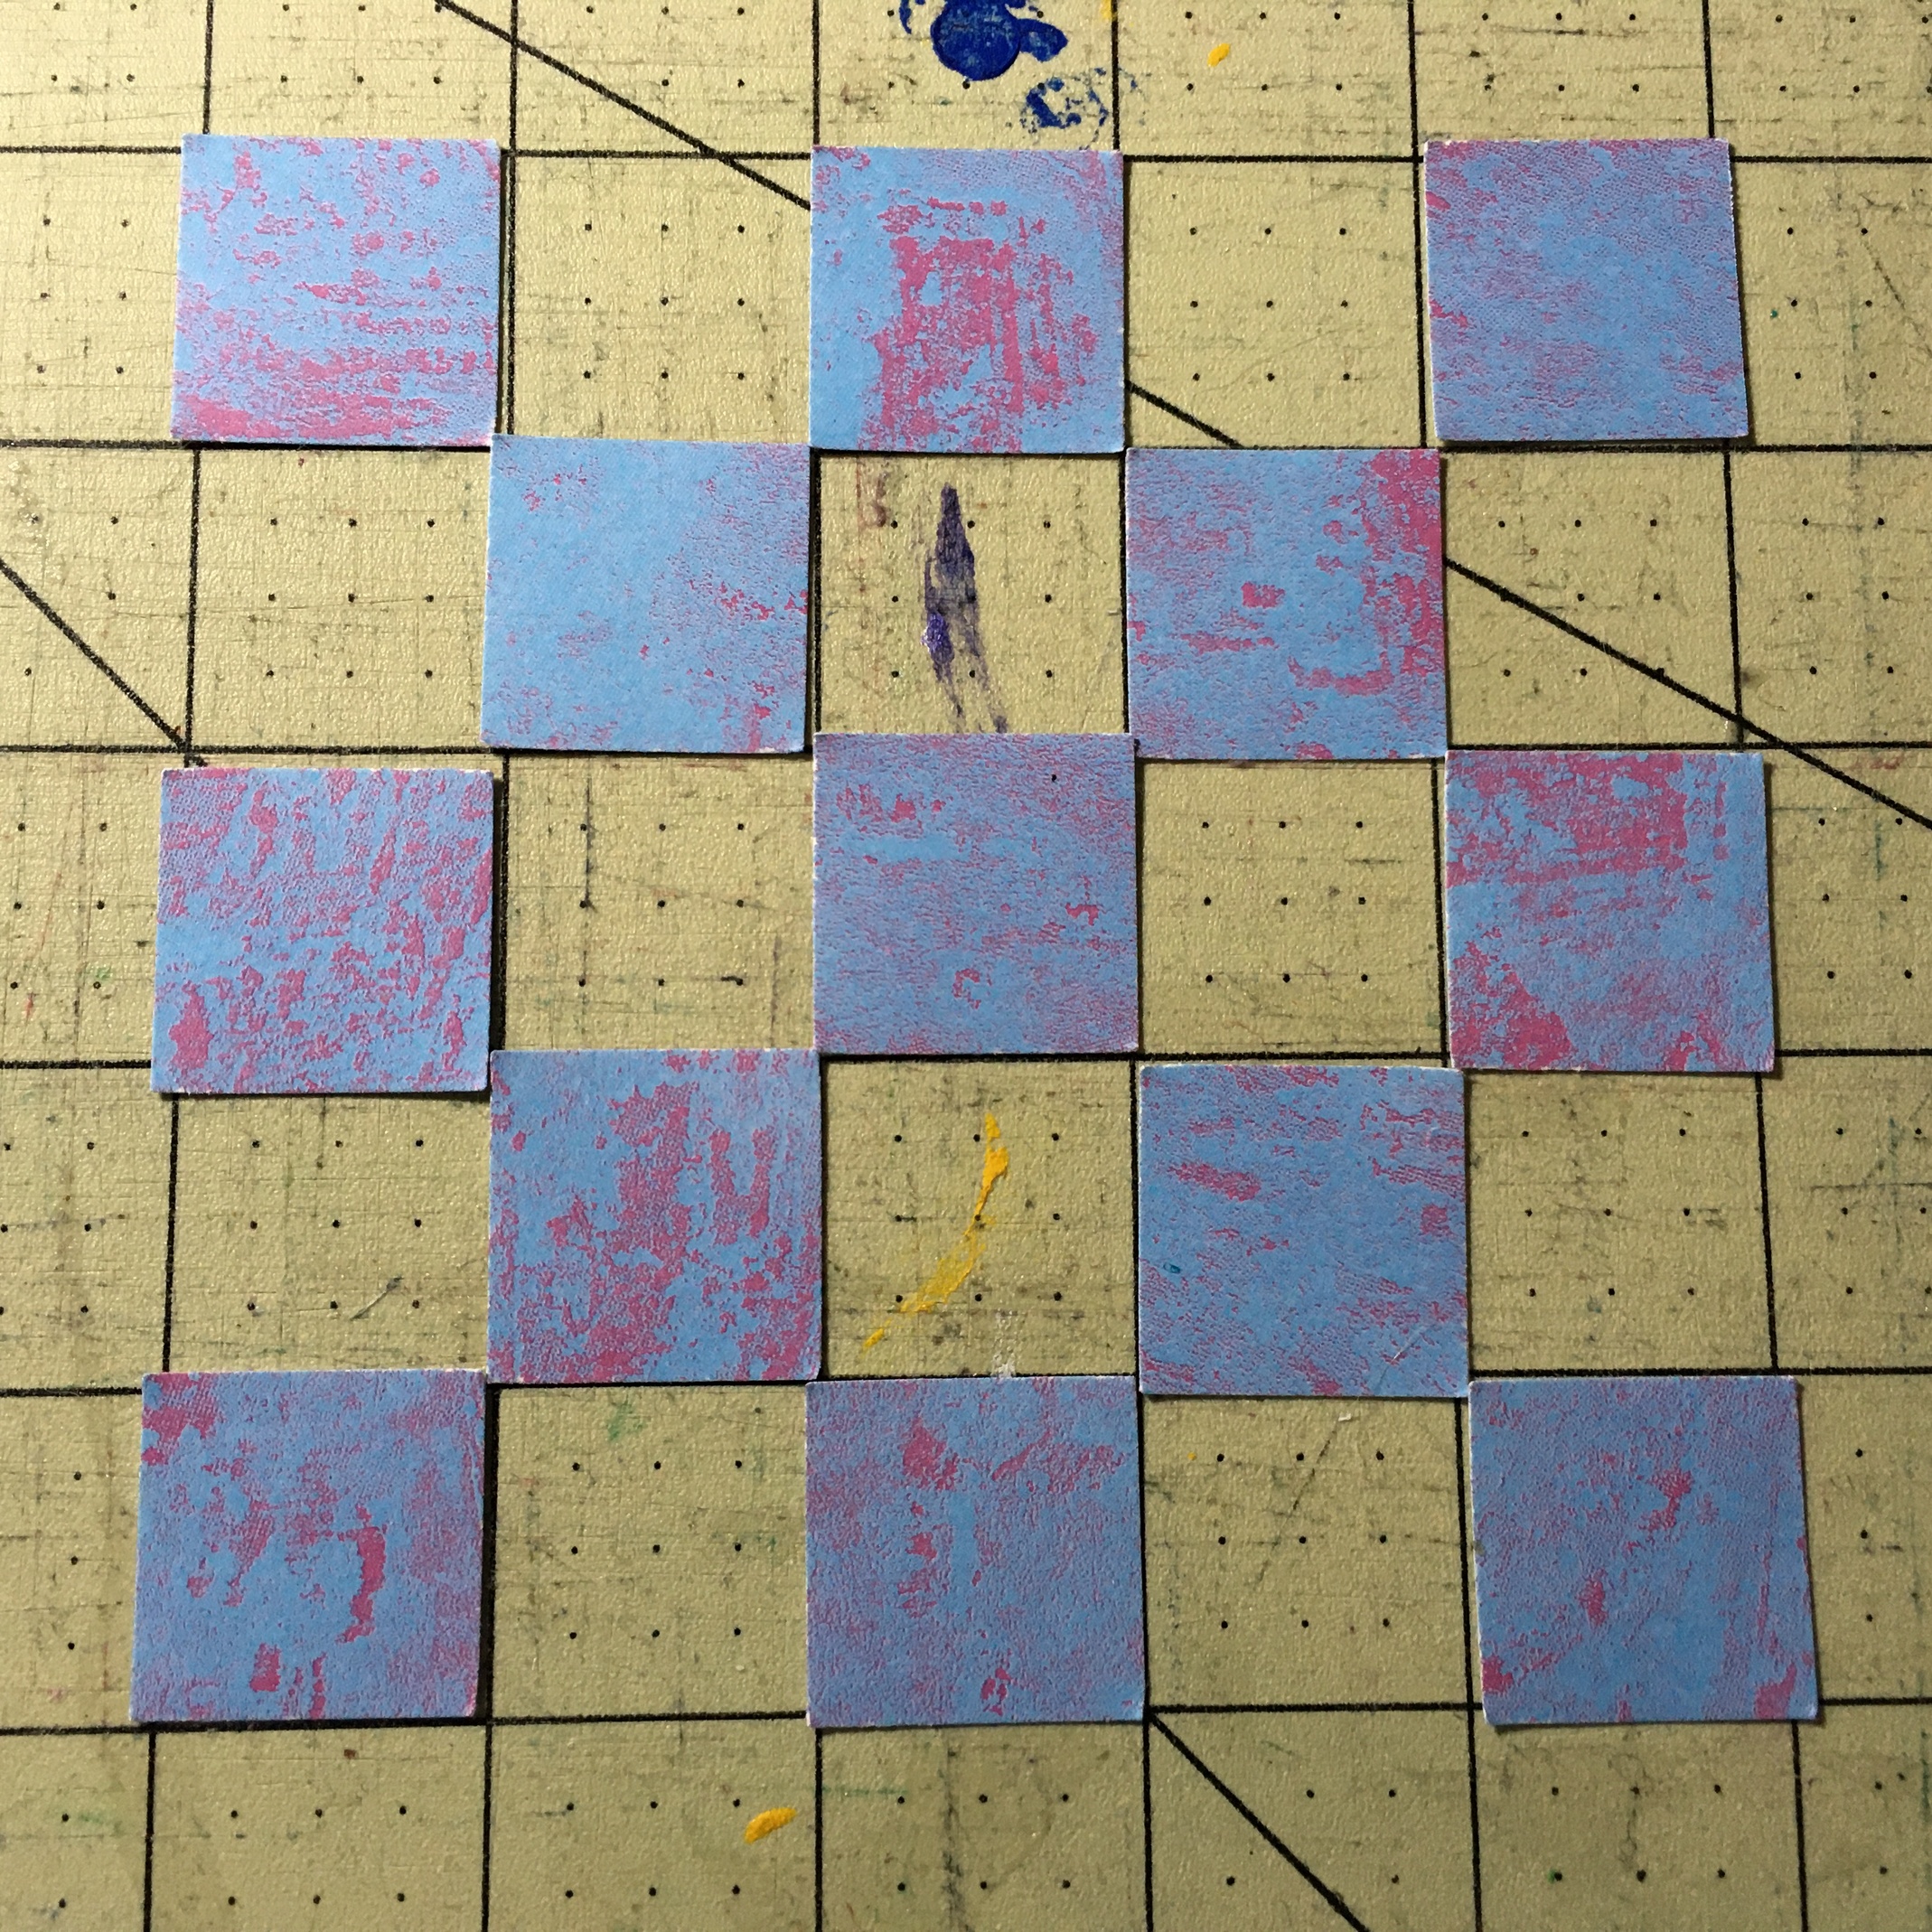
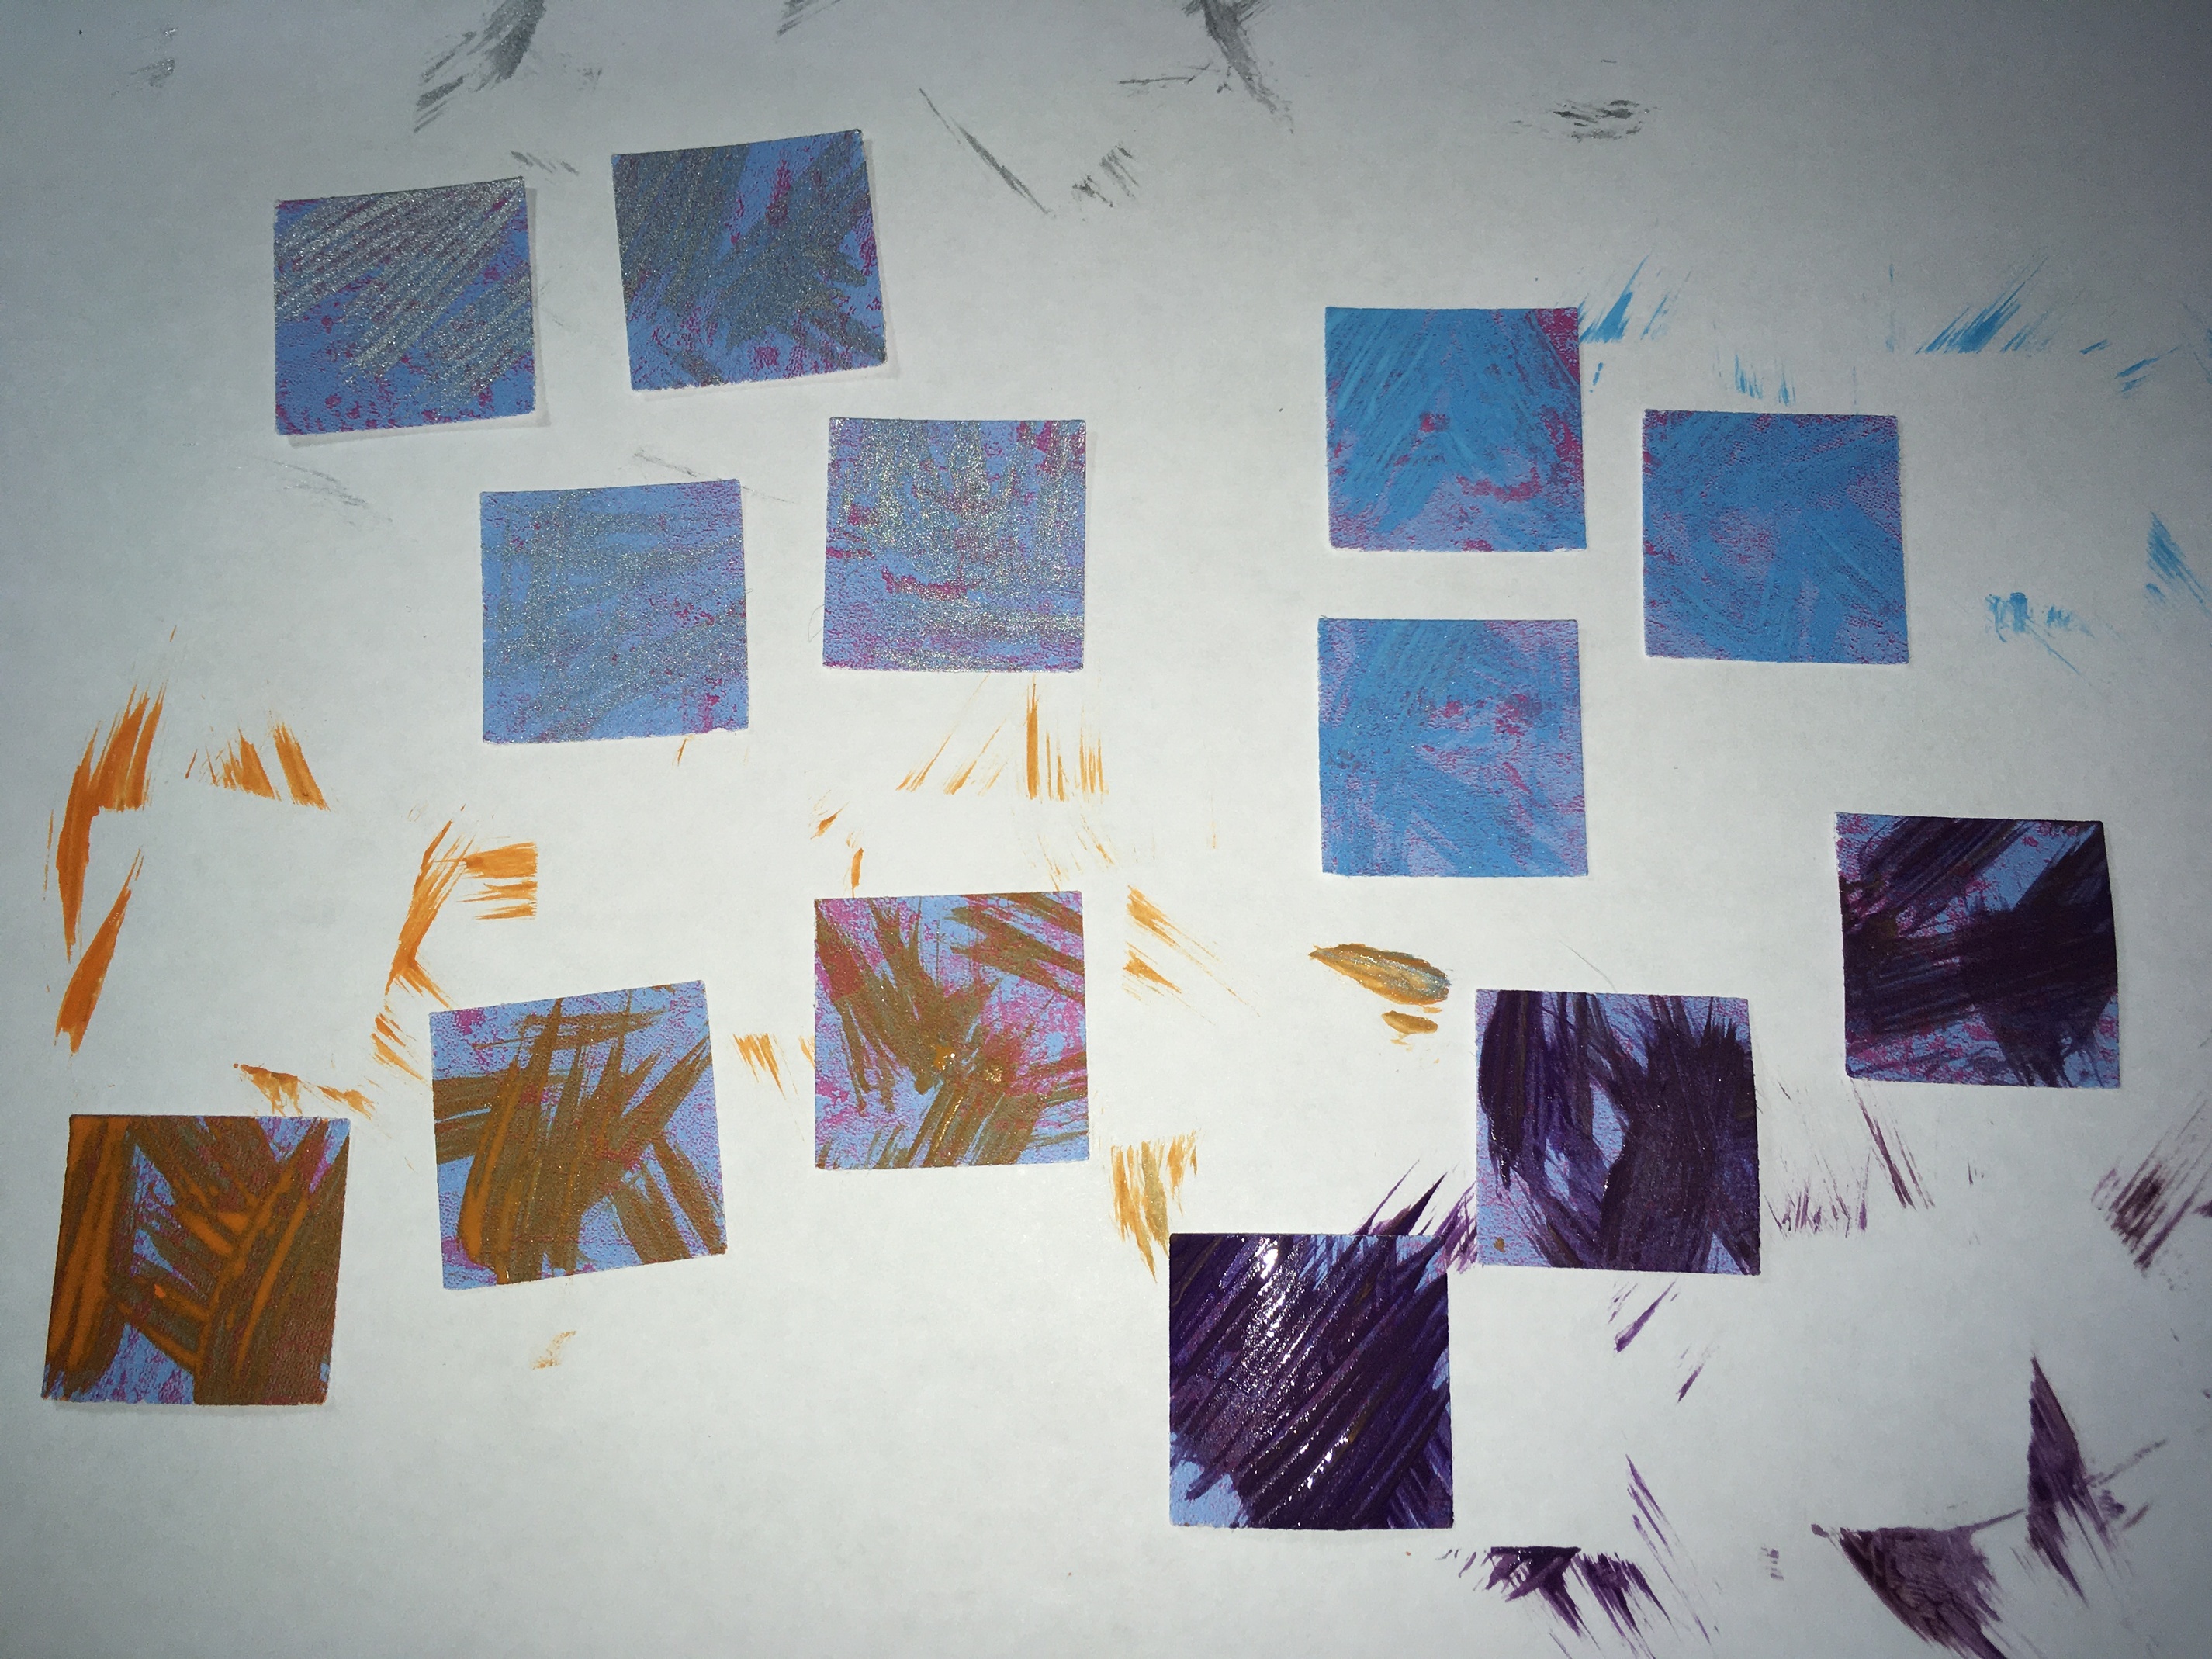
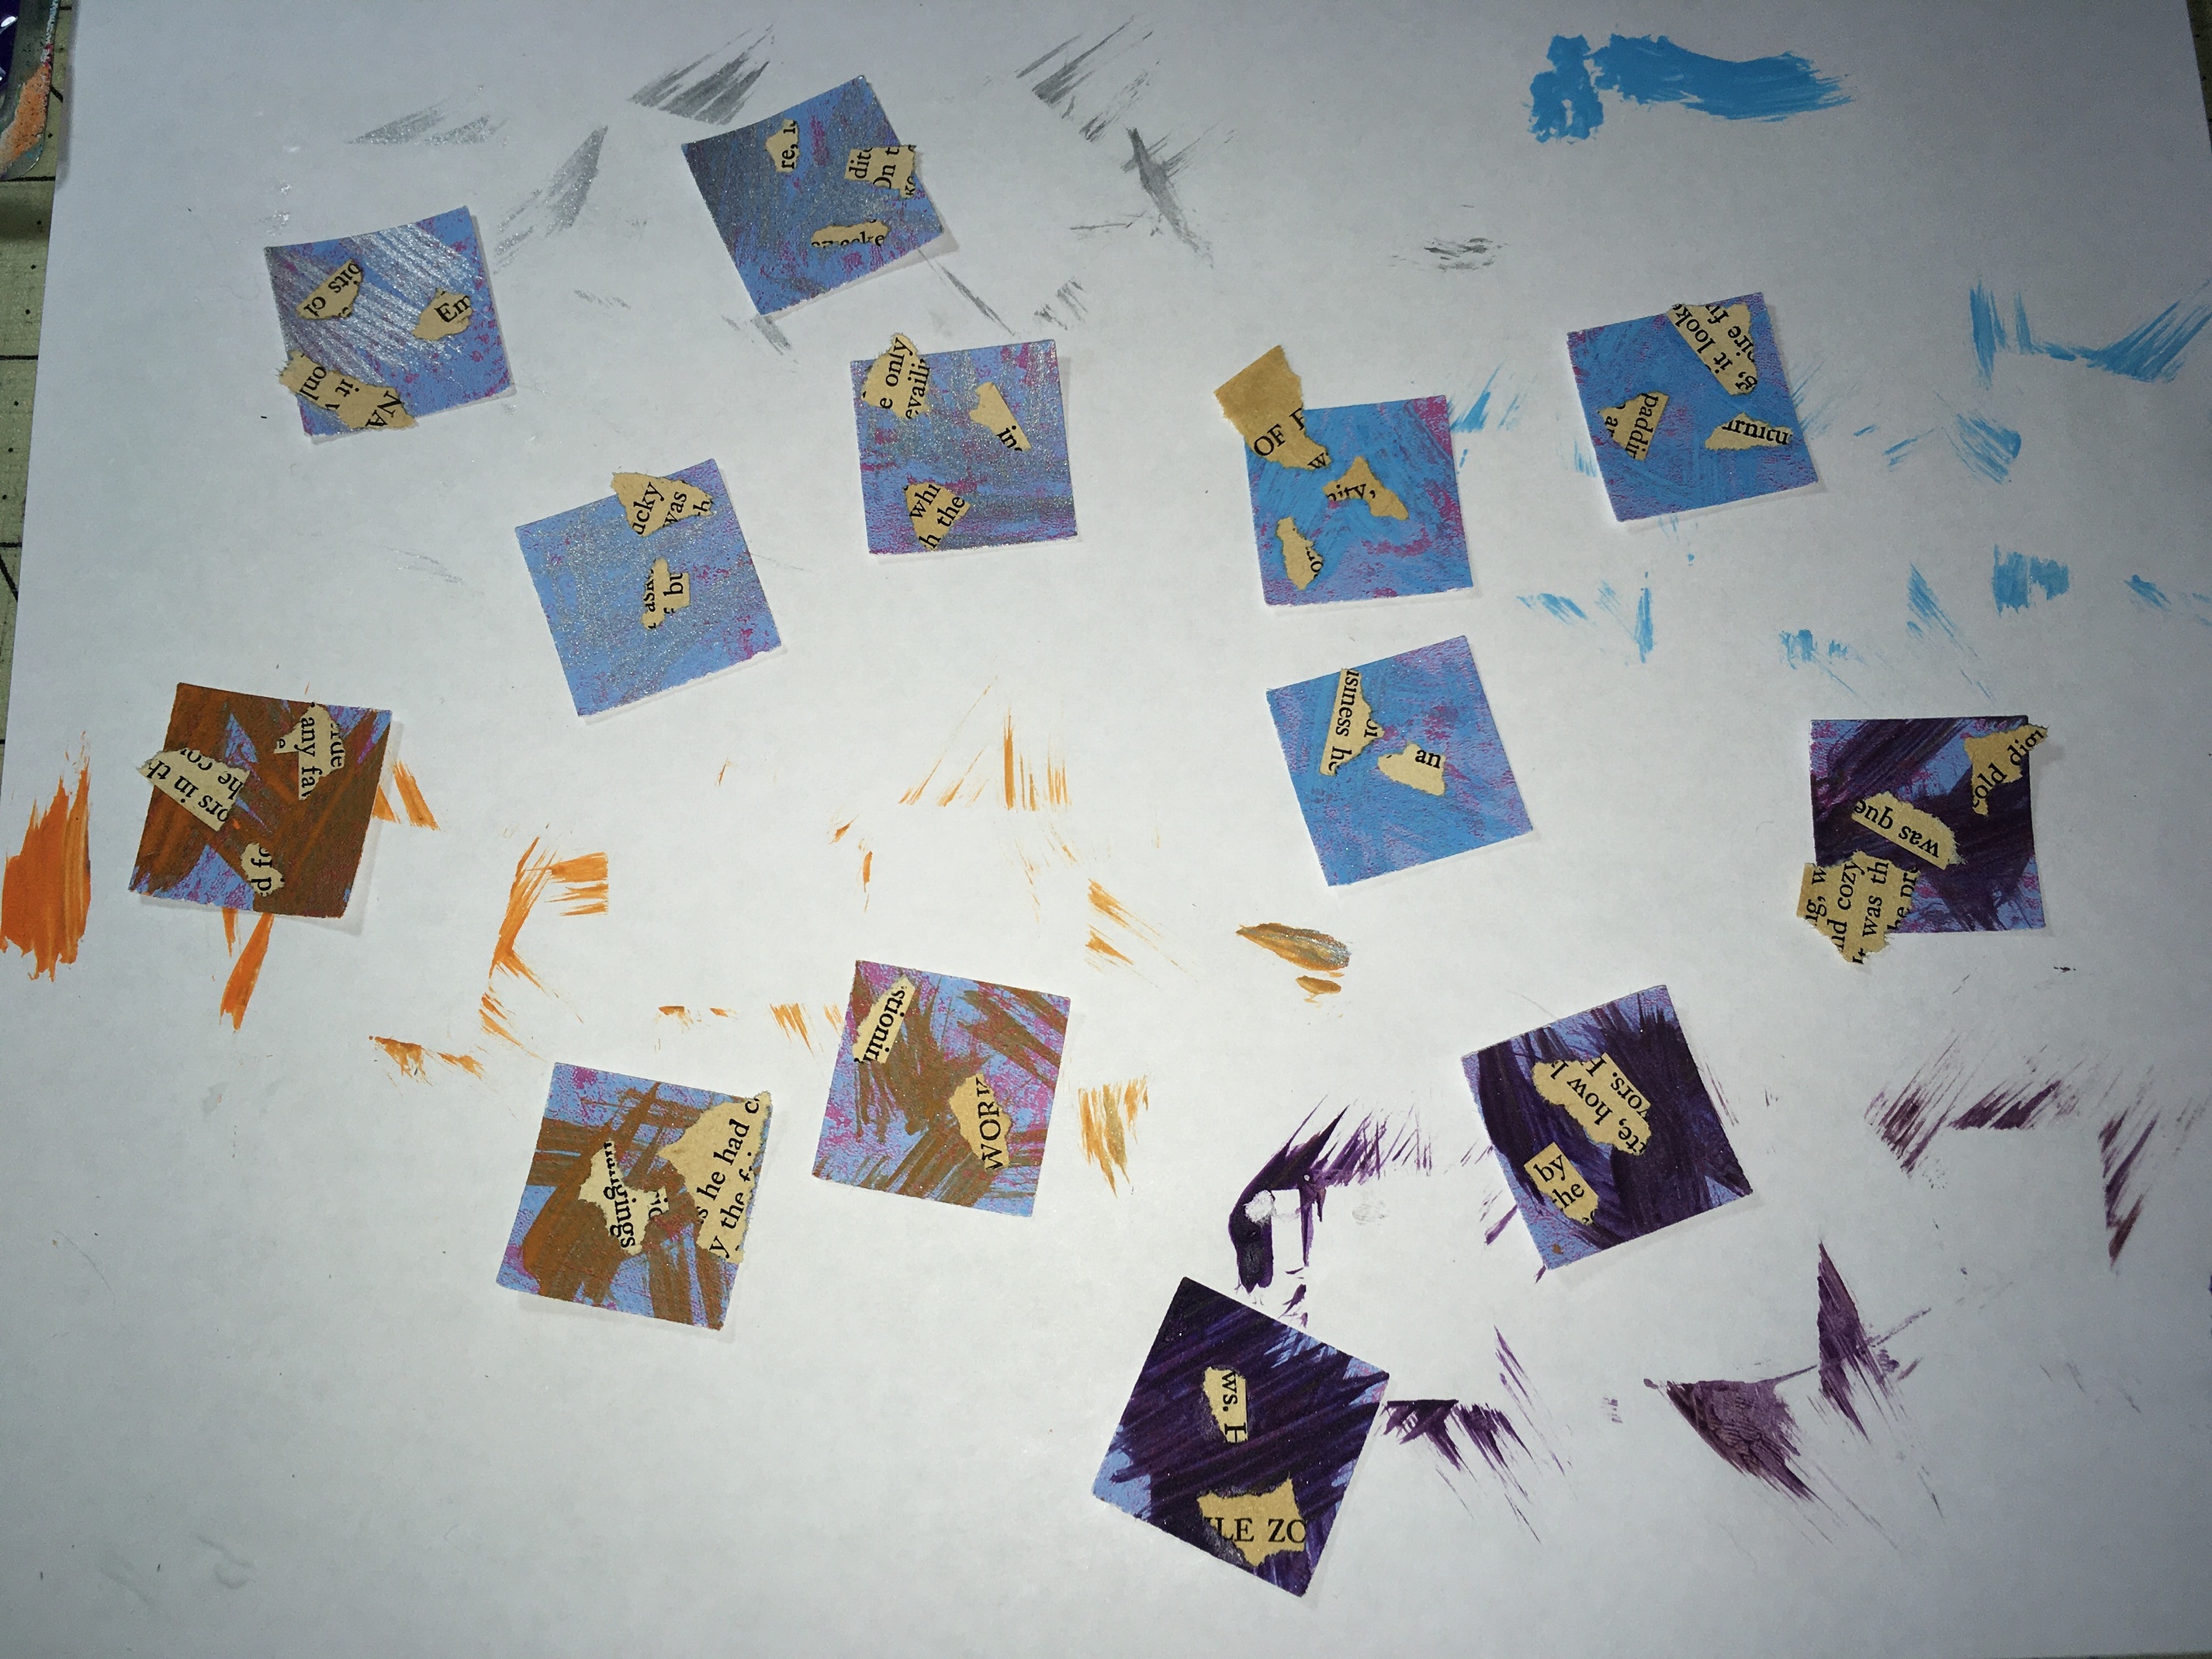
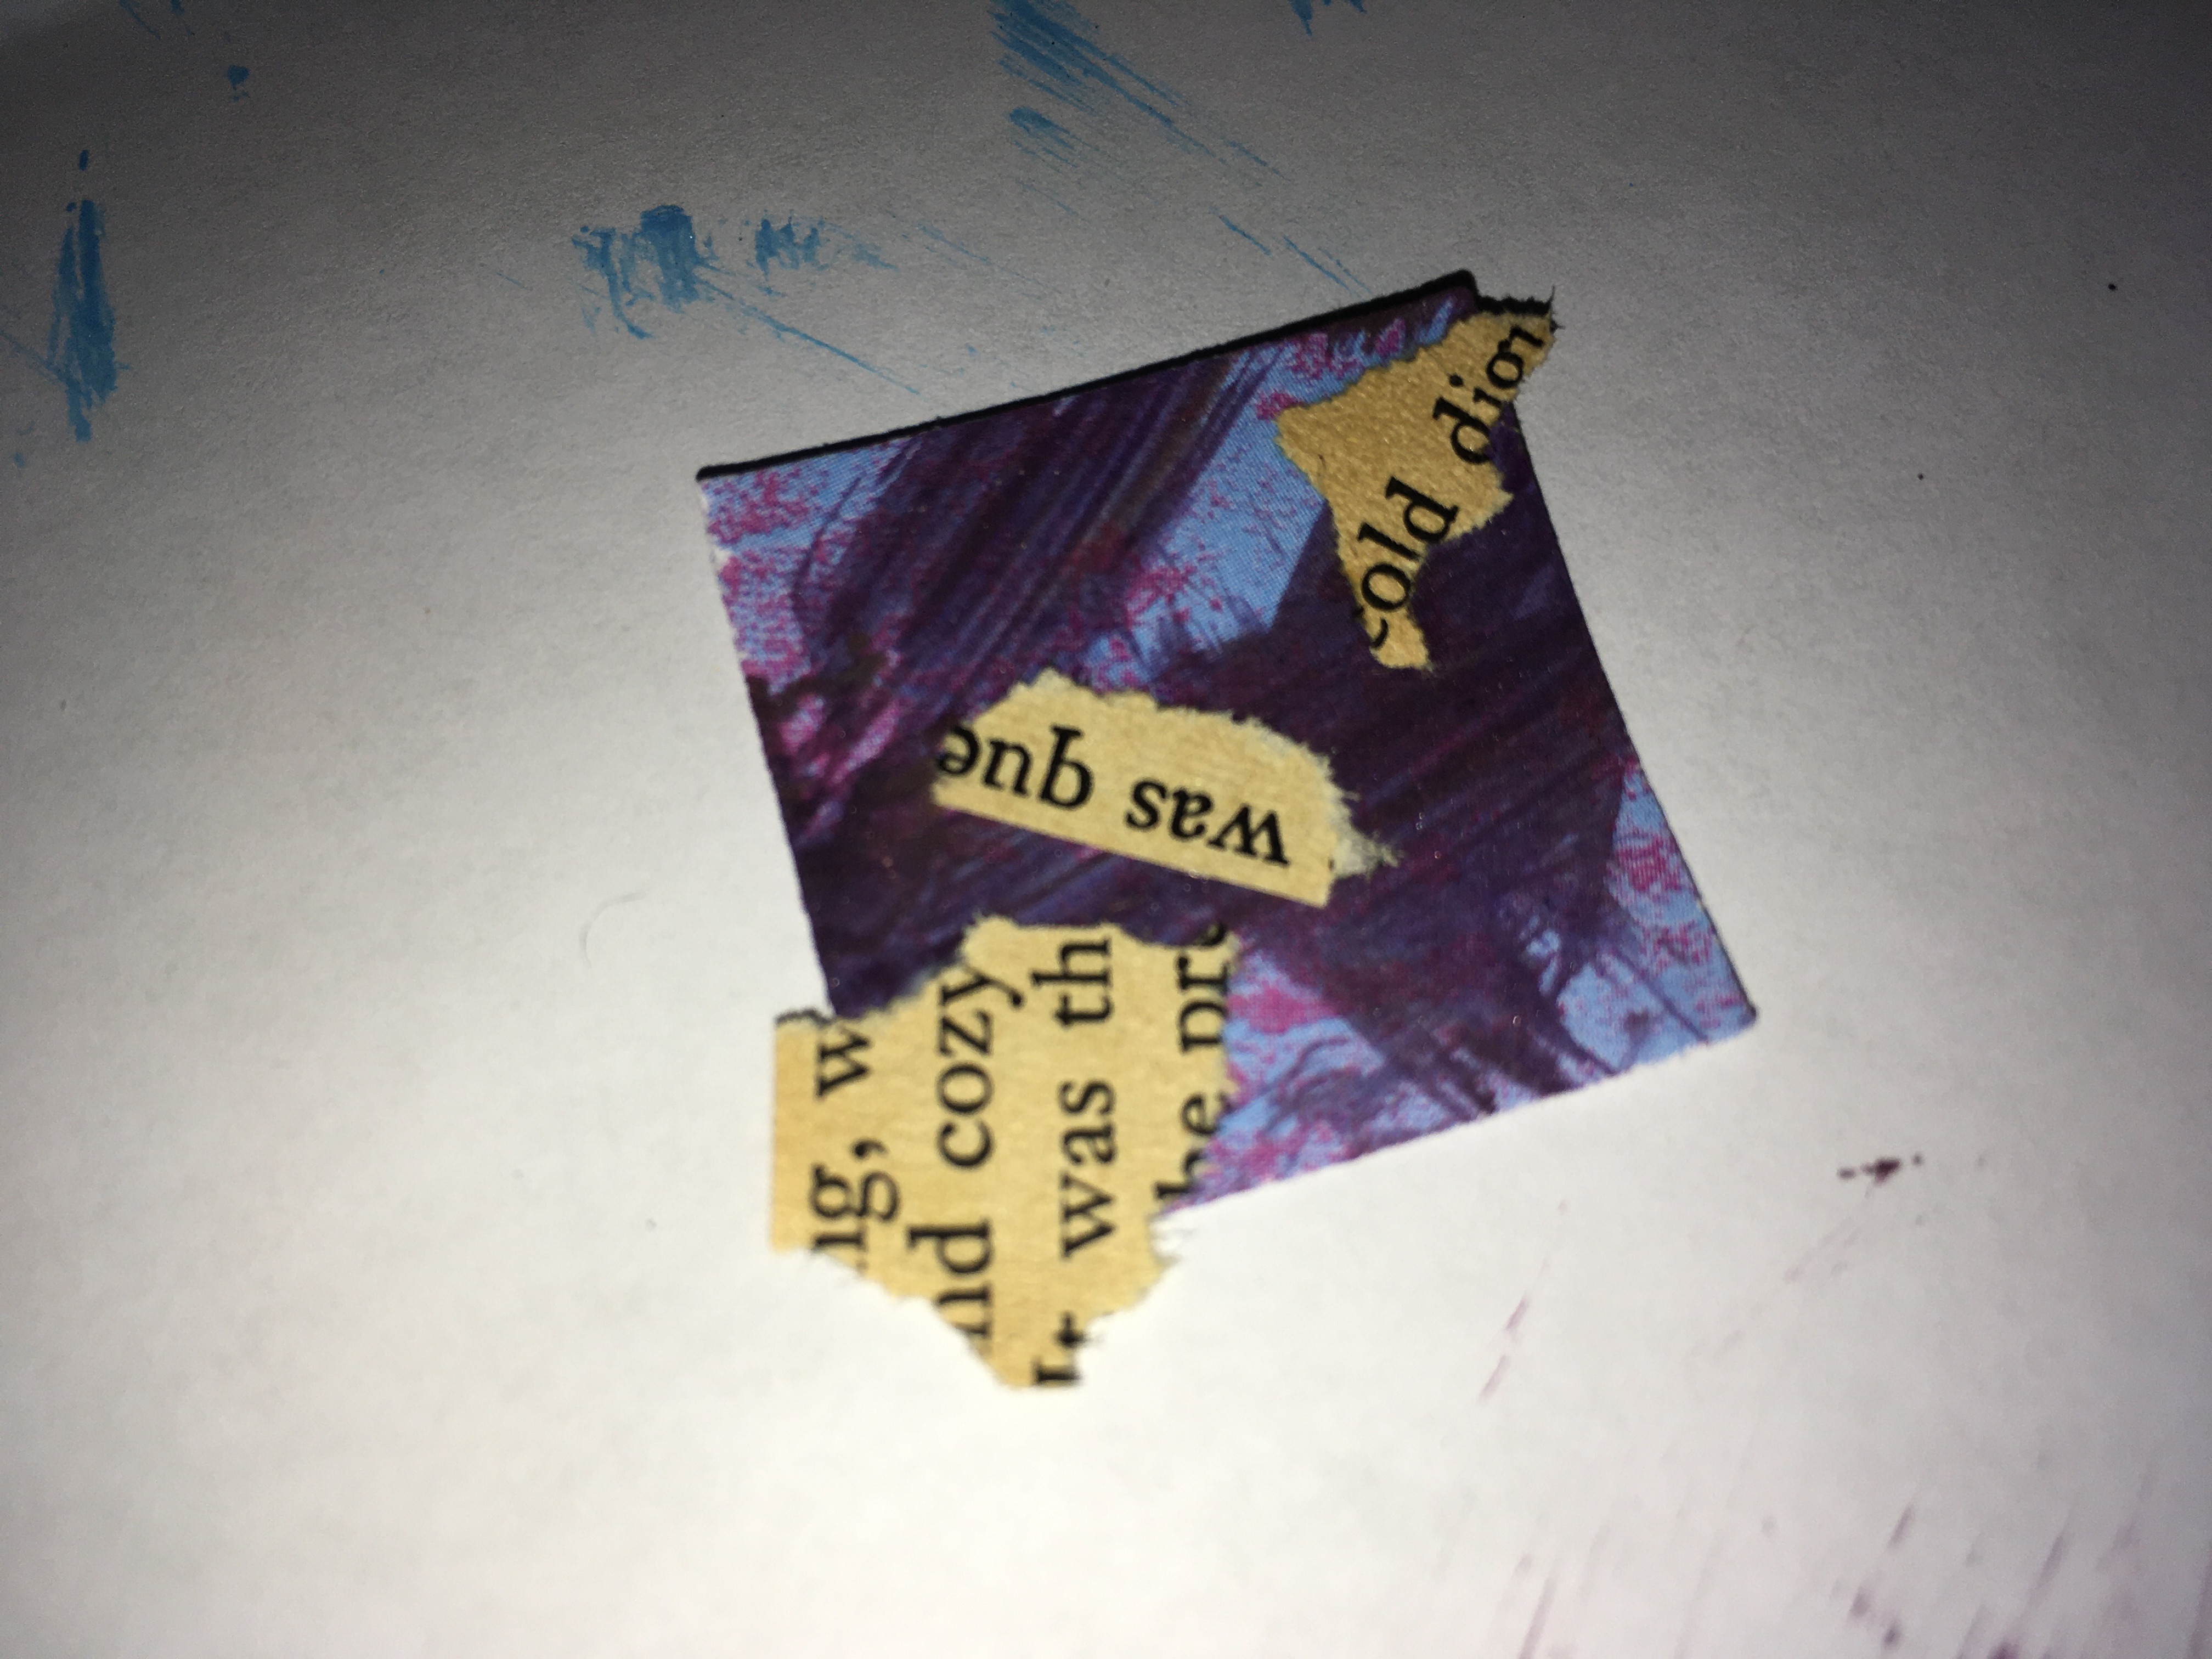
I started off with dry brushing each one with one of my four colors (silver, blue, purple, and orange). Then I tore teeny tiny pieces off a book page and Mod Podged them on.
Then I wanted more texture so I cut some itty bitty tissue paper squares (by the way I do not recommend using tissue paper this small… it was around this step that I started questioning everything in my life that had led me to that moment) But I pressed on and it was almost worth it!
After scrubbing Mod Podge off my fingertips I used a Q-tip and bobby pin for some more paint detail. I rolled the Q-tip over them with silver paint and used random colors to make little dots with the bobby pin. I followed that up with the binder clip dipped in bright pink and the other colors.
as I was scrolling through the pics I was thinking “I hope she saved the drop paper she is working on!” I should have known you’d be all over that!
These are so cute and that bobby pin idea is one I will have to try.
2 Likes
AIMR
(Linda -2026 time to regroup and renew :us:)
4
Just watching your process, I imagined you were a tiny person making masterboards…all the steps are there except you used tiny tools and tiny papers…so great to see…
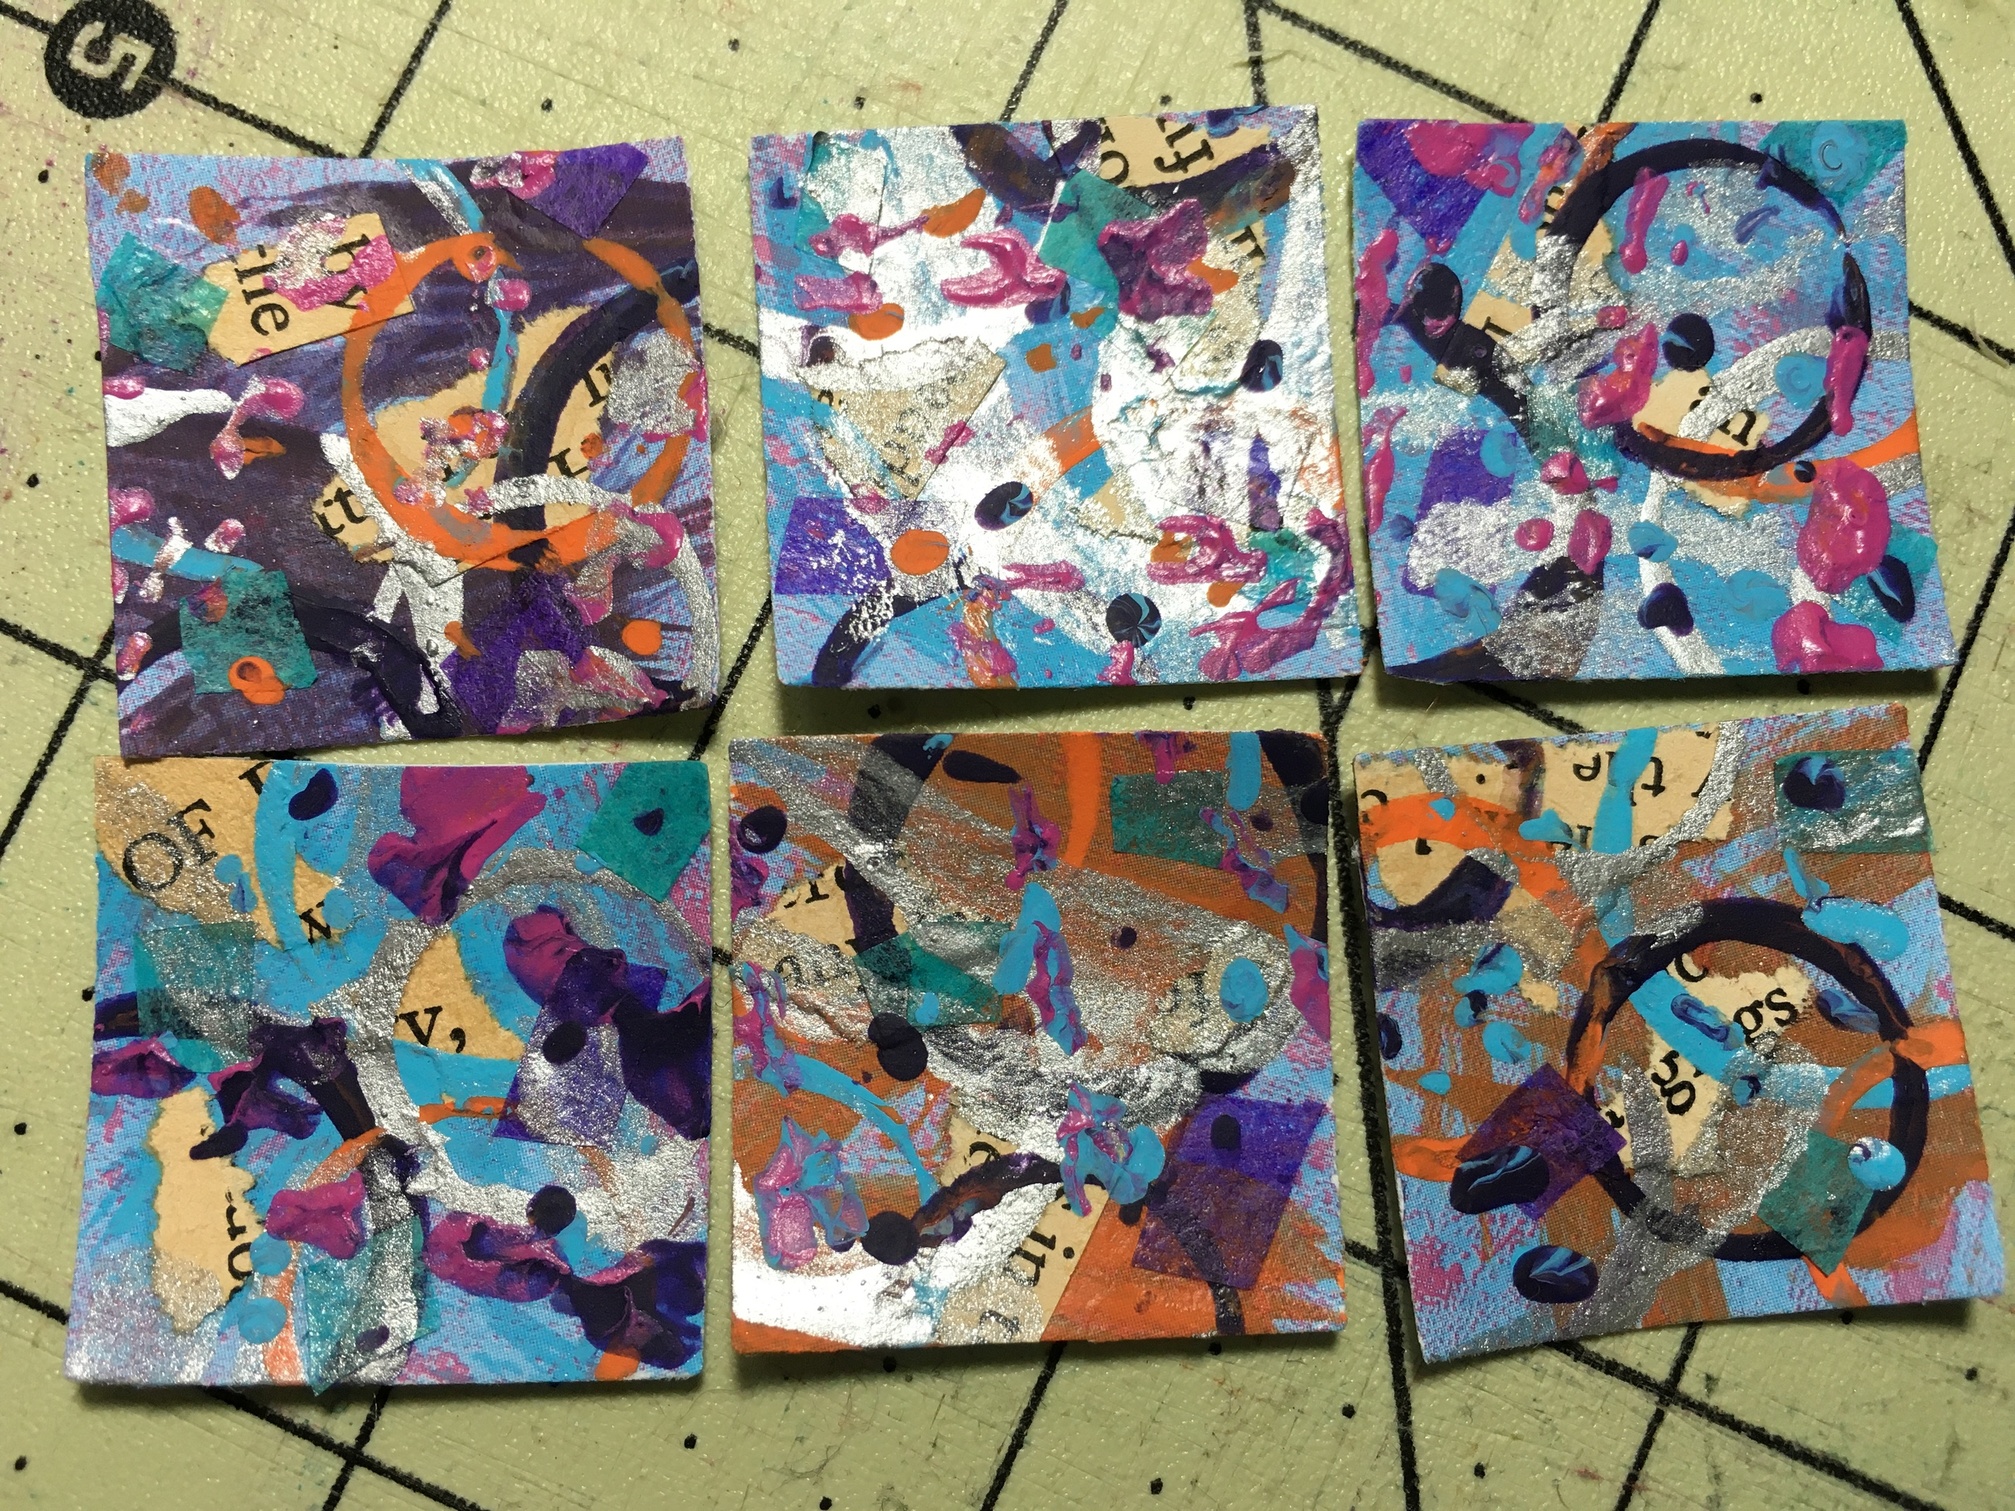
Inchies are usually done one at a time, so to see this done en masse really was instructional and inspirational…
Oh my word, these are INTENSE! You really kept with the intention of the project by making each piece it’s own individual creation rather than one large background cut up into smaller bits. Bravo you, nicely done!
Yup. I realized before I started that I could do the square punching at the end but I wanted to embrace the challenge as fully as I could I’ve even already started cutting them up in the true spirit of masterboards!

 Now I usually make huge masterboards and there is no set size for crafting them but since the two swaps I’ve been in for masterboards have a size requirement of 6" square I decided to use that as my reference for scaling down to 1:6 (hence the 1 inch paper punch).


 But I pressed on and it was almost worth it!


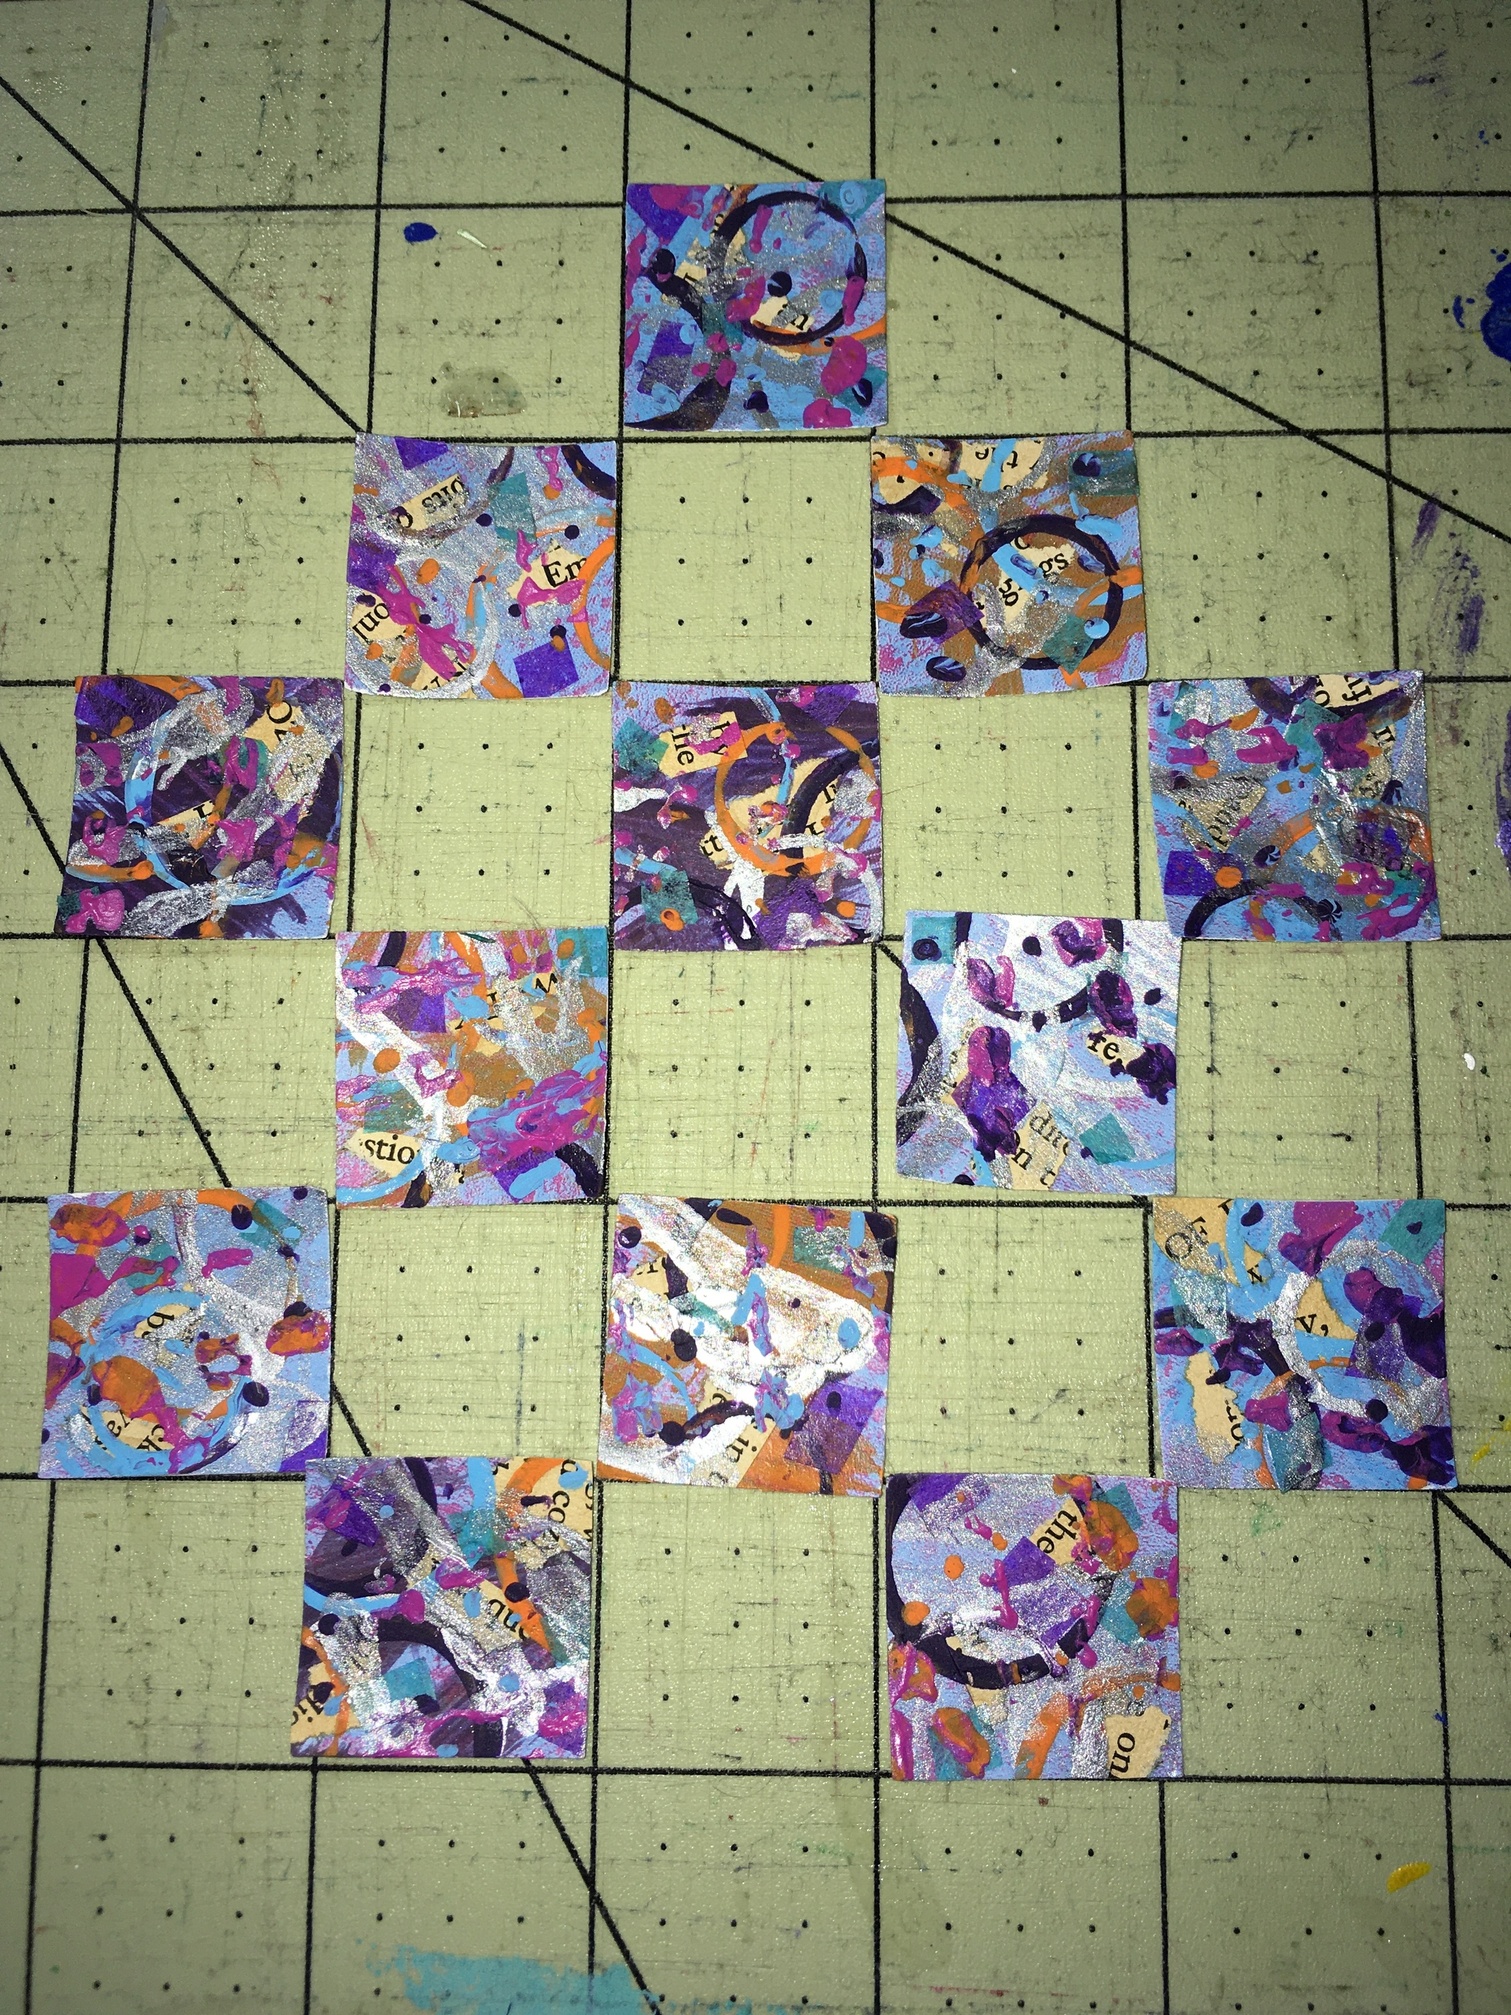


 I’ve even already started cutting them up in the true spirit of masterboards!
 It was cool to see your thought process and even cooler on such a tiny space. You really prove masterboards can be any size!