I developed these sachets during a temari swap with @endymion. They’re a fun way to use up scraps of fabric and embroidery floss. They look great displaying any kind of ball that would otherwise roll away, or can be tucked into drawers for a nice scent. Many have said they are TM patches, with which I don’t have any experience! They do have decorative stitching around the border, but no raw edge and the assembly is different.
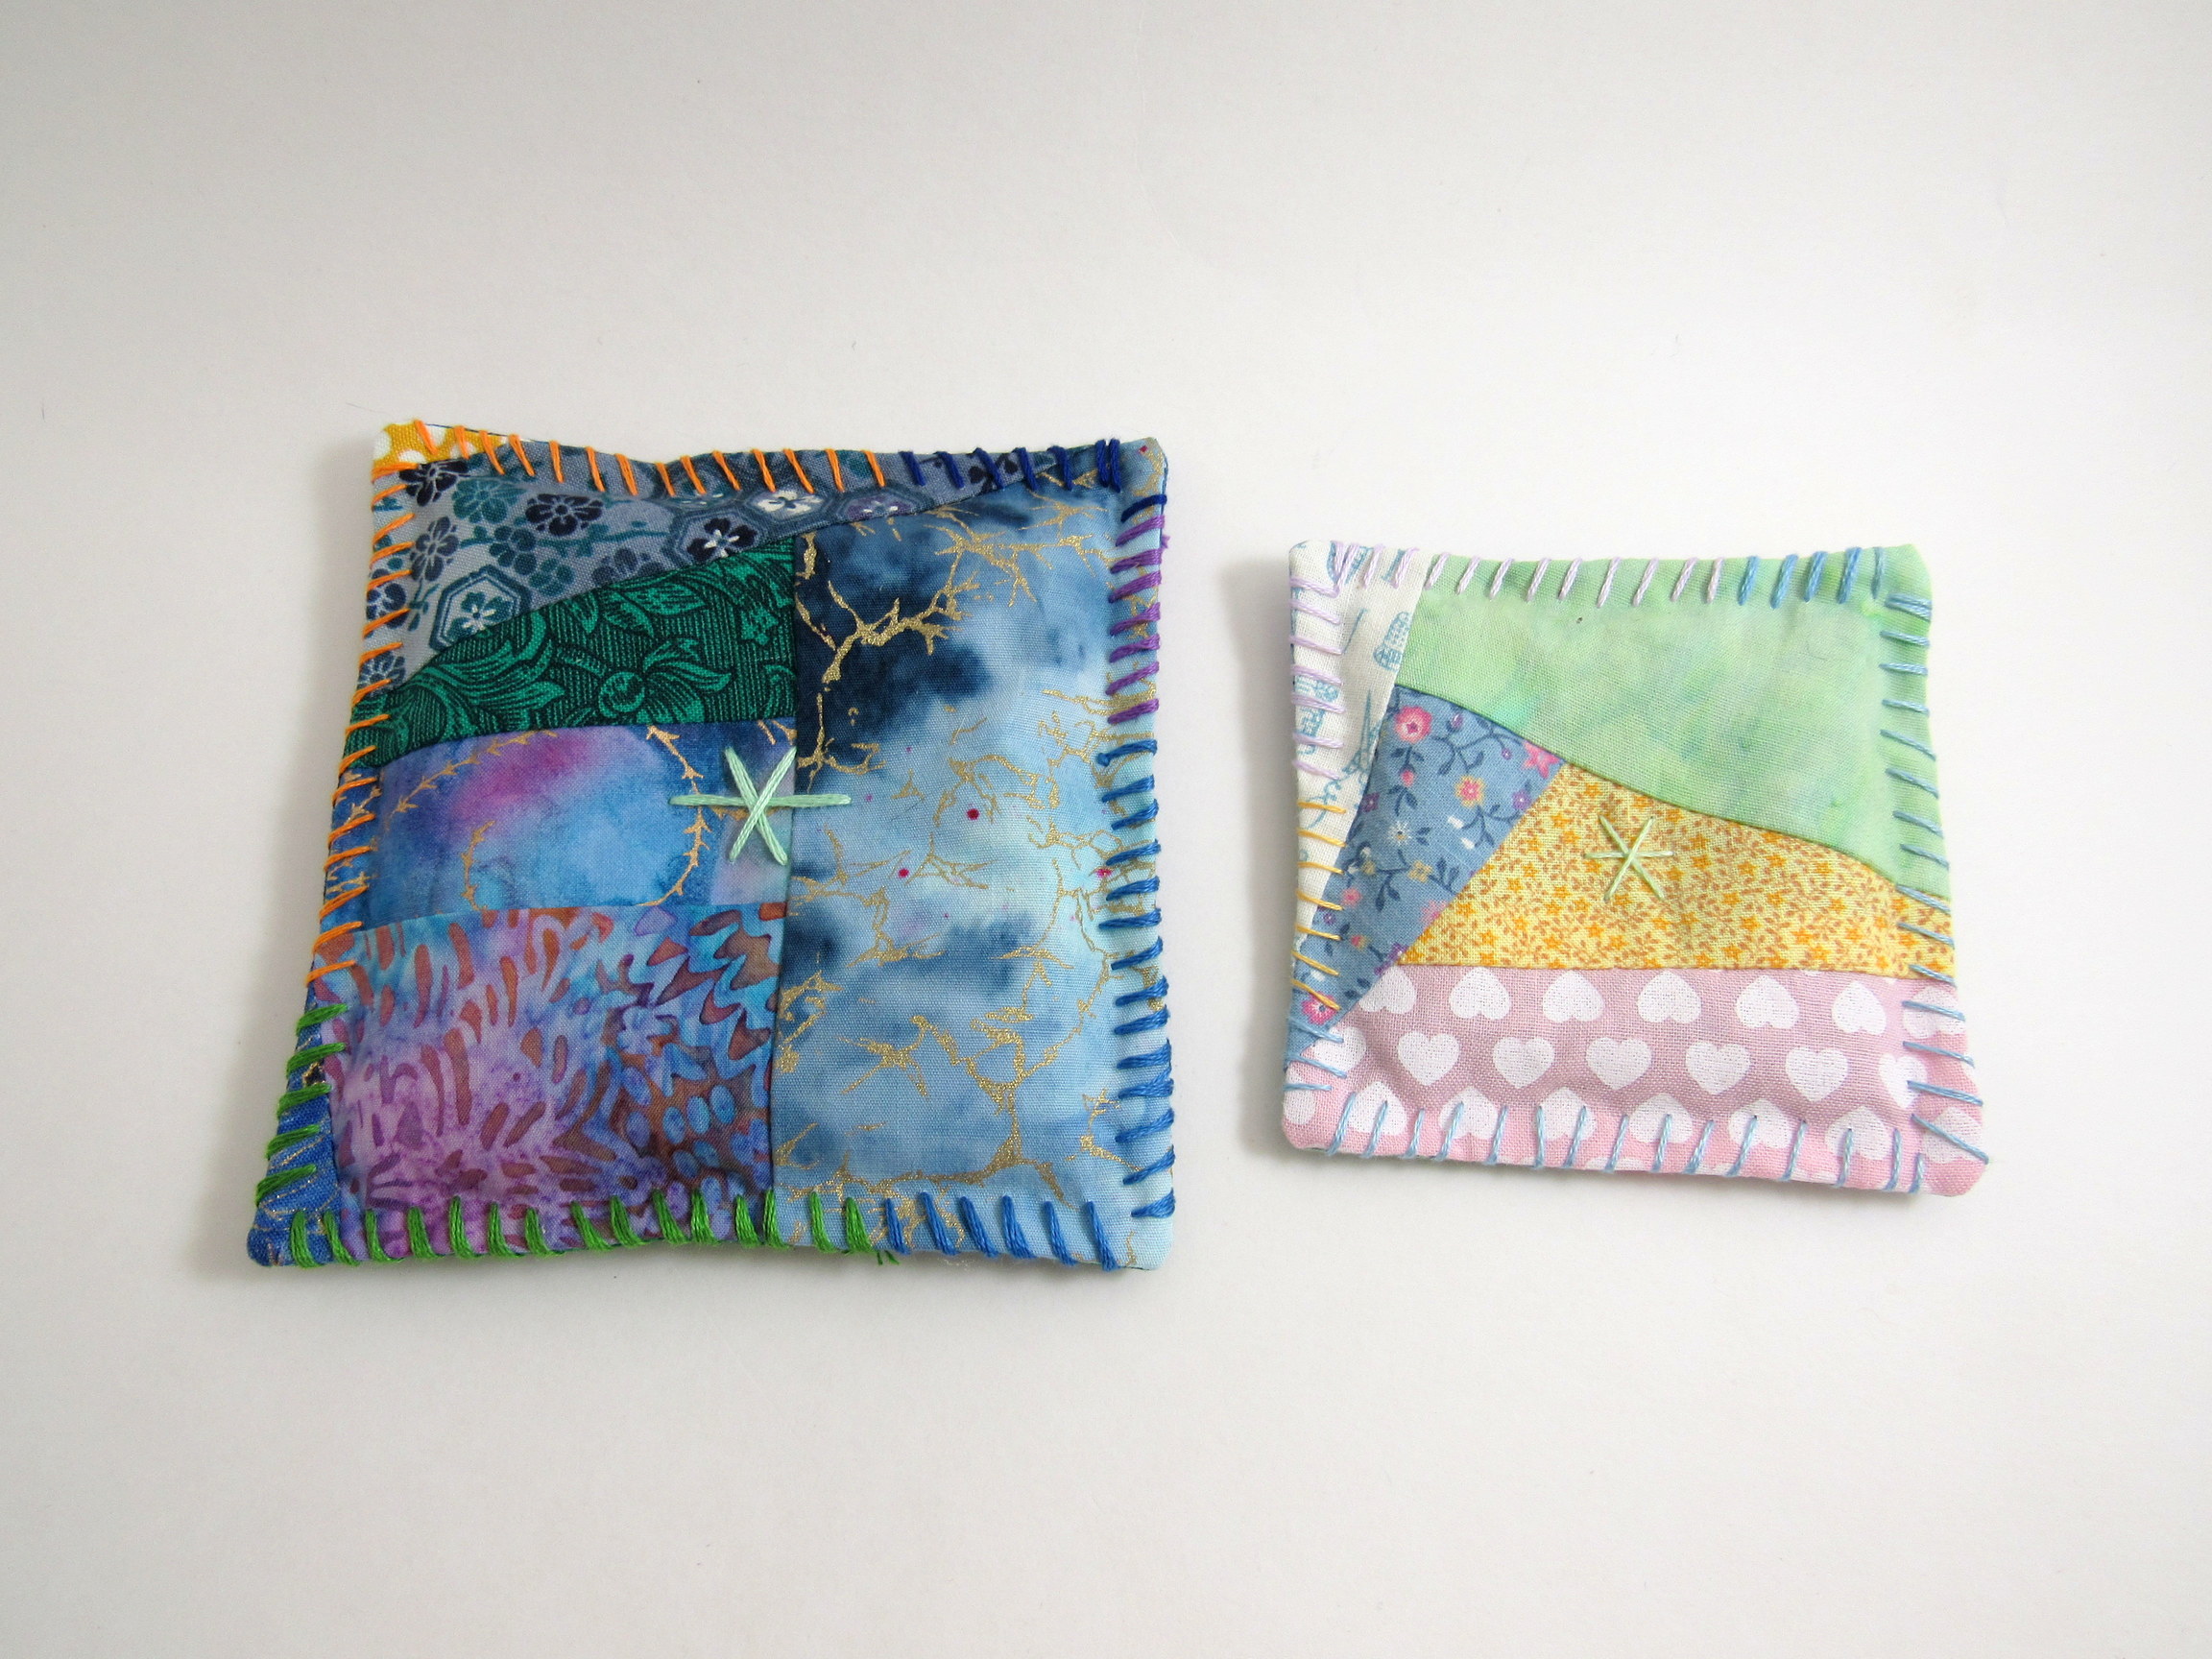
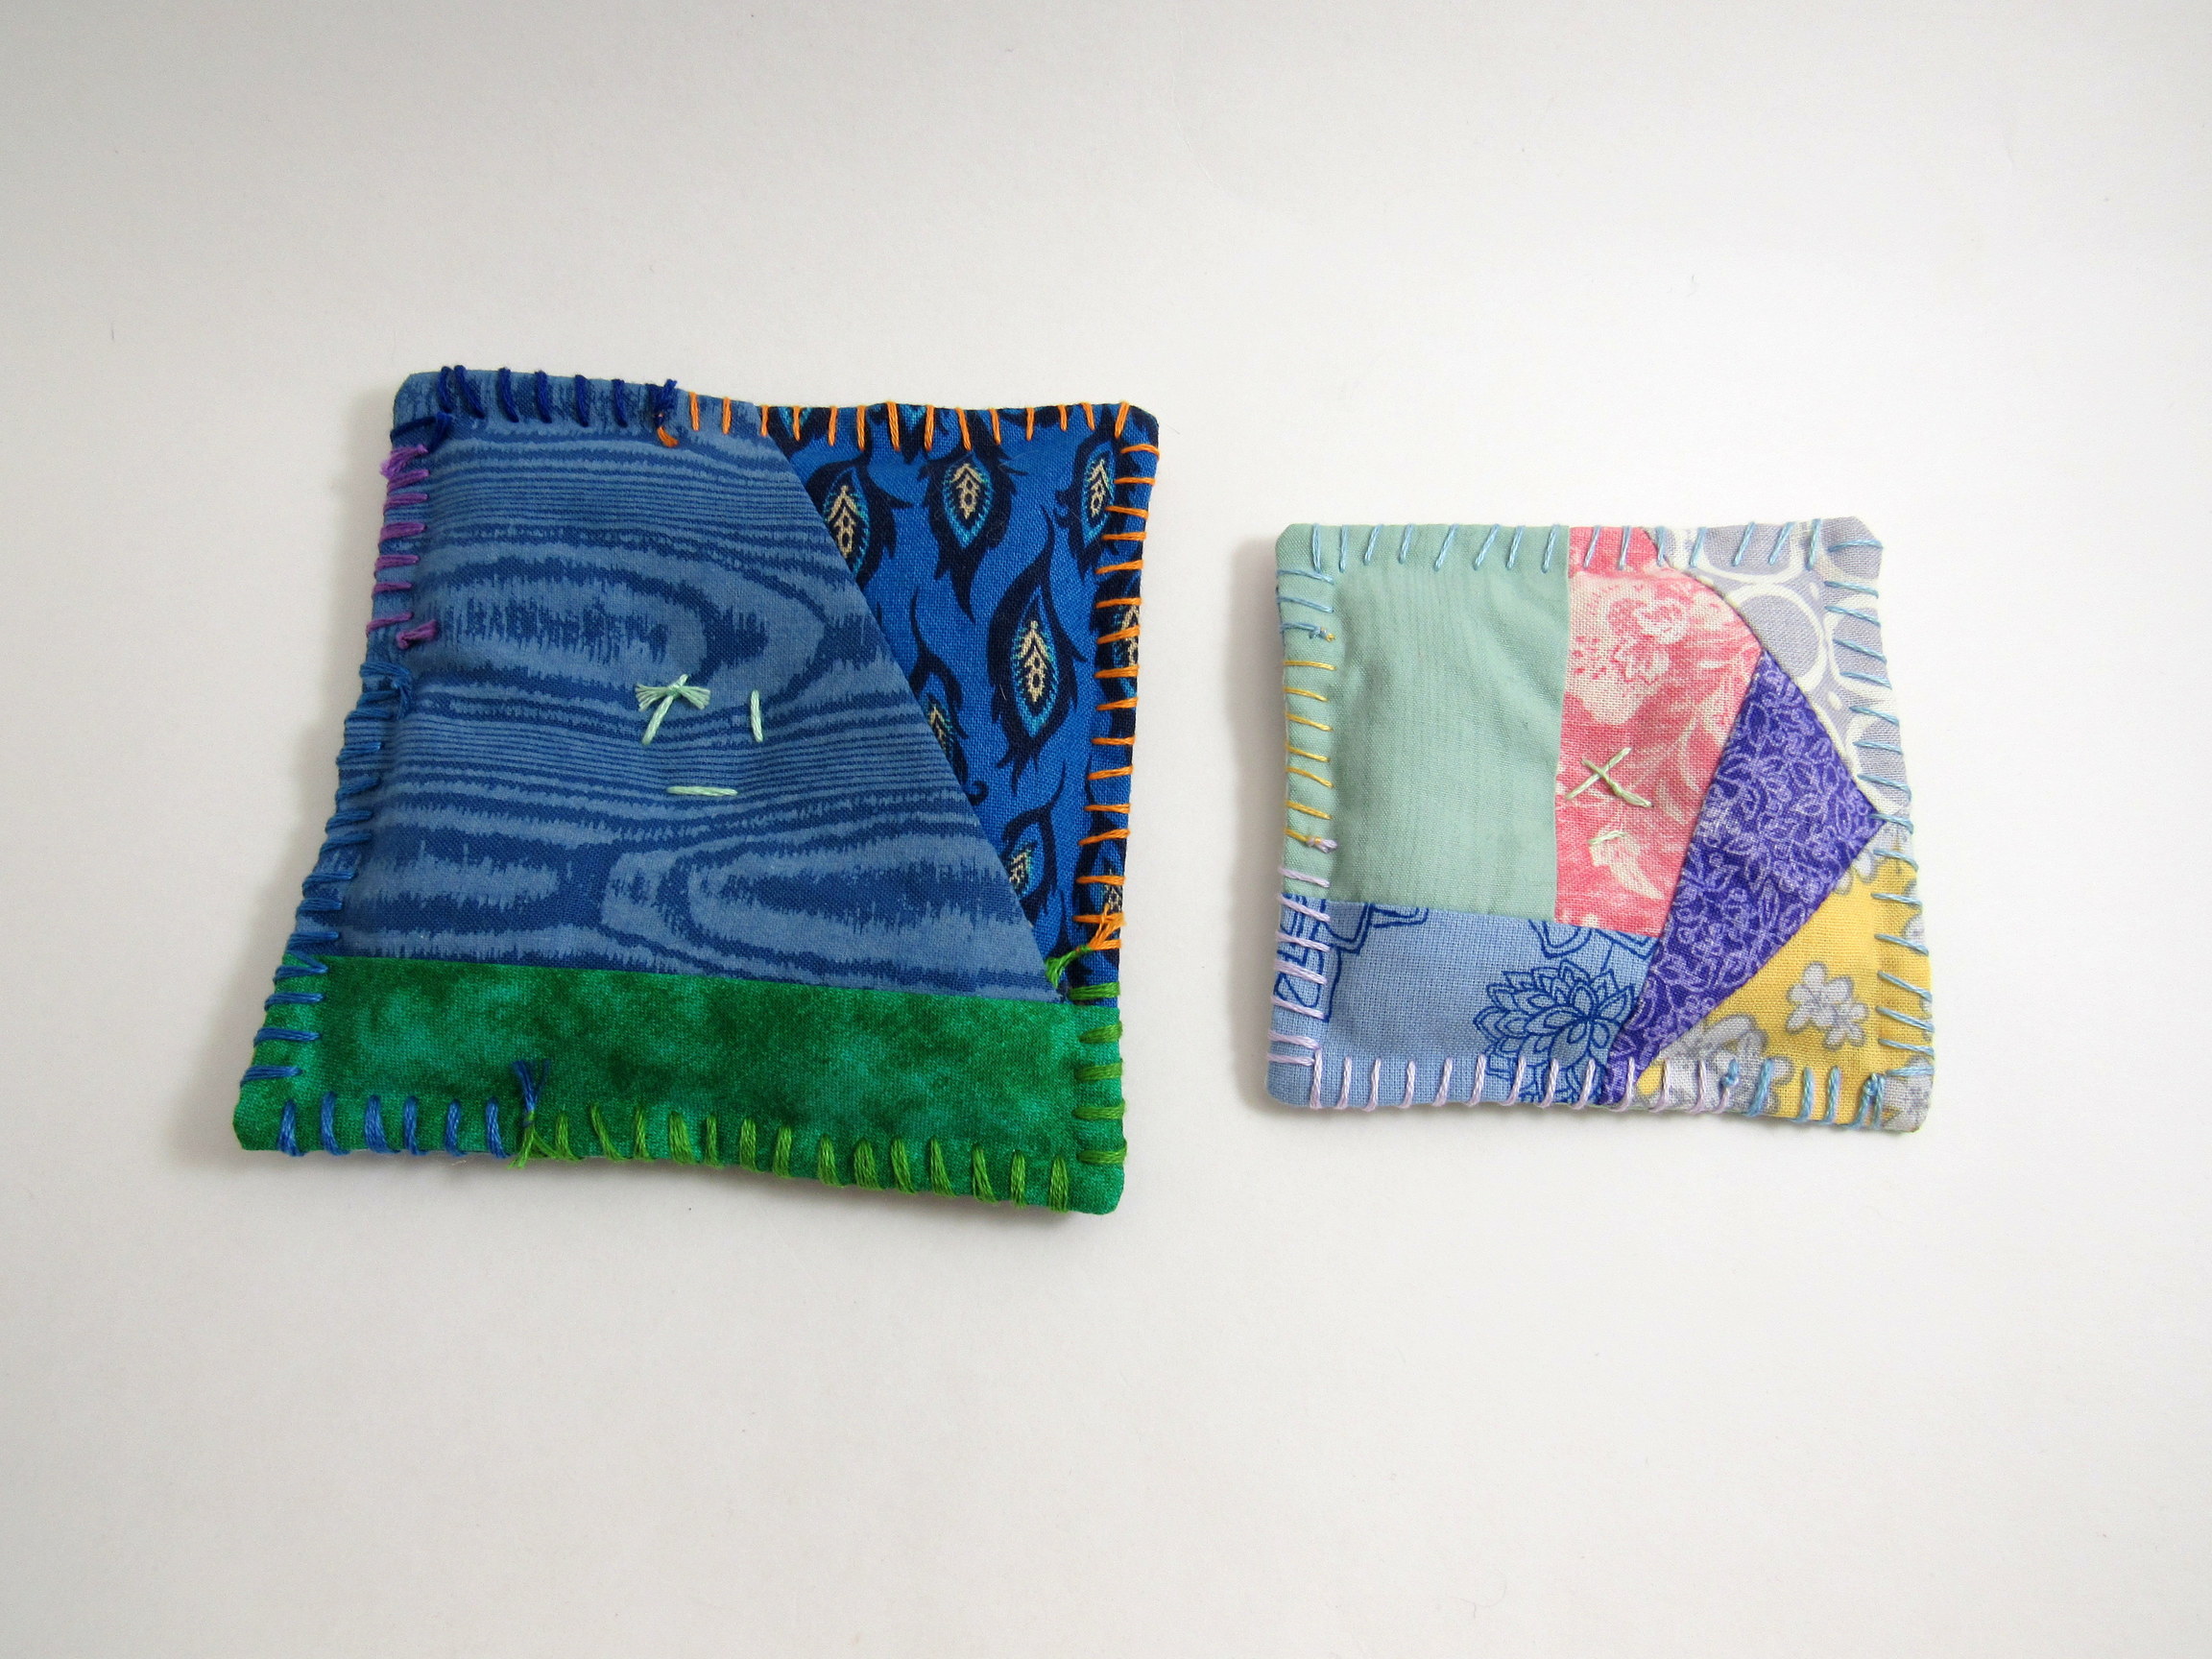
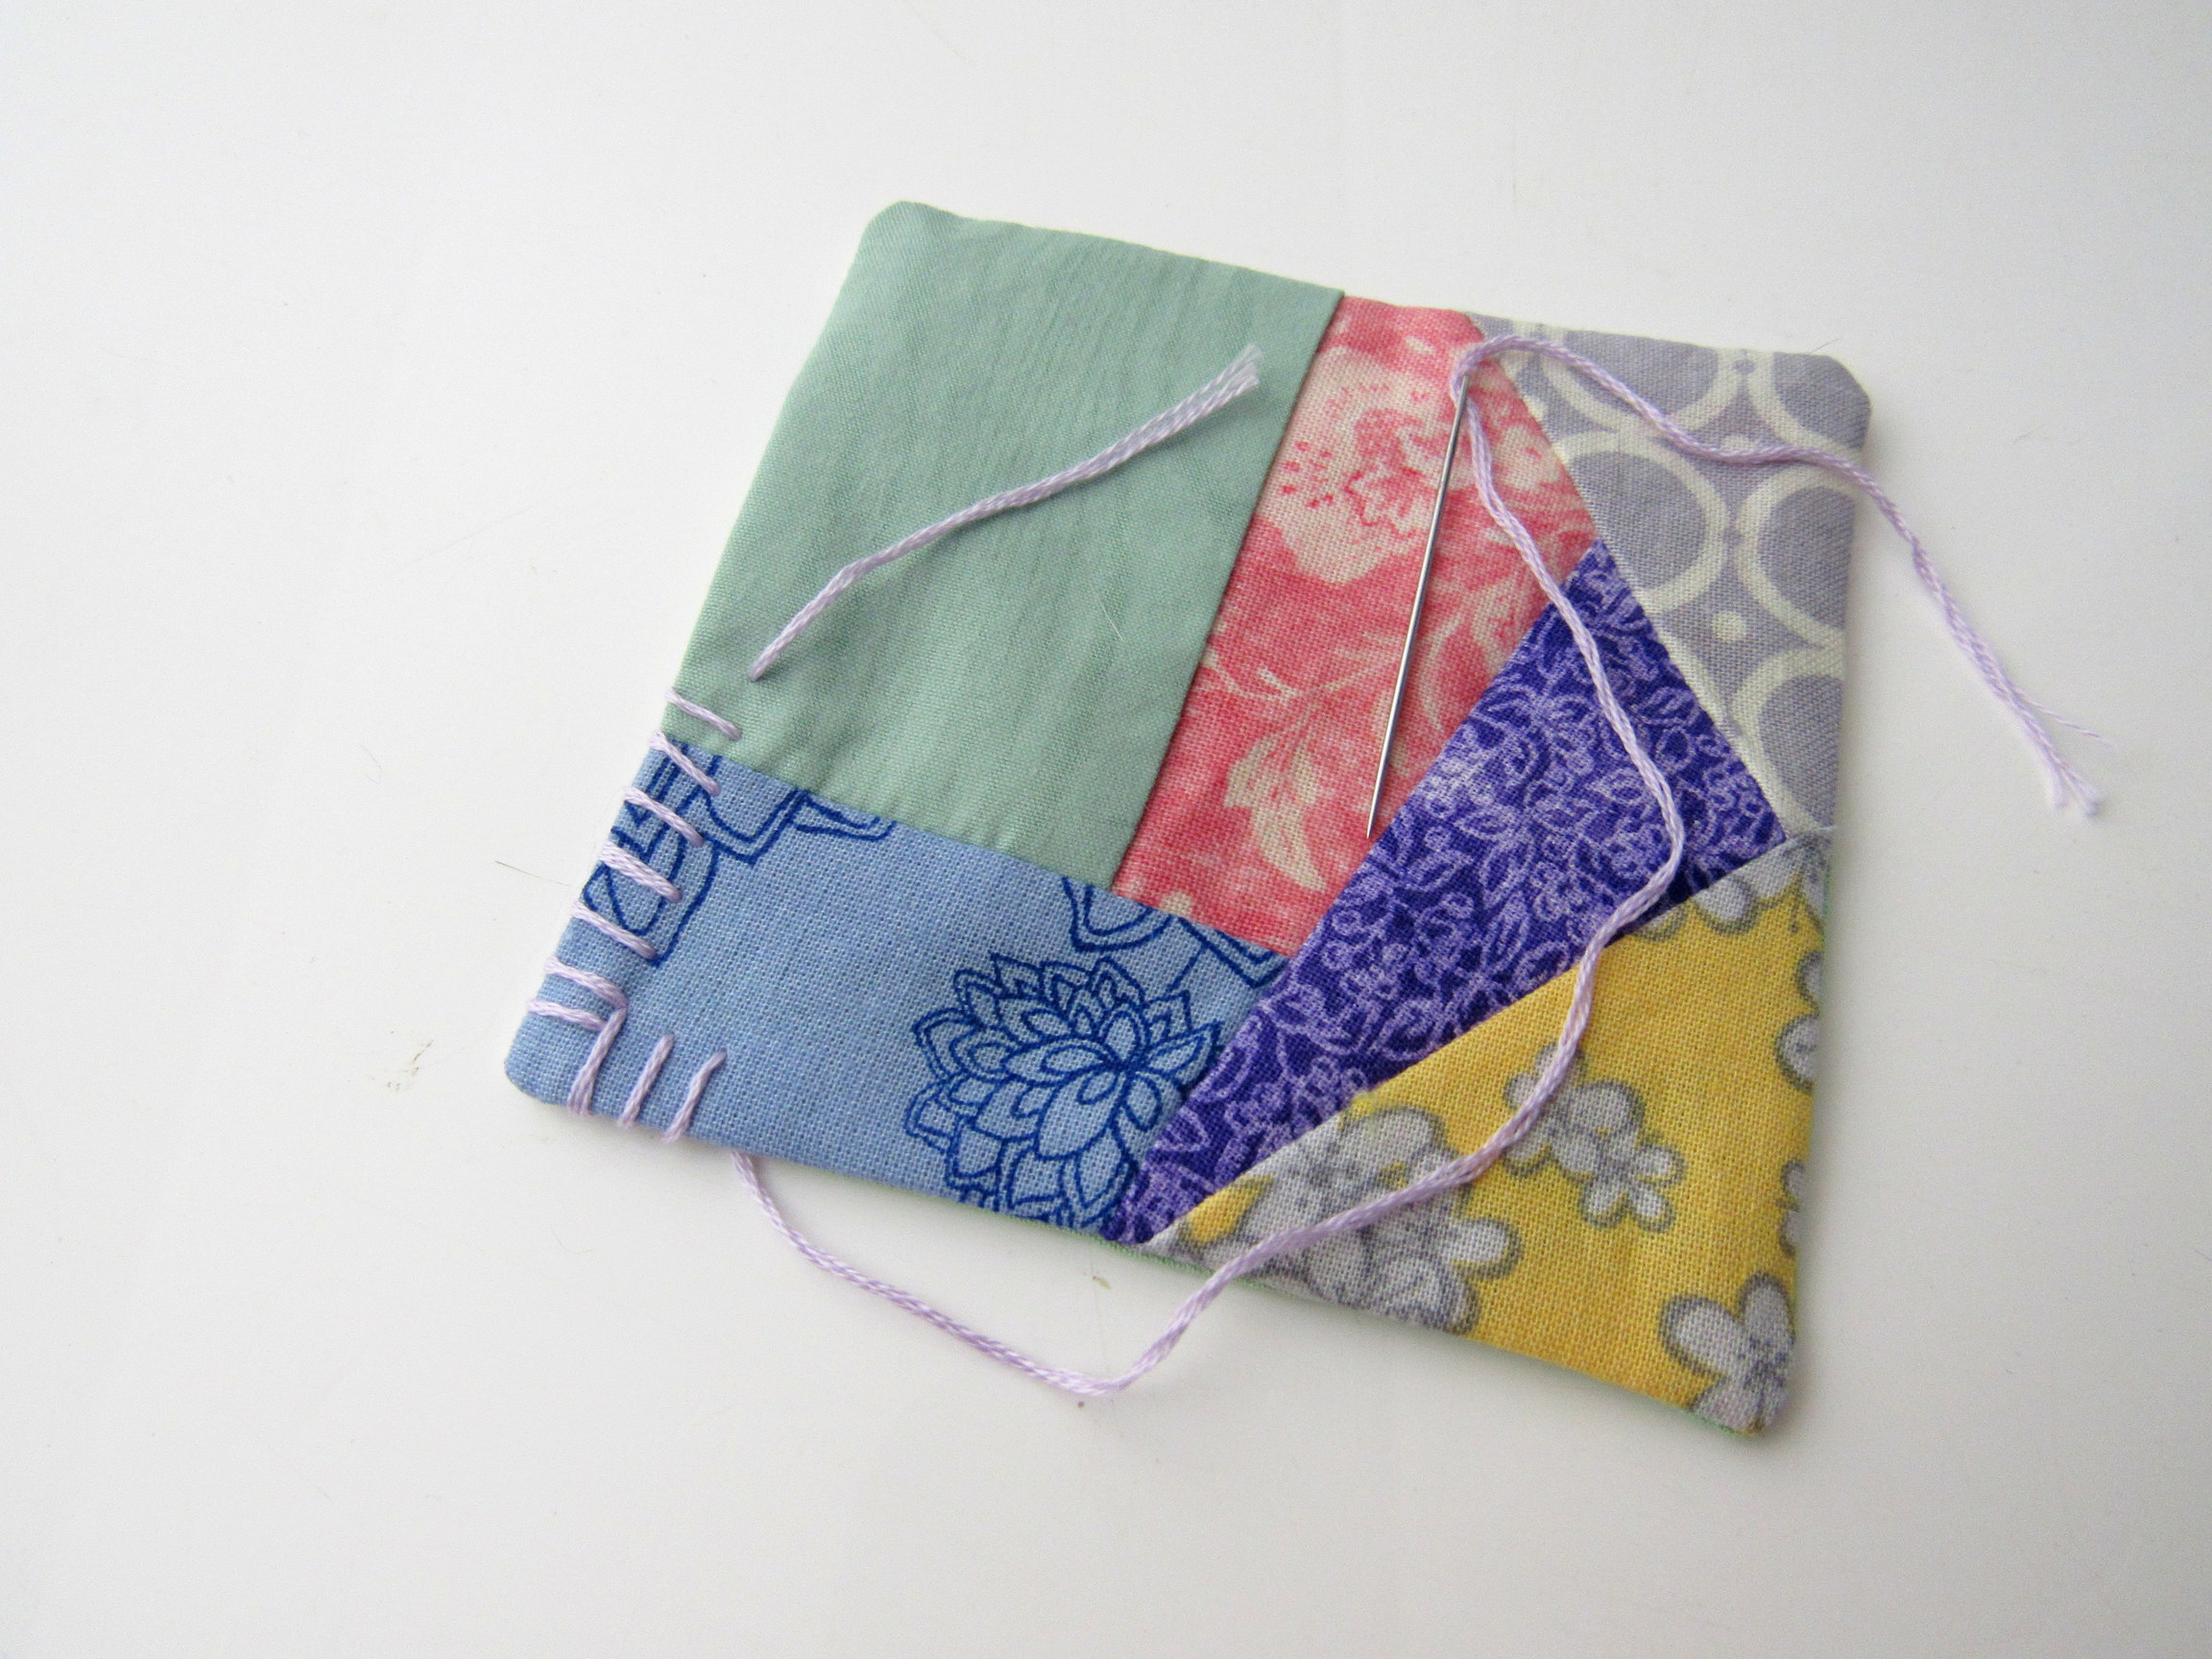
The larger pillow was made with 5 inch squares, and the smaller one with 4 inch. You can see on the back of the larger one where I experimented with leaving the thread knots loose, but having tried both ways now I prefer to thread them through. It makes it a little more finished looking.
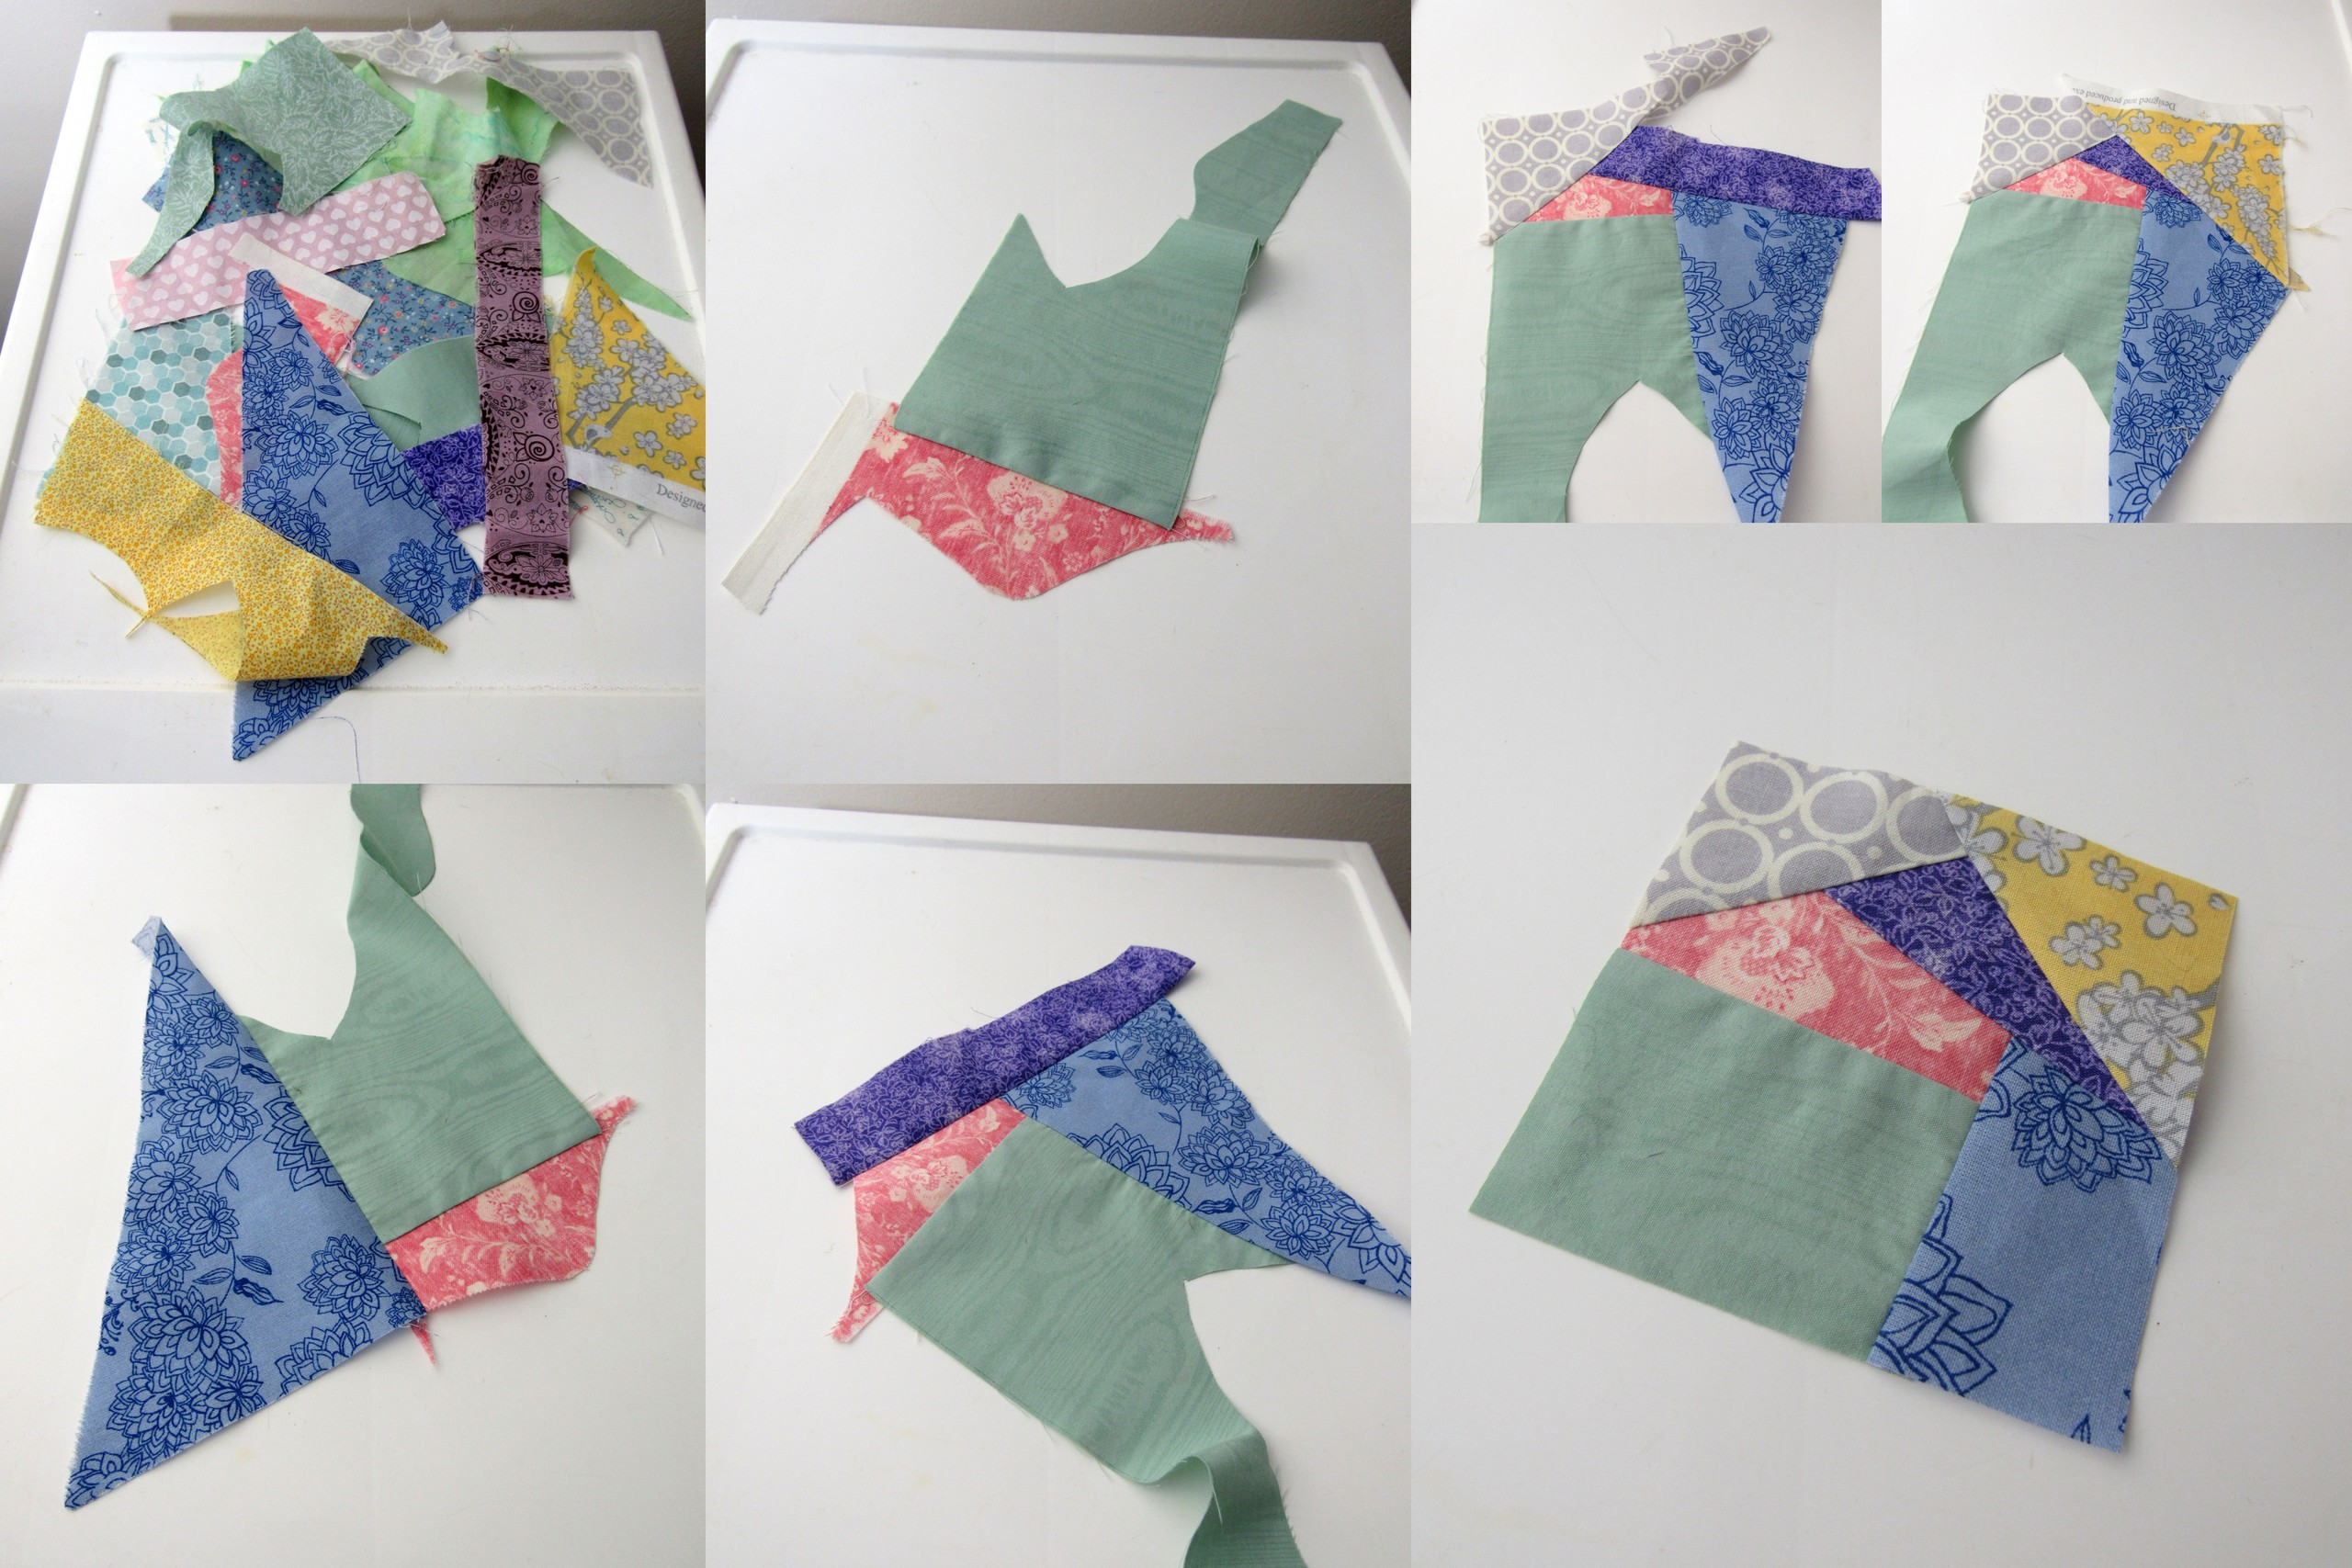
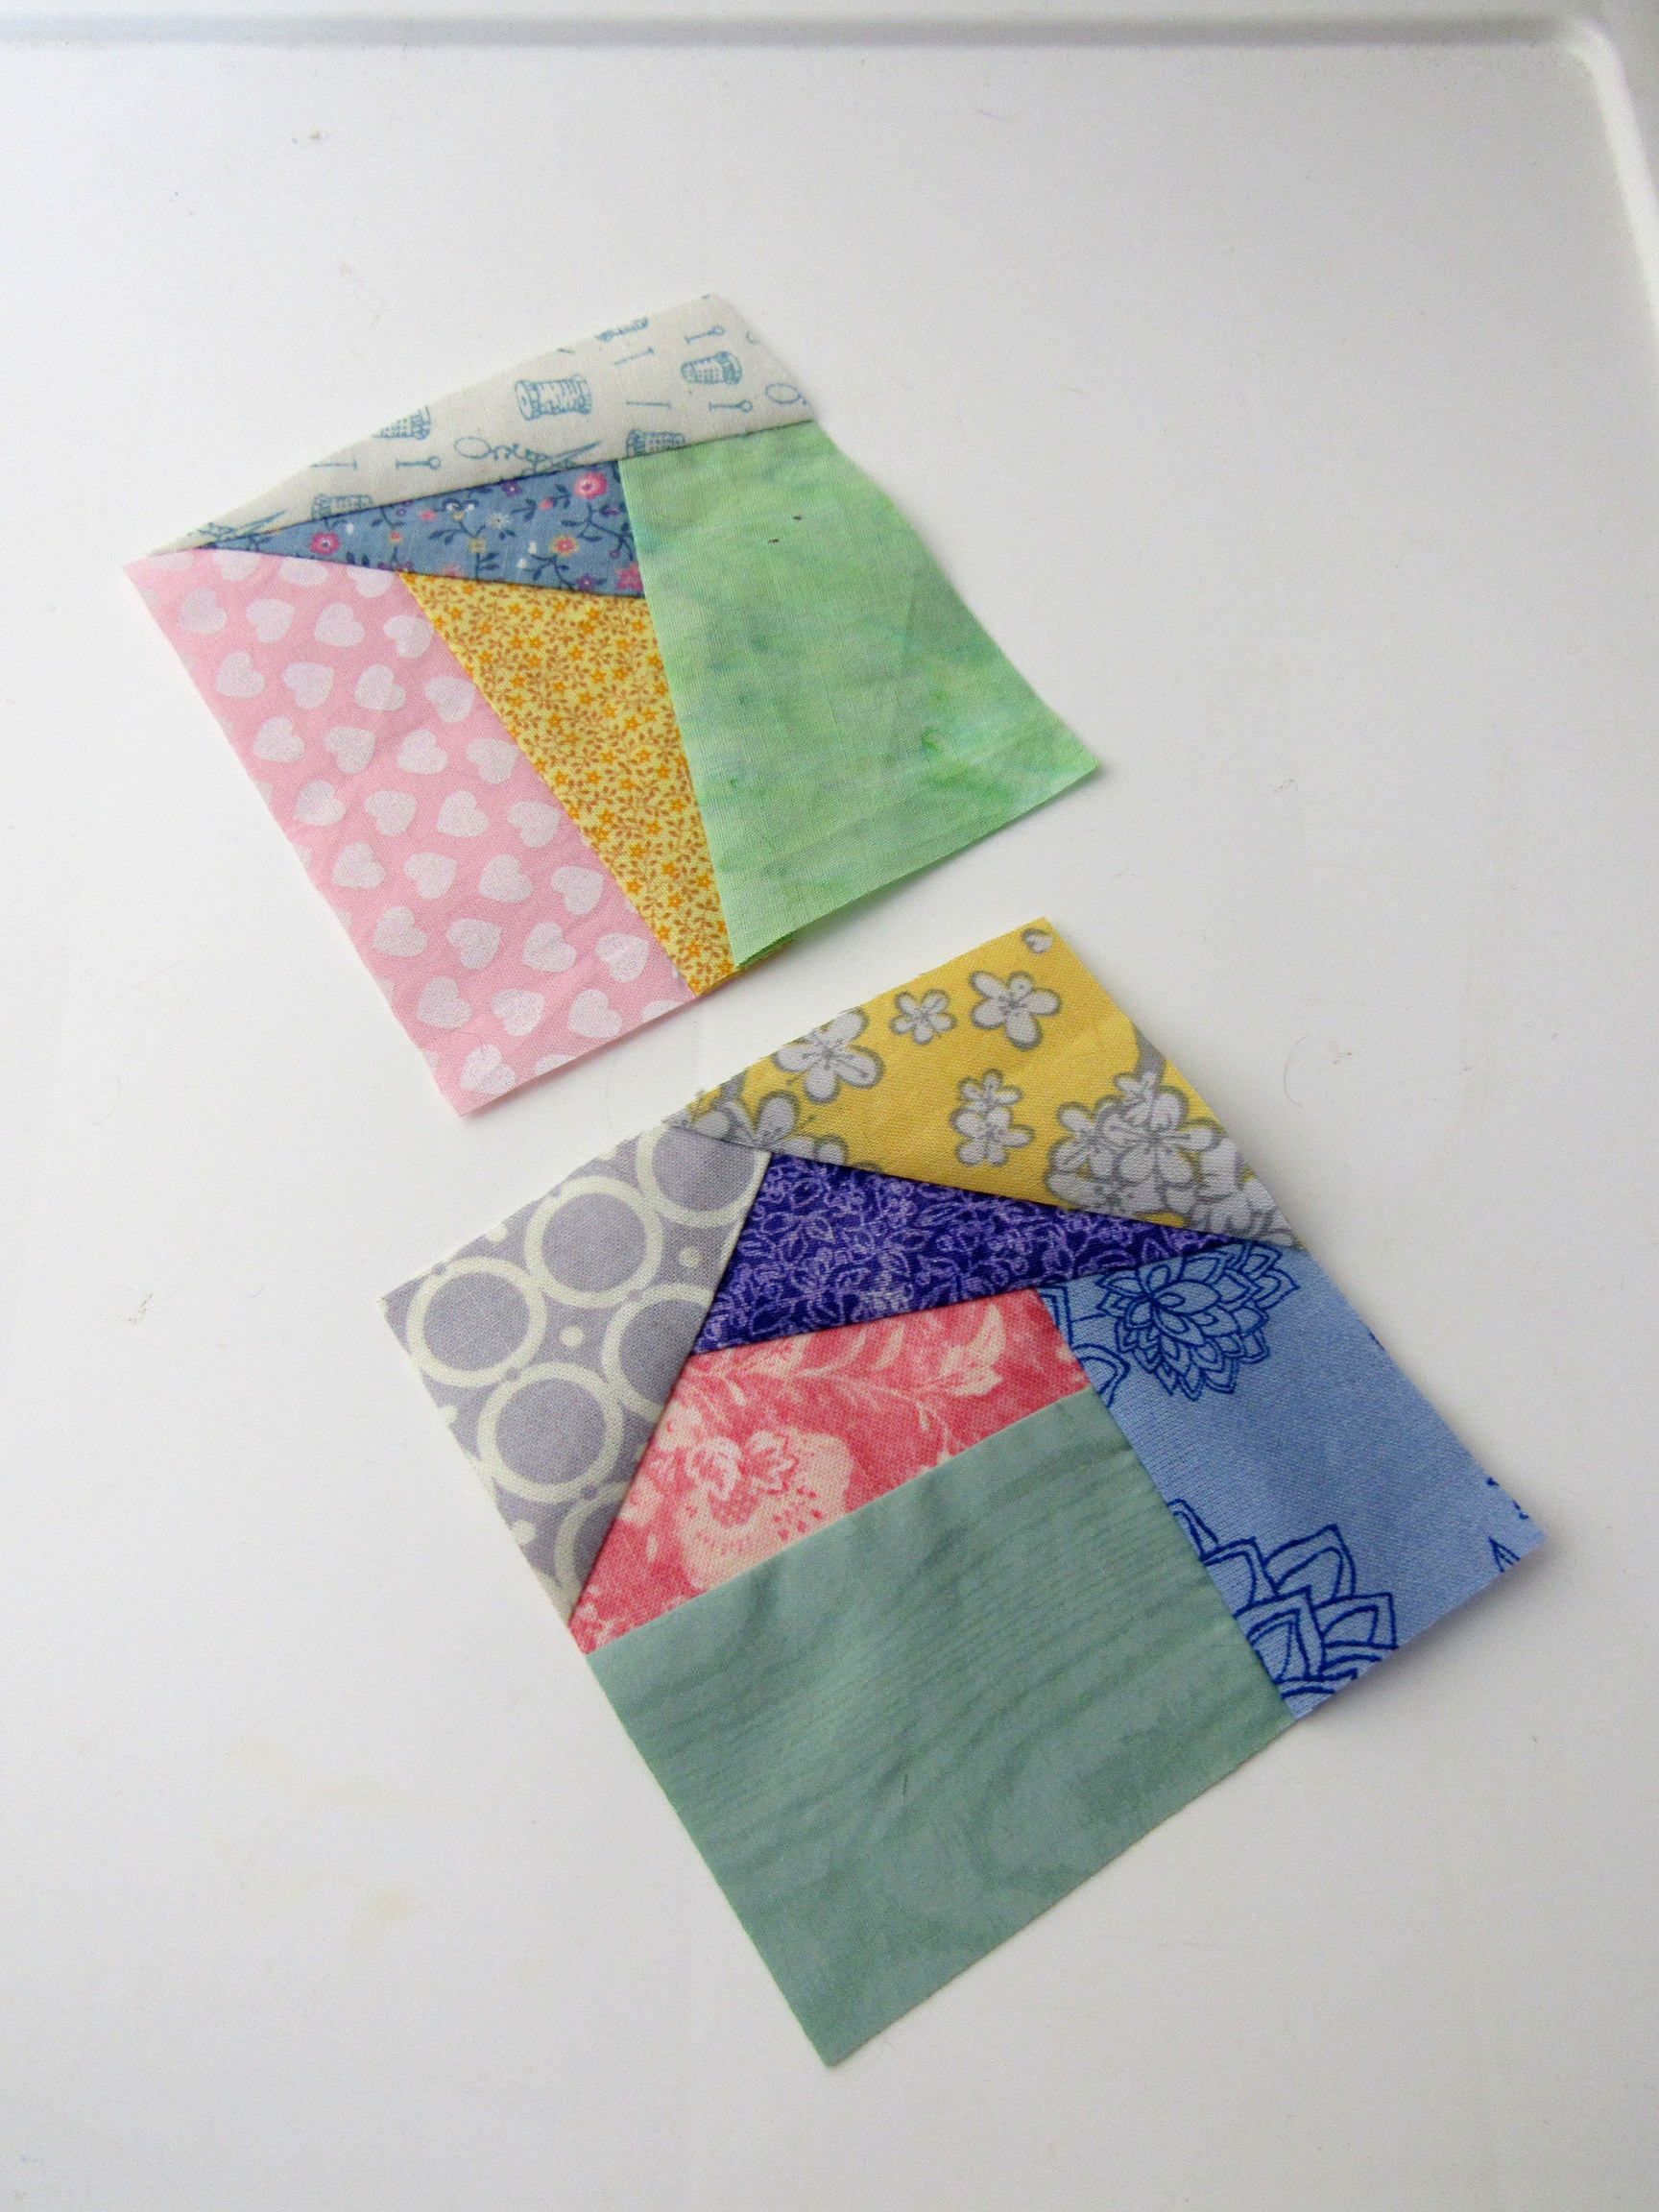
Here is a glimpse of the assembly of scraps: start with a little pile of colors, ironed. Sew one piece to another one at a time, trimming extra fabric away from the inner seam and pressing flat after each addition. Cut your square once you have enough surface area - make two squares.
Sew them together with right-sides together, leaving a hole big enough to turn and add filling. Turn and press.
To begin stitching the border, pick a “backside” to the piece where you will have all your knots. Start at one side of the turning gap and work around to the other side. Leave a tail on your first color that’s long enough to tie a knot. I happen to have multiple baggies of short embroidery floss bits, because I have the instincts of a bowerbird (I see a pretty bit, I keep a pretty bit).
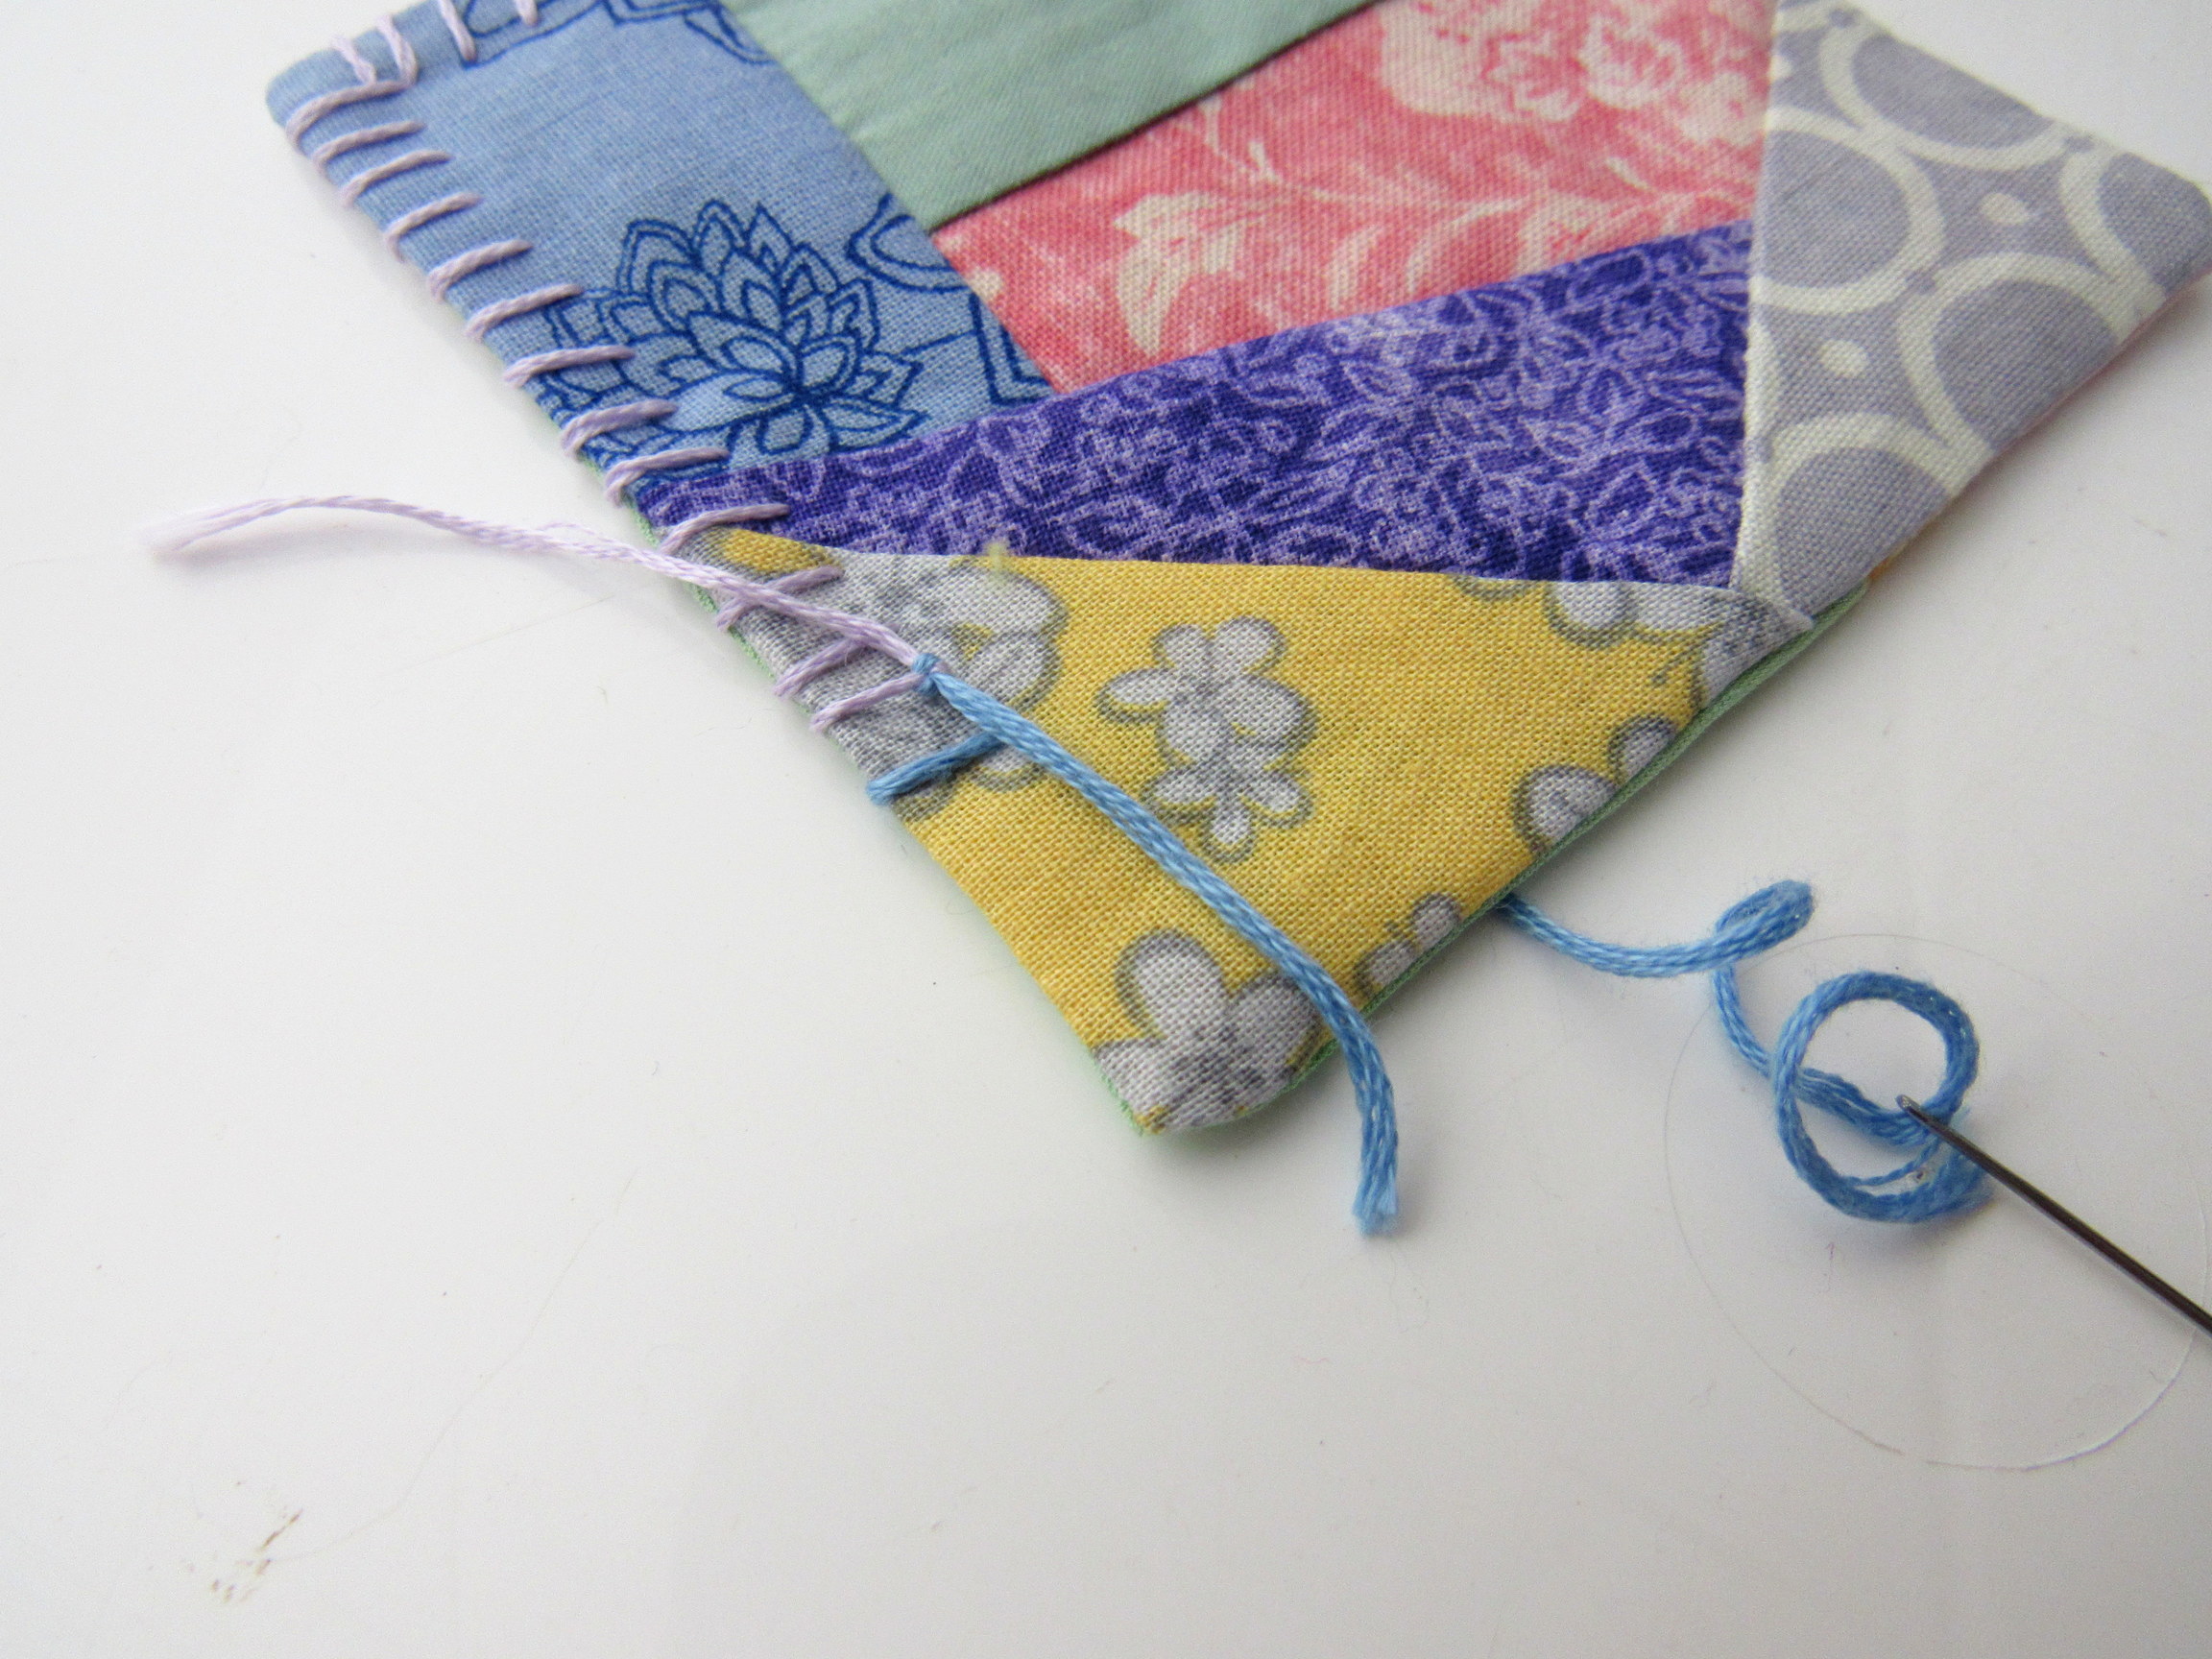
When I run out of a strand, I leave the tail loose again and take a few stitches with the next color.
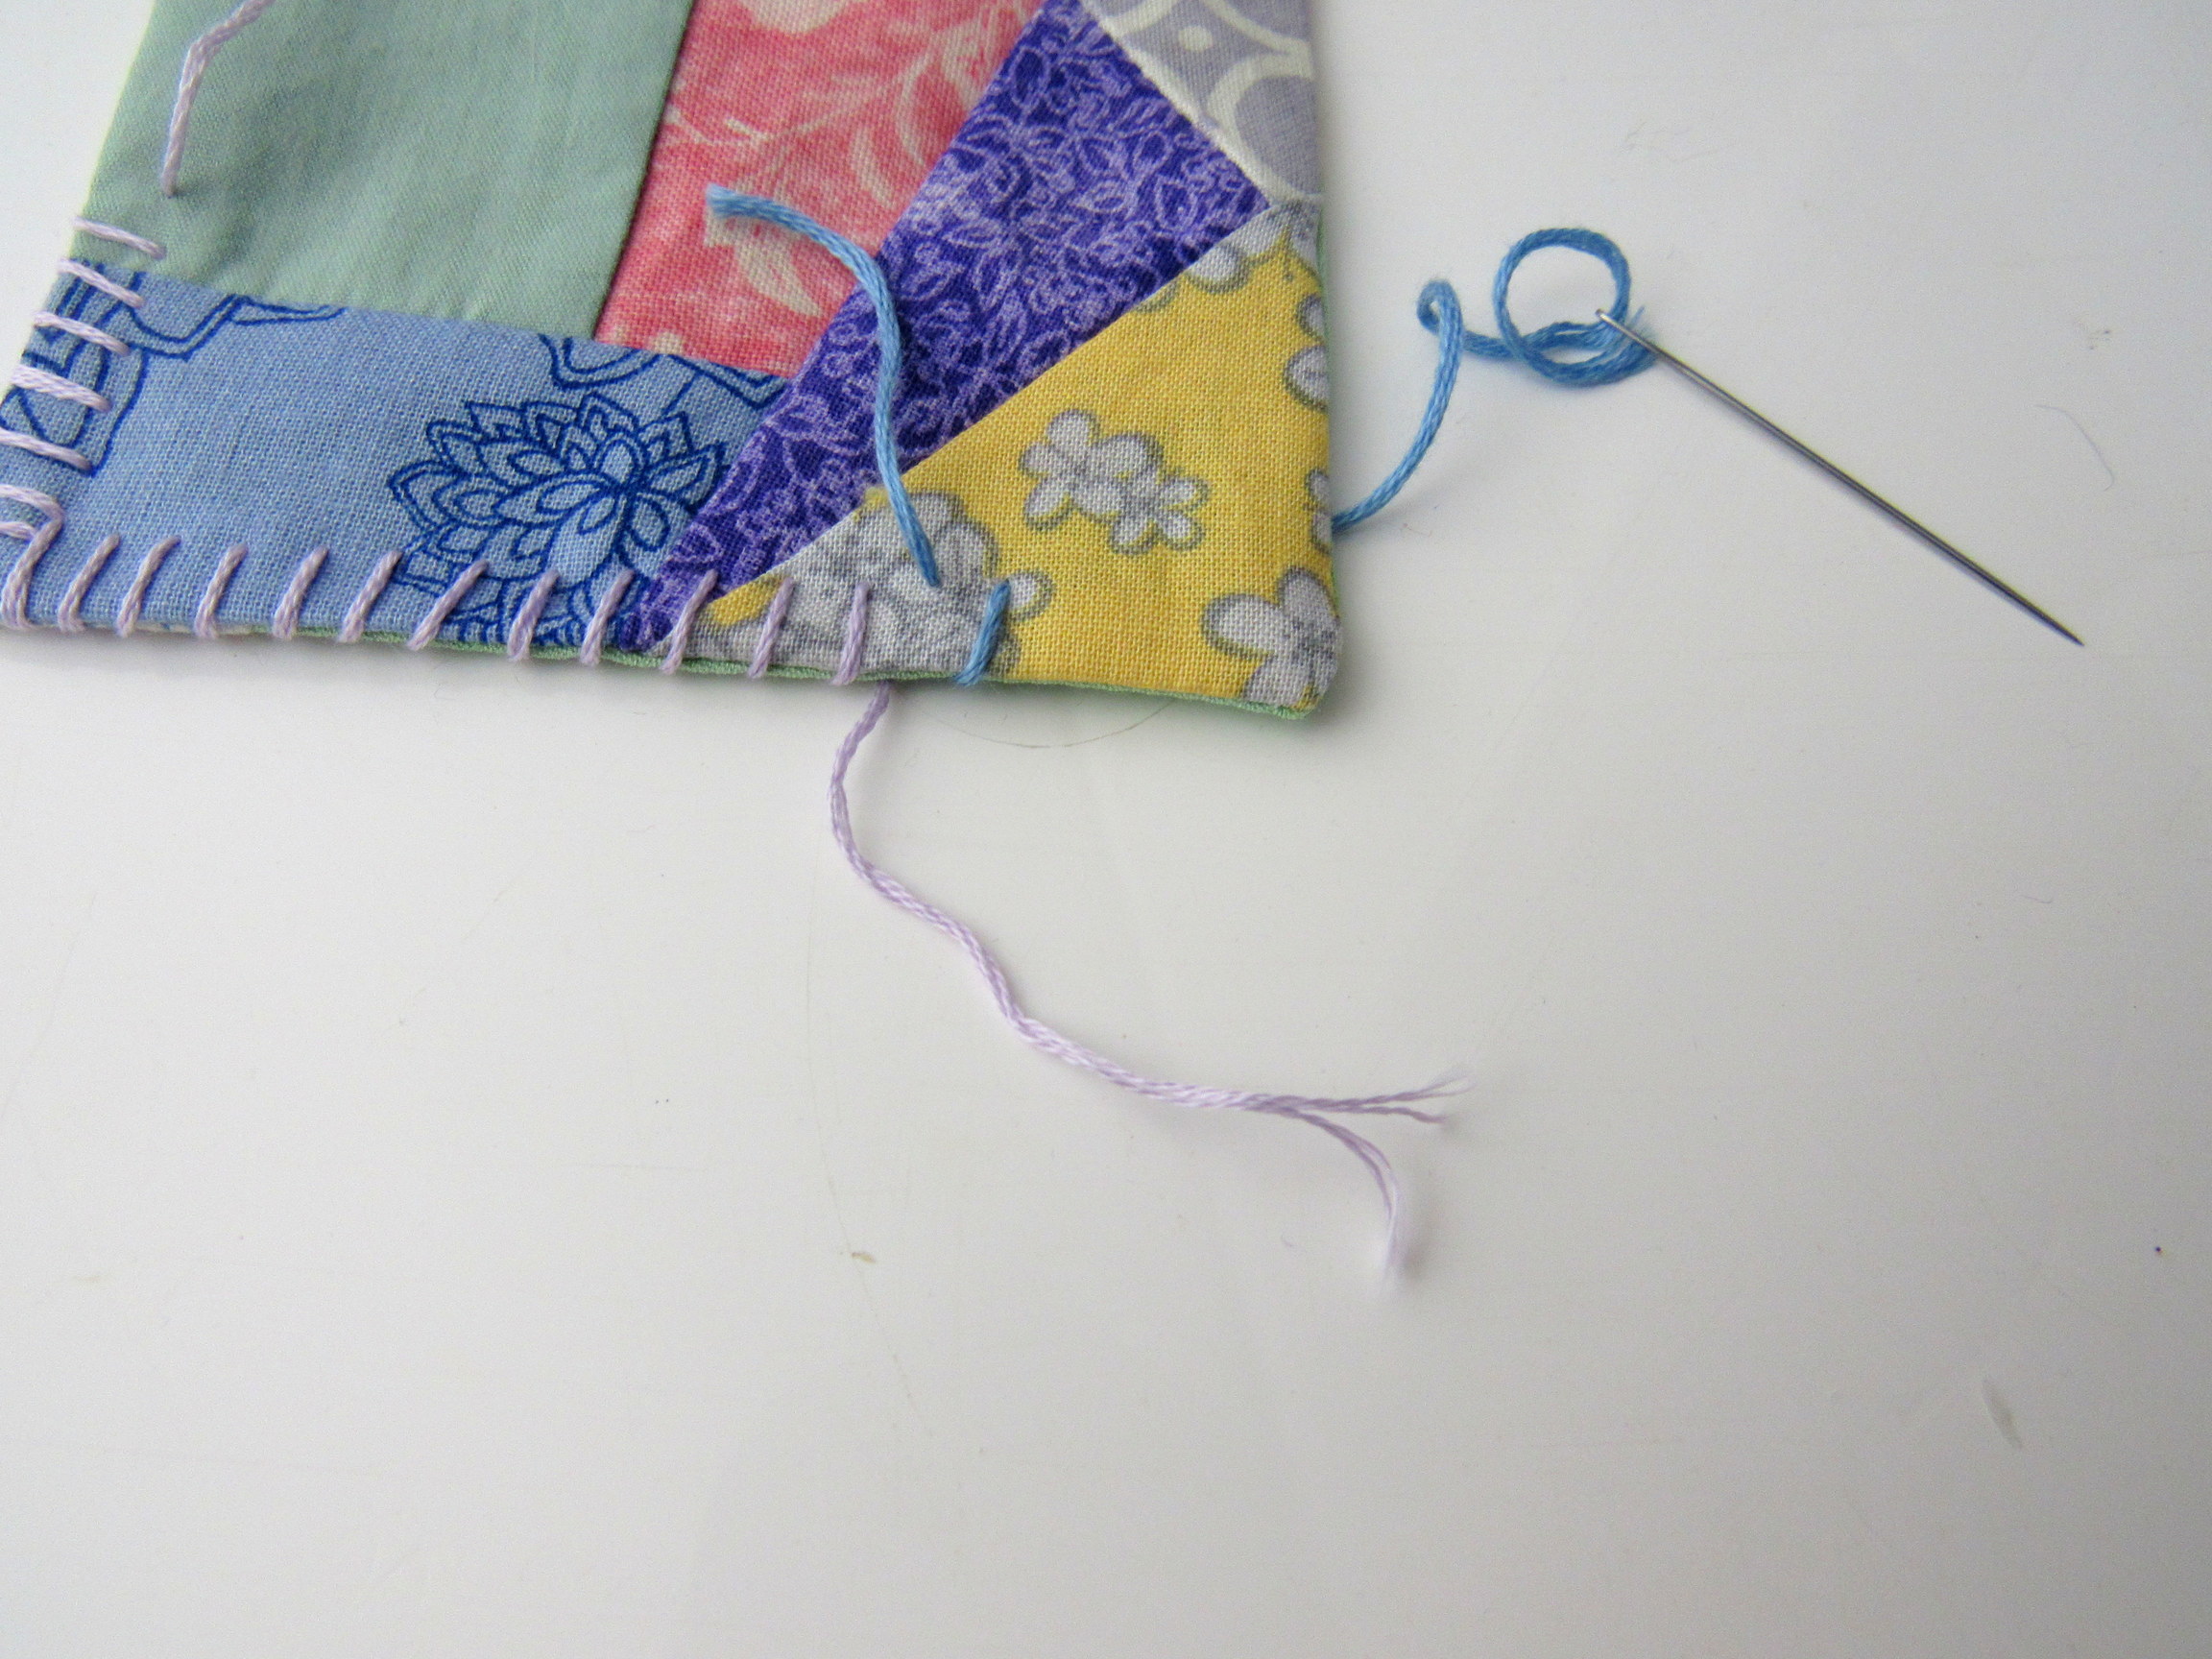
Then I go back and square knot the two ends together, keeping the knot as close to the fabric as possible.
When you get to the other side of the gap, then it’s time to add your filling. I used lavender for these - for an unscented display pillow, rice would be perfect. Stitch the hole closed with an invisible seam, then decorative stitch on top of it. Knot the end to the beginning where you left a tail in the same manner as changing colors.
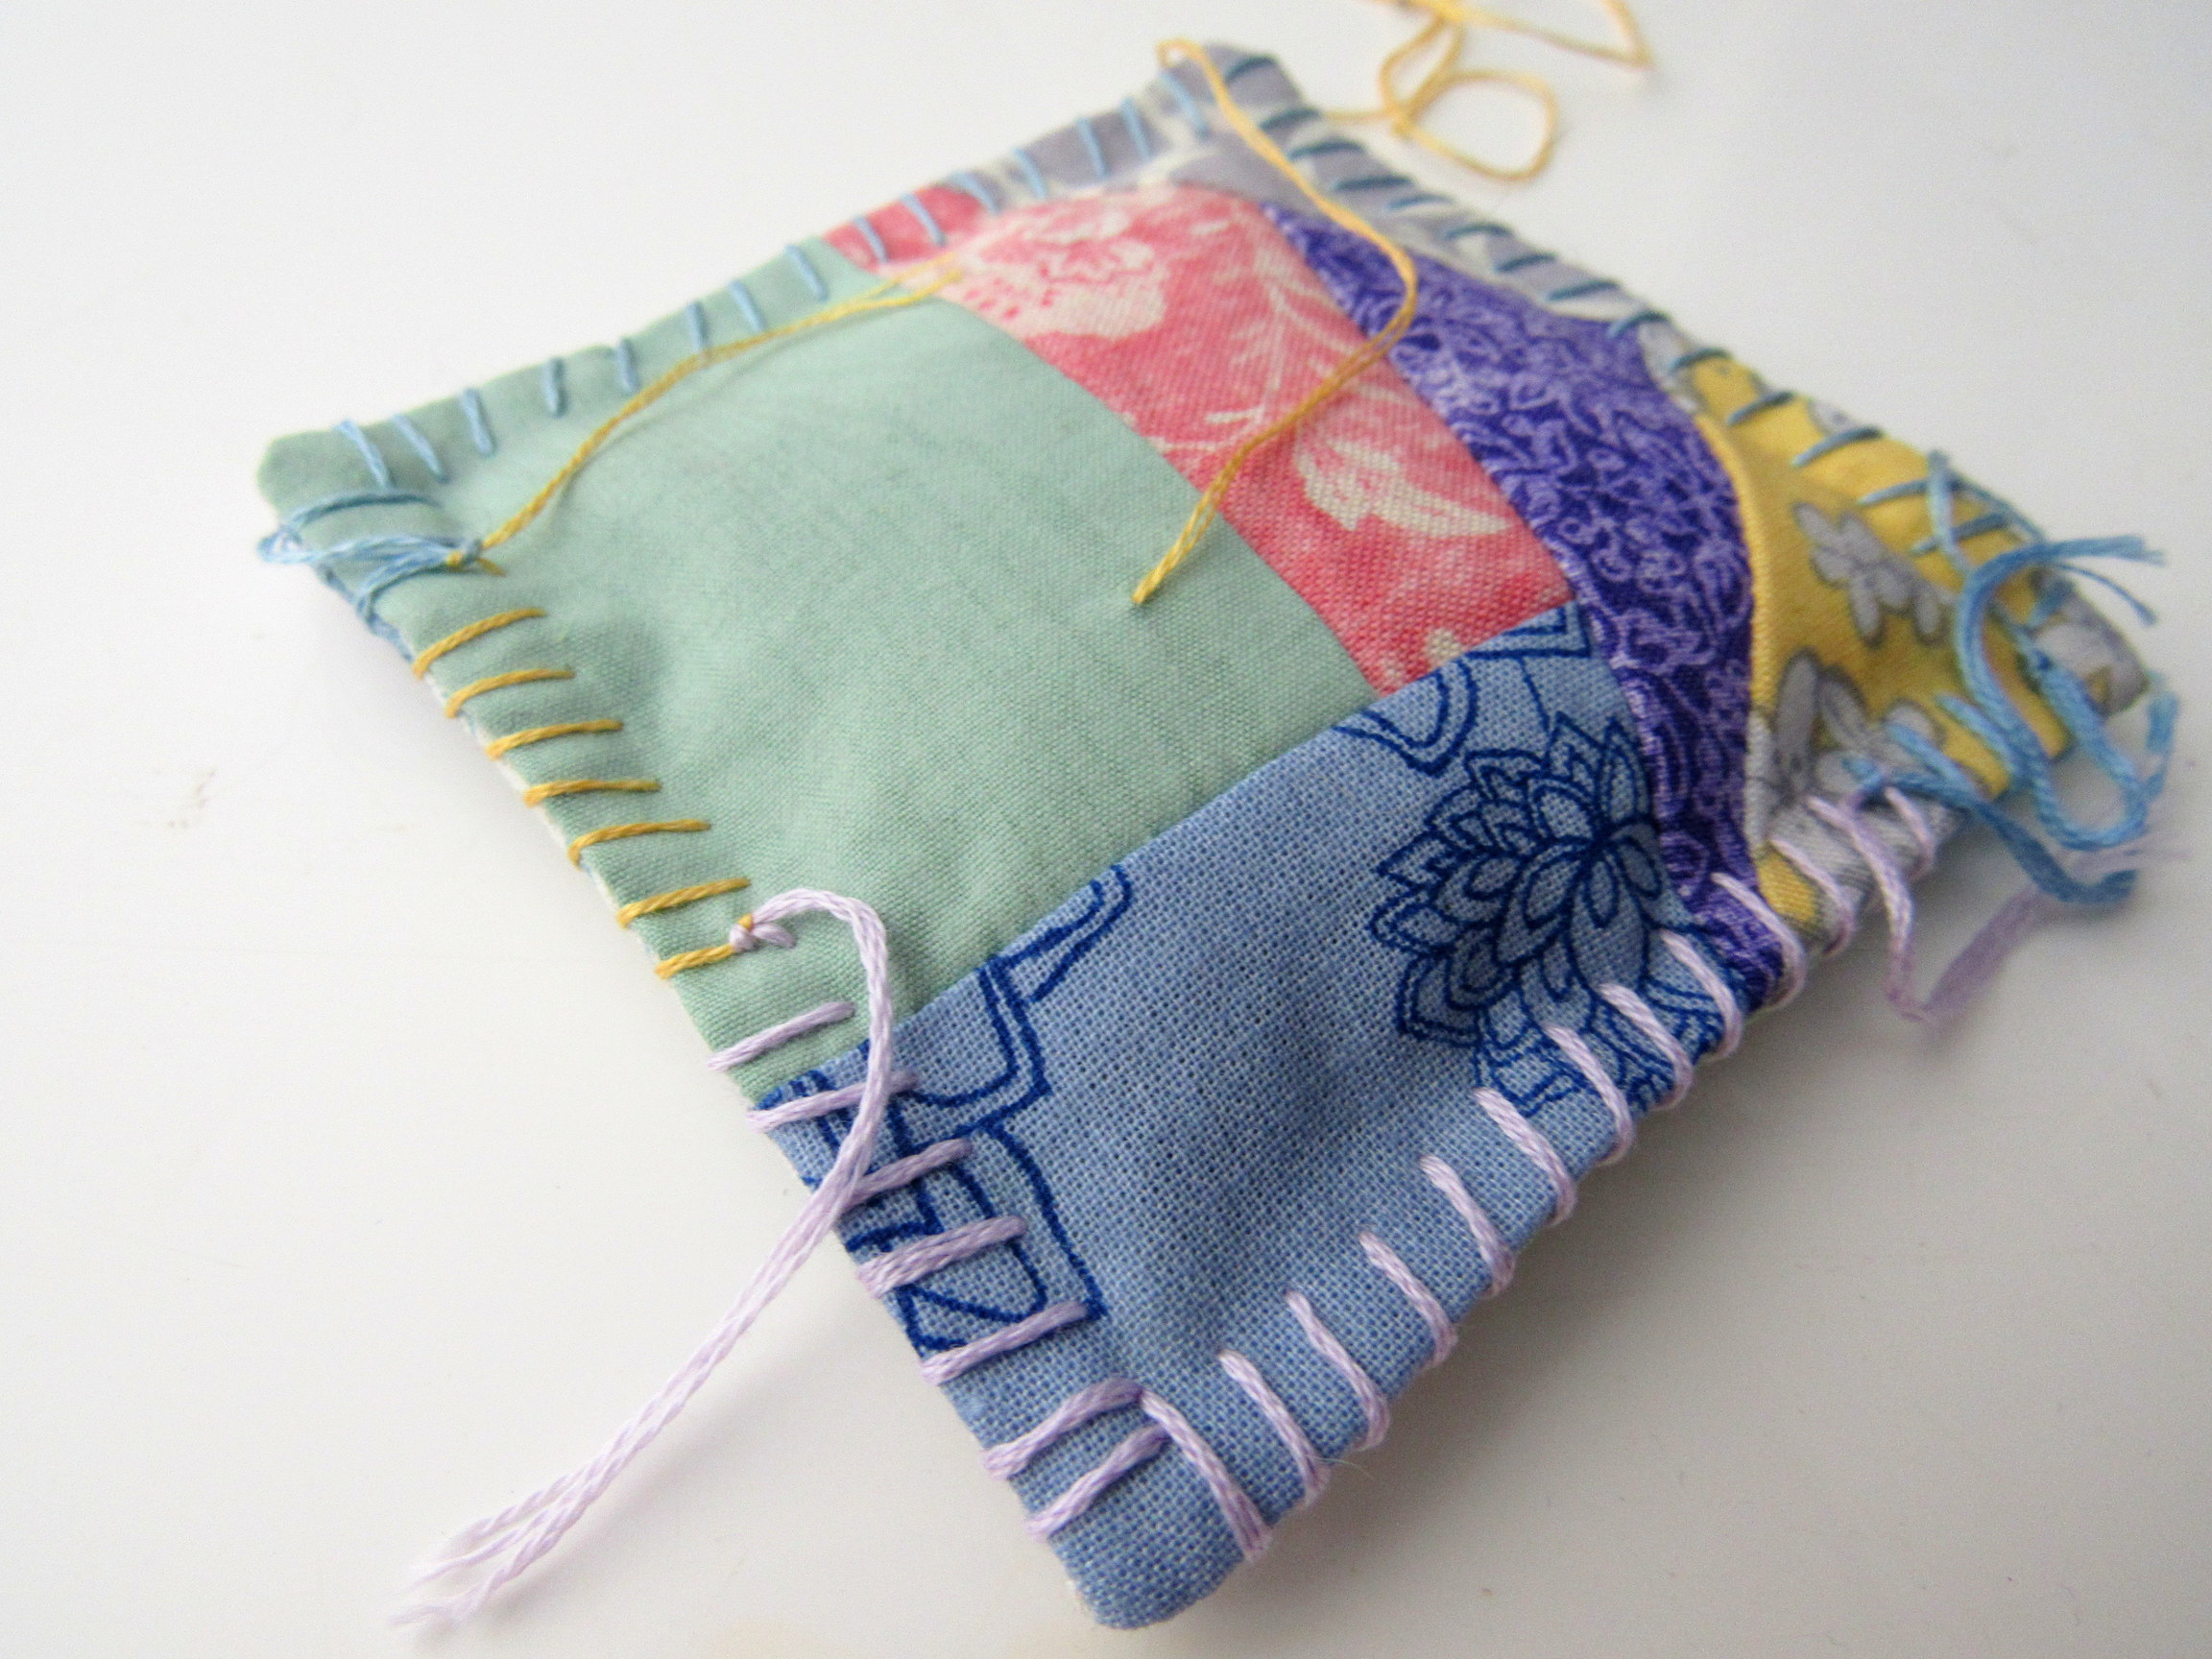
Pull all the tails through the middle and trim them so that the ends are all in the filling. If making a display pillow, take a few stitches in the middle so your ball has a place to rest in a nest of filling.
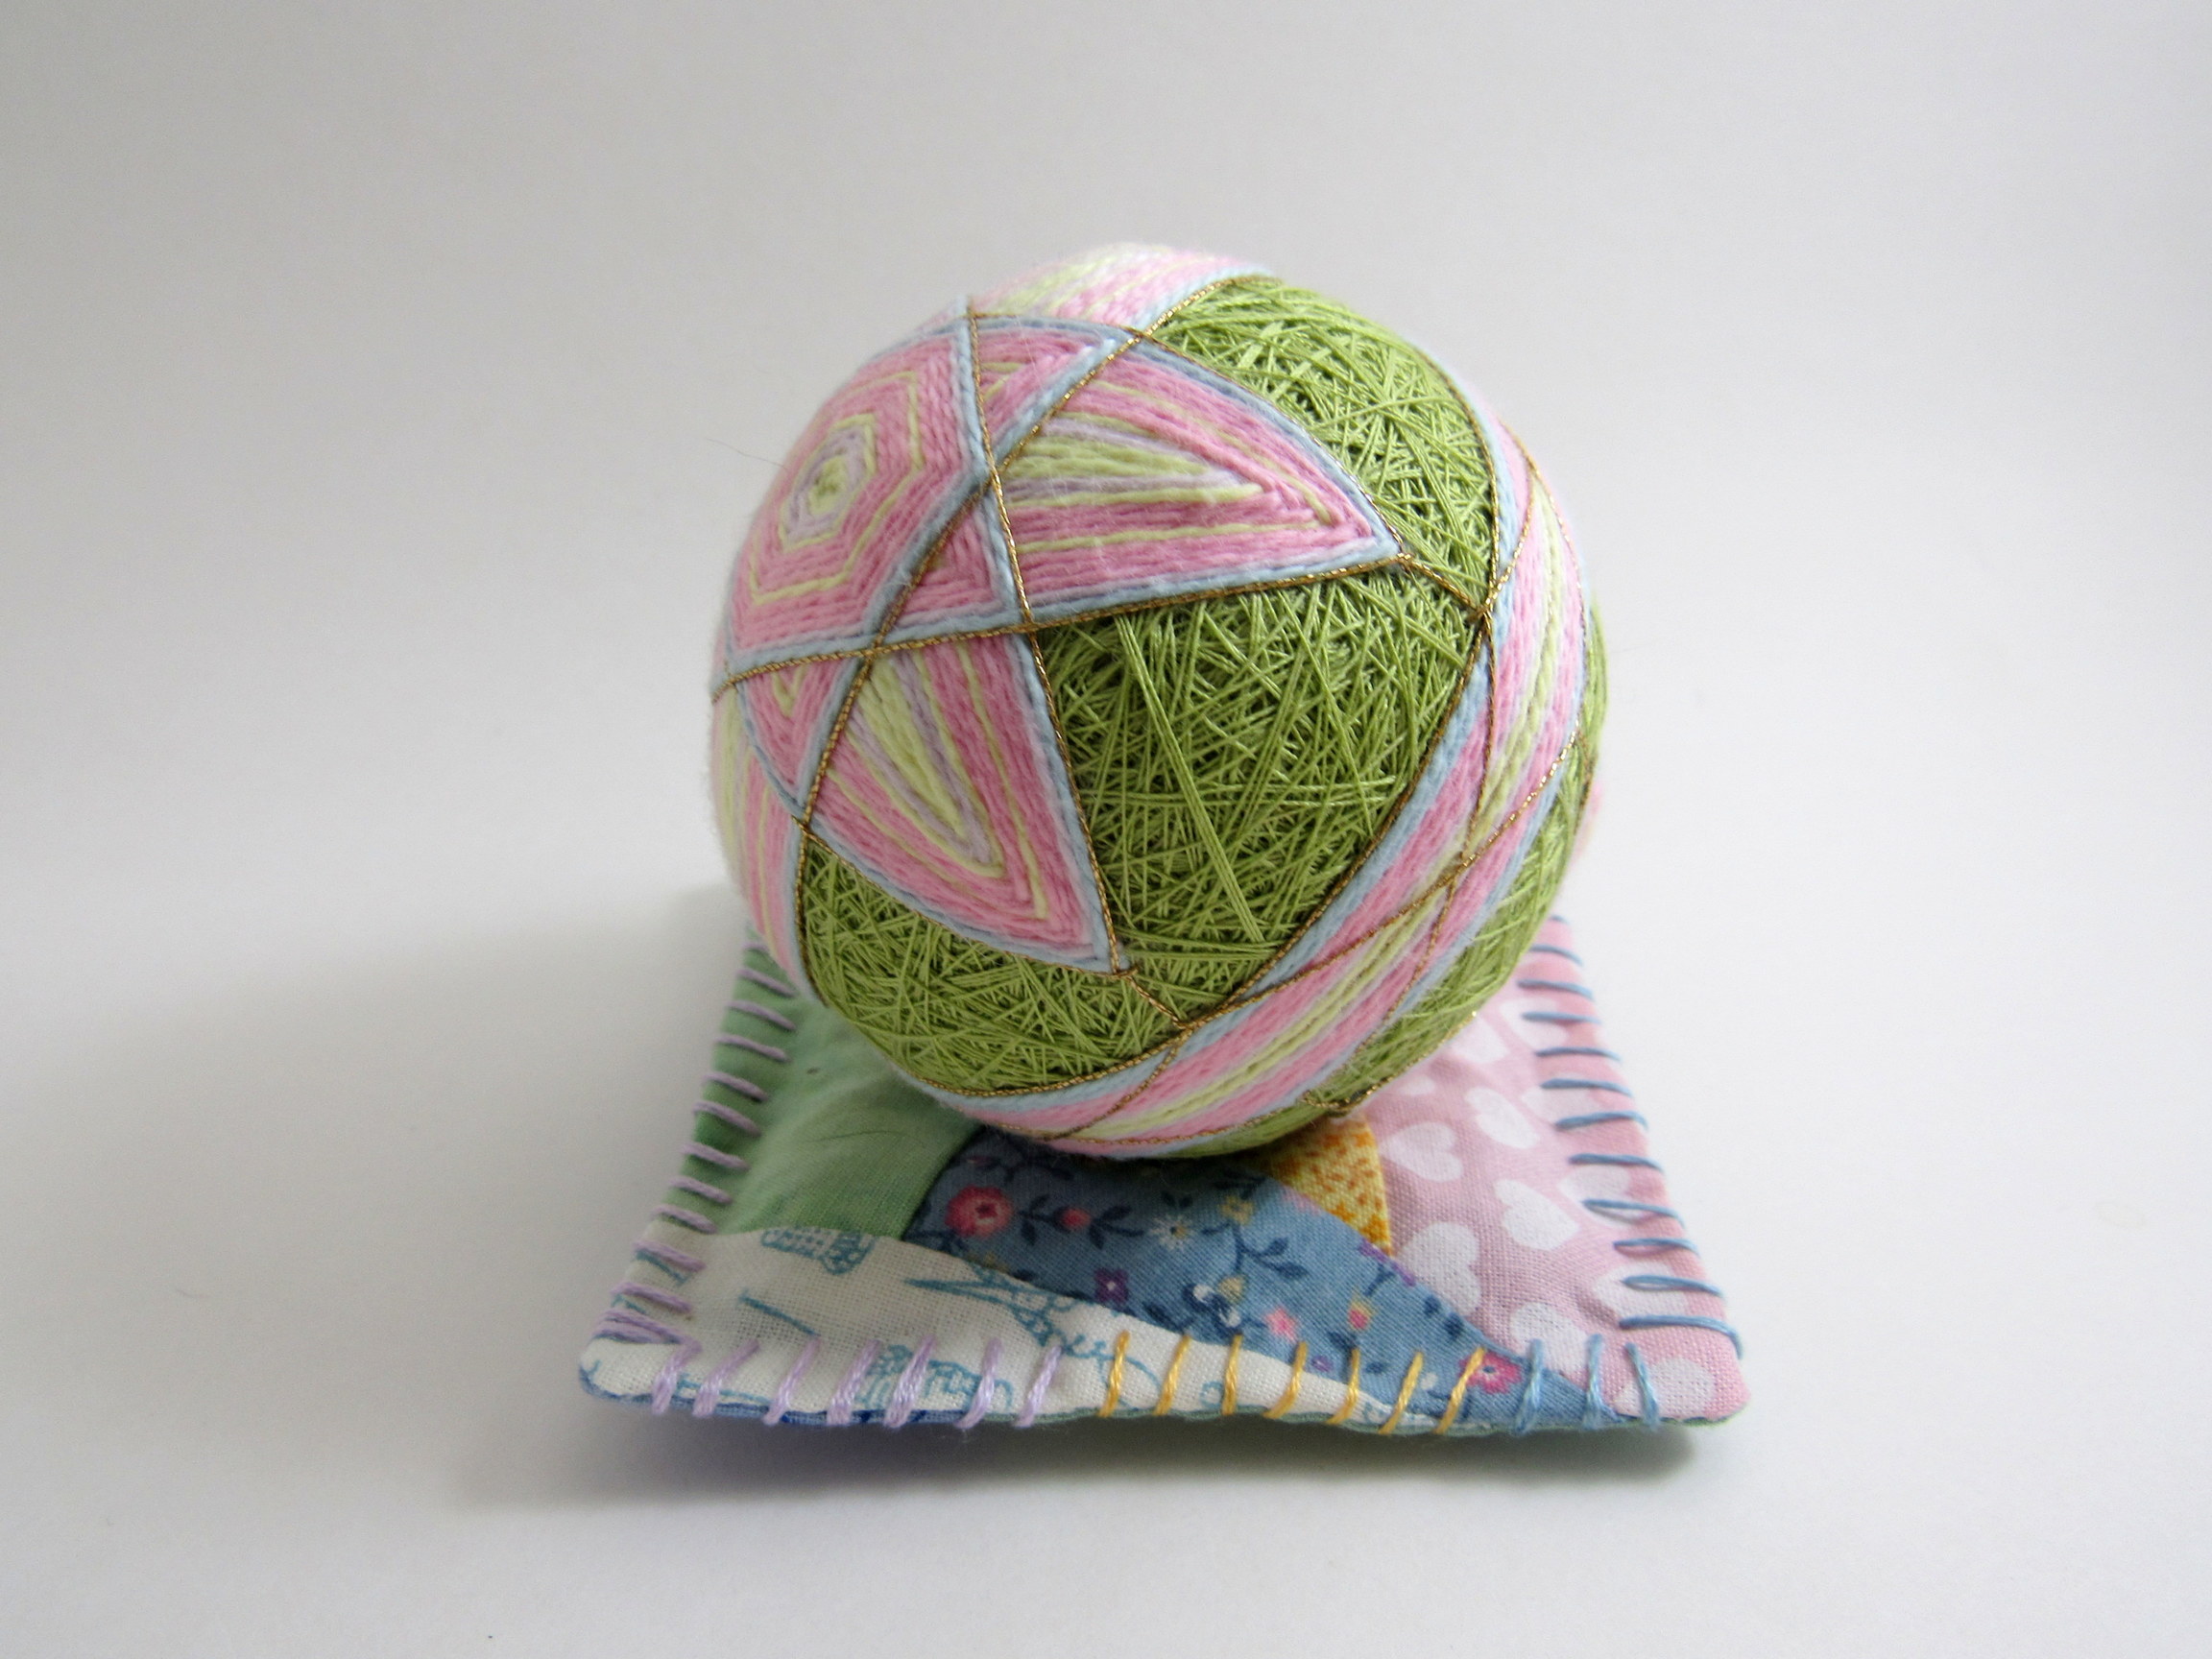
And here it is at work displaying the Pastel Easter Temari!
If you make any of these scrappy cuties, I’d love to see them. ![]()
