T-shirt yarn tutorial

This is useful stuff for making ties for masks in place of elastic. I’m not sure it’s comfortable for behind the ears but it’s great for ties.
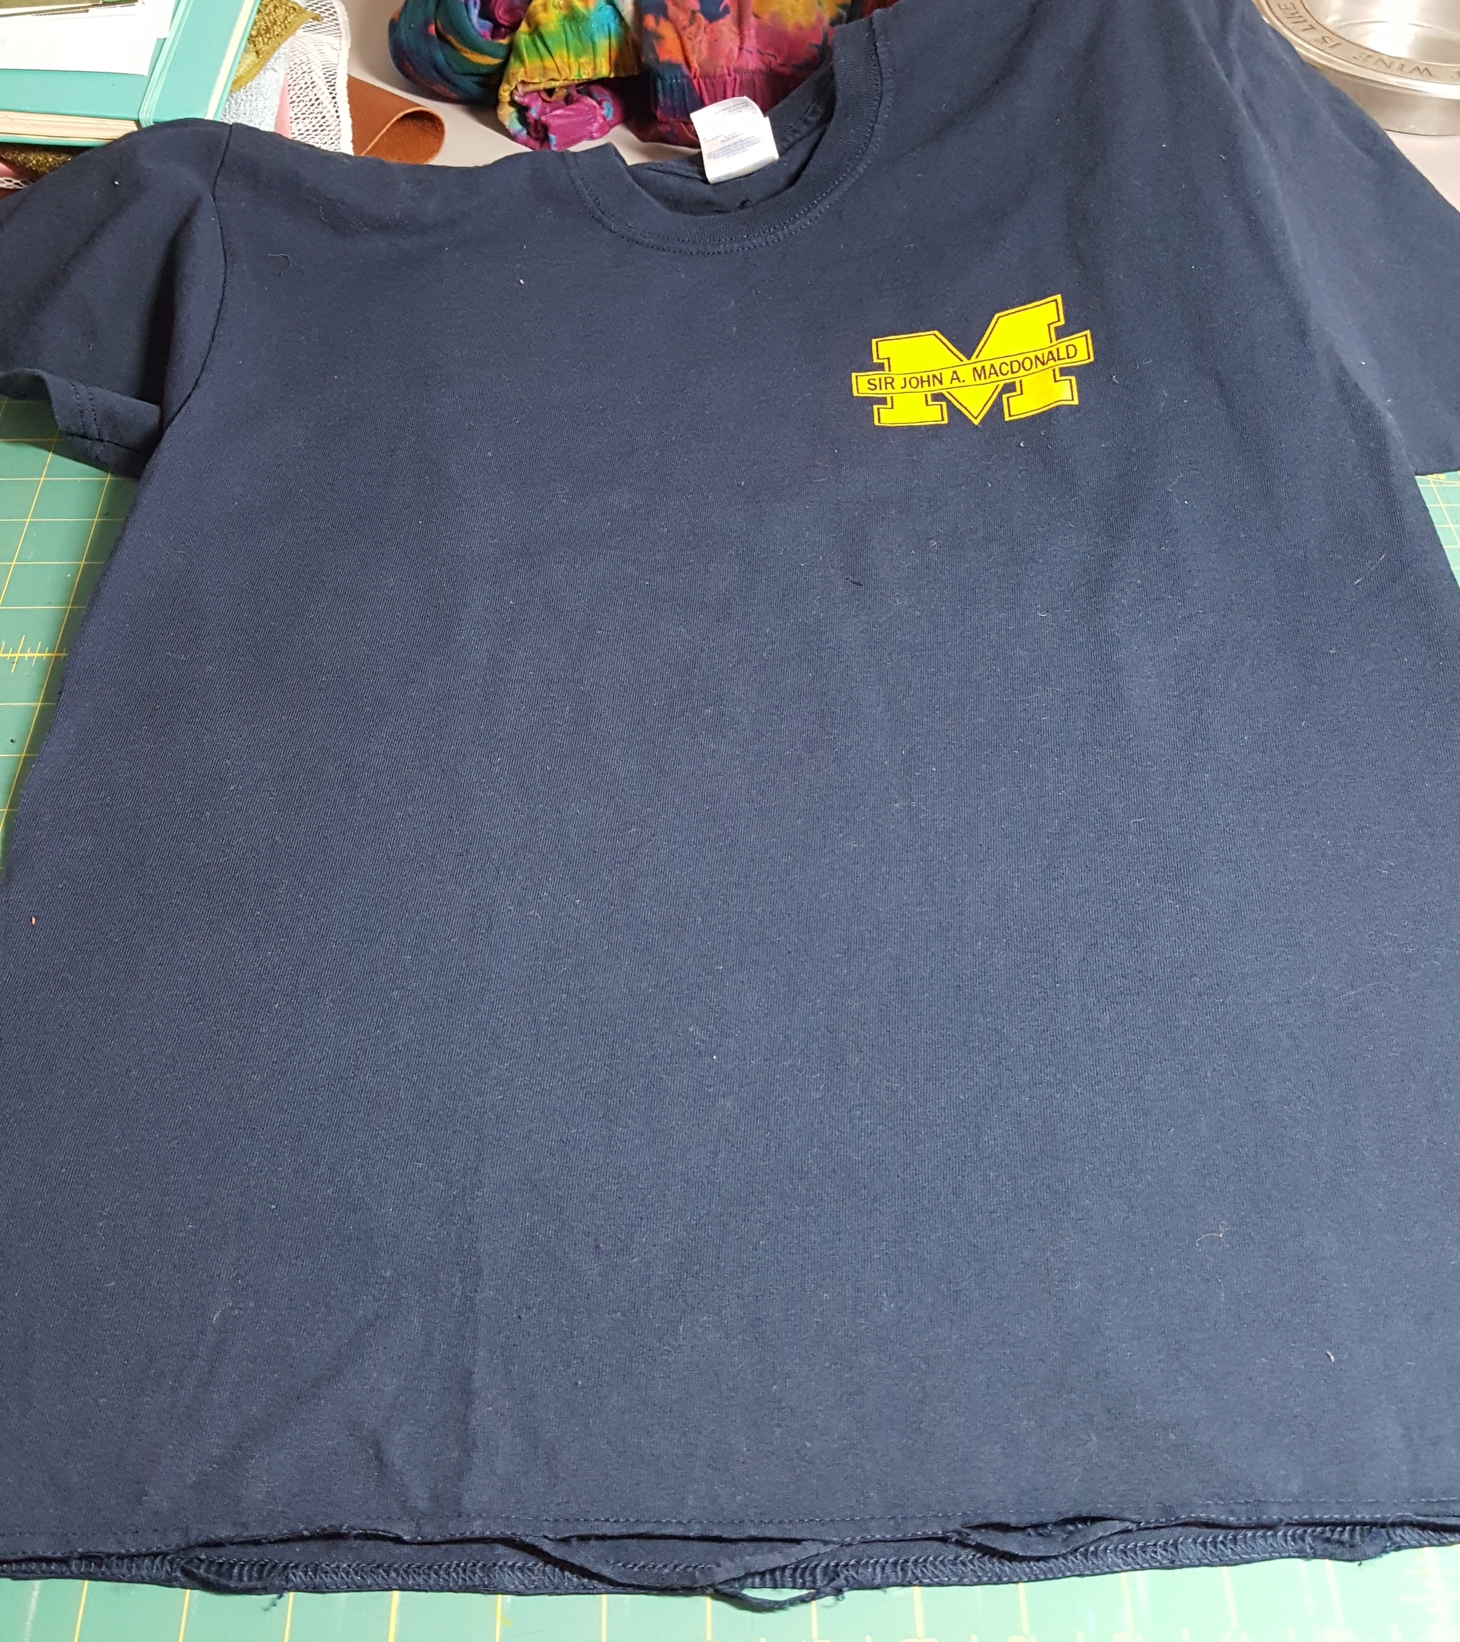
The sort of shirt without side seams is preferable. Cut off the bottom from just under the armpits.


Cut off the hem and trim the shirt to be an even rectangle. I used chalk to mark lines 1" apart from side seam to side seam.

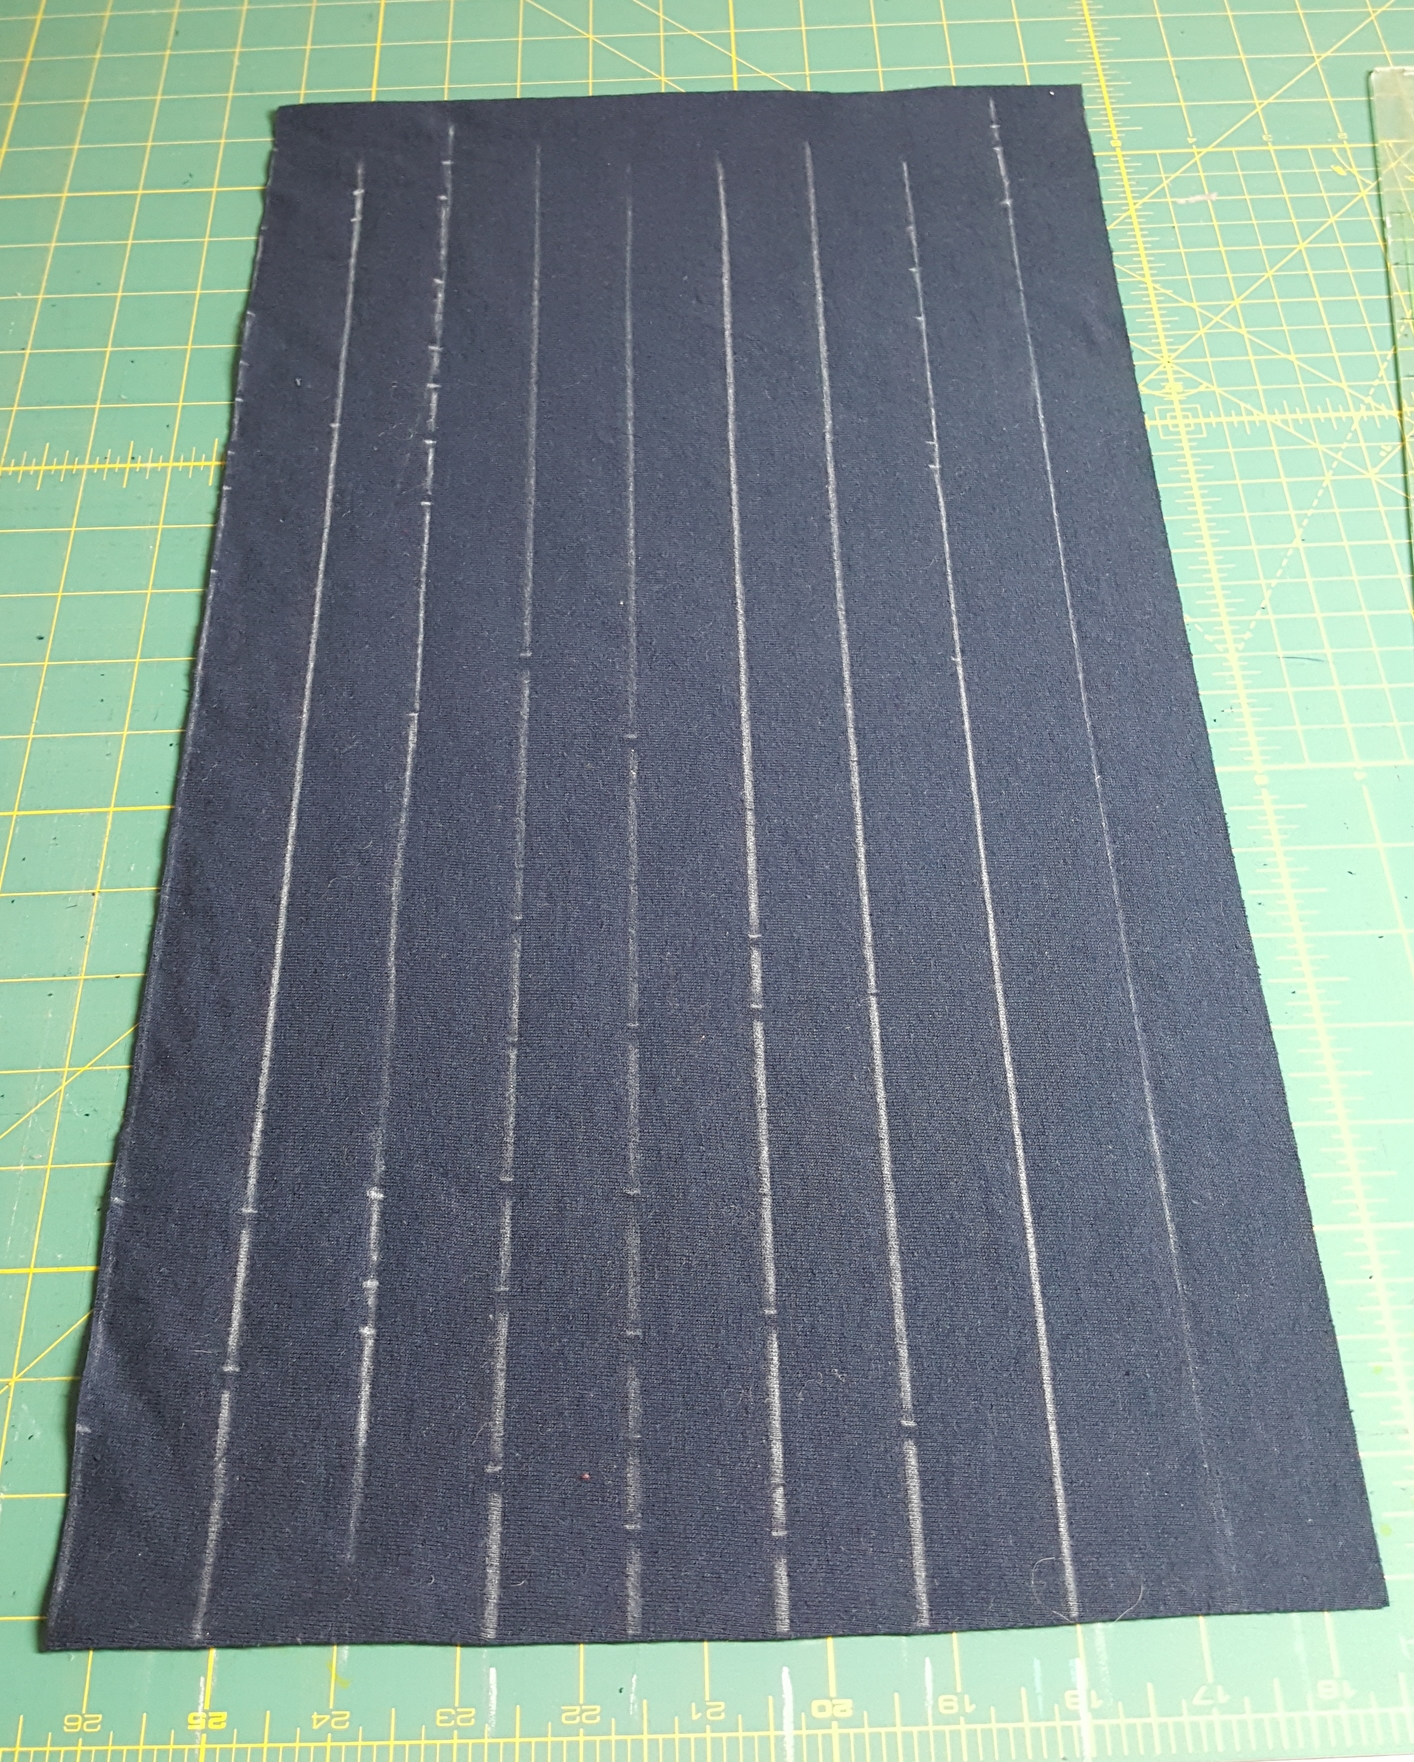
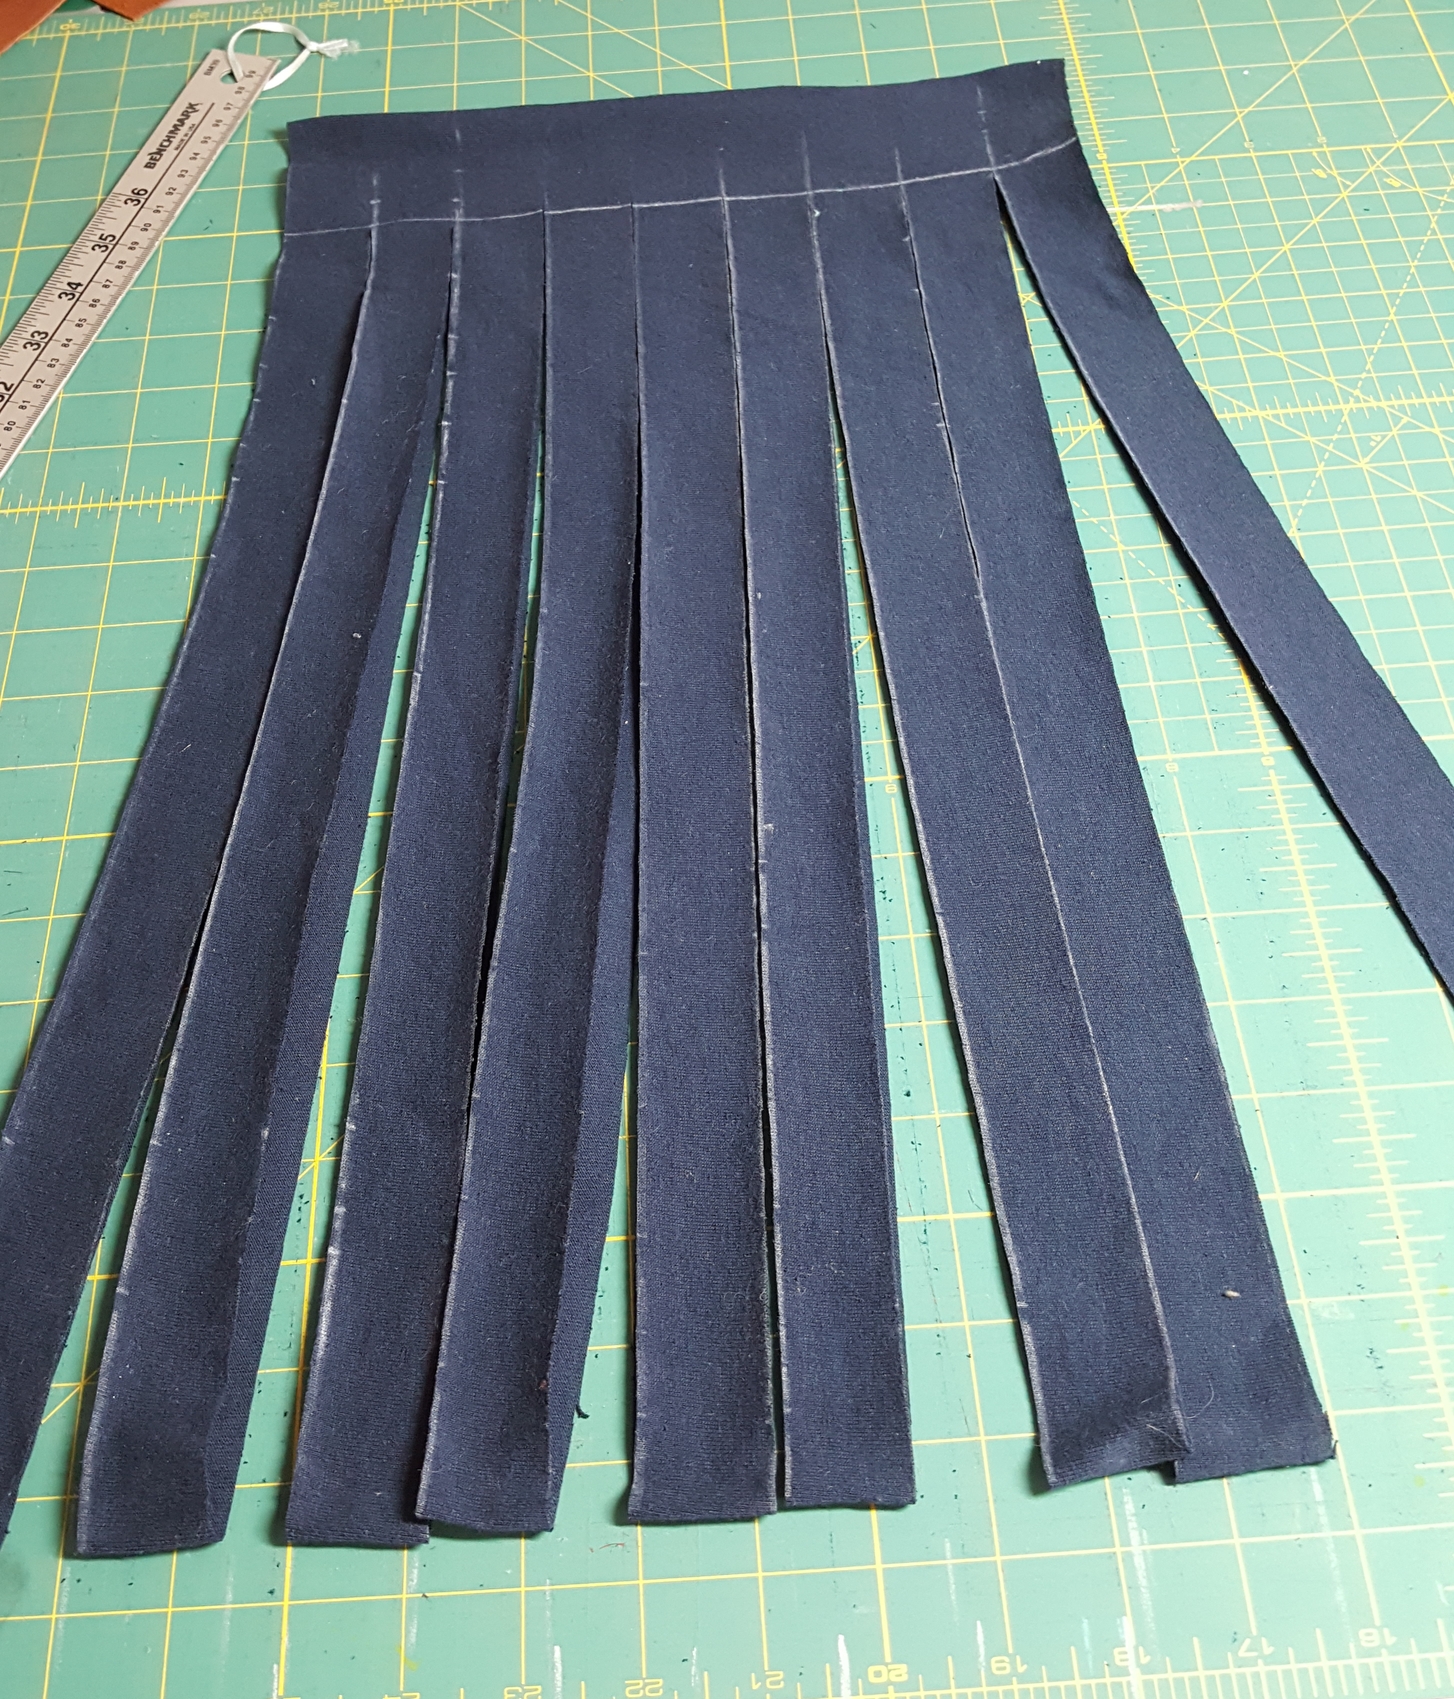
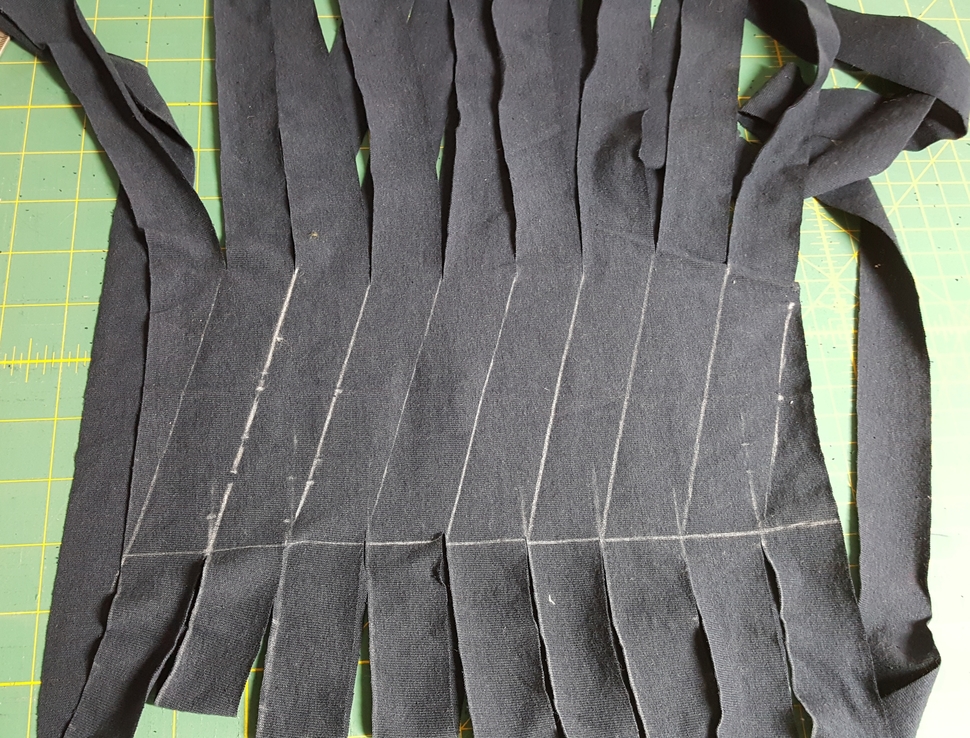
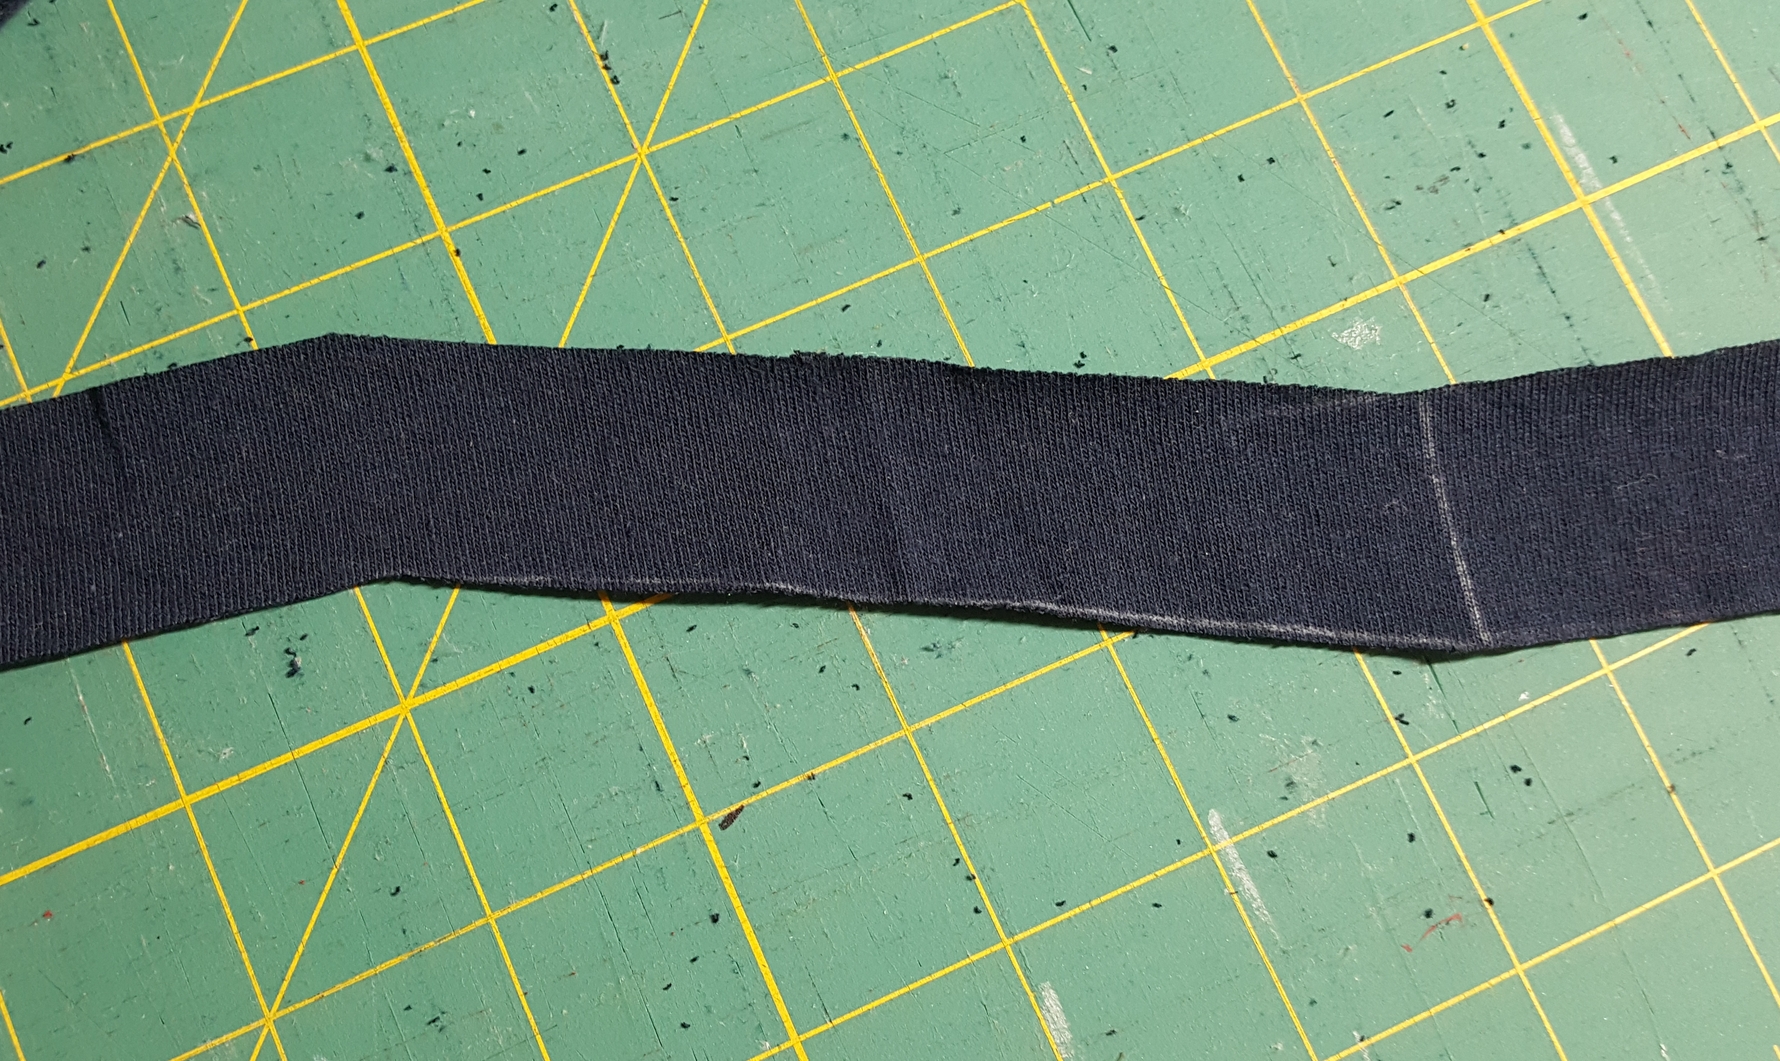
Using scissors or a rotary cutter, cut the lines started at one side and stopping about 2" from the other side as shown. It is important NOT to cut all the way through.

This step is how you get a continuous strand of yarn. Unfold the side you did not cut through and mark lines as shown. Cut along the lines.

There will be a small jog as seen here.

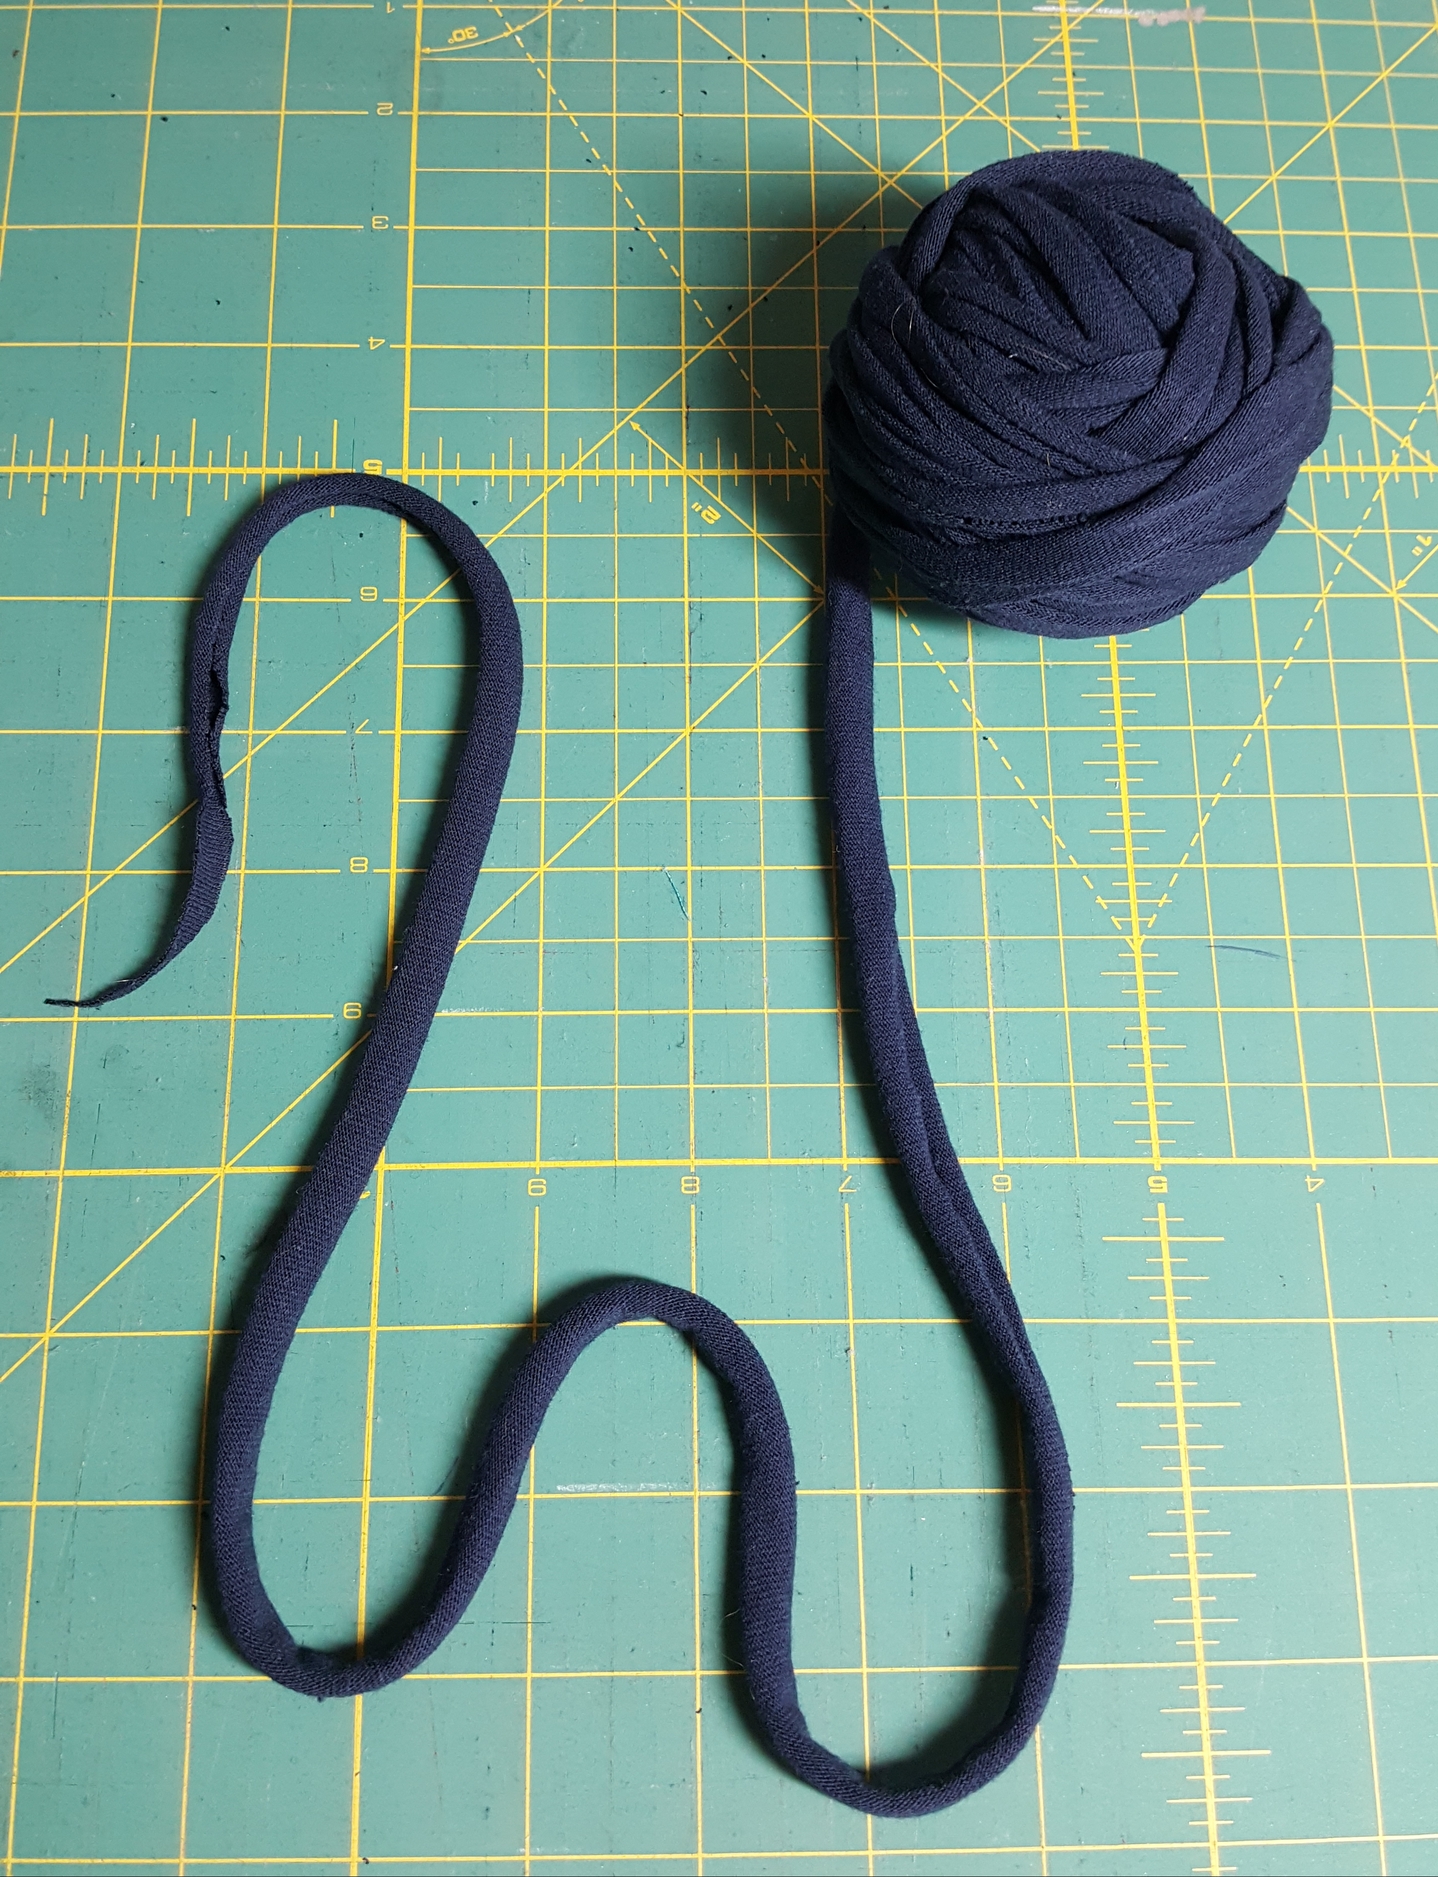
This is the magical part: starting at one end, firmly grasp the yarn in both hands and stretch it, pulling the yarn through your hands from one end to the other. This causes the edges to curl up into a rounded yarn shape. I got yards and yards of it from just one shirt!

10 Likes

This is cool…I might give this a go at some point.

2 Likes

Great tutorial!

I made lots of this stuff in the past and you made me remember that I must have some balls of it left in my Room of Requirement.

2 Likes

Thanks! Now I know that what I was thinking of as “strips” is sometimes called “yarn”! :wink: :joy:

3 Likes

The trick is to stretch it so the edges curl and it becomes more yarny and less strip-ey. Ha.

1 Like

All the effort that goes into keeping cut knits from curling and then THIS comes along! :rofl:

3 Likes

the last photo looks otherworldly

2 Likes

I’ve been working my way through my huge stash of tee shirt yarn for making ties for masks! So much softer and more comfortable to wear than bias tape.

1 Like

I donated a huge pile of it last year, sigh. Every colour of the rainbow.

1 Like