So, yeah. What about a double-sided master board? Would it work? Would it depend on the substrate? I’ve been thinking a lot about making a bunch of bookmarks for our local library from my first masterboard (as yet unmade) and it just occured to me that the back would be plain. I’m not really interesting in labeling them at all, so what about making a two-sided board?
I’ve been thinking about masterboarding on the back of single-sided scrapbook paper.
Oh, absolutely. If you’re adding lots of thick stuff to one side it’s probably good to not go too heavy on the other, but that will depend on the materials used, too. Covering the surface with a variety of adhesive tapes of different textures, then painting over them (and wipe off what didn’t want to adhere), will make them rather sturdy. Paperboard, aka cereal box, handles 2-sided decoration very well. If one side starts getting thicker than you’d want for bookmarks, just paint or doodle on the blank side.
Thanks, you two!
For bookmarks too. I decided next time I make bookmarks from Masterboards I’m going to photocopy them instead of sending originals. That way they can be card stock with out the weight coming from potentially lumpy elements like tissue & fabric. I sometimes laminate them too & the thicker uneven parts don’t always work very well.
All good considerations!
I’ve just done a fabric one - double sided by nature 
Posted here
AHA!, I might have just yelled. Small, double-sided masterboards are another solution to my excessive stash of unwanted photos! They’re about cardstock weight, so layers of materials aren’t a problem. the backs can be thoroughly covered up with layers, and the fronts can be as covered or uncovered as deemed appropriate. The only downside of this I can immediately think of is that photo paper sometimes curls up. But I’m going to start some and see what happens!
ETA: It dawned on me that it really is just mixed-media printmaking or “a background” if it’s photo-sized. I’ll tape several prints together so there’s a bigger surface to work with. 
Oooo! I want to see what you come up with!
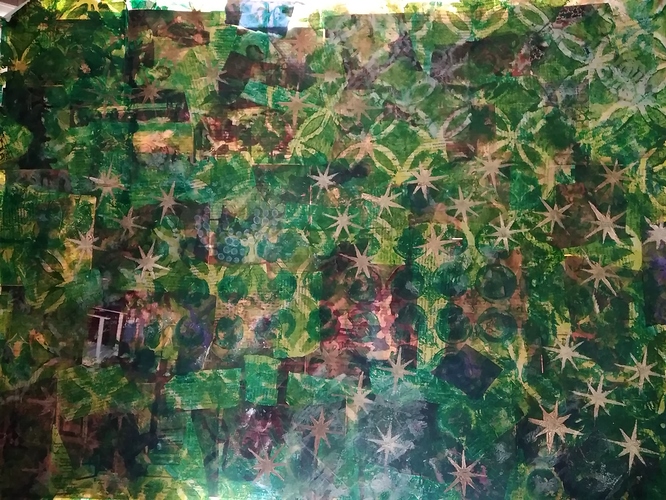
Here’s what I did!
-
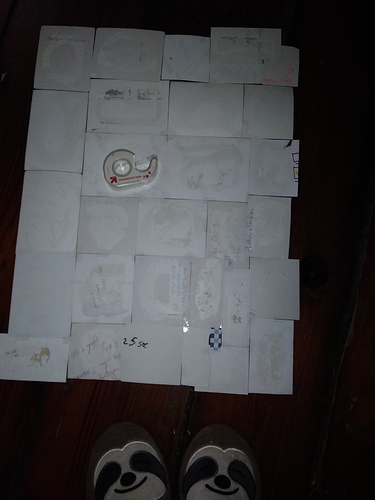
Little pieces of tape on the back of the photos to get an initial connection. They aren’t overlapping, just touching. I ignored what was on the front when placing them.
-
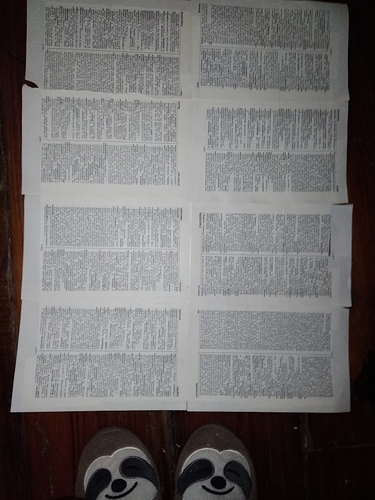
Cover backs with book pages using glue stick, making sure the joins of the photos and the book pages aren’t on top of each other.
-
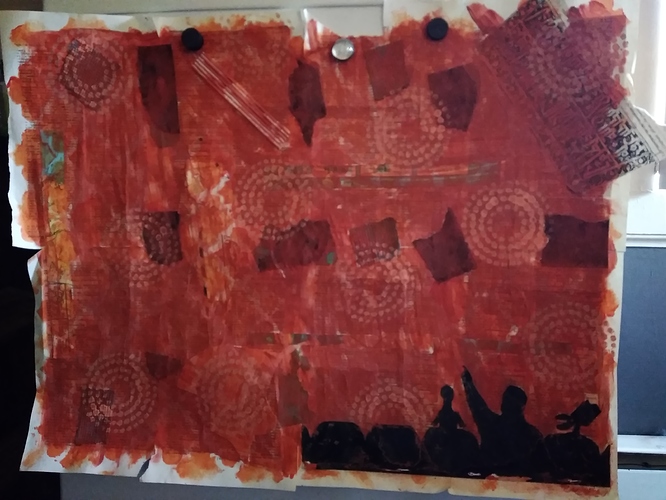
Add various papers and paint, then stencil some more paint on top. It turned into a Mystery Science Theater 3000 poster (that was part of a project my mom had made).
-
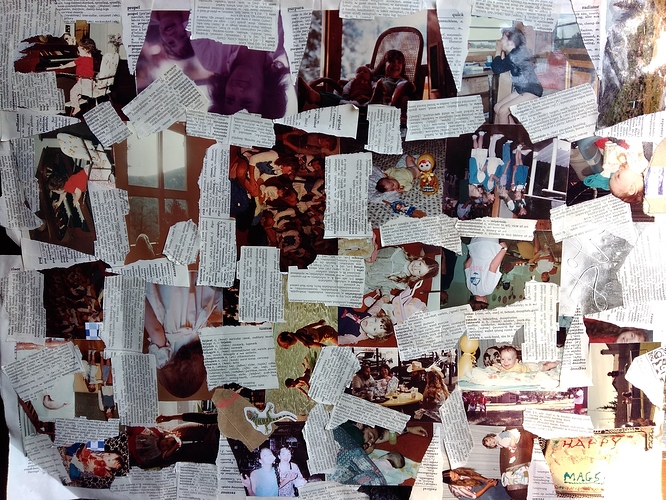
Start working on the image side. A layer of clear gesso over the photos to reduce the glossiness. Then glue down scraps to cover most of the joins, to reduce glossy surface and visually separate different scenes.
-
A bunch more painting and stenciling, starting with a layer that just gave everything a color glaze instead of covering any detail. I picked up a small gelli plate and some odd colors of paint on clearance in the process, so those were also part of the experiment. Scrub some paint off of images that should remain visible, using a damp sponge, and then cover them up again with the next layer of stencils if desired.
It is almost the size of a posterboard and it would be easy enough to make one even bigger, with enough space to work. By reinforcing all the photo joins with the other paper on both sides, it doesn’t feel like it’s made of a bunch of separate little photos; pretty sturdy and I’m happy with the process and the end result!
WOW! Super cool, @calluna!
