Bringing this tute to our new home  Originally posted on 10/8/15
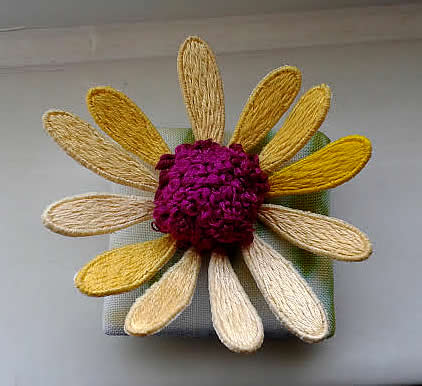
I did a couple of new stumpwork pieces for Christmas presents (I am so on it this year!) and decided to try to document the process for anyone else that feels like giving this a try. It’s really not too difficult, just a bunch of steps…
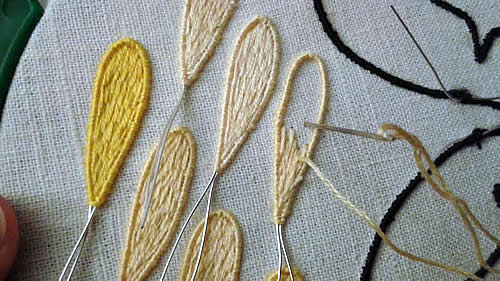
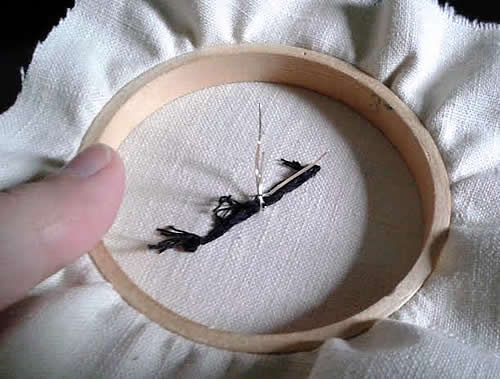
So first you’re going to start with some wire outlining the shape of your object - in this case, I am working on a flower so there are lots of petal shapes. Couch the wire onto your fabric by stitching over ALL of the wire, and then fill in the petal with a basic fill stitch. Keep going until you have all your petals completed. This picture shows all my pieces in varied steps of completion.
After all the stitching is done, you’re going to apply a clear glue to the front and back of the fabric making sure to go right up to the edge of your petal pieces. This is important because the glue is going to stiffen the fabric and floss so that when you cut the shapes free from the fabric it won’t fall apart. I use Elmer’s glue - it works great! Make sure it dries thoroughly before cutting the pieces apart with a sharp pair of scissors. Don’t be afraid to cut right up to the edge of your shapes.
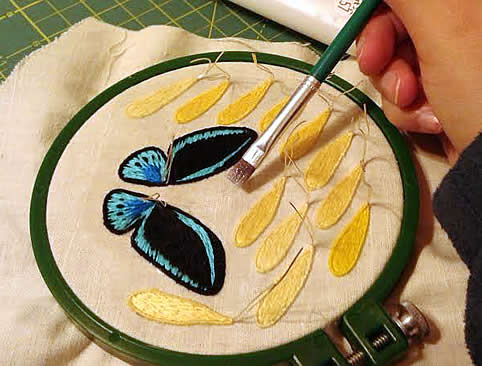
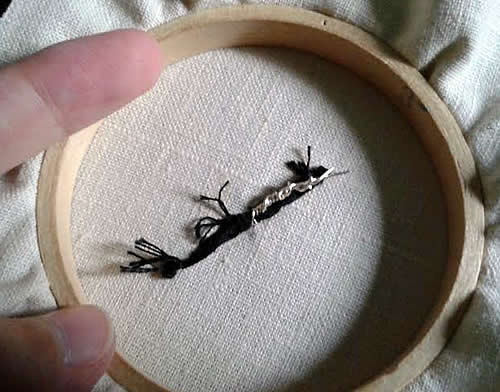
Prepare whatever surface you’re going to mount your stumpwork pieces on. In this case I made center of my flower using this tutorial. Then put your pieces into the fabric, and twist the wire on the backside to secure it firmly. This picture is actually from when I was working on the butterfly, but it demonstrates the same thing. Make sure it lies flush with the surface so you can’t see the wires when you finish your piece.
And the finished pieces after I mounted them on some 2" cardboard!. There is also a layer of felt between the cardboard and the fabric to help prevent the wires from moving, and giving it some padding for a nicer look.
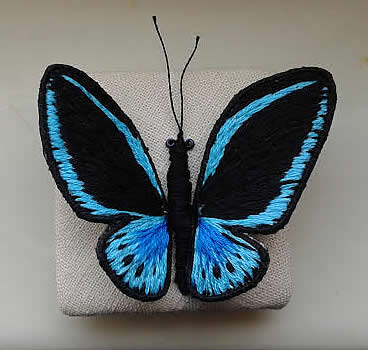
Let me know if you have any questions! I am self-taught so it can’t be that hard right?


 I think I need to find some wire and have a go at this craft.