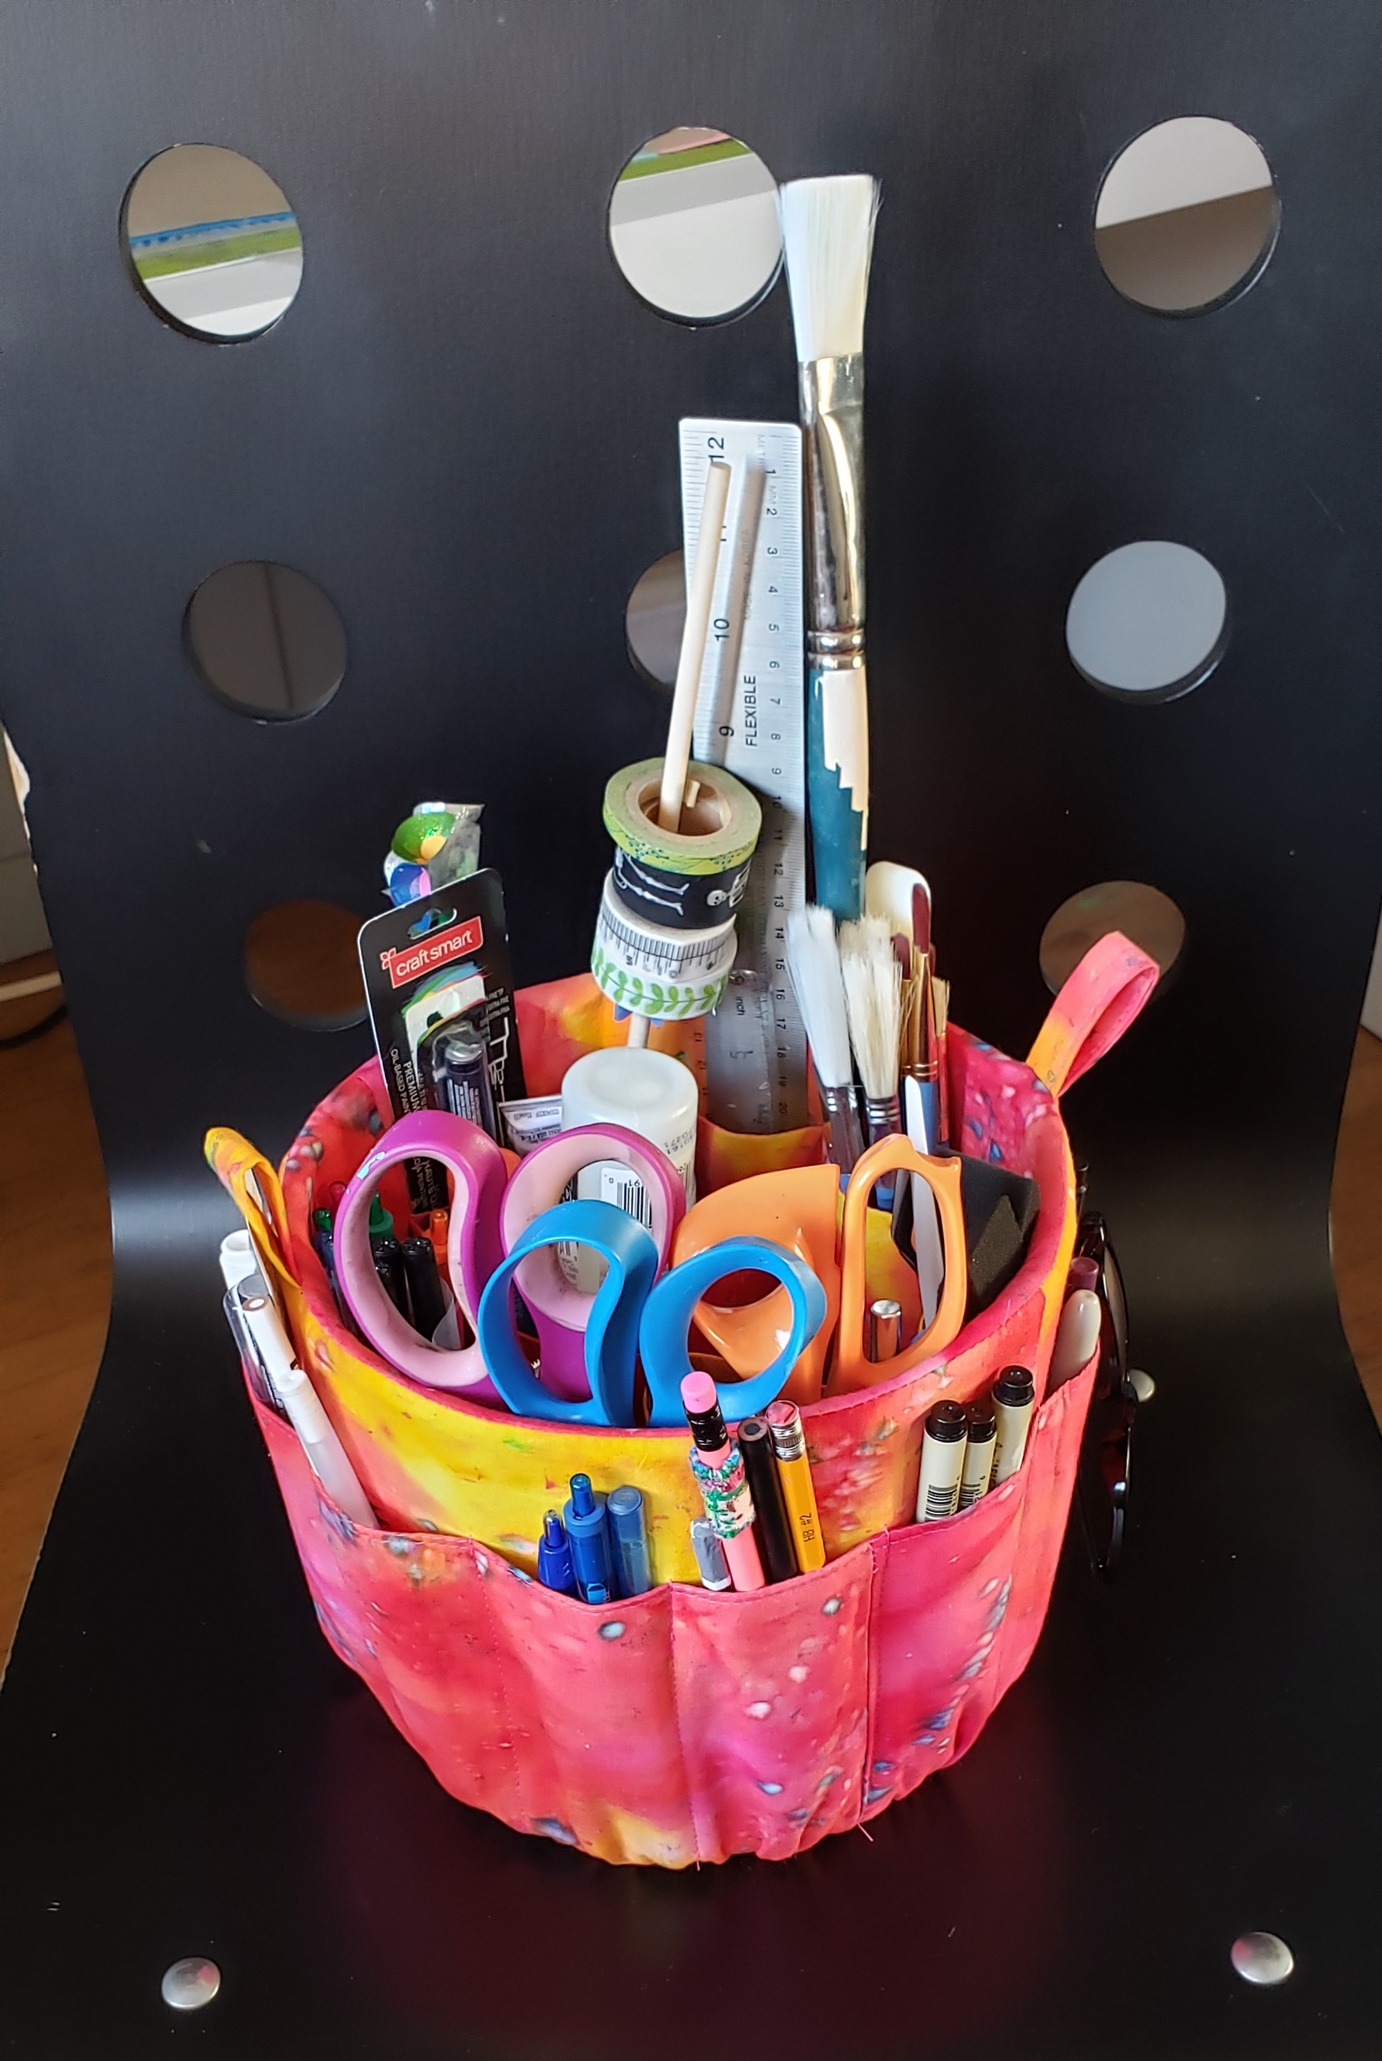
I spent last weekend switching rooms around in the attic, now the sewing stuff is in the bigger space, general crafting in the little room. The last thing needed for the desk was some sort of organizational tool to replace the various pots & cups of pens, scissors tape, etc.
This is great! The fabric colors are so pretty! Did you make up the pattern yourself? I’m especially impressed by the dividers inside… Trying to figure out how you did that!
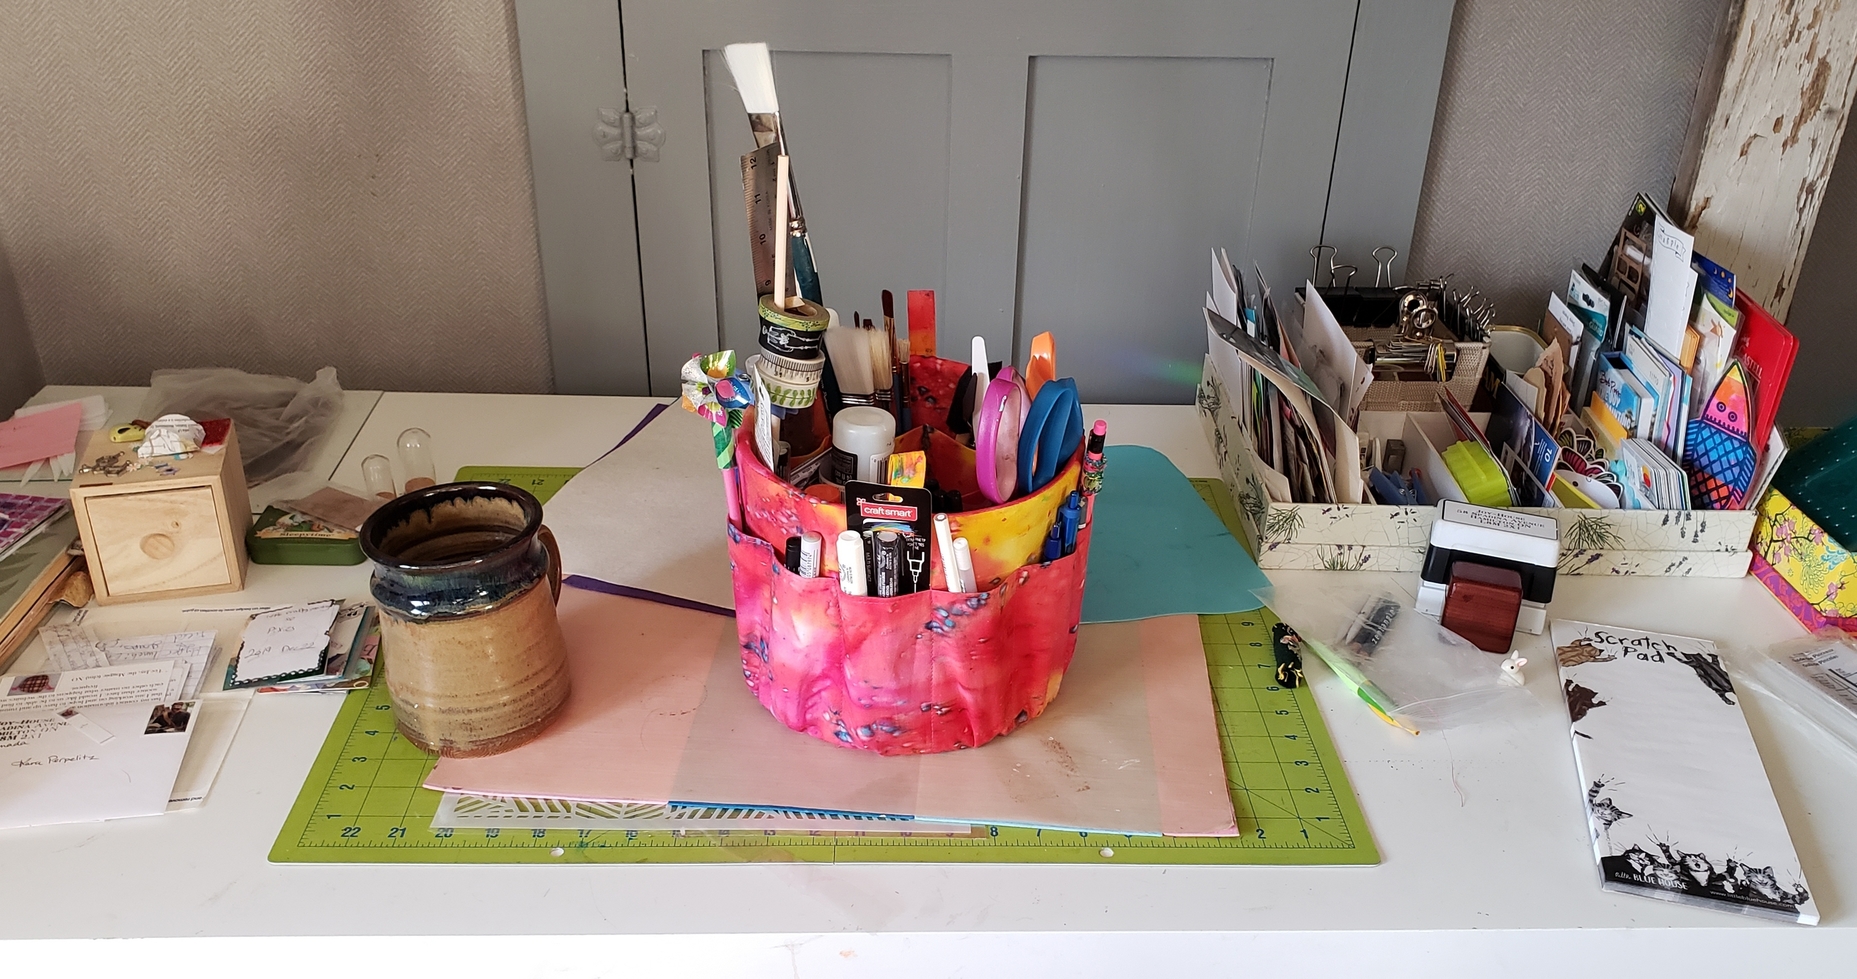
I like you can pick it up and take it with out. I have several workspaces in my house, and sometimes…I just sit on the floor. So being able to just pick it up and move it where you need it makes me HAPPPPYYY!
This is brilliant! My desk also has a bunch of jars and boxes, condensing them into a larger container with pockets and dividers is perfect. Storing the washi tape on a vertical dowel is great.
I think the nature of work desks is to collect things… if you came up with a new place for all of the leftover bits then more would surely appear! However a mail organizer could help you stash papers and slim things out of the way.
It’s such a cheerful happy little basket! Well done.
2 Likes
AIMR
(Linda -2026 time to regroup and renew :us:)
10
I use one of those to hold my quilt rulers and templates. I also use another one to hold various sizes of stretched canvas. They are very handy!
3 Likes
AIMR
(Linda -2026 time to regroup and renew :us:)
11
I have two…and they don’t spin well at all. I got mine from Pampered Chef. They will only spin if you have hardly anything in them, which defeats the purpose. It is better to buy a lazy susan and put stuff on top of those. I have about eight lazy susans that work to hold brushes, pens, glues, etc.
What a fun and lovely organizing basket! The dividers are so handy! I want one too!
I use a fabric basket that CraftyMamaBee made for me for all my sewing tools (well almost all haha) and I use large cups for crafting tools, crafting knife and such. My pens, pencils and markers in pencil cases (yes more than one haha) and I love to use pouches. I try to keep it all inside the closet until I need it, so my crafting space stays spacey (yeah, I TRY that, but sometimes I switch crafts and end up with way too much on my working space )
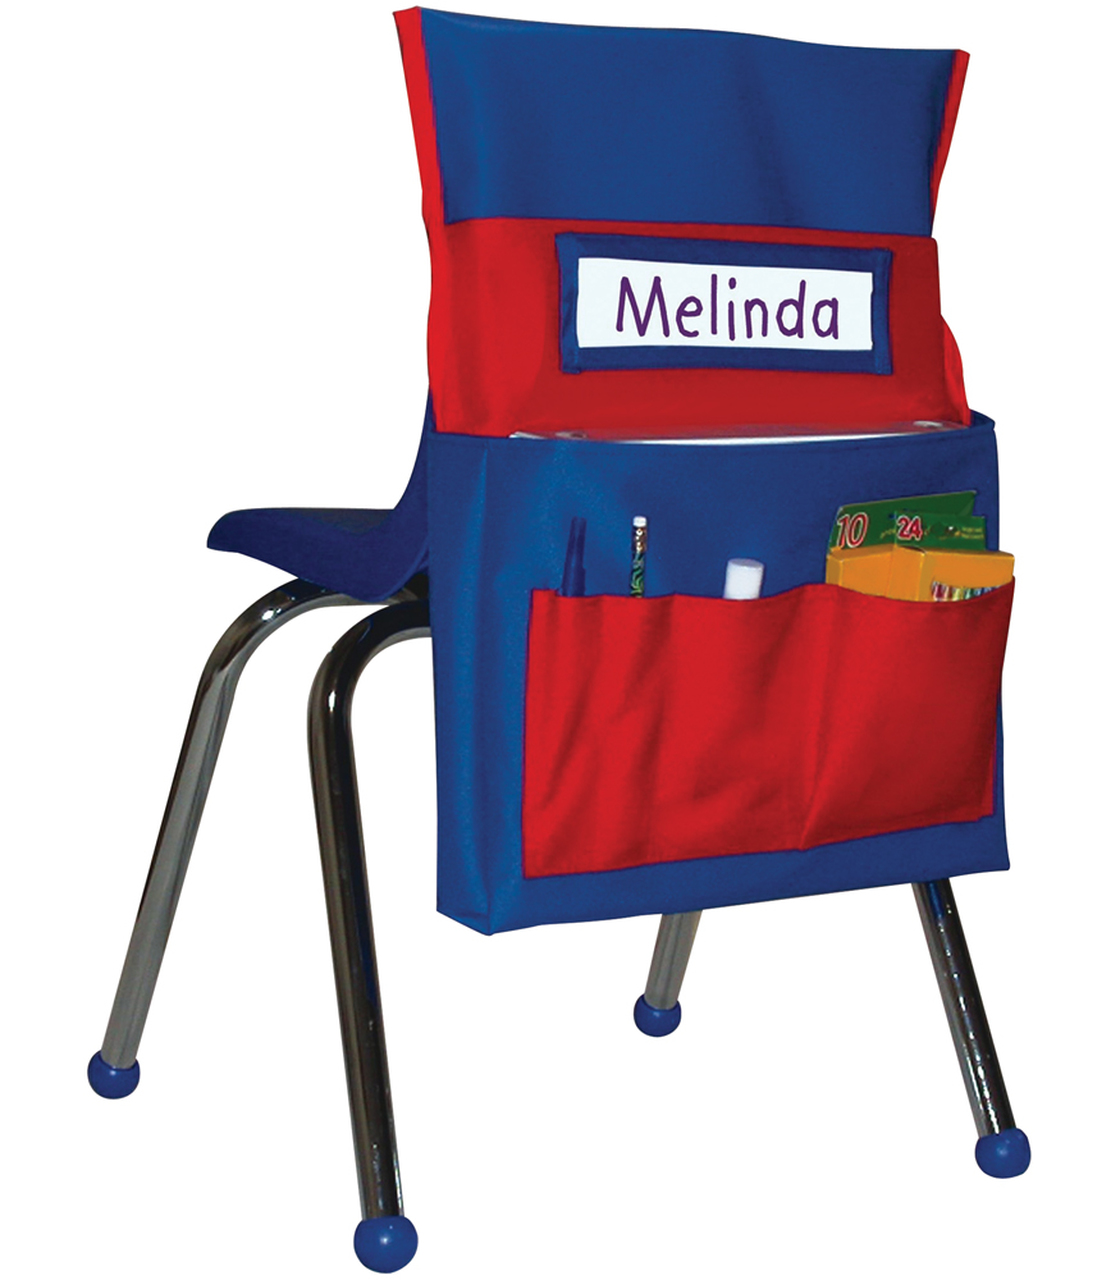
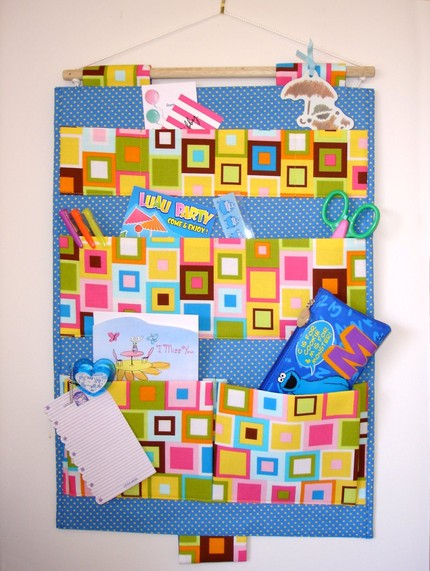
Ehm, maybe you can sew a sort of sack on the back of the chair:
AIMR
(Linda -2026 time to regroup and renew :us:)
13
I need to see if I can make something for my sewing chair! I never thought to do that! The chair bottom lifts up but it is a pain to have to stand up to get something that I need NOW…it would be a great place to store my instructions or a book that I need to check on…hmmm…I might see if I can draw a pattern for that! Thanks…
@Magpie Your organizer is just too cool…the divider is great…all those pockets should keep things quite handy! And the fabrics are colorful and happy!
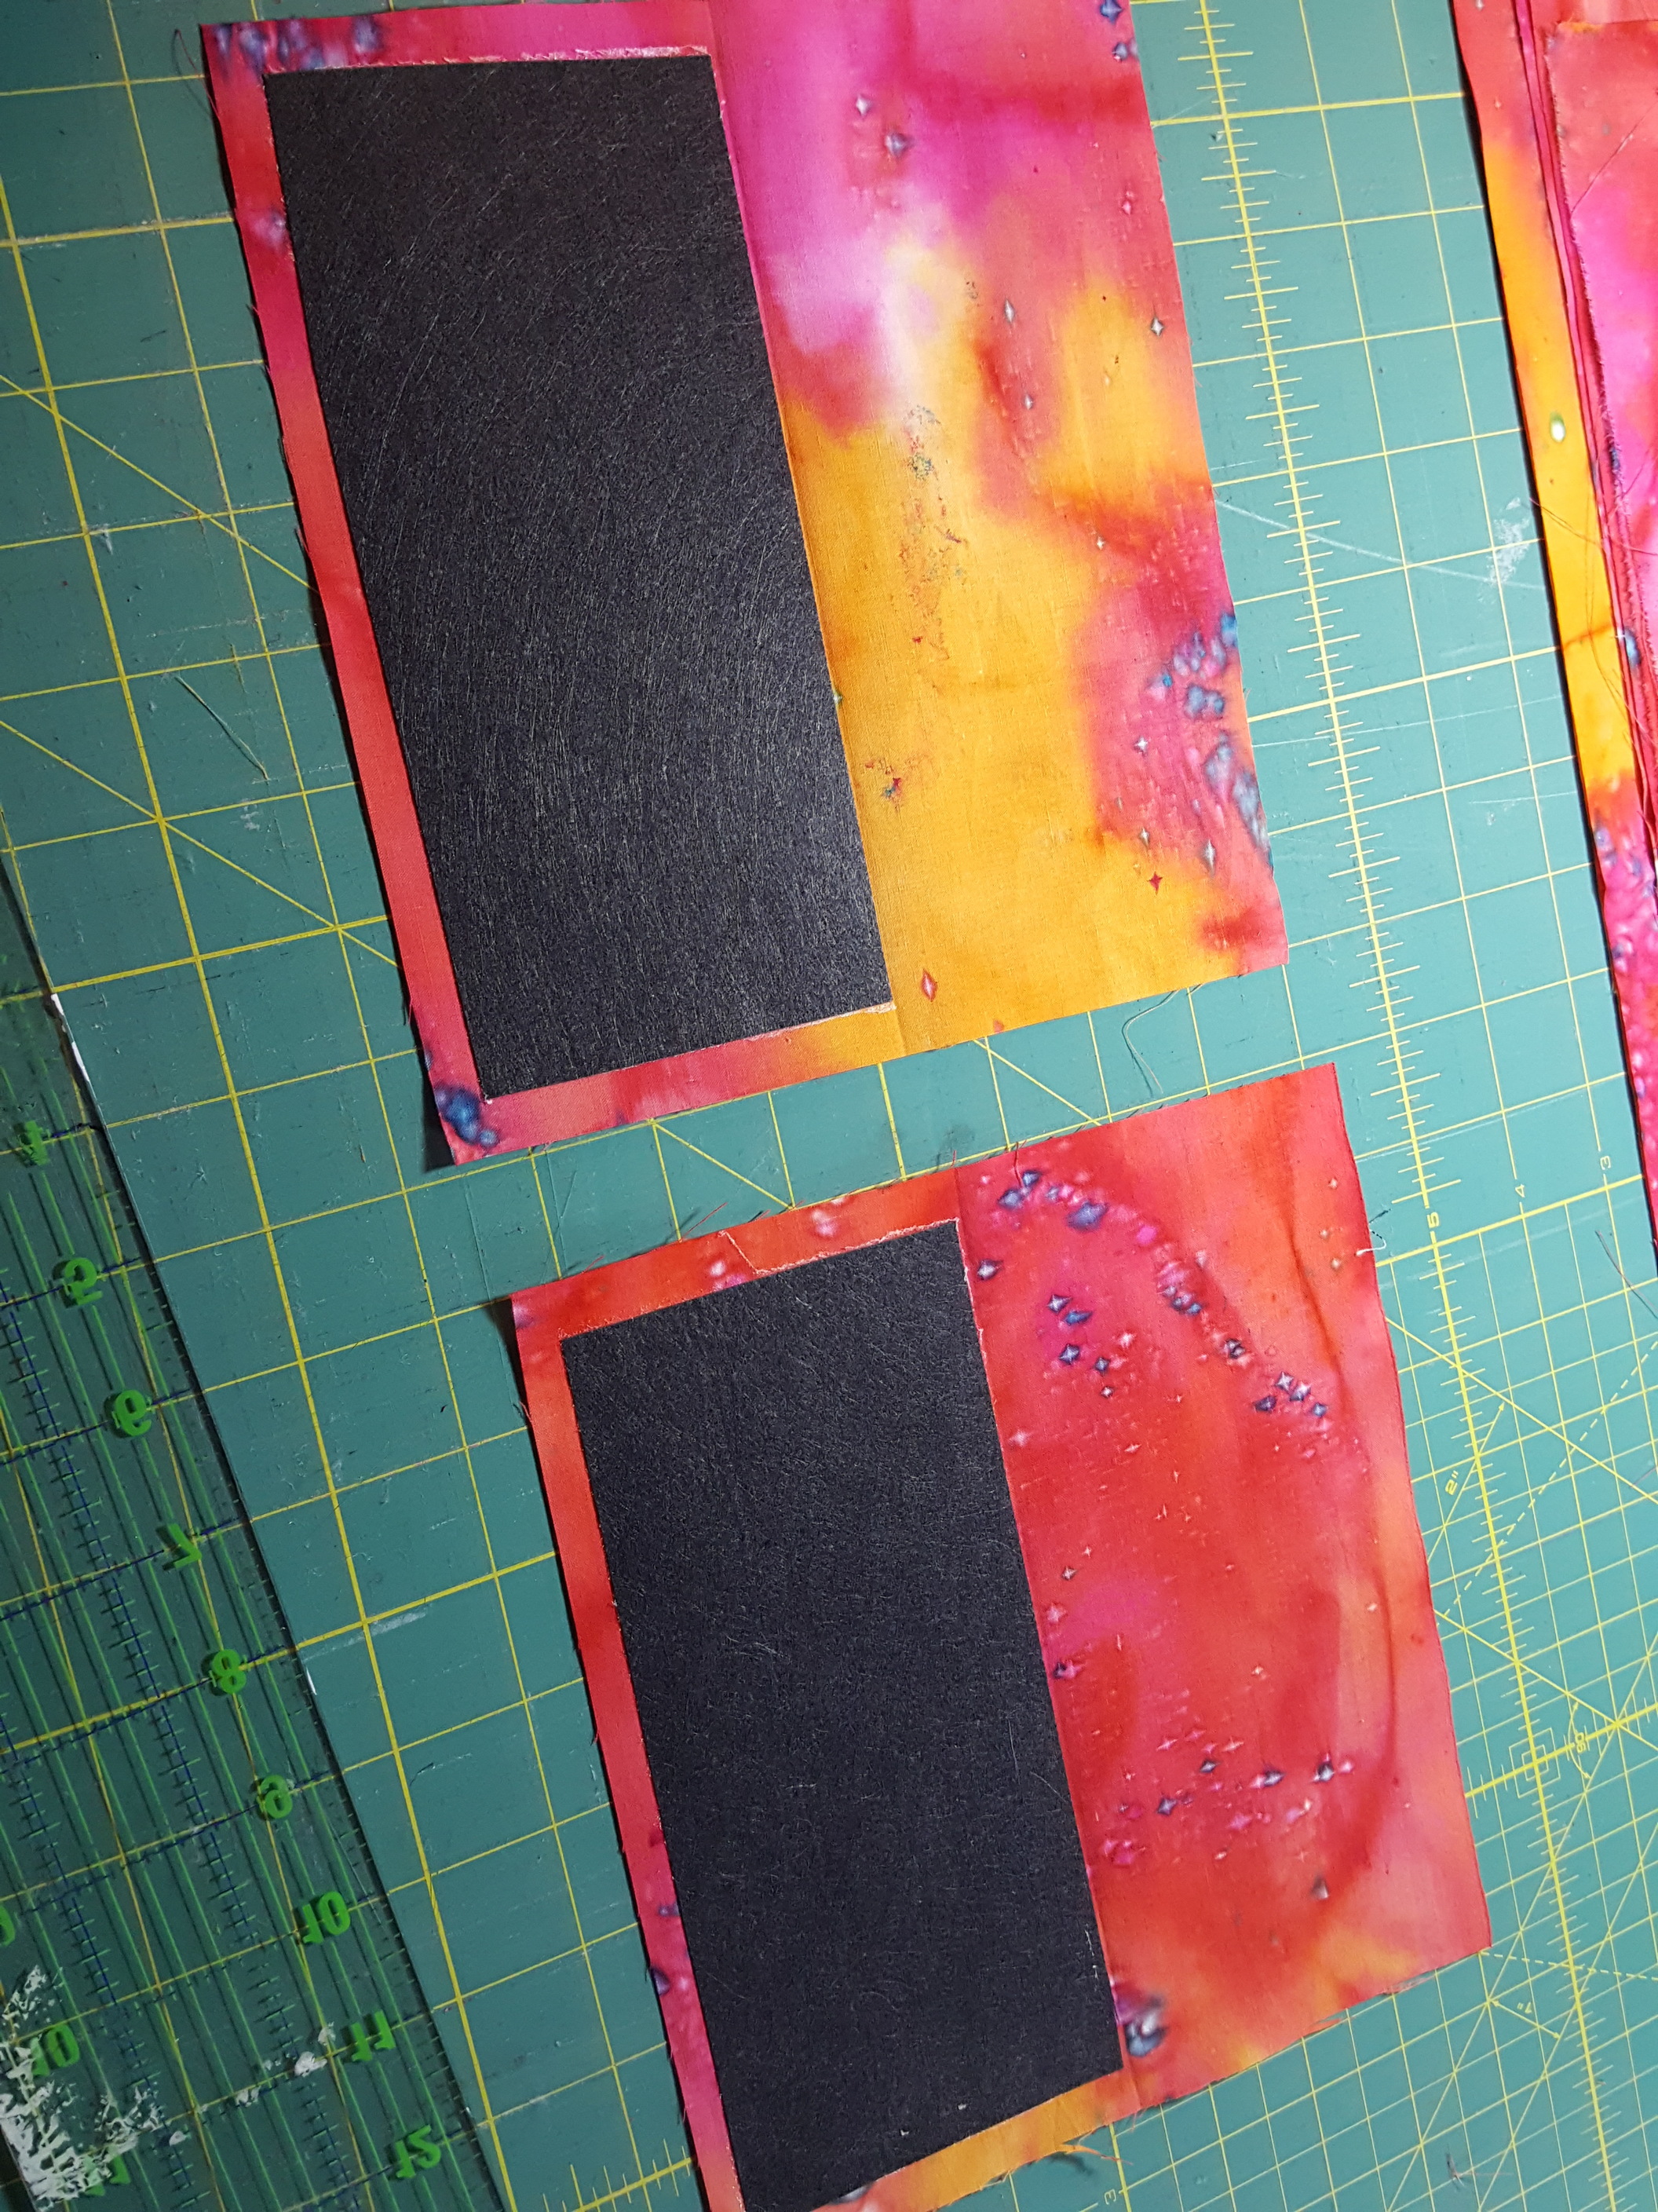
I find following a pattern difficult and, to be honest, sort of boring so I make things up as I go. Don’t be too impressed though, the dividers are dang easy. There are a lot of online calculators that automatically figure out diameter of a circle based on the circumference measurement if you want absolute precision but I just use a tape measure and eyeball it.
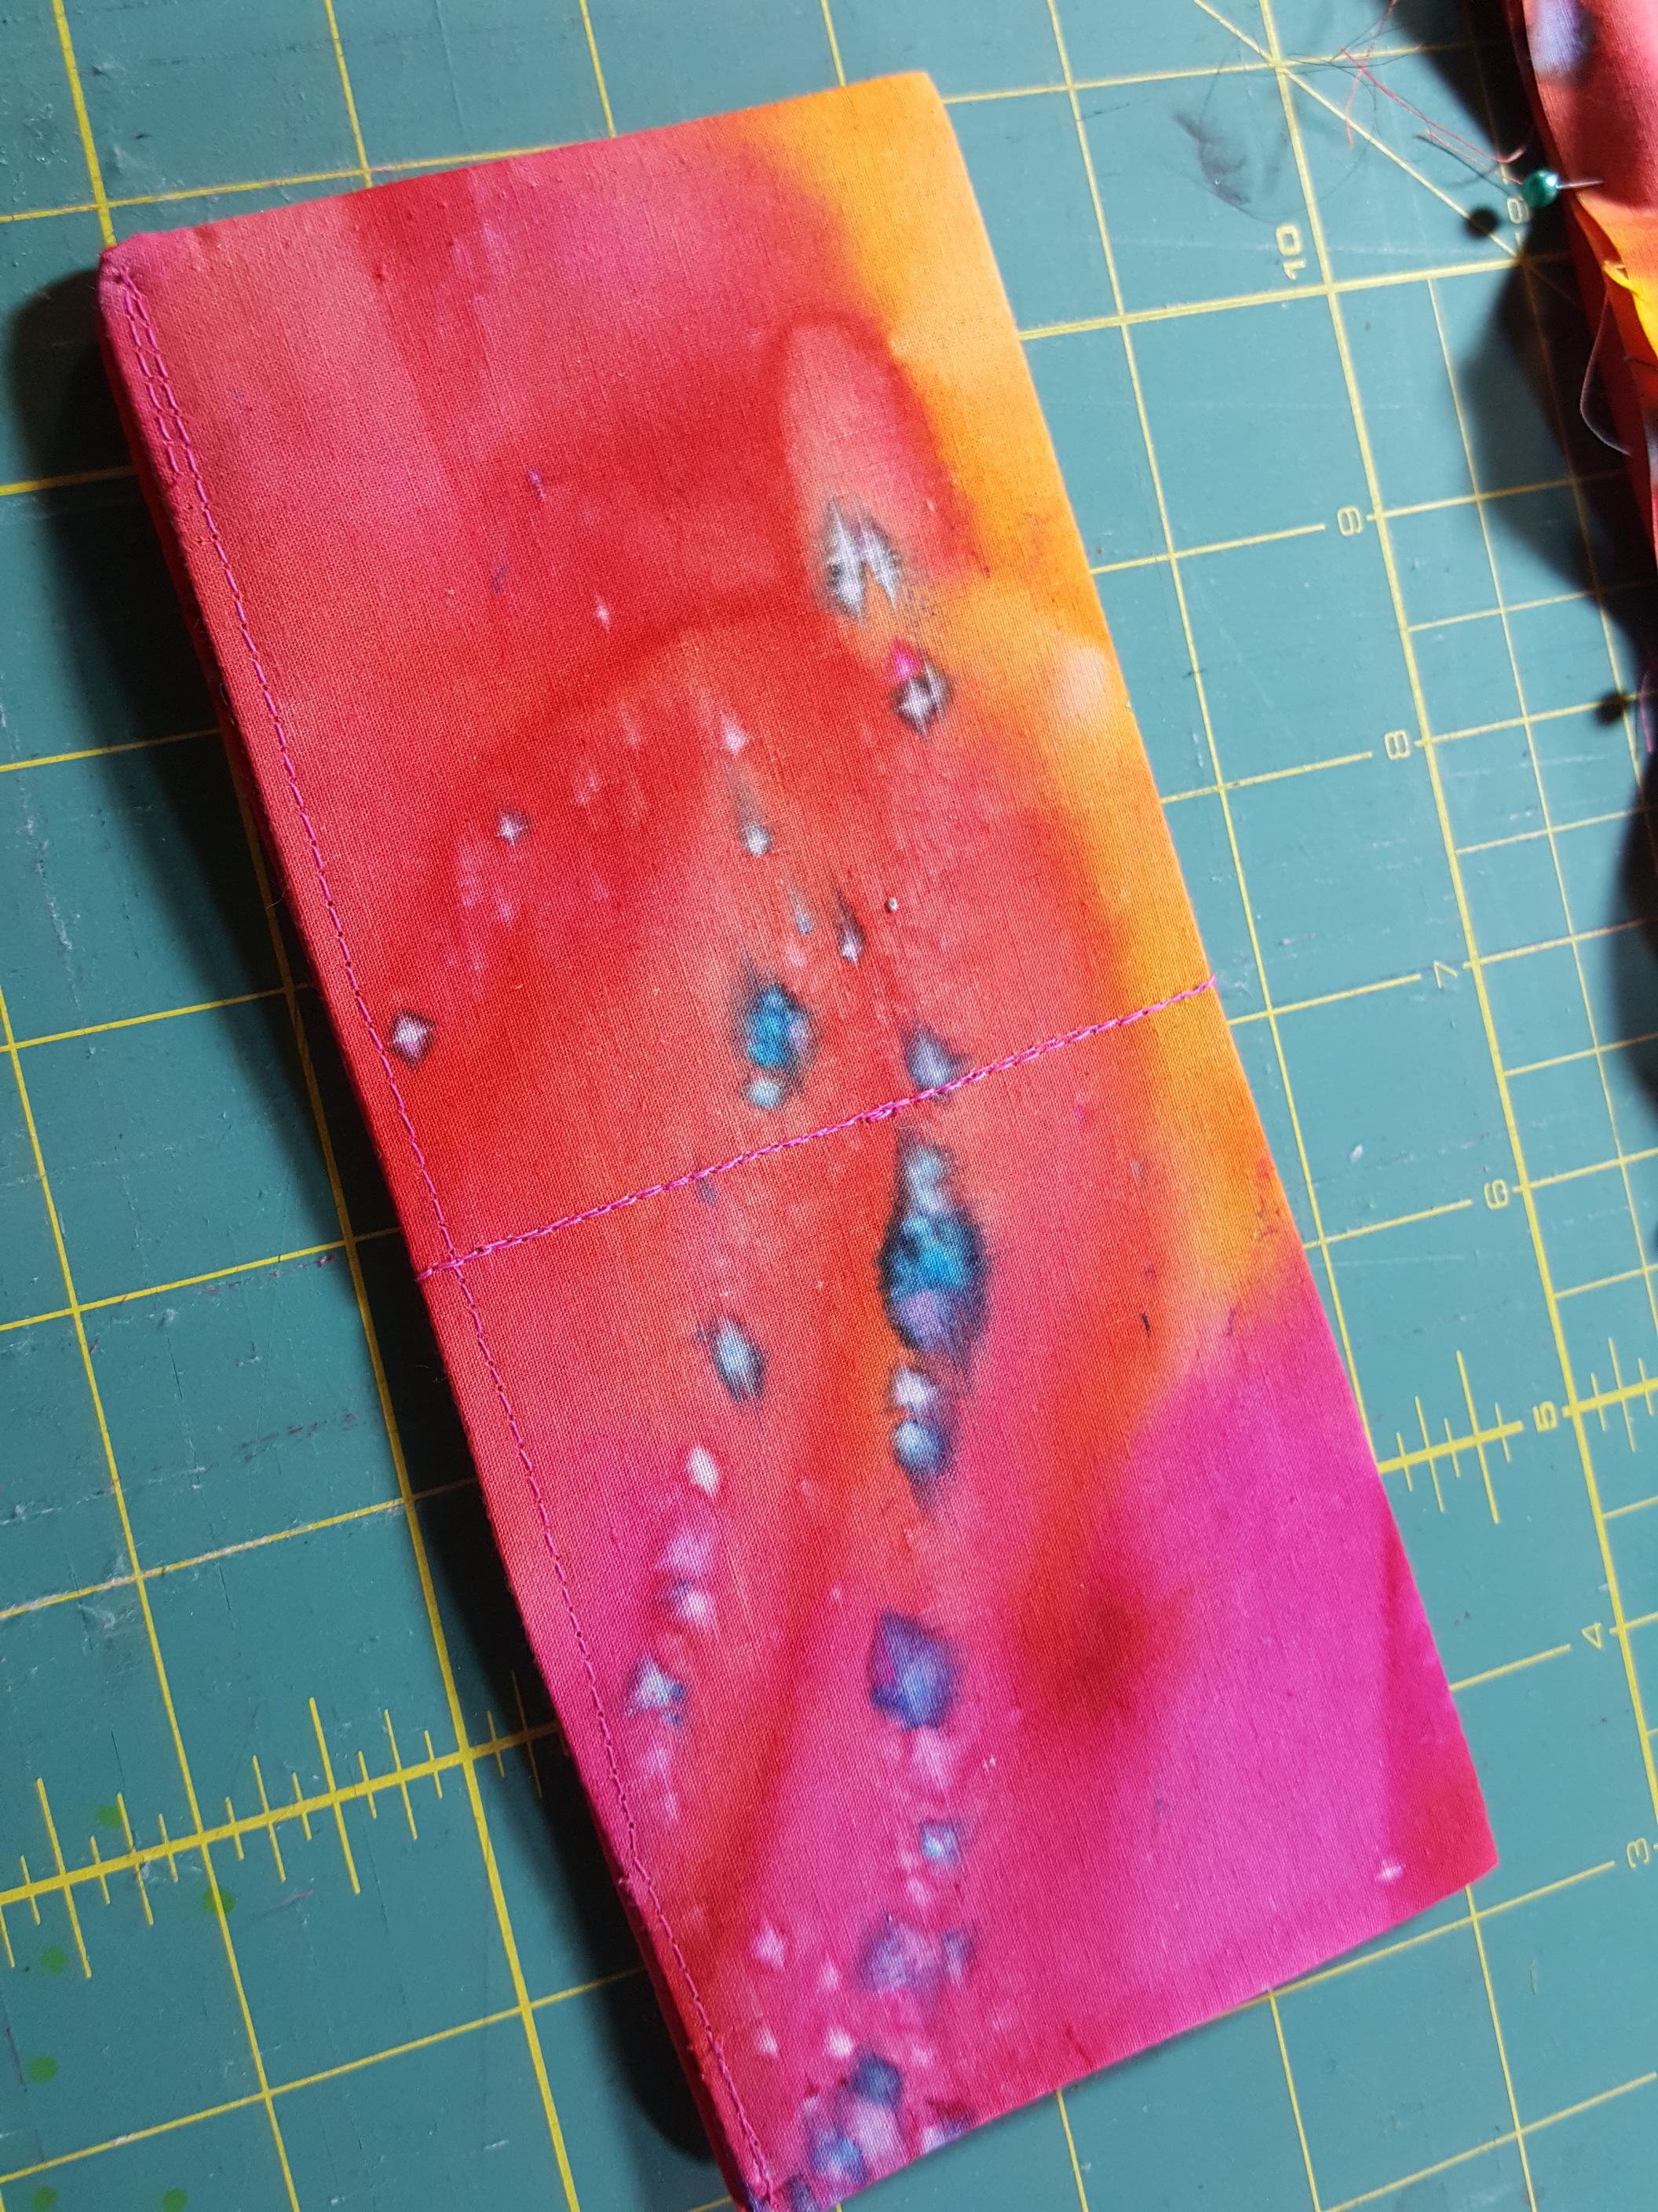
Cut 2 pieces of very heavy non-woven inferfacing the exact diameter length of the bottom of the basket and as tall as you want the dividers to be. Cut 2 pieces of fabric twice as wide and added a seam allowance of about 5/8" all the way around. Fuse the interfacing right at the fold line.
Fold the fabric wrong sides together and sew down both sides half way between the edge of the fabric and the edge of the interfacing. This little bit of extra fabric leaves something to stitch to the basket lining, you’ll see more about this is a sec.
also sew about an inch or so along the bottom beside the corners right along the edge of the interfacing. You are stitching the corners here and leaving a small opening at the very bottom to turn the rectangles right side out.
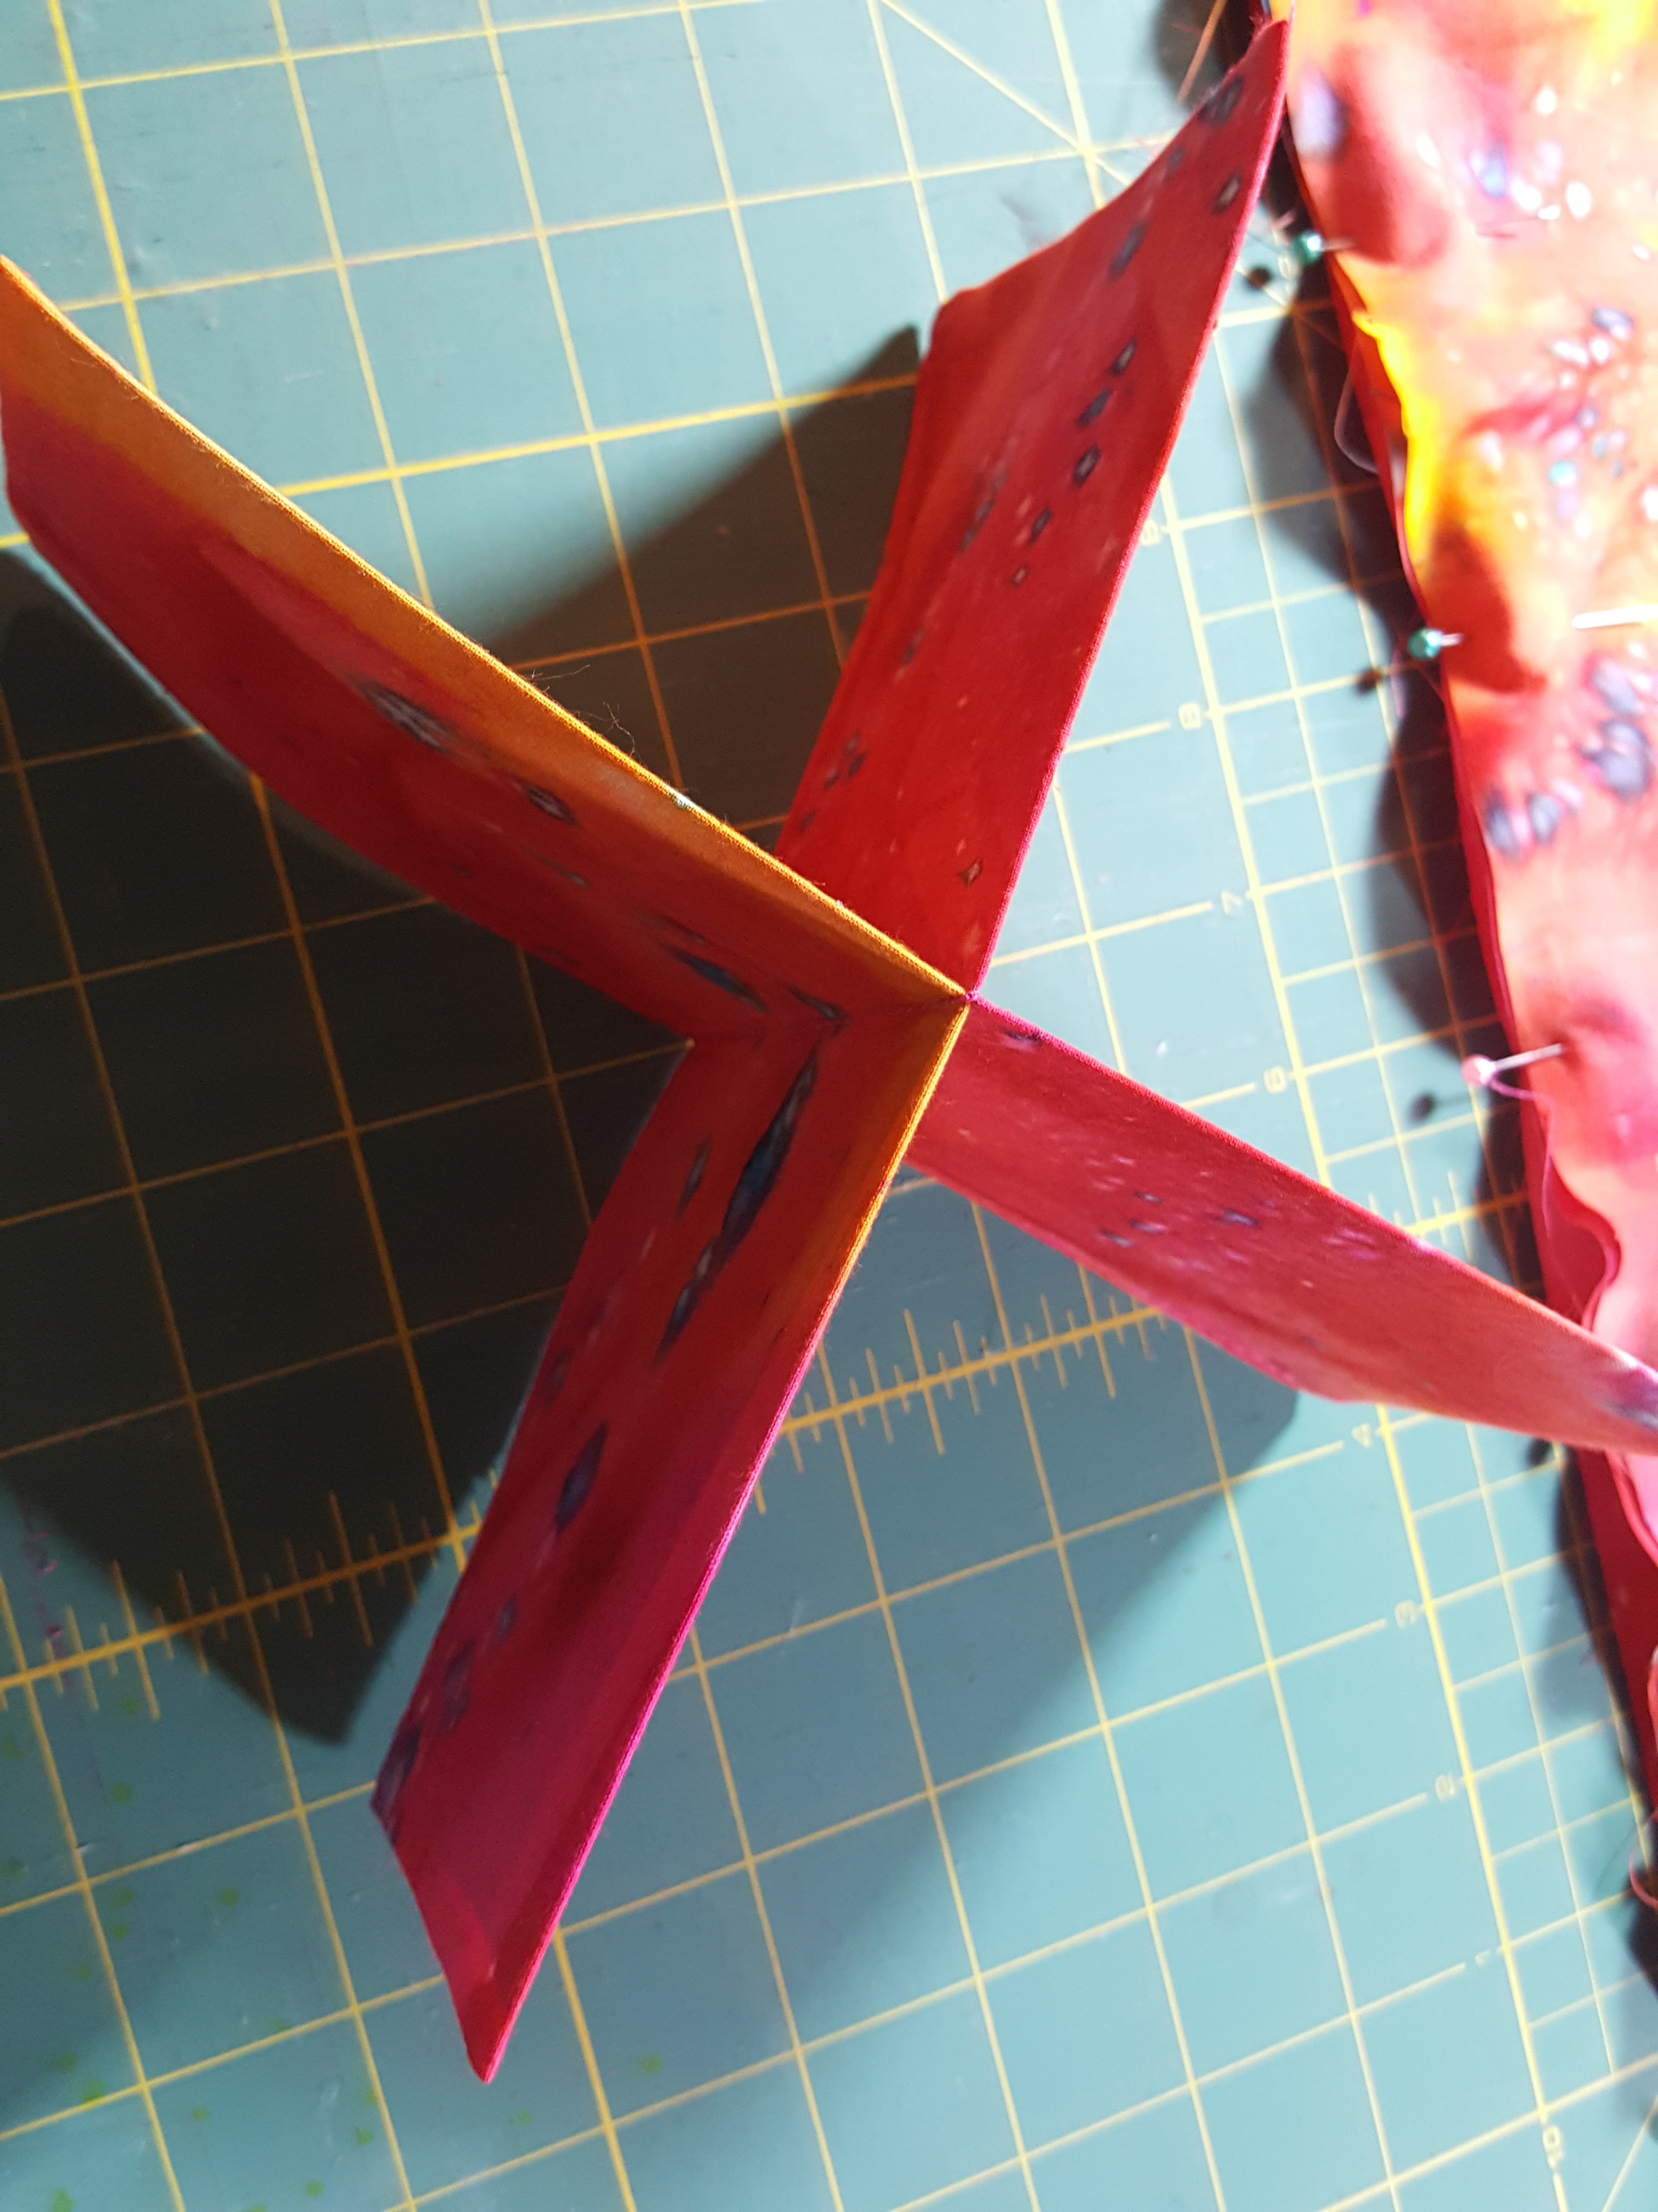
Once turned right side out, taking care to poke out the corners, press and stitch along the bottom of the rectangles to close the opening. Now stack both pieces and stitch exactly down the middle from top to bottom.
Press to get a crisp cross shape. Now the edges are not full of stiff interfacing, they are quite pliable and easy to sew to the basket lining. Mark the lining in quarters taking into consideration the seam allowance. You are going to catch the last side of this cross shape in the seam allowance of the lining.
Thank you all, glad you like it! I have yards of that fabric from the thrift store. It is SUPER BRIGHT! Good thing I like that .
In the attic, the ceilings are slanted so there isn’t much wall space. A bit though, I’m thinking about it. Off the floor easy access is the way to go. Ikea makes magnet bars for holding knives in the kitchen, they are GREAT for metal tools, especially mid-project where I am prone to losing that very necessary thing I just had right in my hand a minute ago, argh!
Oh, I get it now. It is just a simple cross shape; the pockets around the sides were making it look like more complicated dividers. Thanks for the explanation!


 (yeah, I TRY that, but sometimes I switch crafts and end up with way too much on my working space
  )
)


