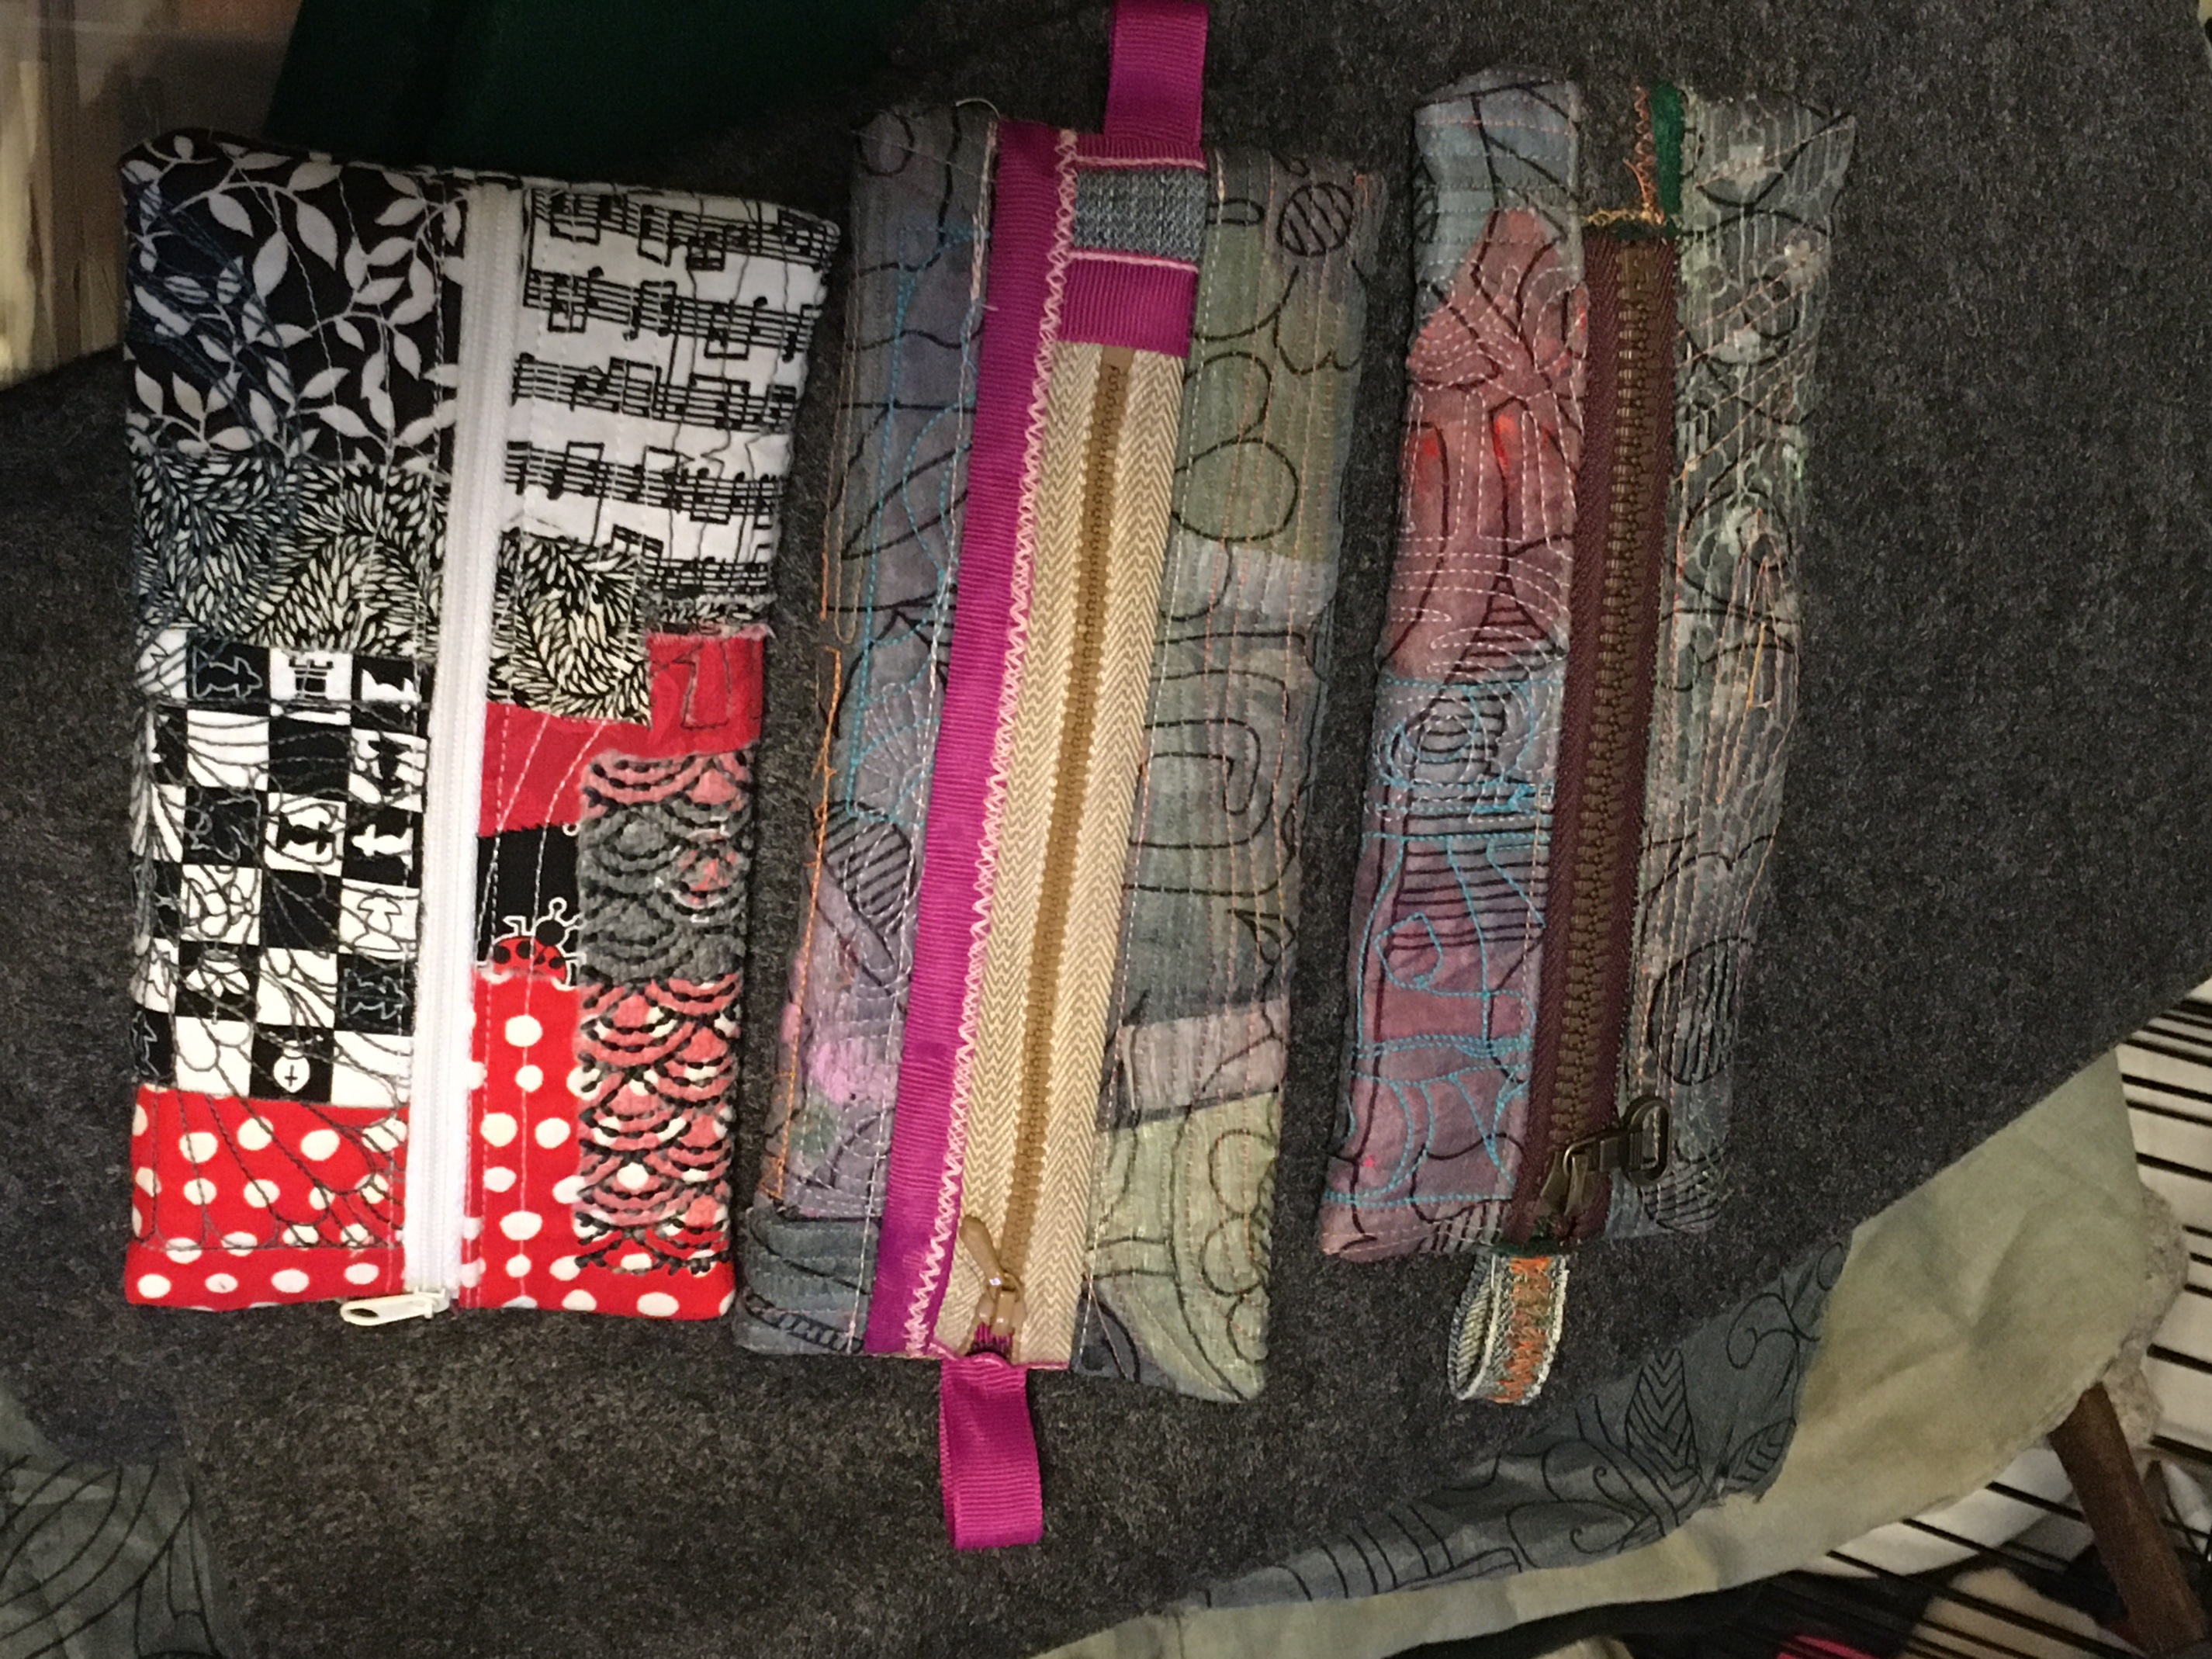
I did a few of the pencil pouches from the cute tutorial @Trillian posted:
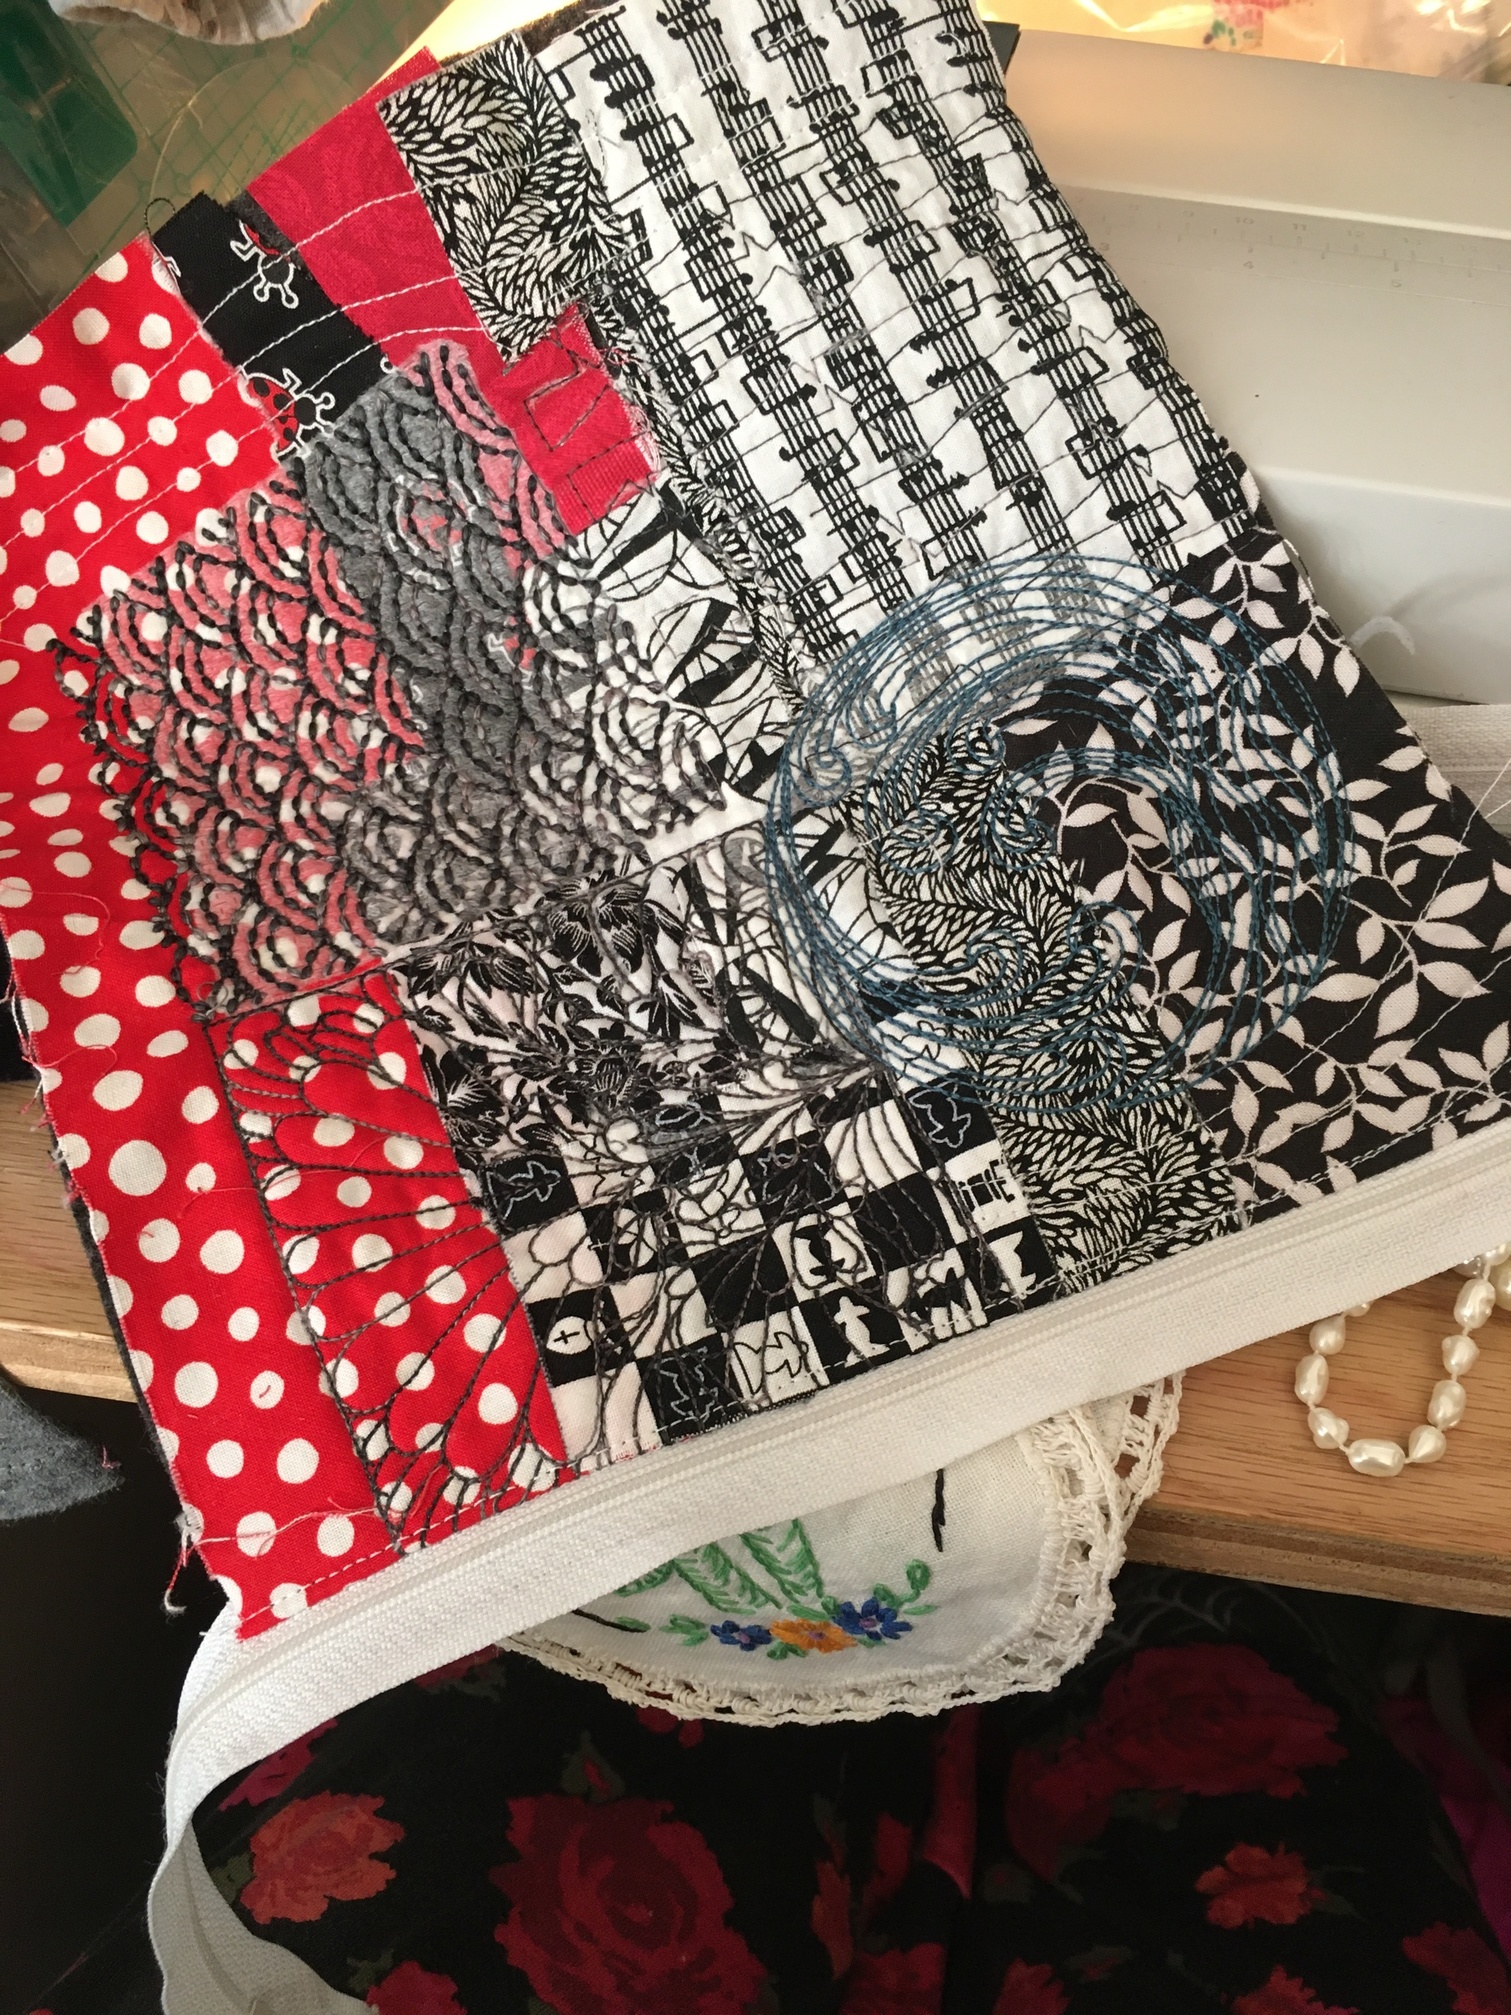
But since I was also thinking about @marionberries’s Scrappy Heart Mini-Quilts, and all the quilting & sashiko patterns I have for my embroidery machine, I started here:
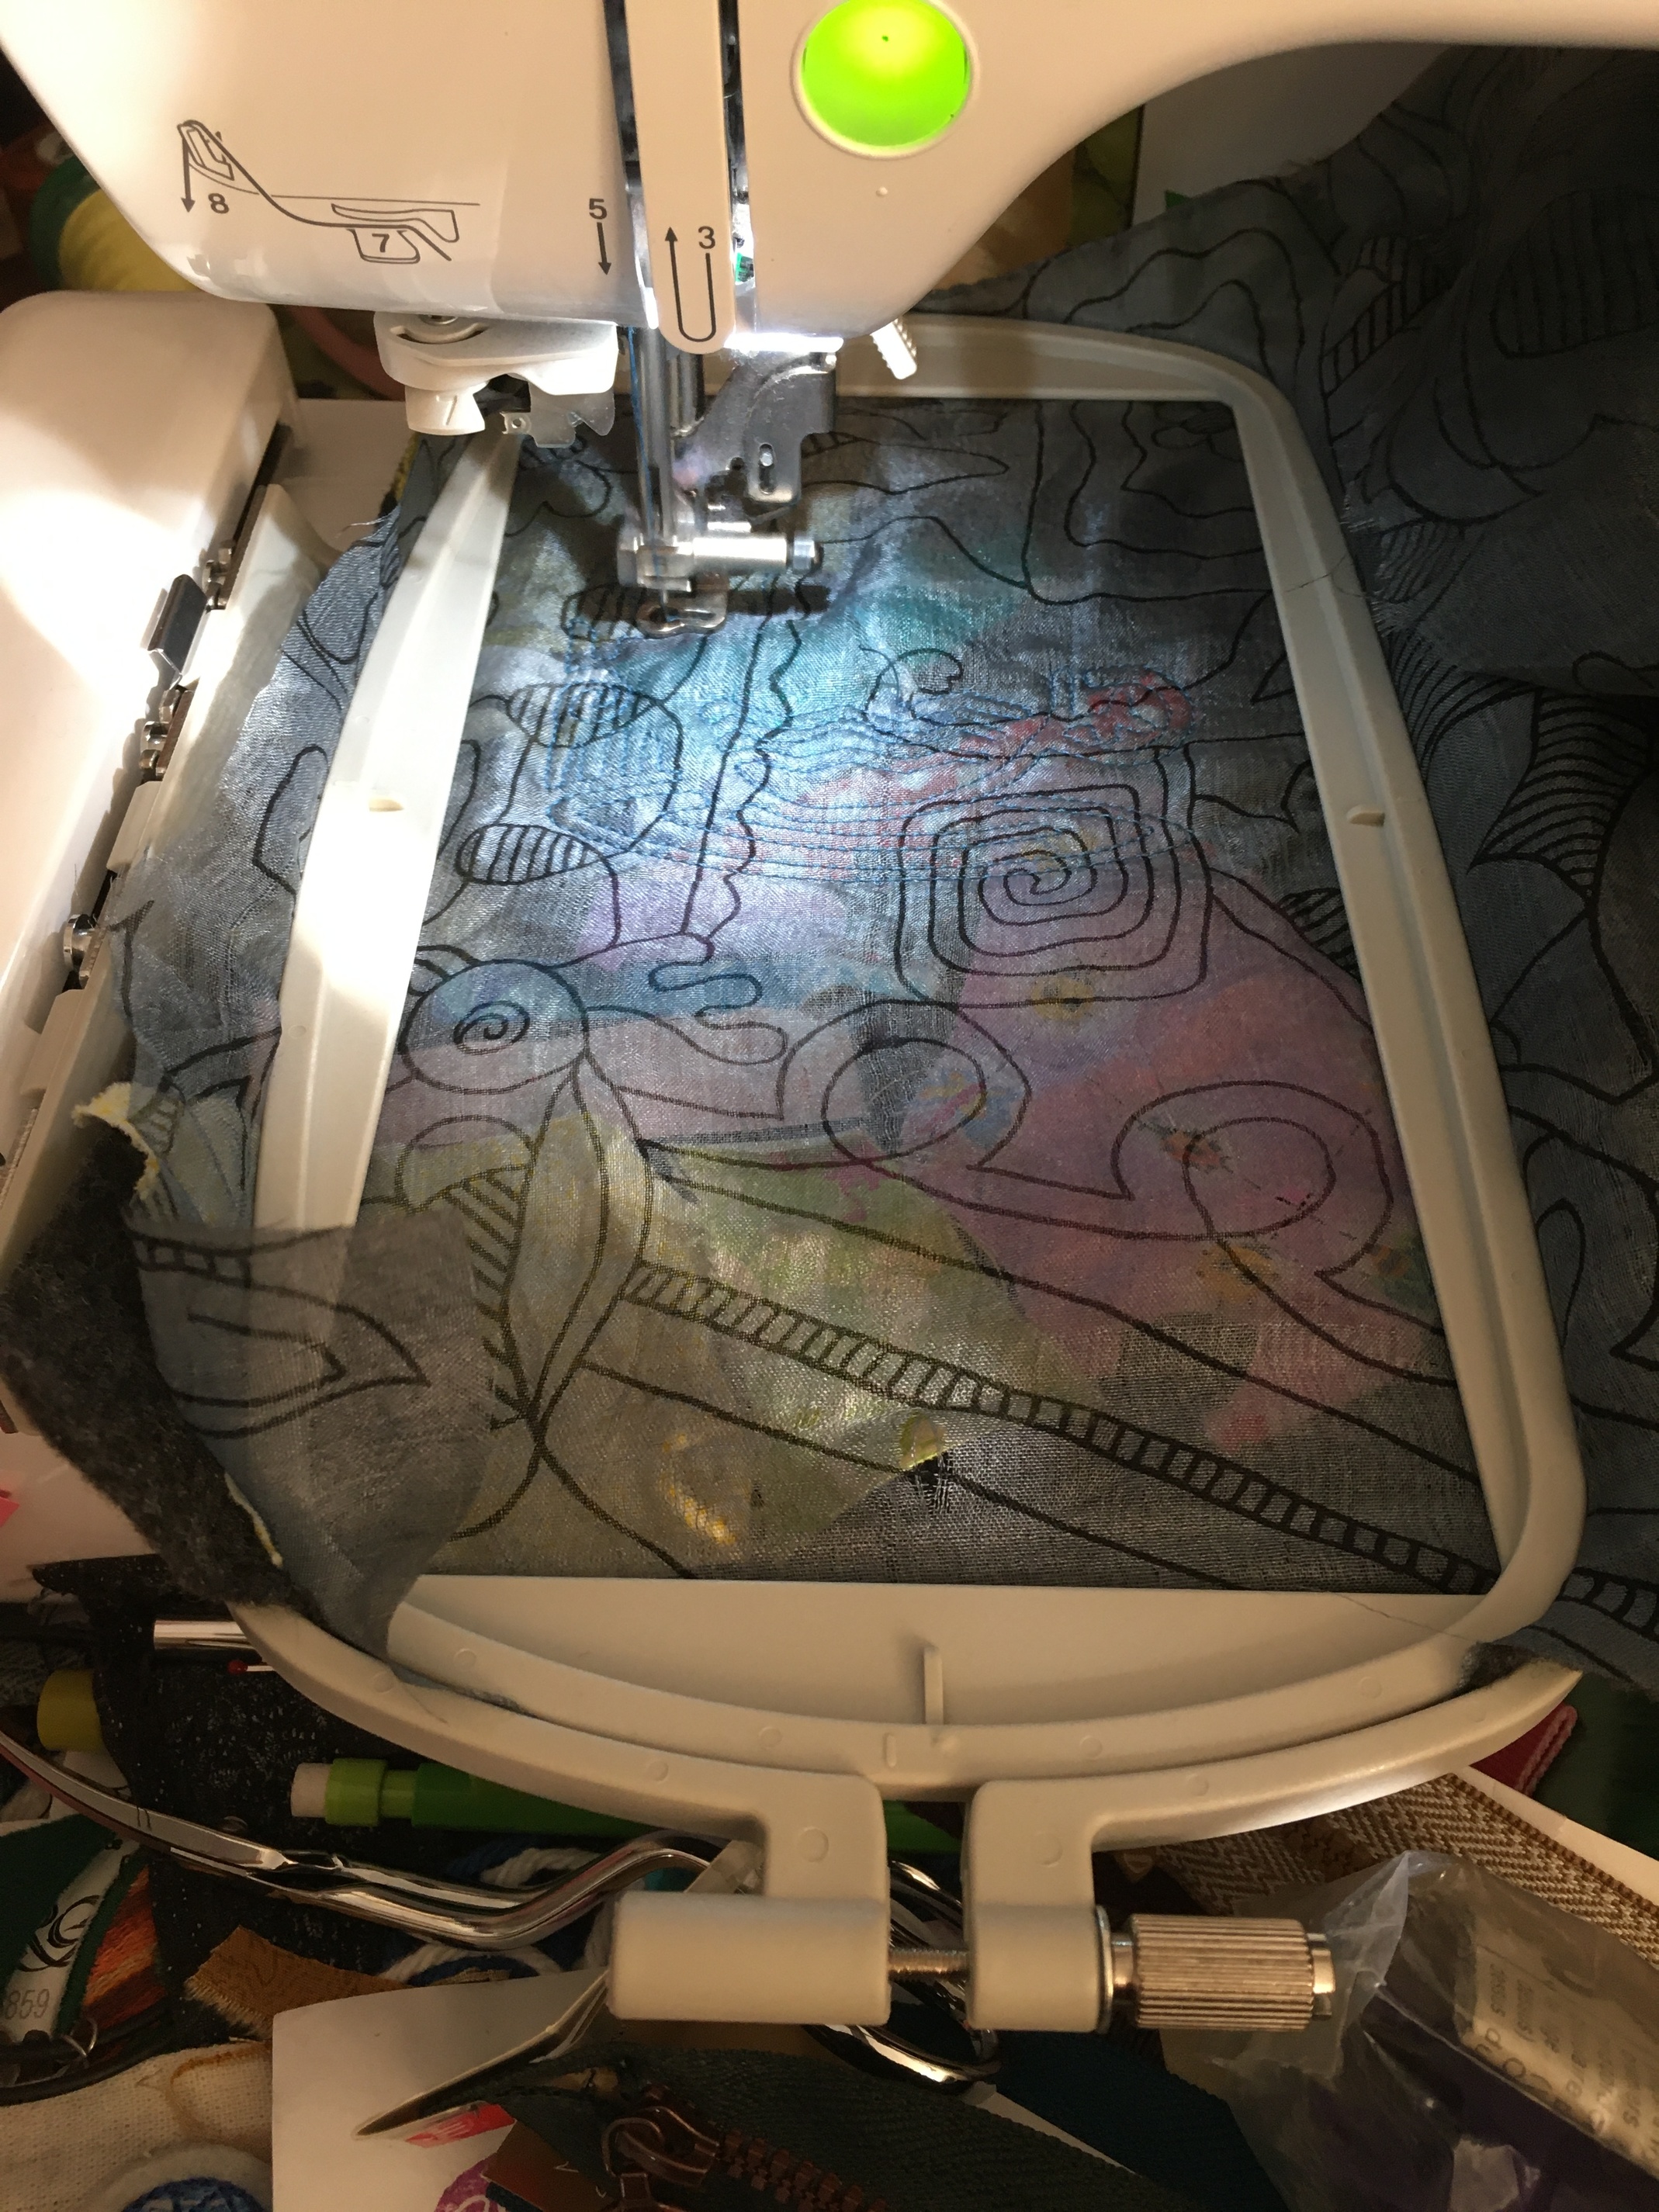
…which would have worked a lot better if the scrap of stabilizer I picked up had actually been the water soluble kind instead of light-weight cut-away. Oops.
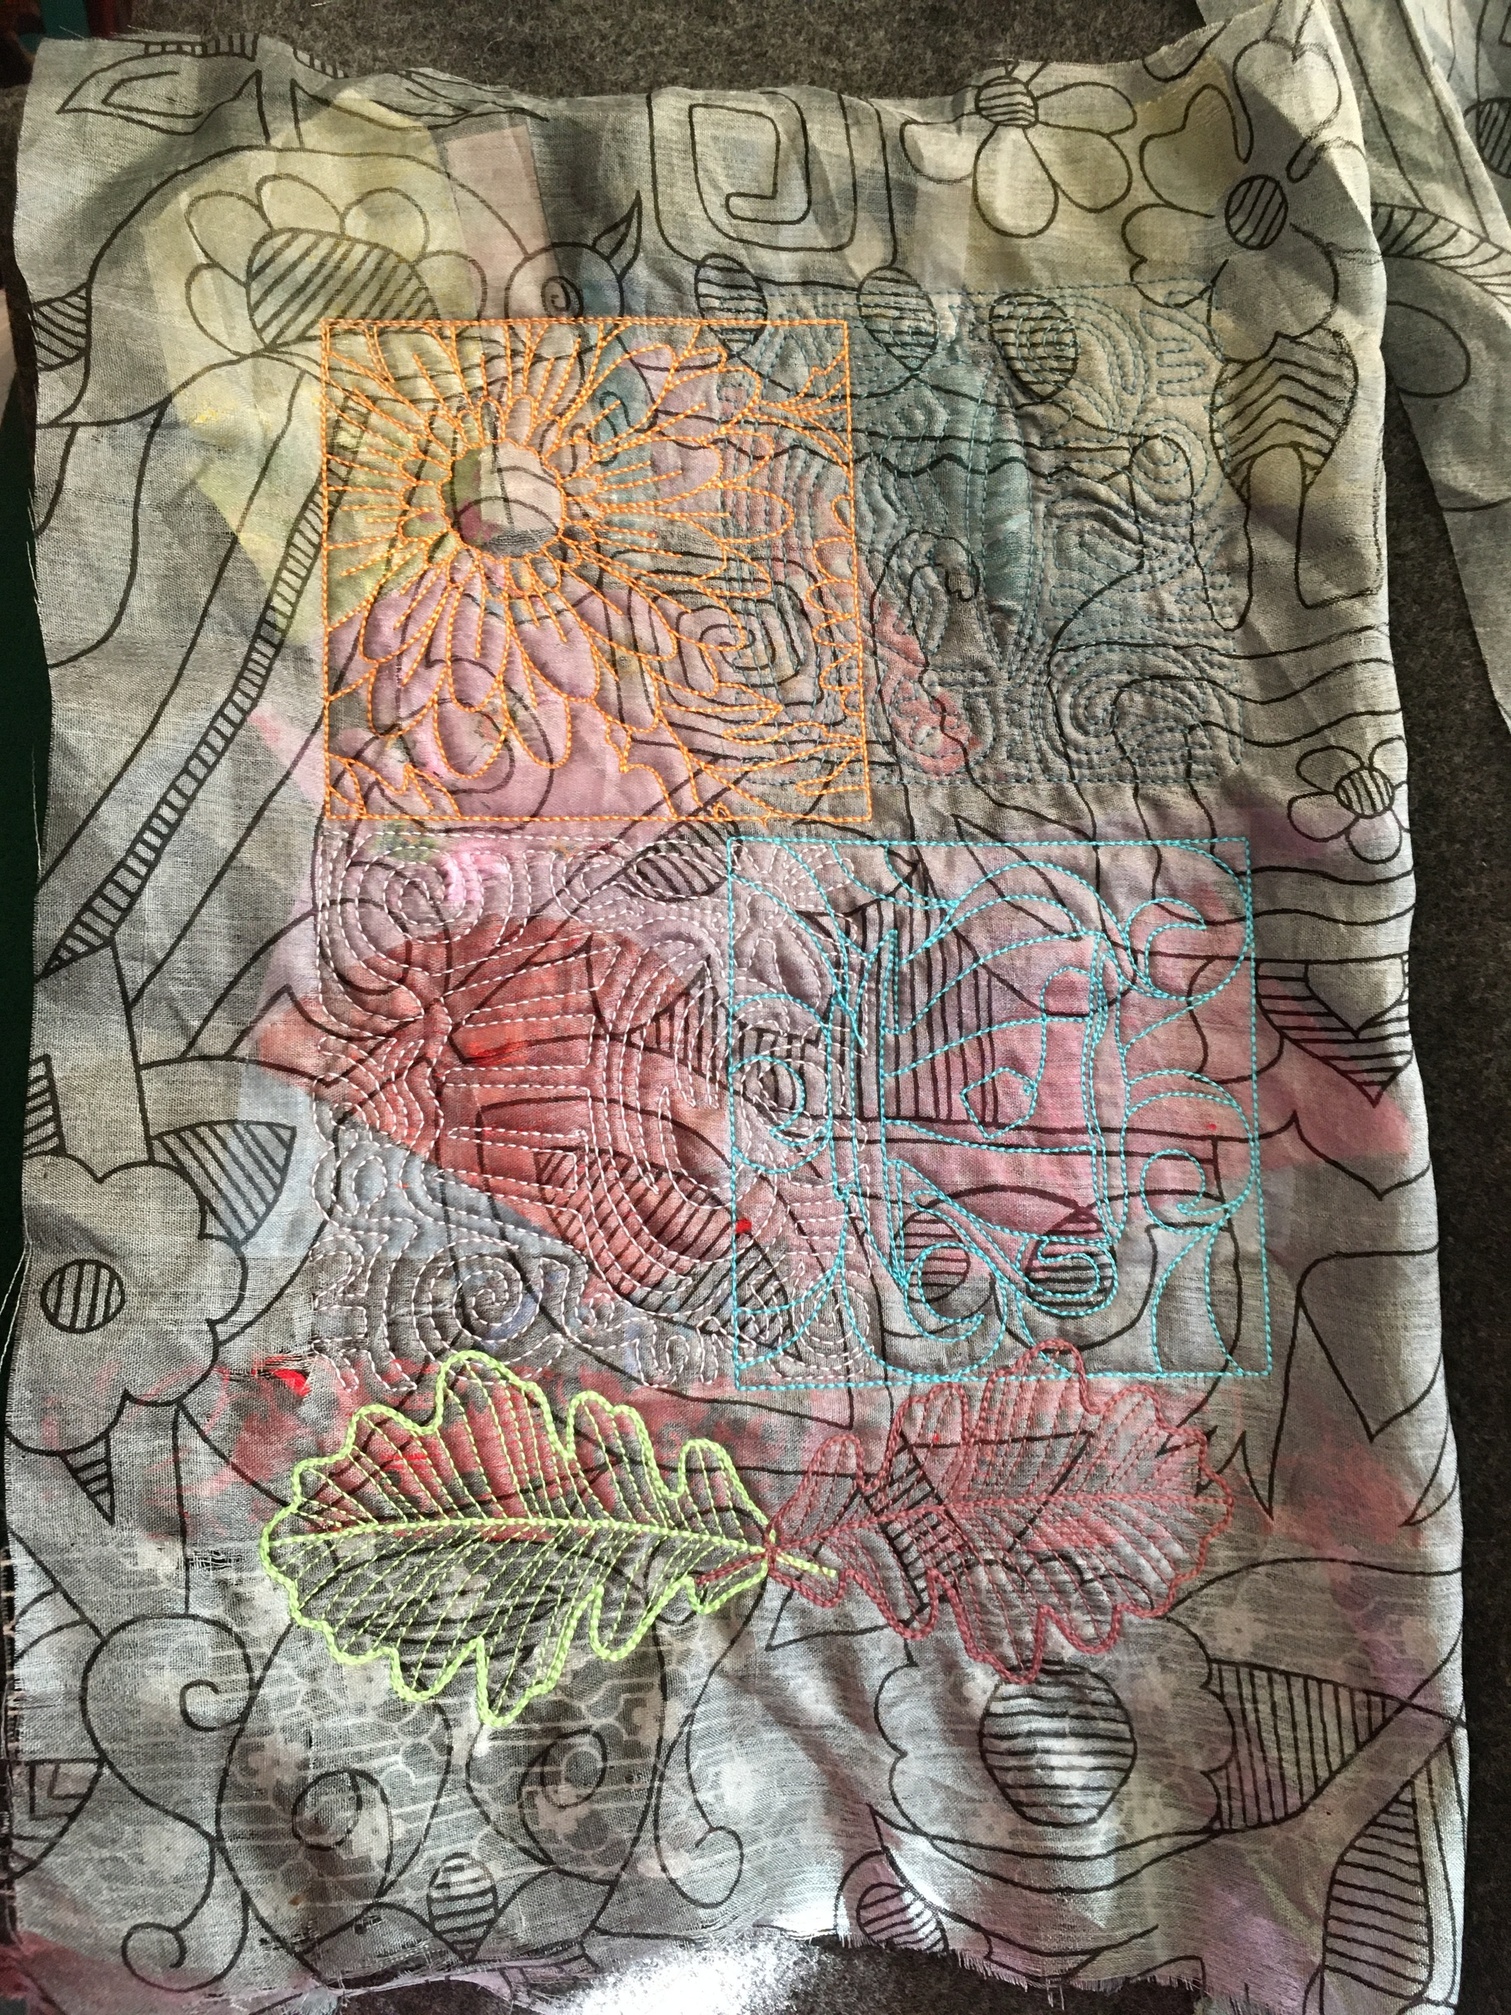
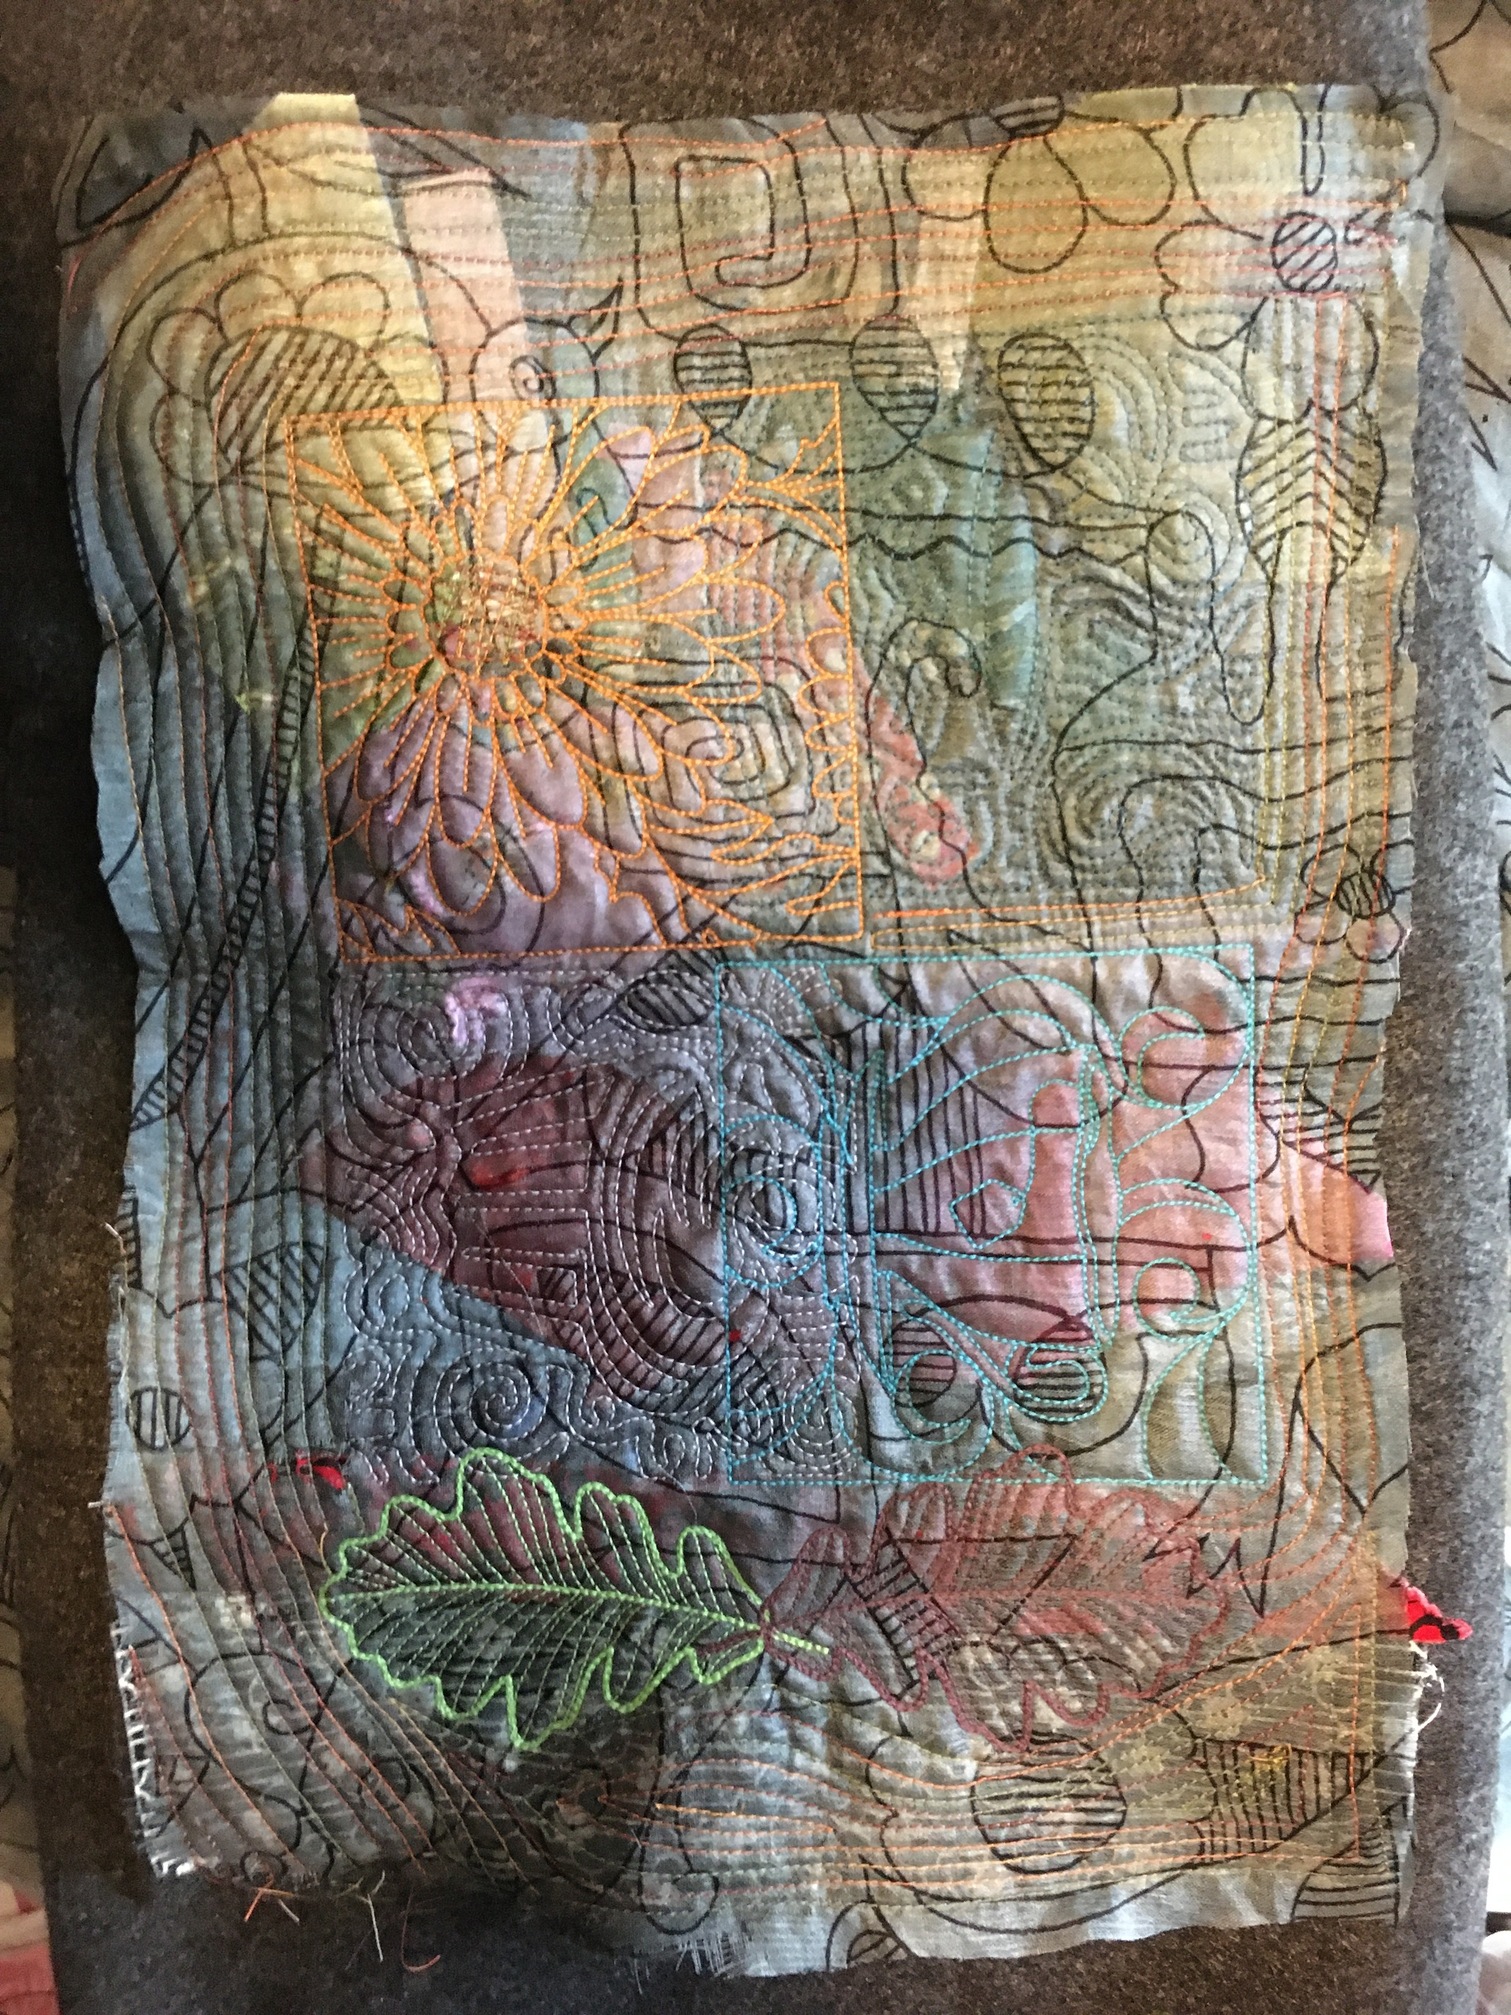
So then I moved on to sandwiching my colorful scraps between felt and a piece of a vintage silk sari that’s in the process of shattering. (Do people know about shattered silk? When silk goes, it disintegrates in all directions and falls to pieces. I picked this one up thinking I was going to glue it to things, which I still may, but it worked pretty well as a top layer which will fray more over time.)
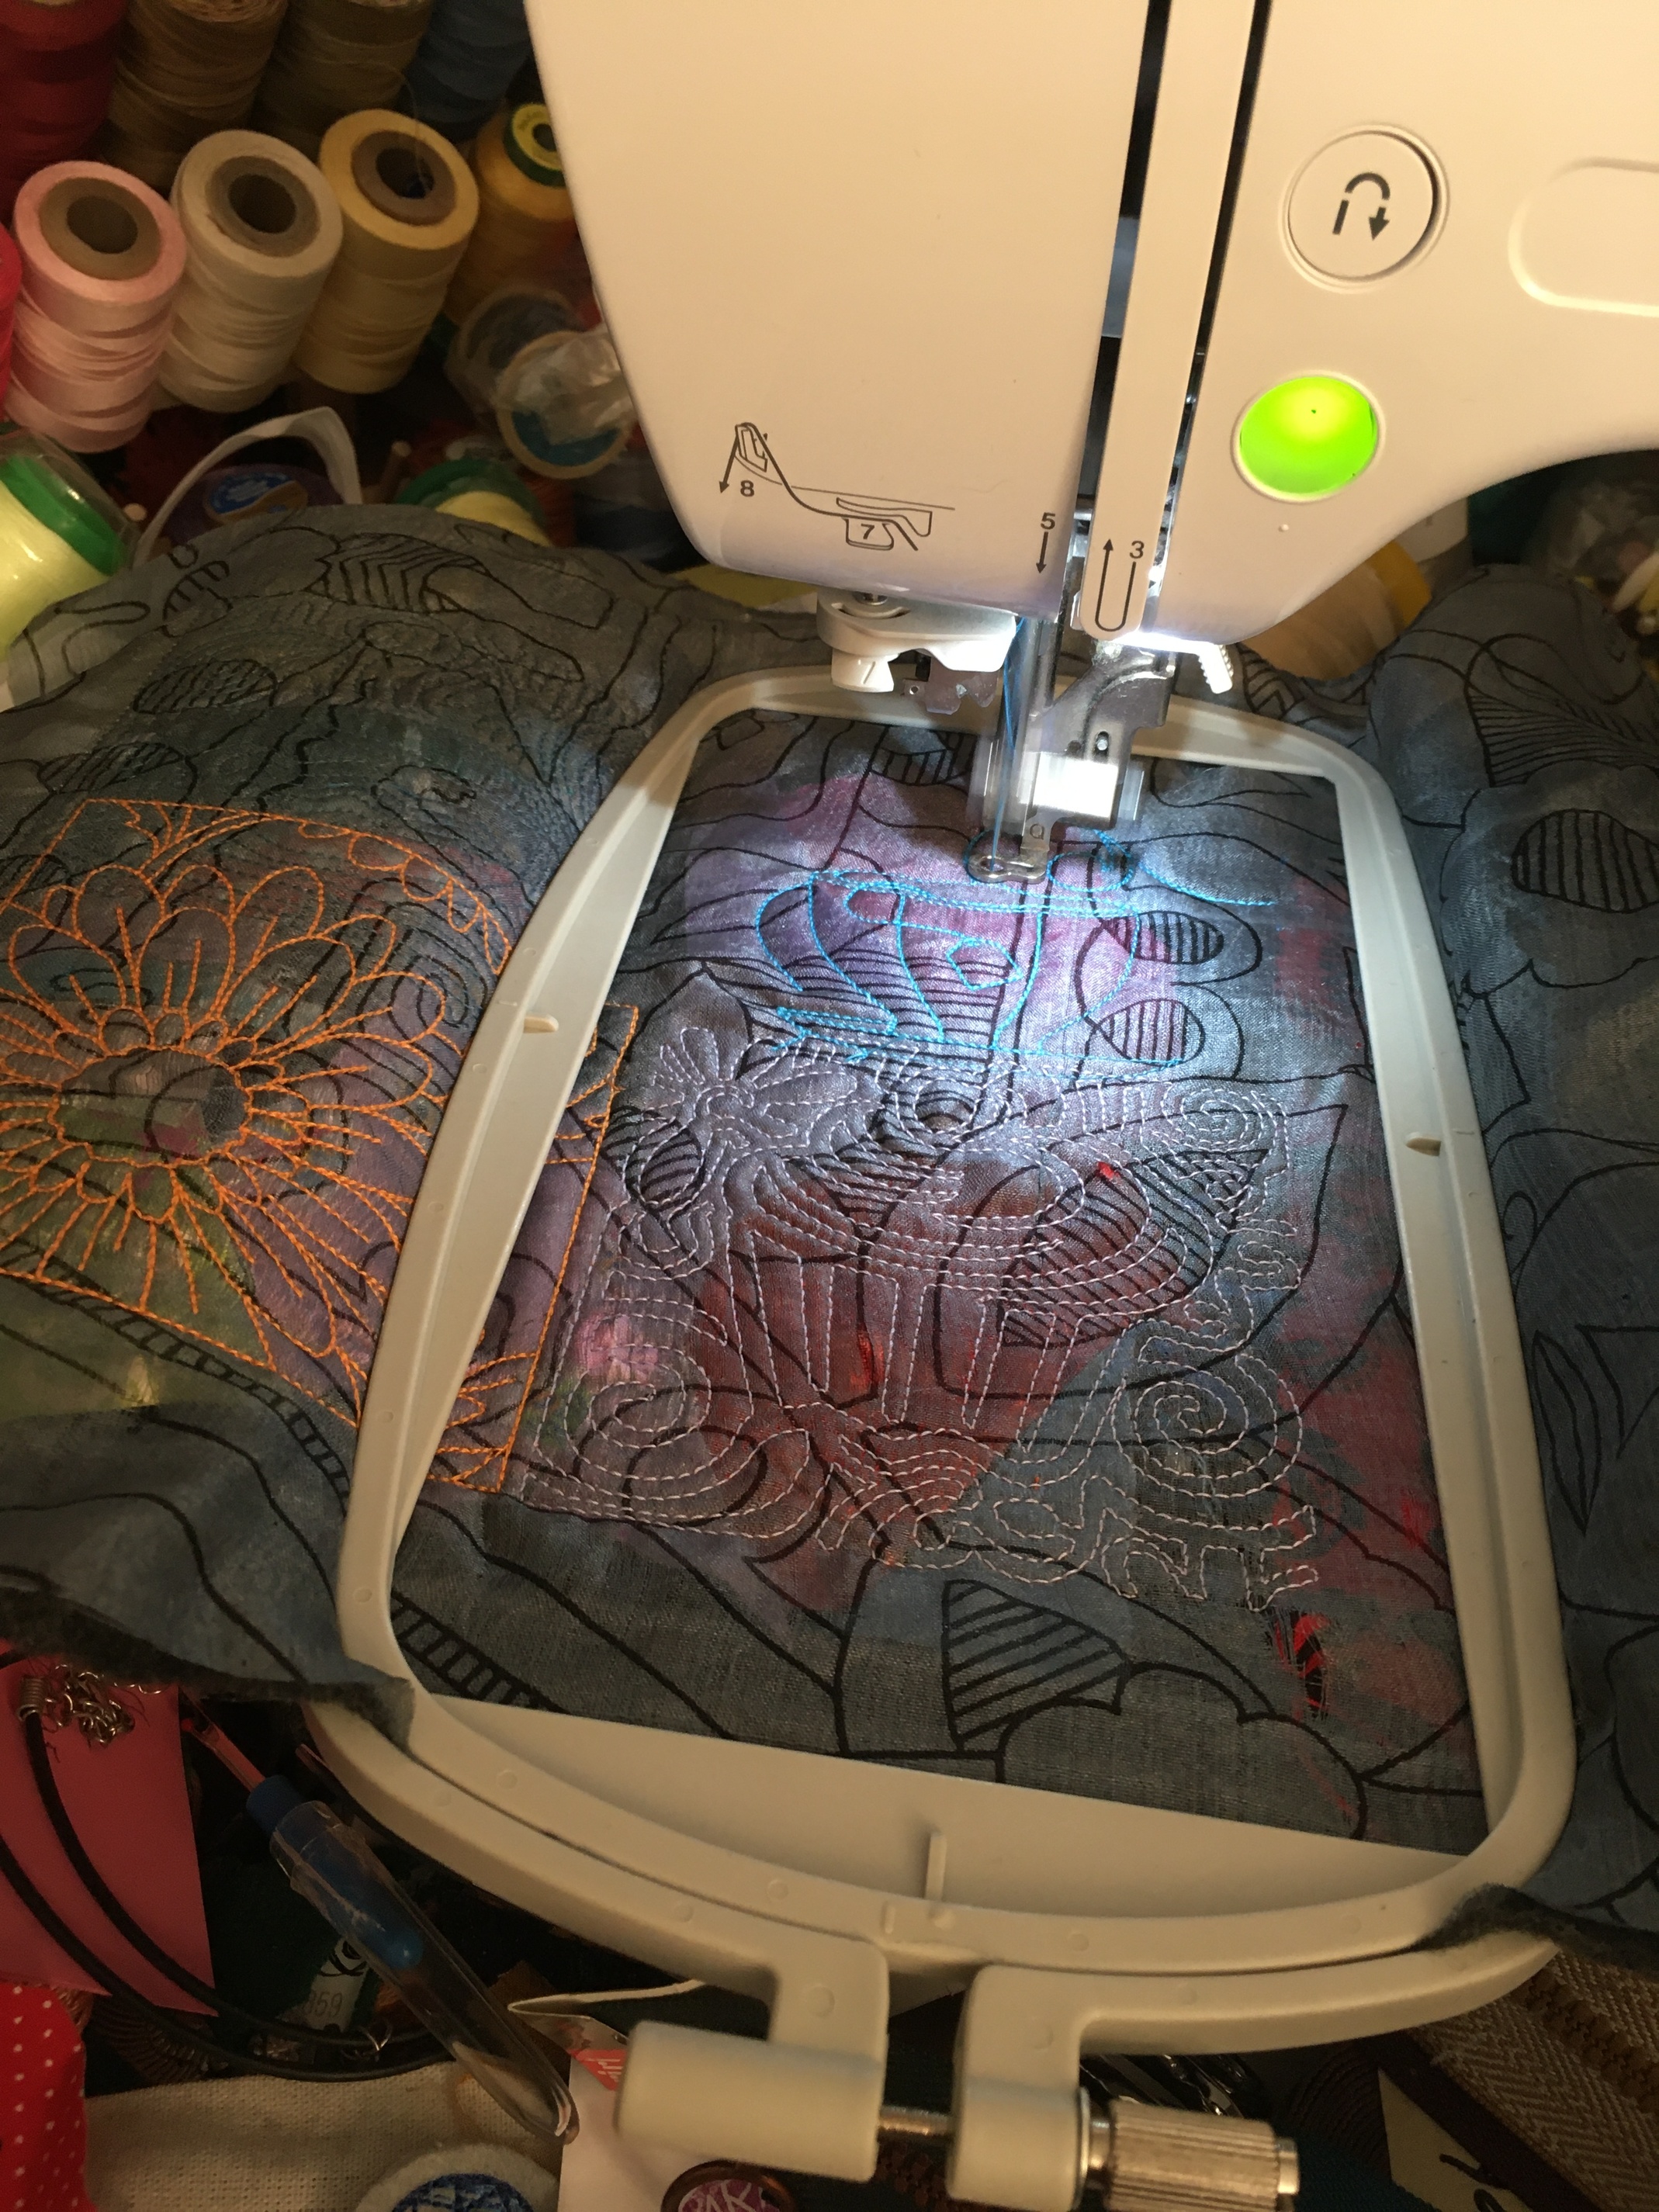
So, that plus the longer machine embroidery hoop my husband got me for Christmas, and it occurred to me that basically I was making the fabric equivalent of a masterboard.
And the backs of the finished pouches. I didn’t see why I needed the back seam from the original pattern; the last little bits of topstitching on the second side of the zipper were a little exciting on the ones where I used shorter zippers & blocked out the ends, but nothing impossible. Also I added end loops for something to pull against or hang the pouch from. (The one with the pink details is going to live with my child’s dining room chair & contain sharpened pencils to do her homework with.)
What a fascinating process to create a fabric masterboard. Thanks for sharing!
1 Like
AIMR
(Linda -2026 time to regroup and renew :us:)
3
So many possibilities with your techniques!
I have a wonderful embroidery machine that needs to be dusted off…this process looks fun and creative…thanks for sharing…now quilters and sew-ers can be part of the masterboarding crowd…ha
Woo that is fantastic! You know I love this so, So much! And I thought same about that centre seam, I was going to use one piece when I finally got around to making some.
Very cool about the silk too, what a nifty description.
Oh, wow! I love these and you have sent my mind reeling with the possibilities! In a couple of weeks, I’ll be getting my hands on a (used) Brother PE-150 embroidery machine. I don’t know what it’s capable of, yet, but you have given me something to play around with.


 I look forward to seeing what you do with it.