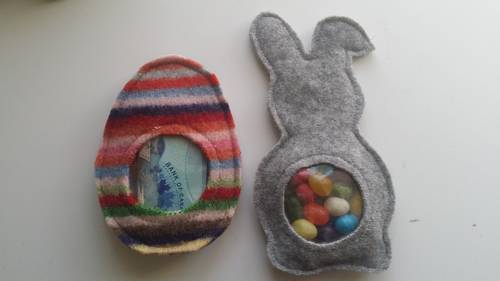
V-2 made with regular woven fabric is here.
There are lots of projects out there like this, I thought I’d give it a try with some colourful felted sweater stash but craft felt would also work just fine. They could be hand sewn rather than machine stitched as well. The fabric leaves fuzz on unwrapped treats though, something to keep in mind.
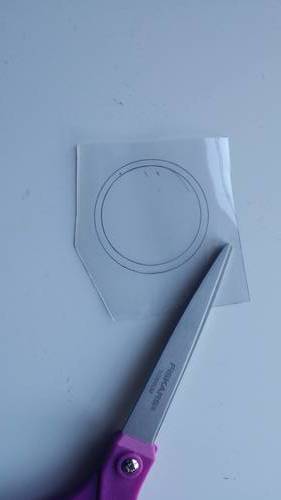
First trace 2 small circles on a piece of plastic.
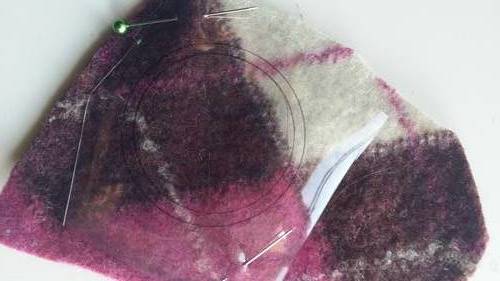
Place that on the wrong side of the fabric and pin in place.
Stitch along the inner circle then trim at the outer circle. *** notes on how to machine sew plastic below.
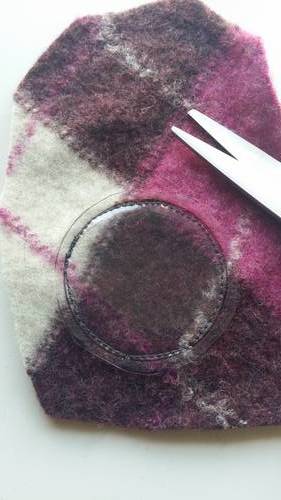
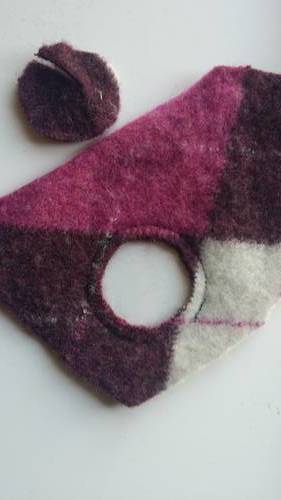
Turn the fabric over and very carefully trim away the fabric inside the sewn line to reveal the little window. This is the “right side” of the front piece.
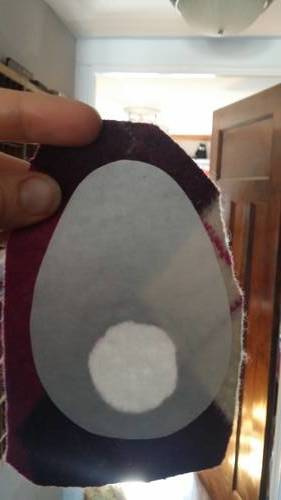
I used freezer paper for the shapes I wanted. Hold the fabric up the light to centre the paper shape on the “right side” of the front piece. Gently press in place with a hot, dry iron for only a second or 2. Take great care not to melt the plastic! Iron around the sides of the shape. You could also opt to draw directly onto the fabric, whatever works best for you.
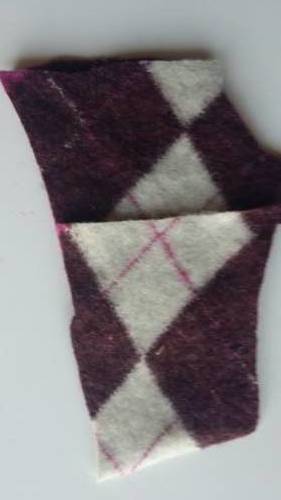
The back will be 2 pieces that overlap about a half inch or so.
Pin the front and back pieces together right sides out and sew around the edge of the freezer paper (or drawn line) .
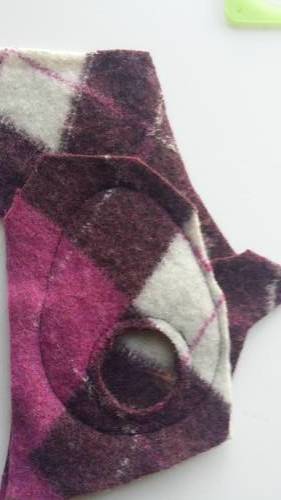
Peel off the paper, trim very close to the stitched line and voila!
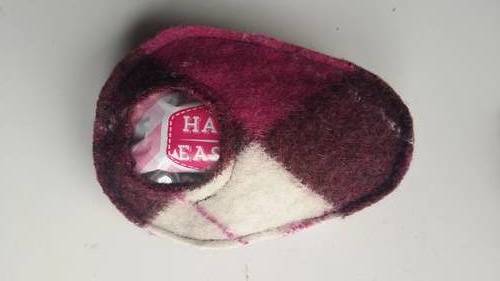
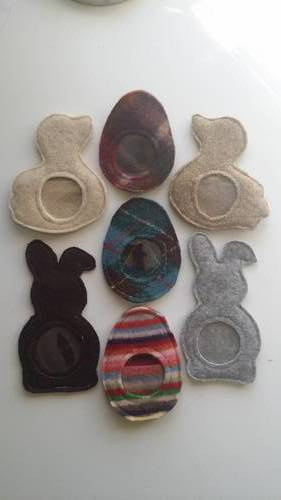
I did a variety of shapes. Loops could be attached to the tops of these to hang them up. They’d look cute on a tree or hidden in unexpected places for older kids to find on a treat hunt.
*** how to machine stitch plastic.
There are special sewing machine feet available for sewing leather, plastic, and other materials that “stick” to regular presser feet, they are made of telfon and usually white plastic.
An alternative is to place a later of tissue paper between the plastic and the presser foot (or the bottom of the machine if the plastic is the bottom layer being sewn).
Another alternative is to apply a layer of “magic tape” to the bottom of the presser foot. That’s the one that is slightly hazy looking. It’s quite slippy and should not stick to the plastic.