I thought I would share my process on making master boards.
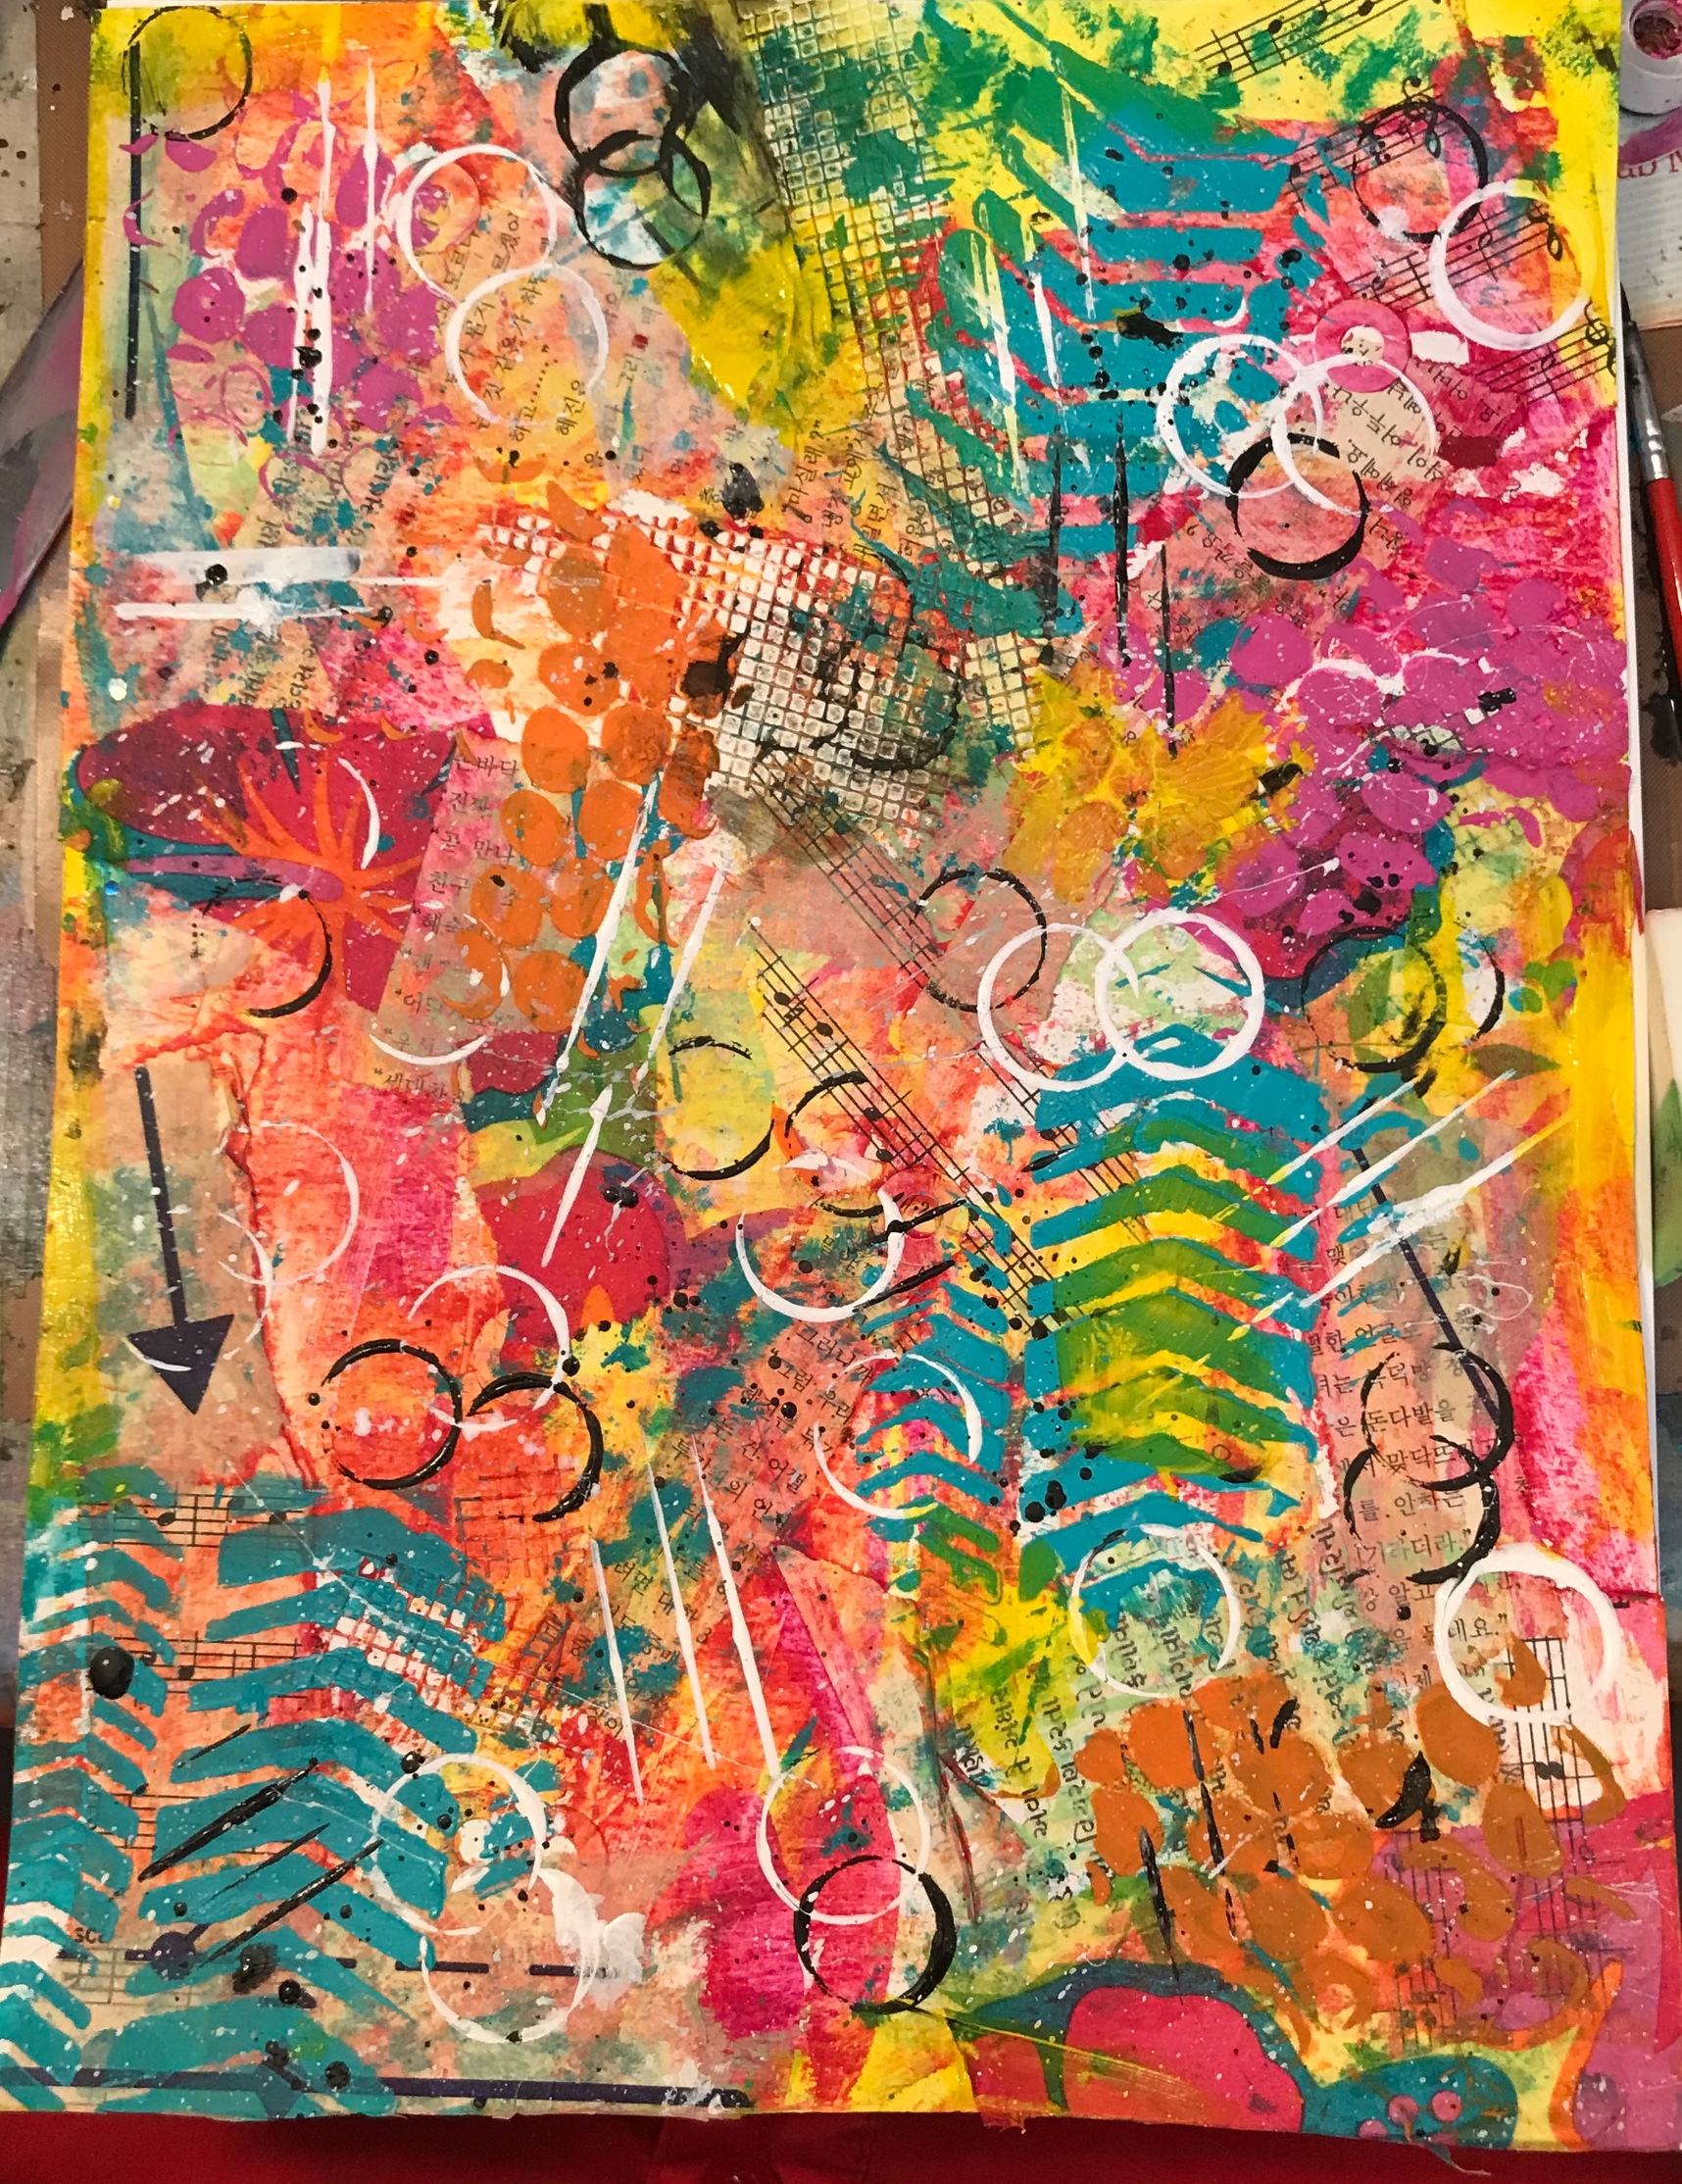
If you don’t know what a master board is, it’s a decorated/patterned paper/background an artists creates to use as the base of other art projects like ATCs or journal pages. Generally it’s a good way to use up paper scraps or to cover up ugly paper you don’t like.
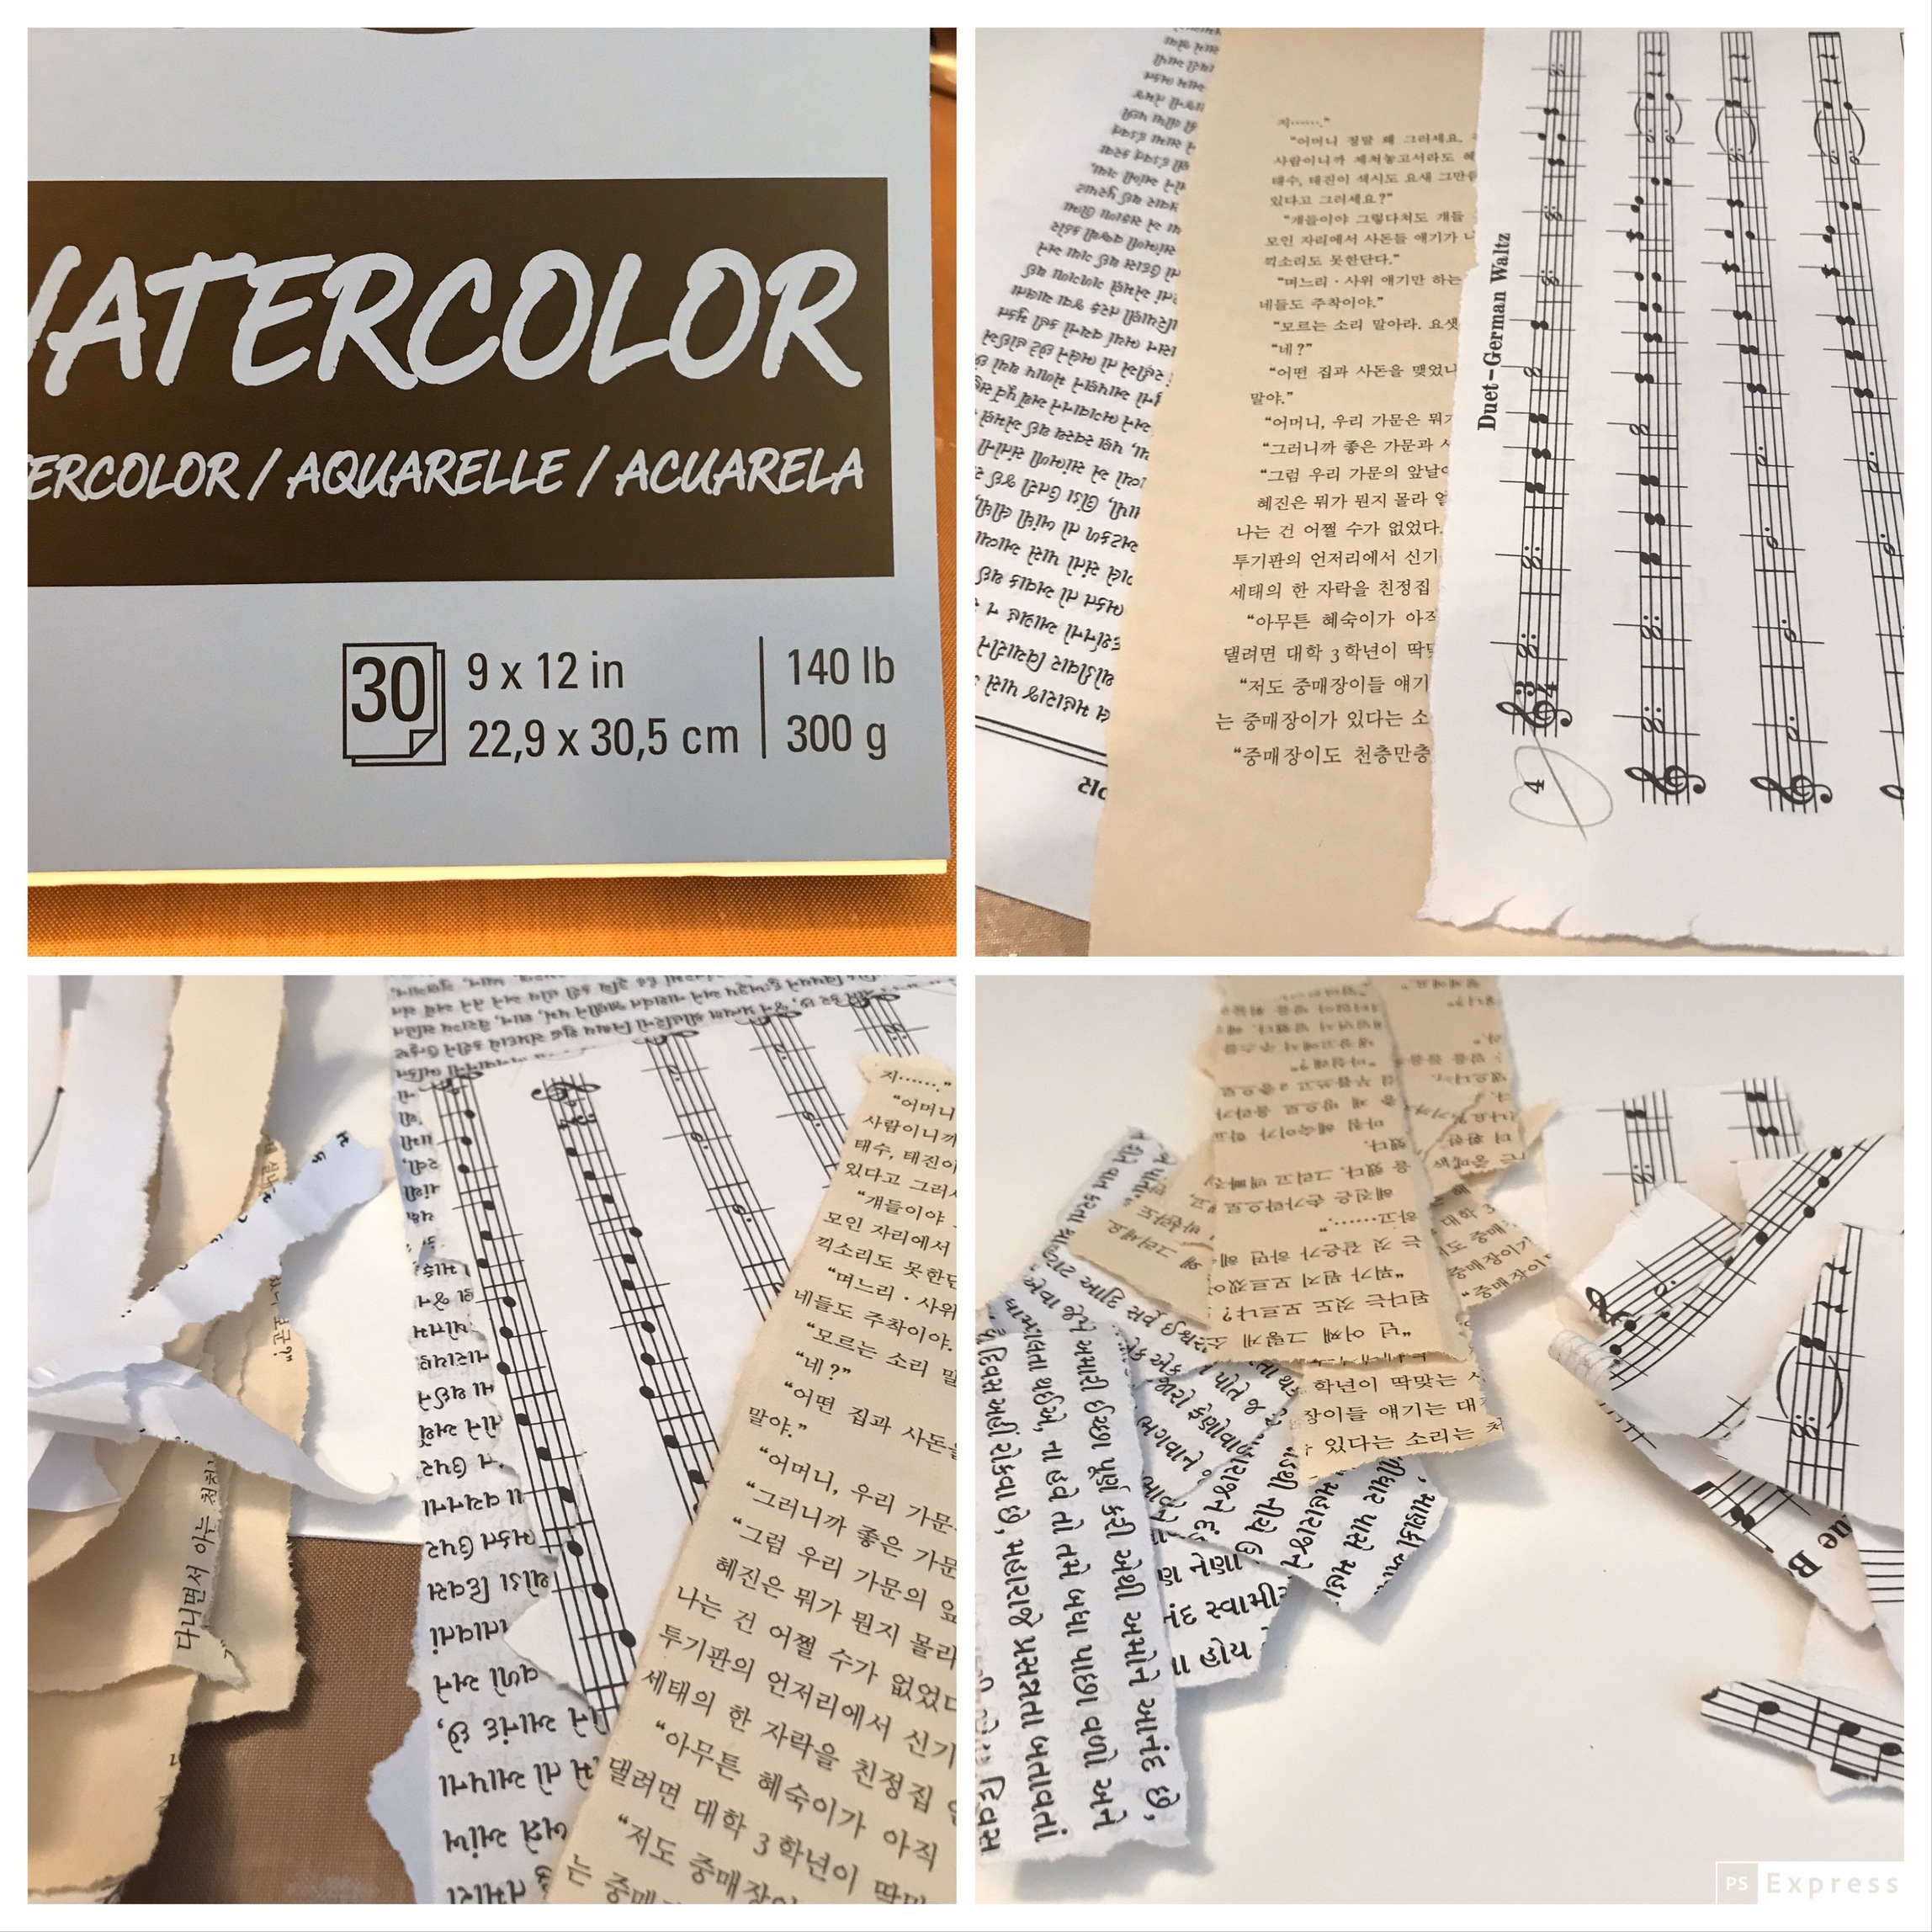
This master board I used 140lb water color paper but I’ve used mixed media paper, ugly scrap book paper, paper bags, book pages, etc.
Then I gathered several book pages. I like foreign text so I don’t get distracted by the words. I also like using music sheets. You could also use magazine papers, scrapbook paper, or any other papers you have.
Then I tear off the white edges. This is not necessary but I don’t like all the white space. Then I tear into smaller pieces. This is probably enough for 3-4 master boards of this size. I usually work on several at once and go back and forth as one dries.
I use collage paste to adhere the book pages down. You could use mod podge, Elmers glue, gel medium, or whatever else adhesive you like.
Then start gluing down randomly. Sometimes I cover the whole background with book pages but this time I just did a few pieces.
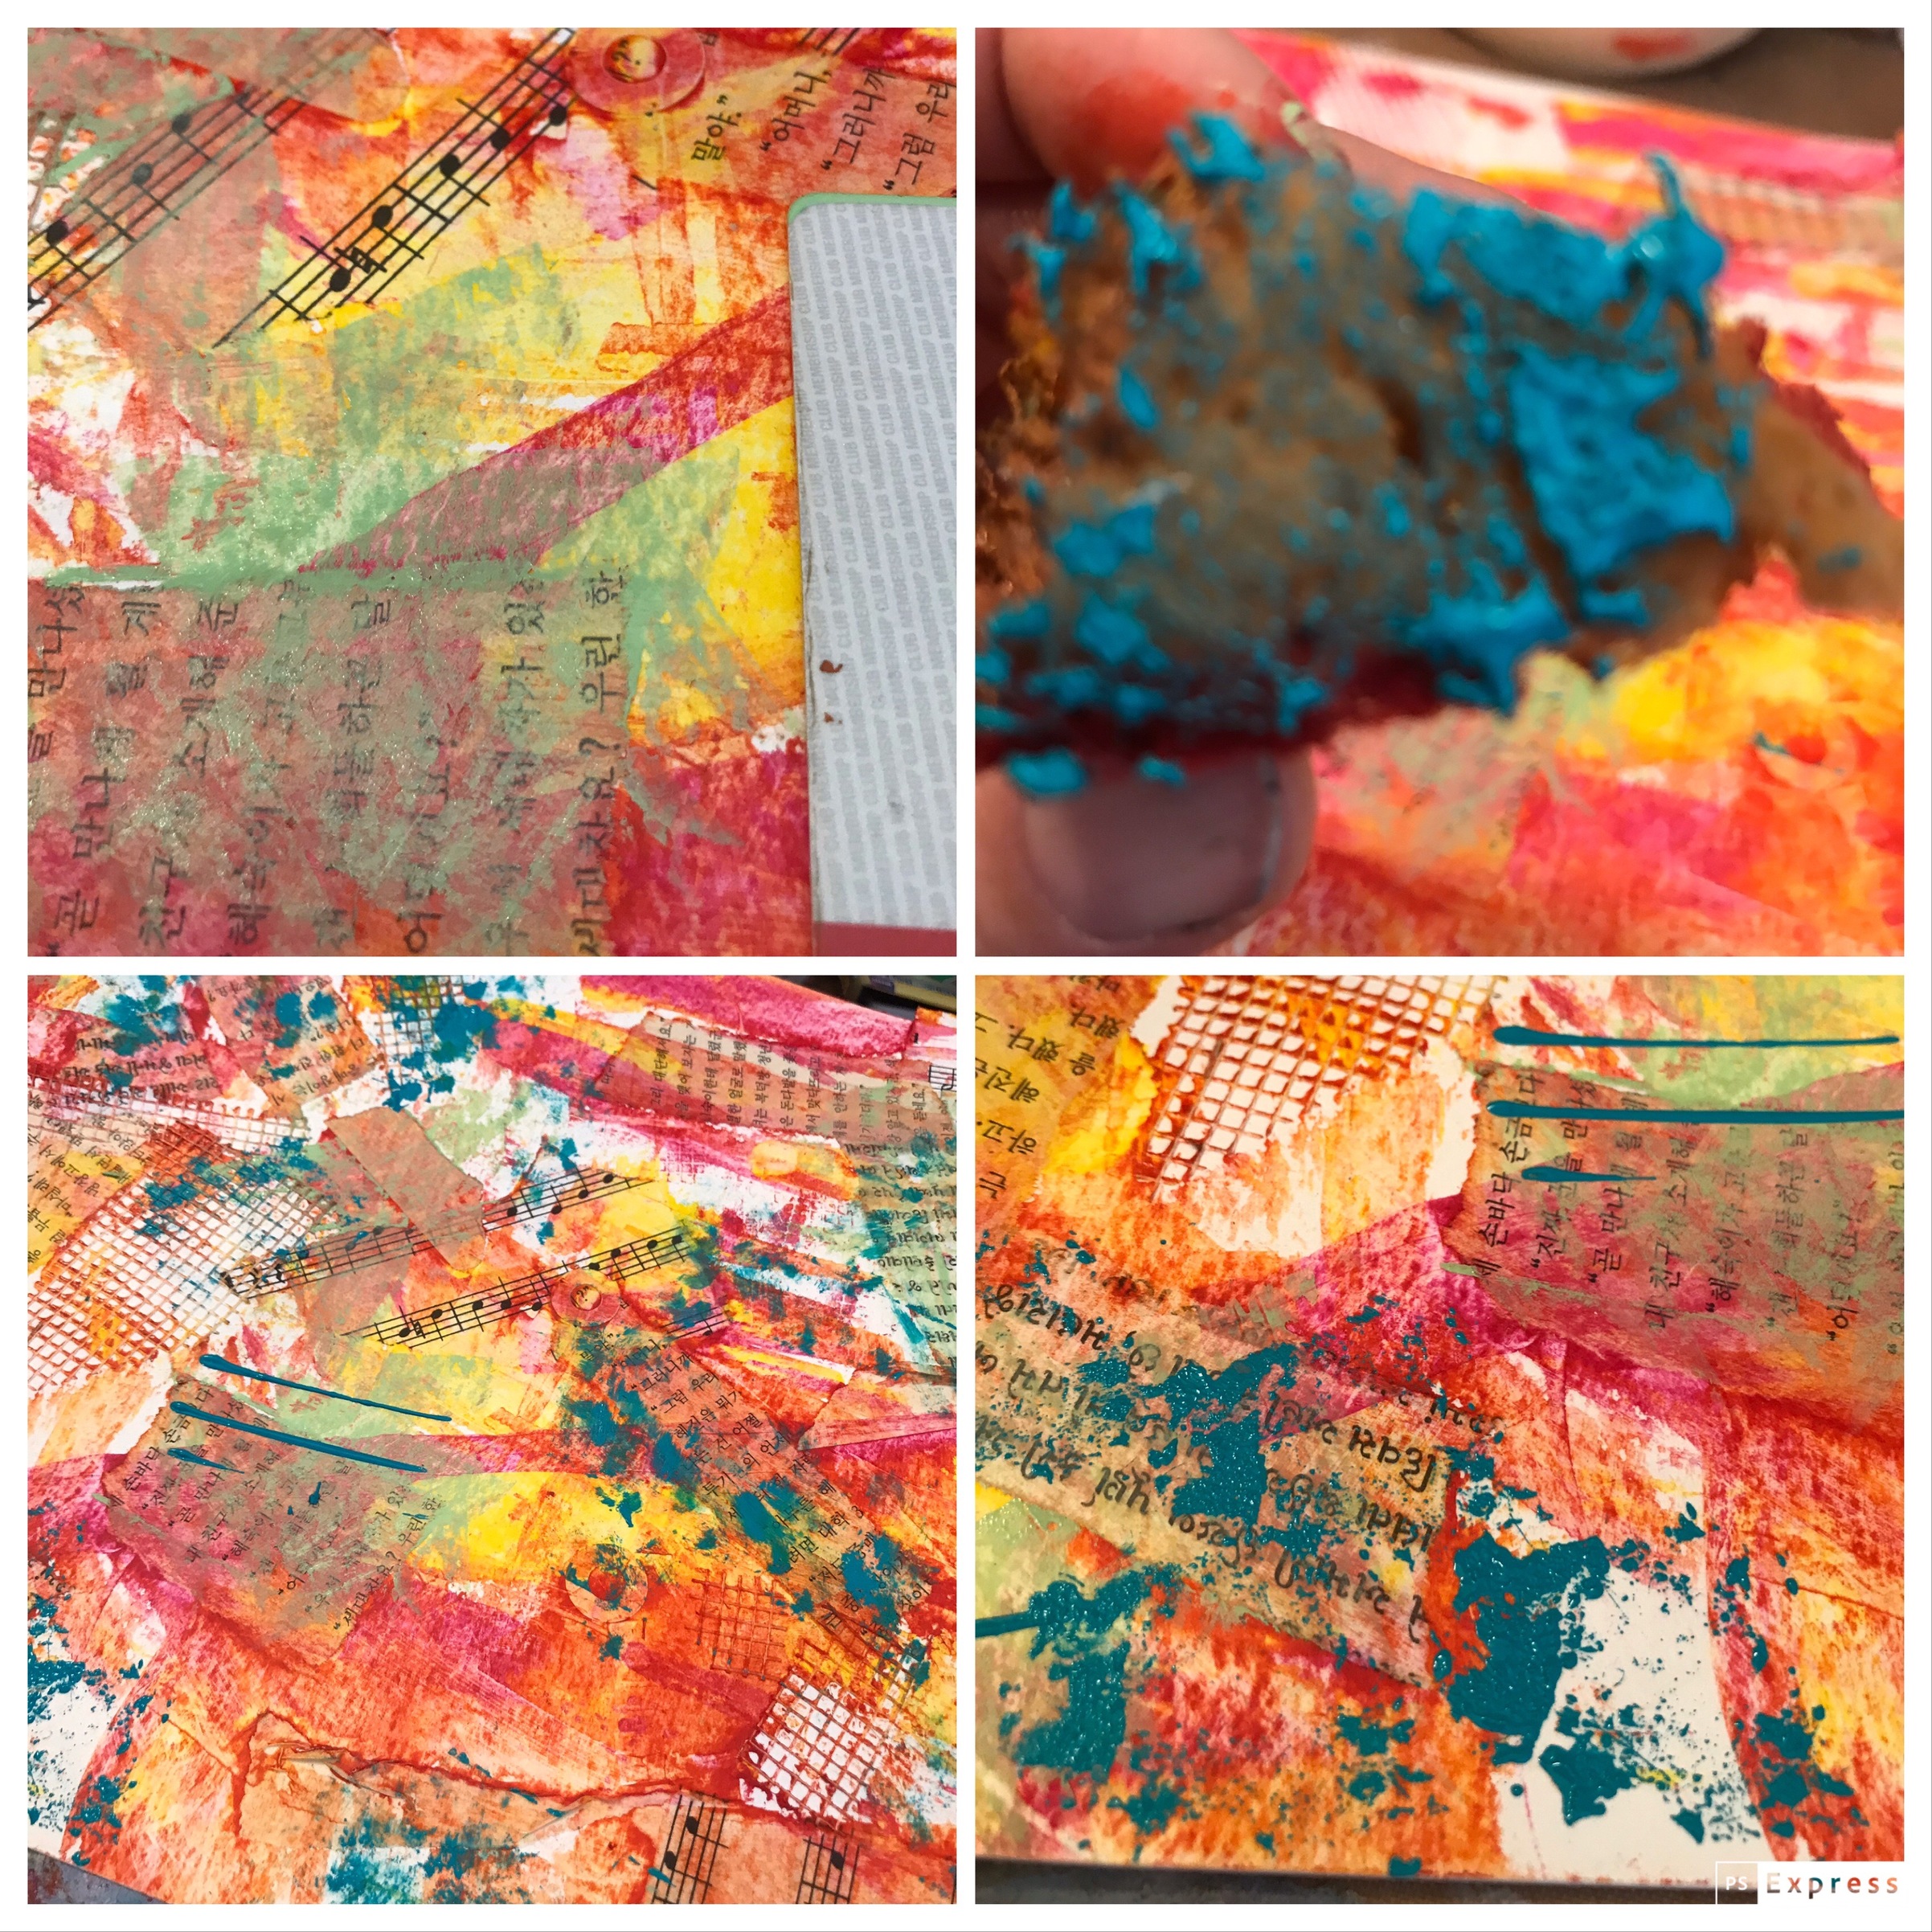
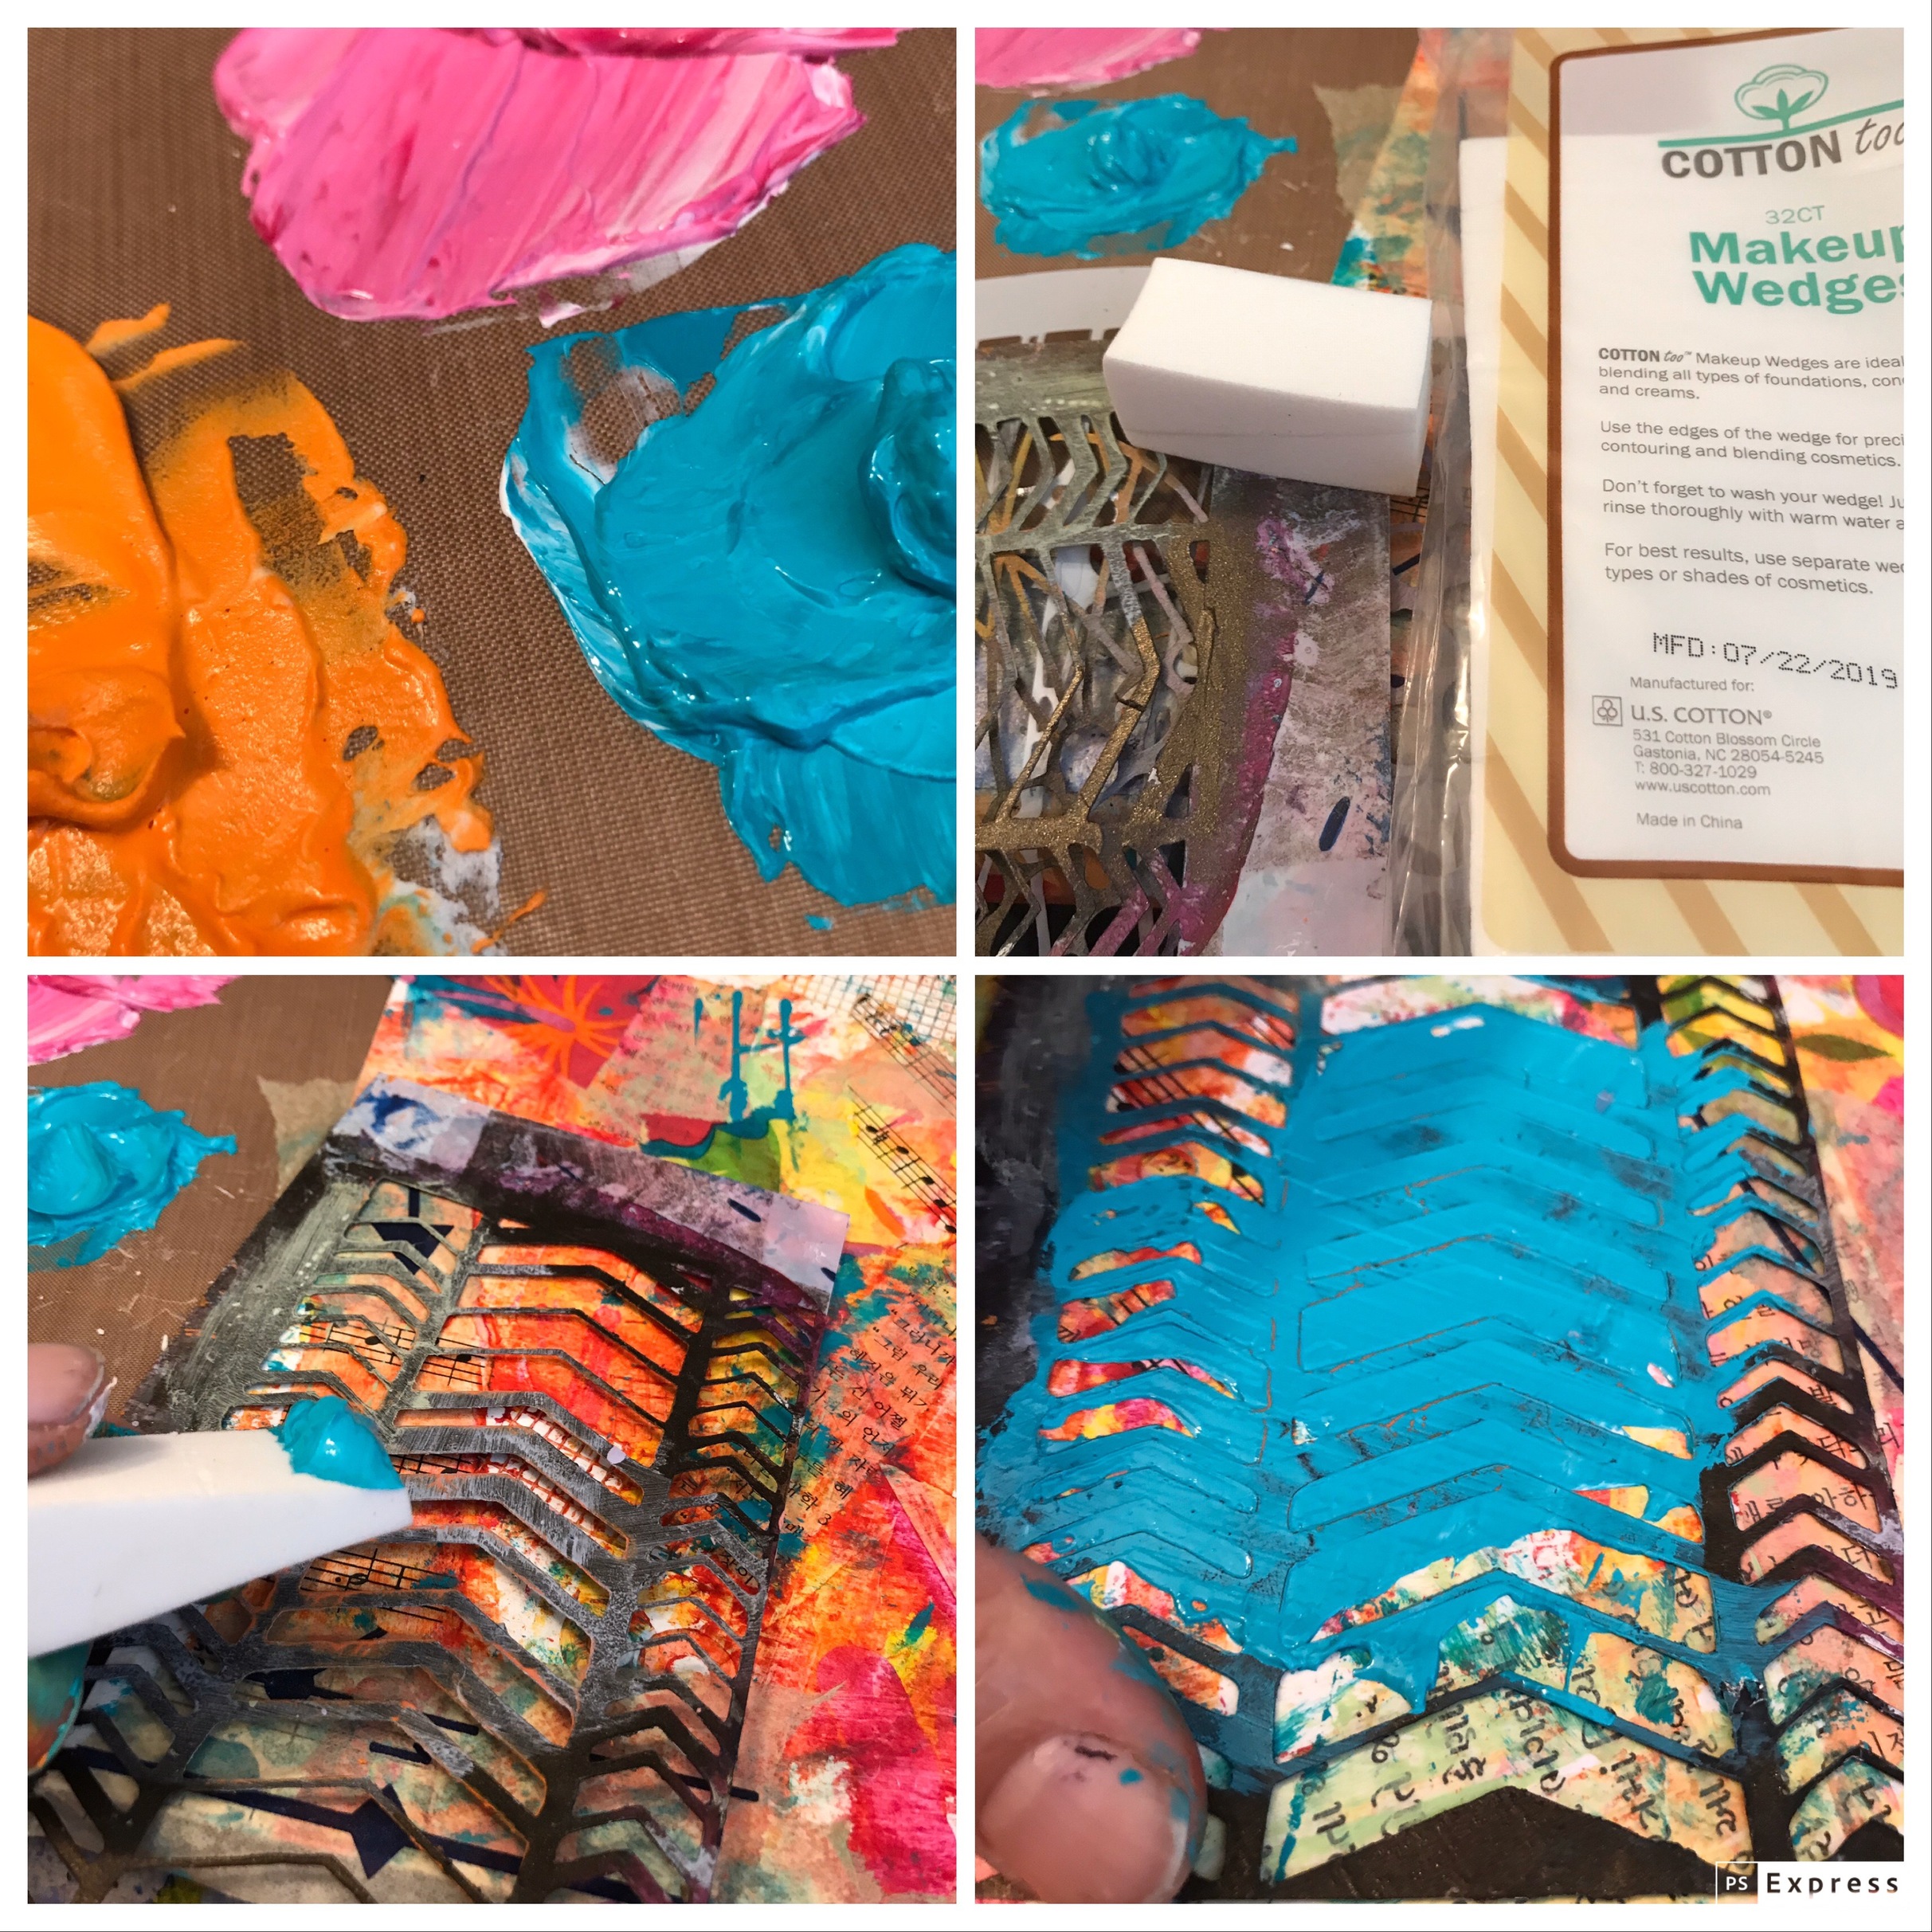
Now for more texture. I’ve got masking tape, dry wall tape, and notebook hole protectors.
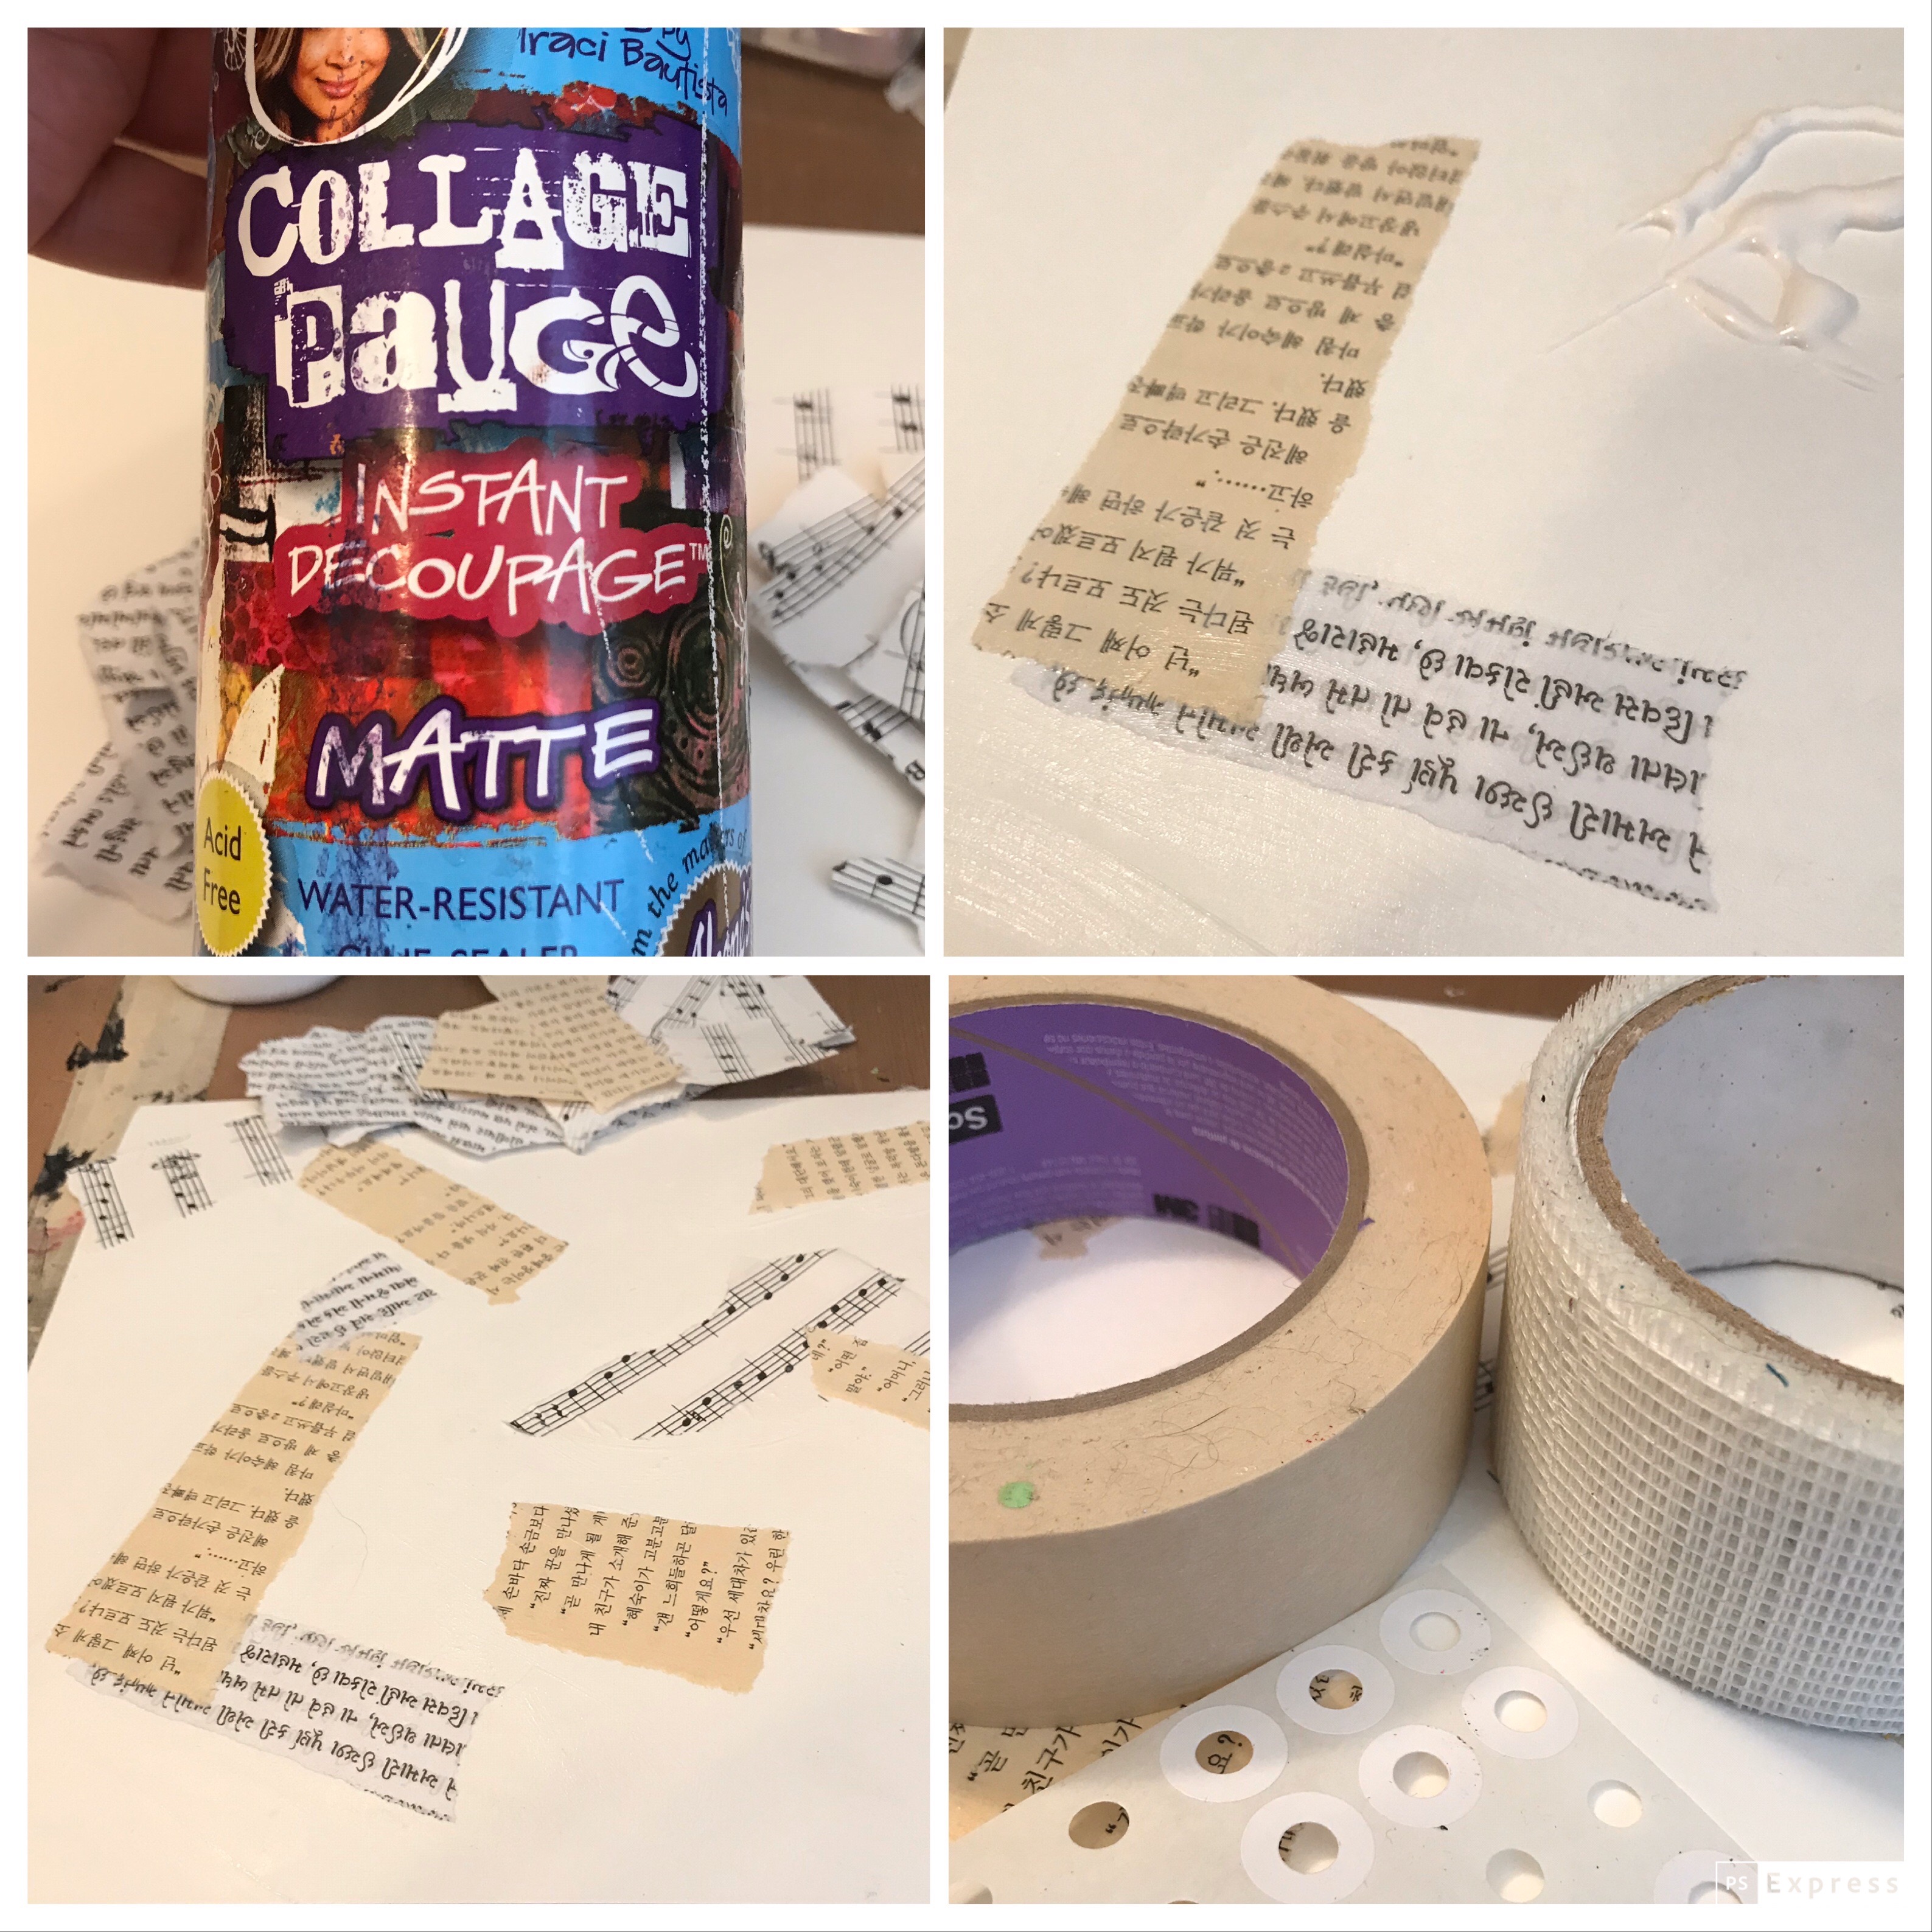
I randomly added chunks of dry wall tape, masking tape, and hole protectors. This I just use a little. While they add texture they can interfere with paint.
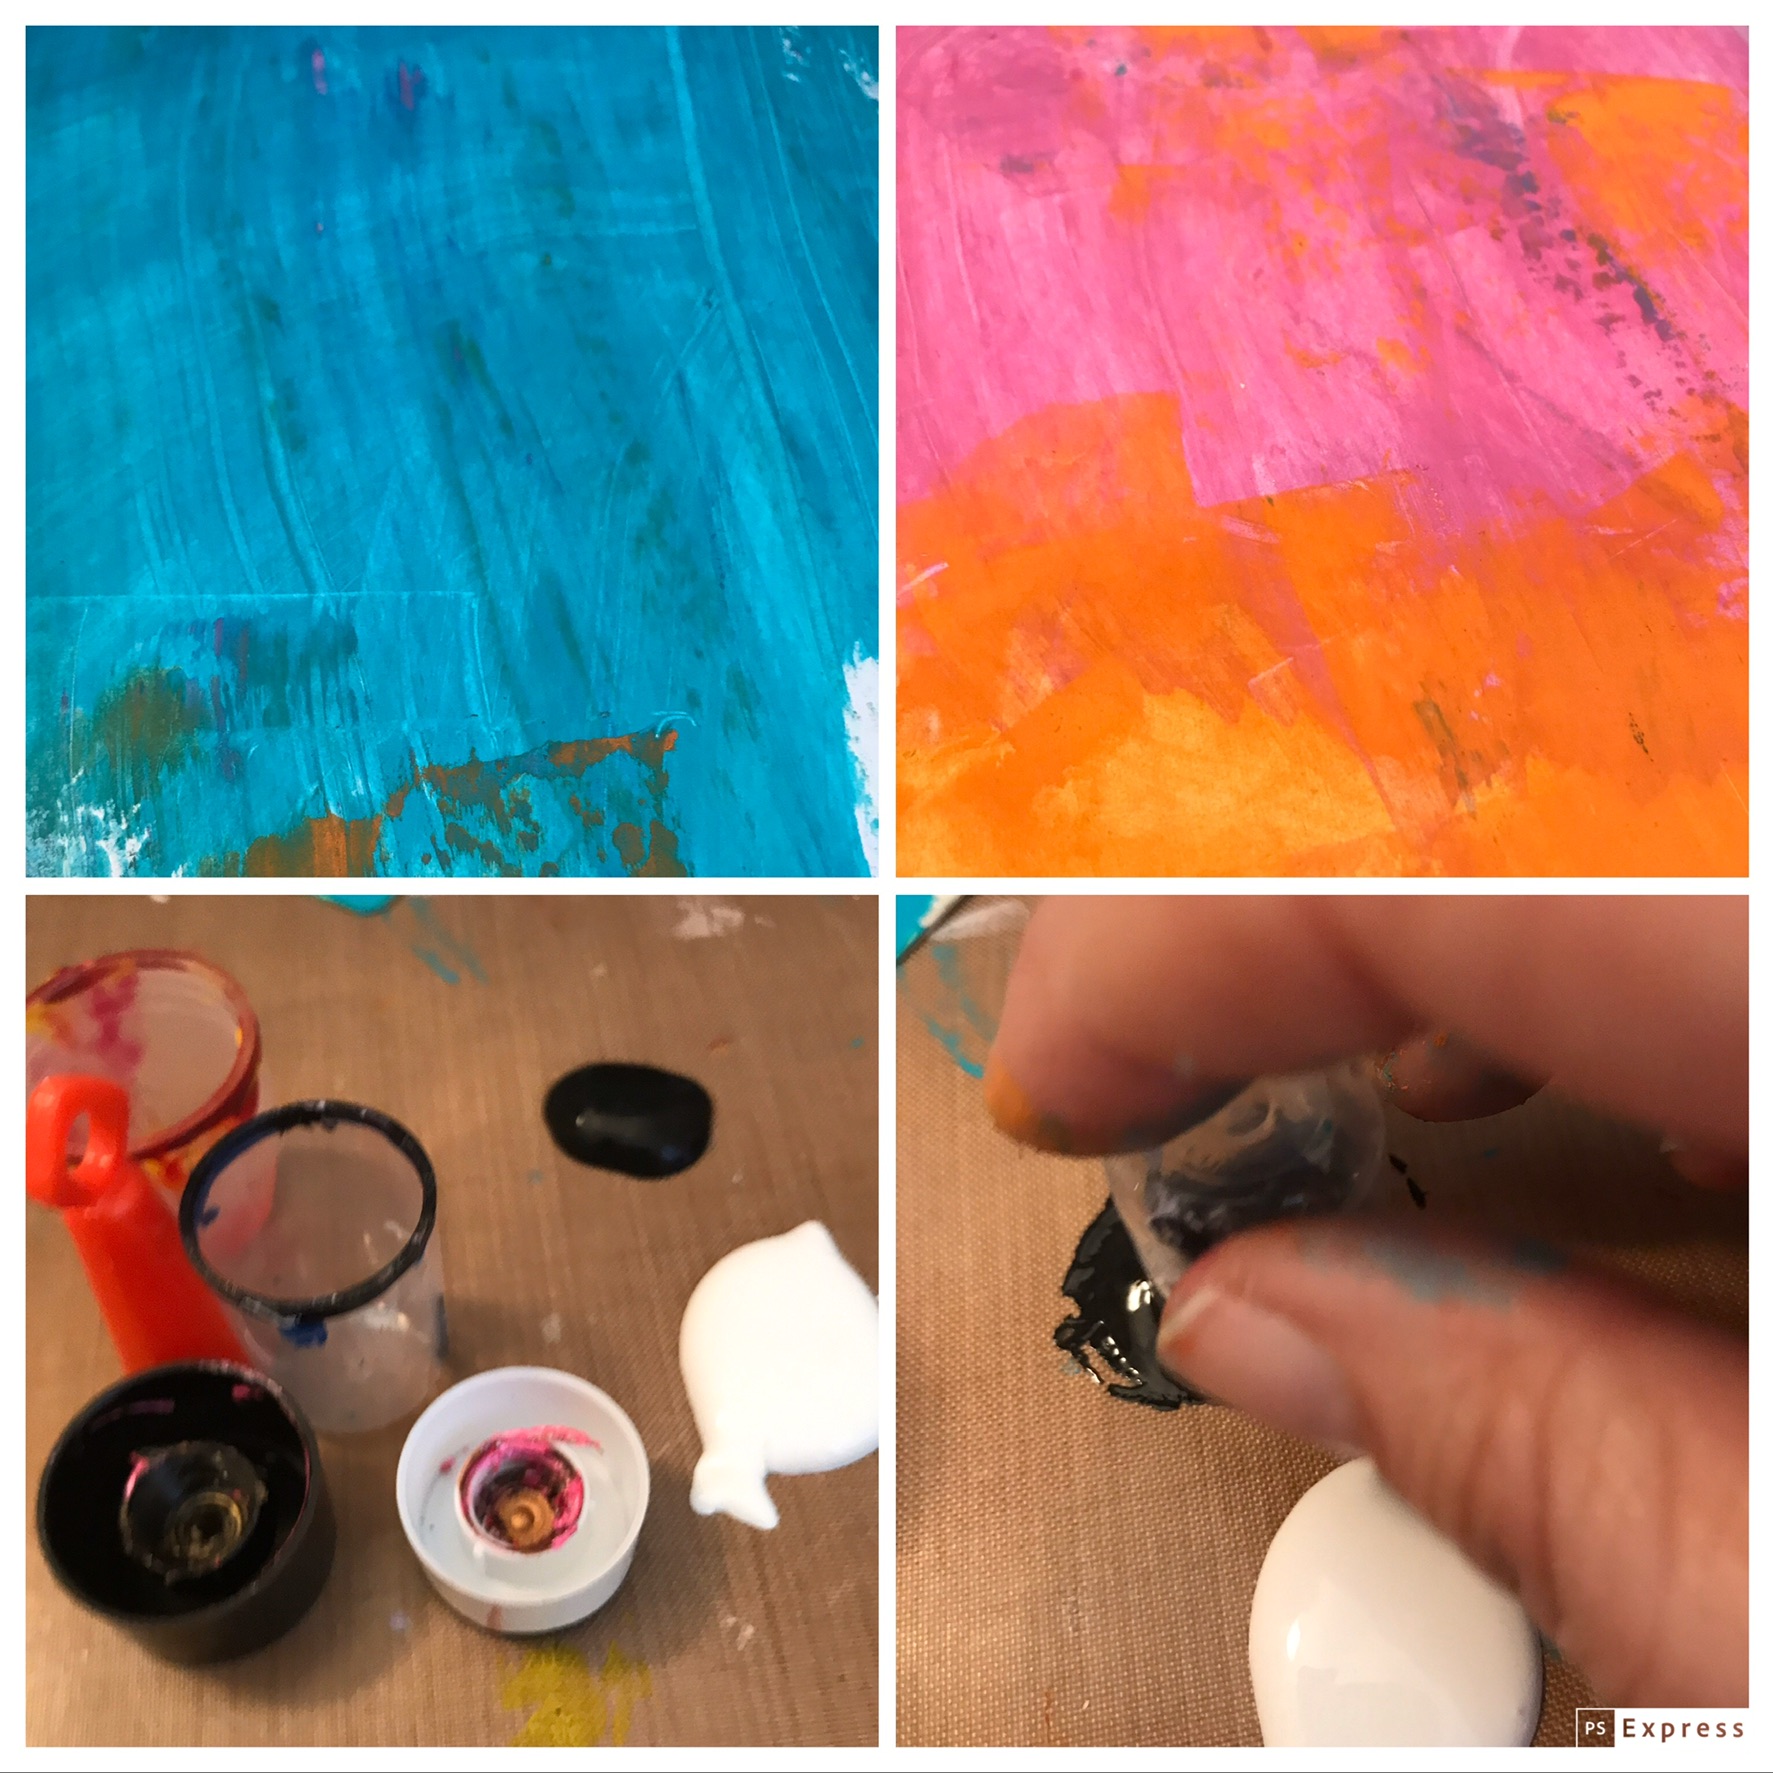
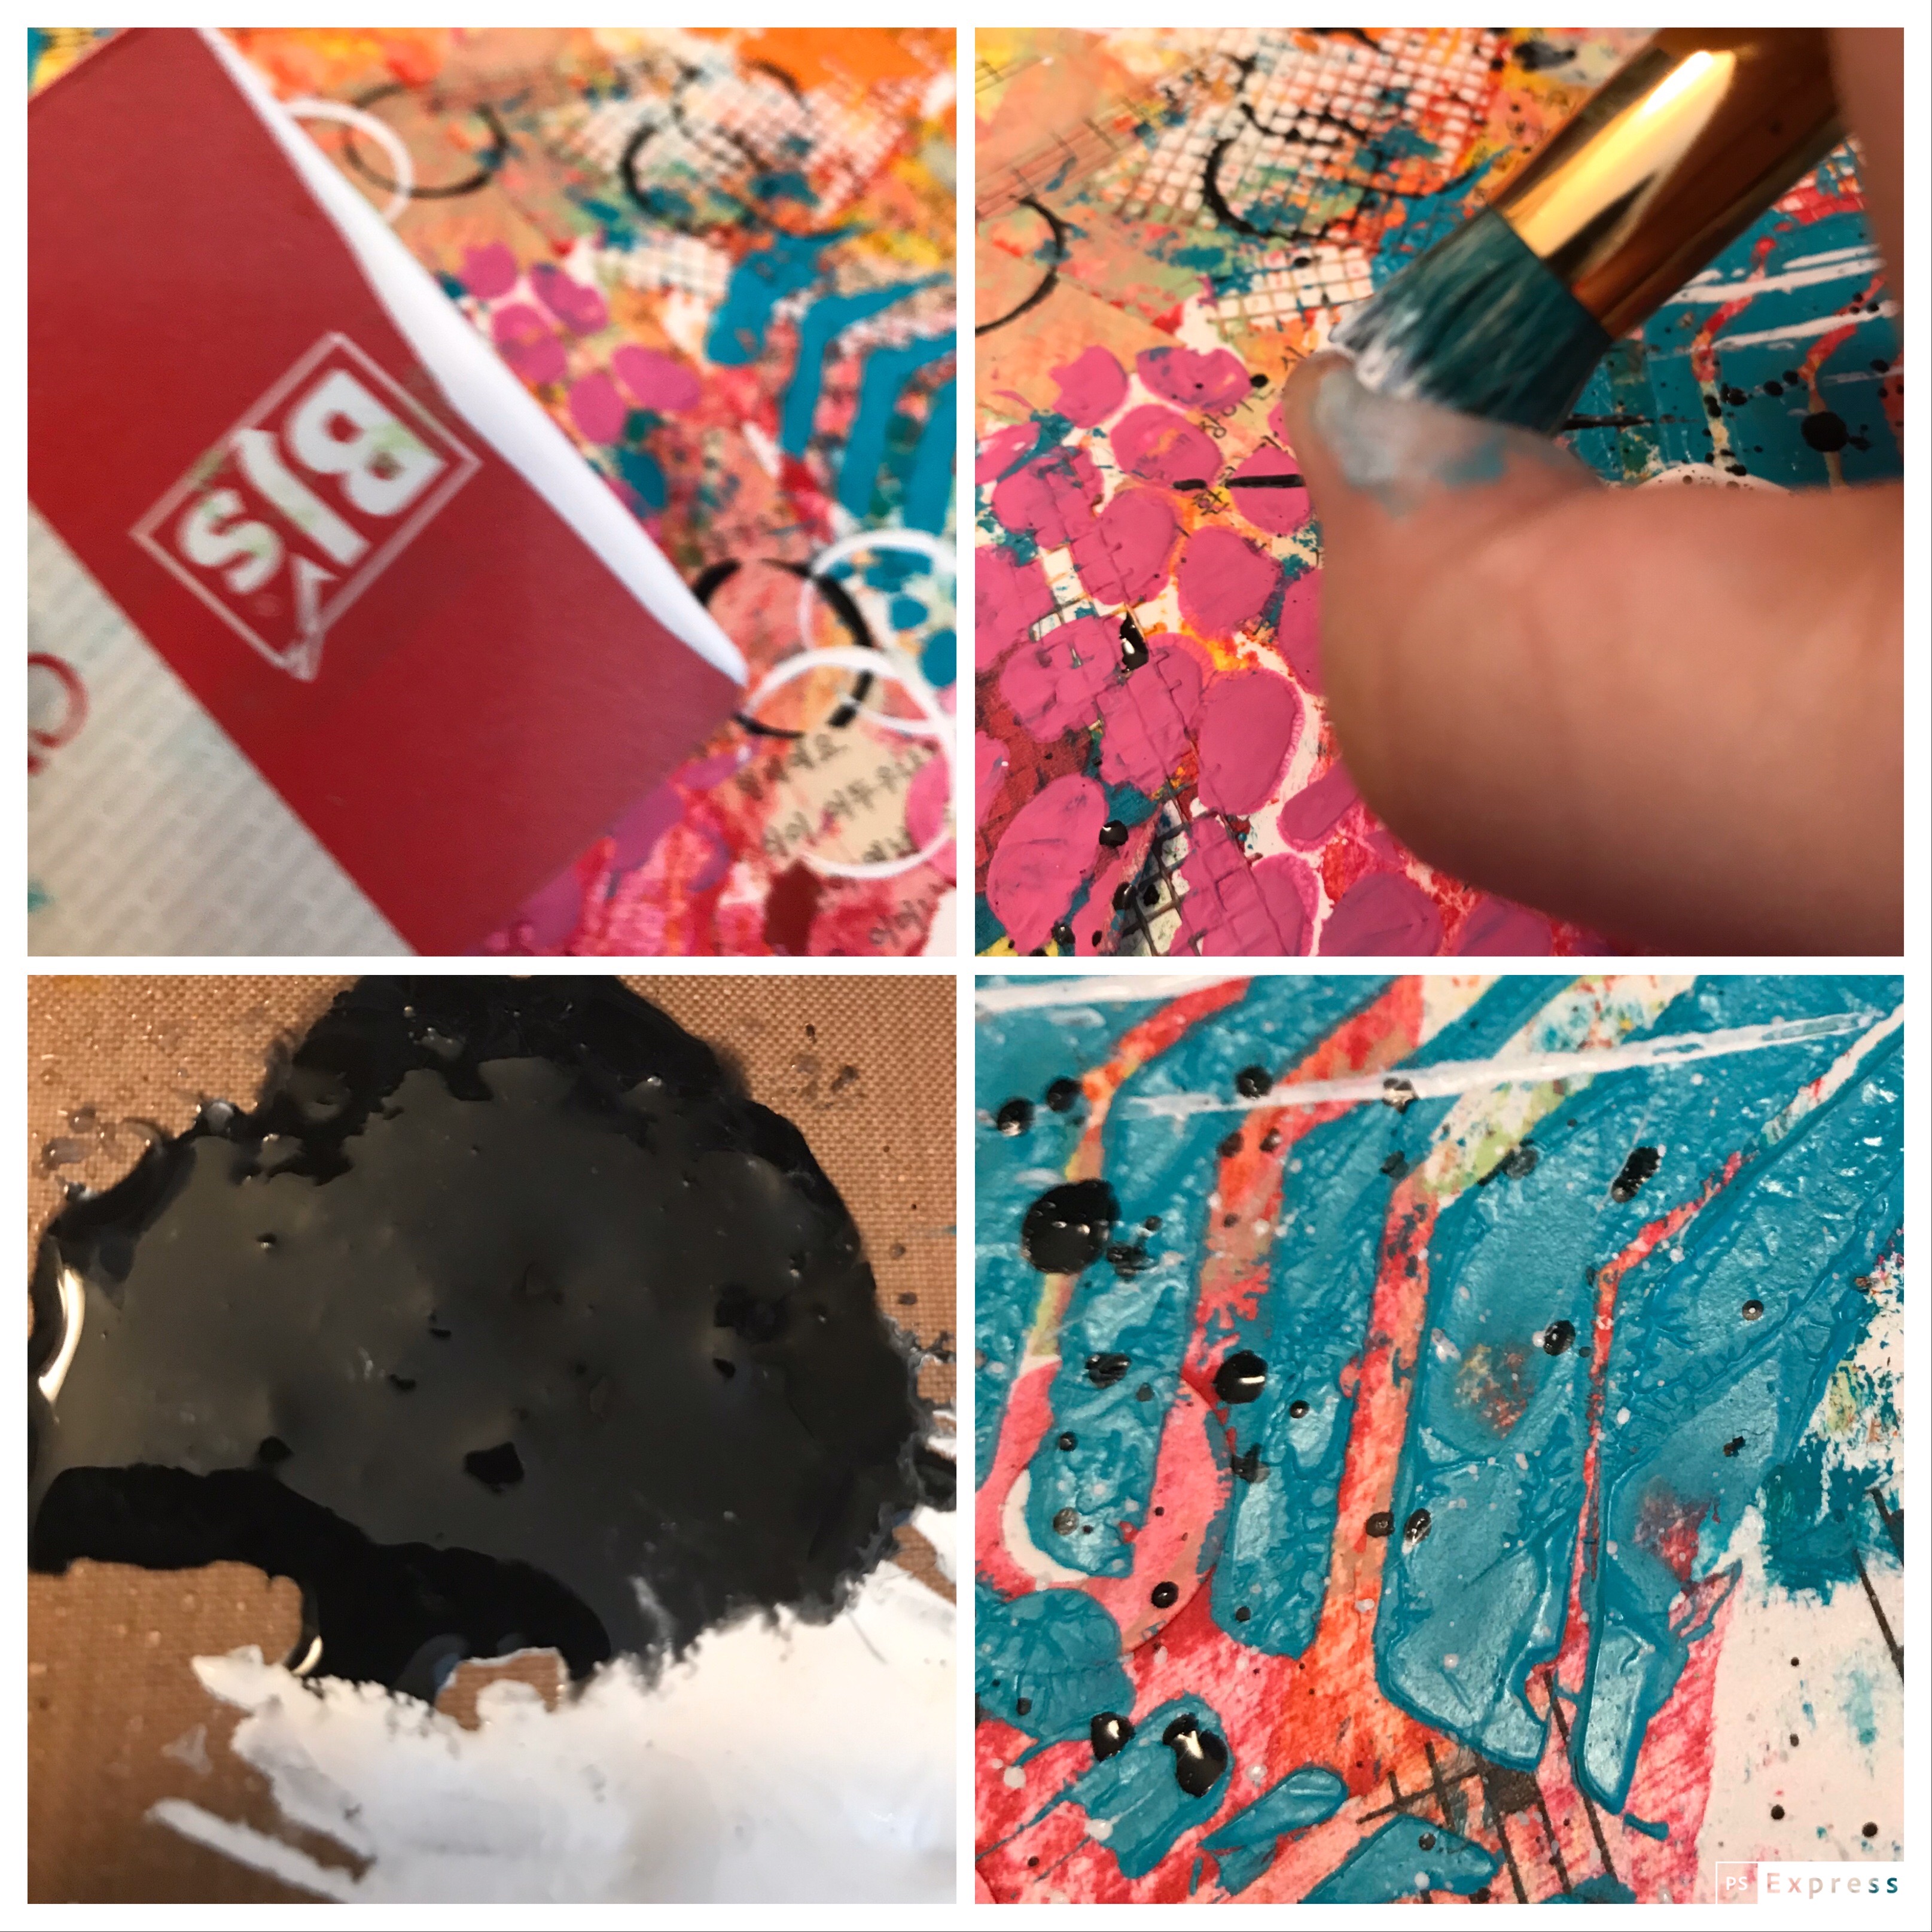
After I’m done adding I add a few dots of paint and get out an old credit card or club card.
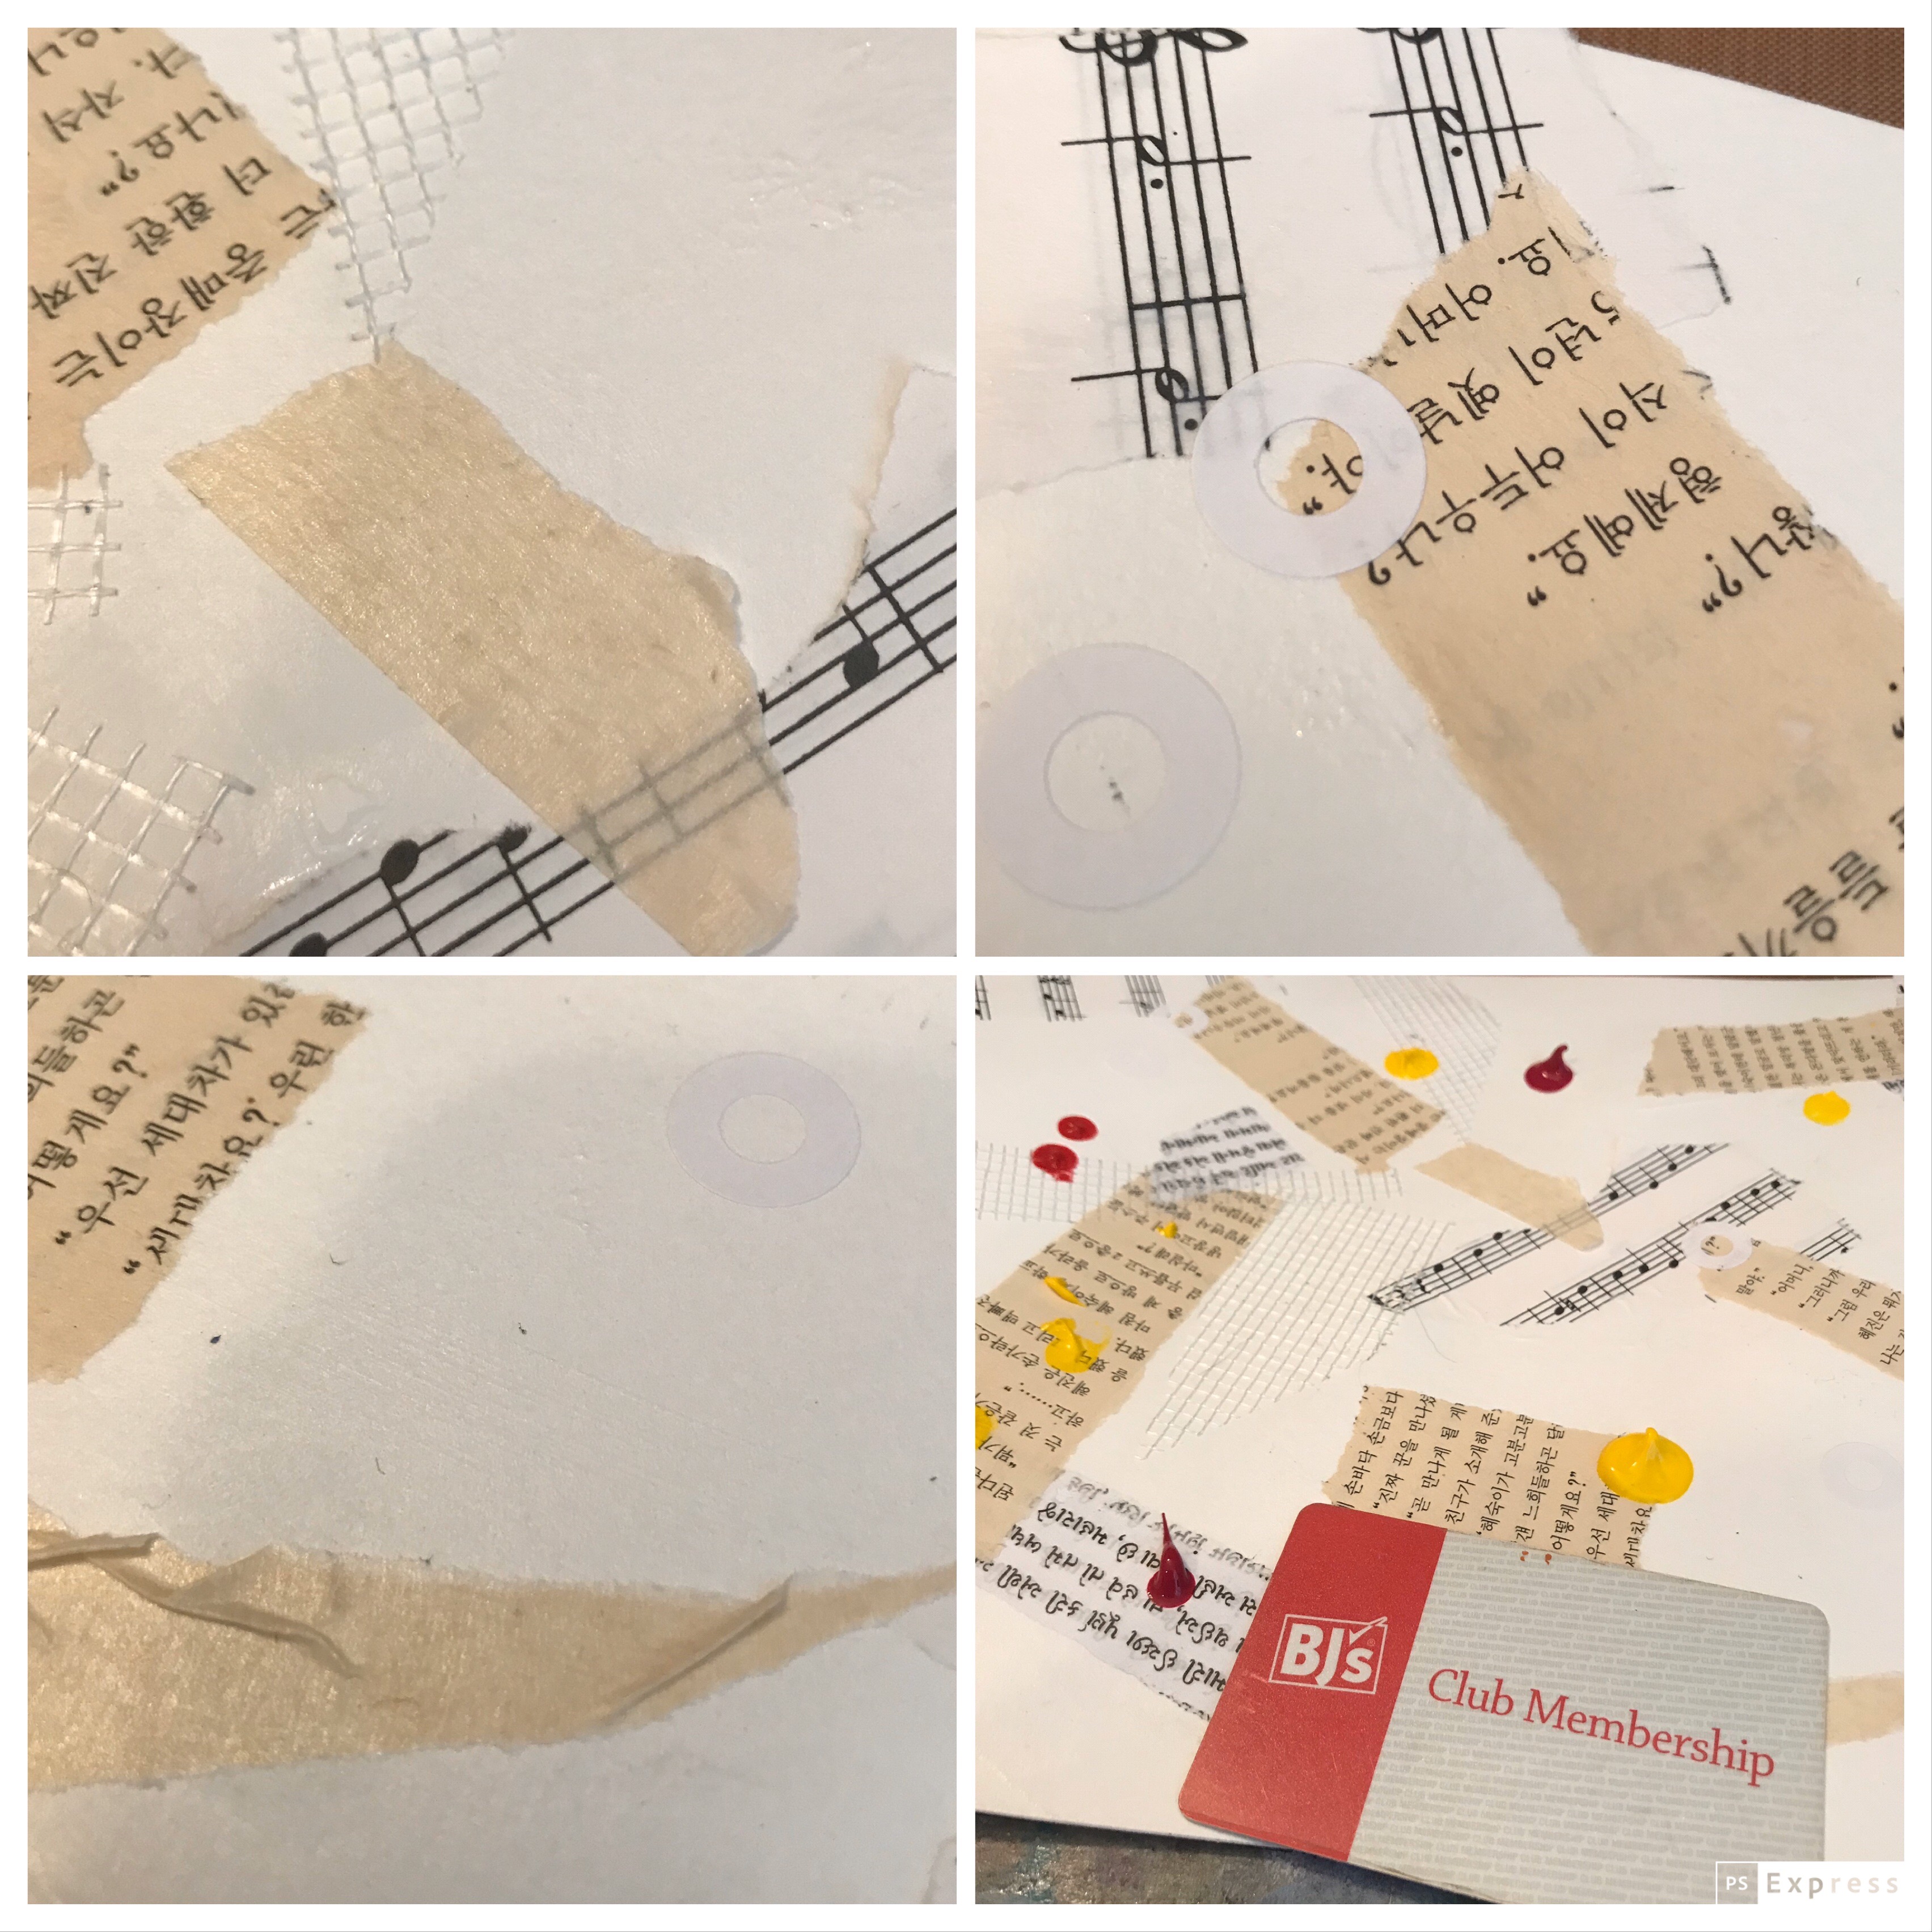
and scrap the paint around. It makes the paint go on in very thin layers and dries quickly
If paint pools up around the dry wall tape you can use a bit of paper towel to blot.
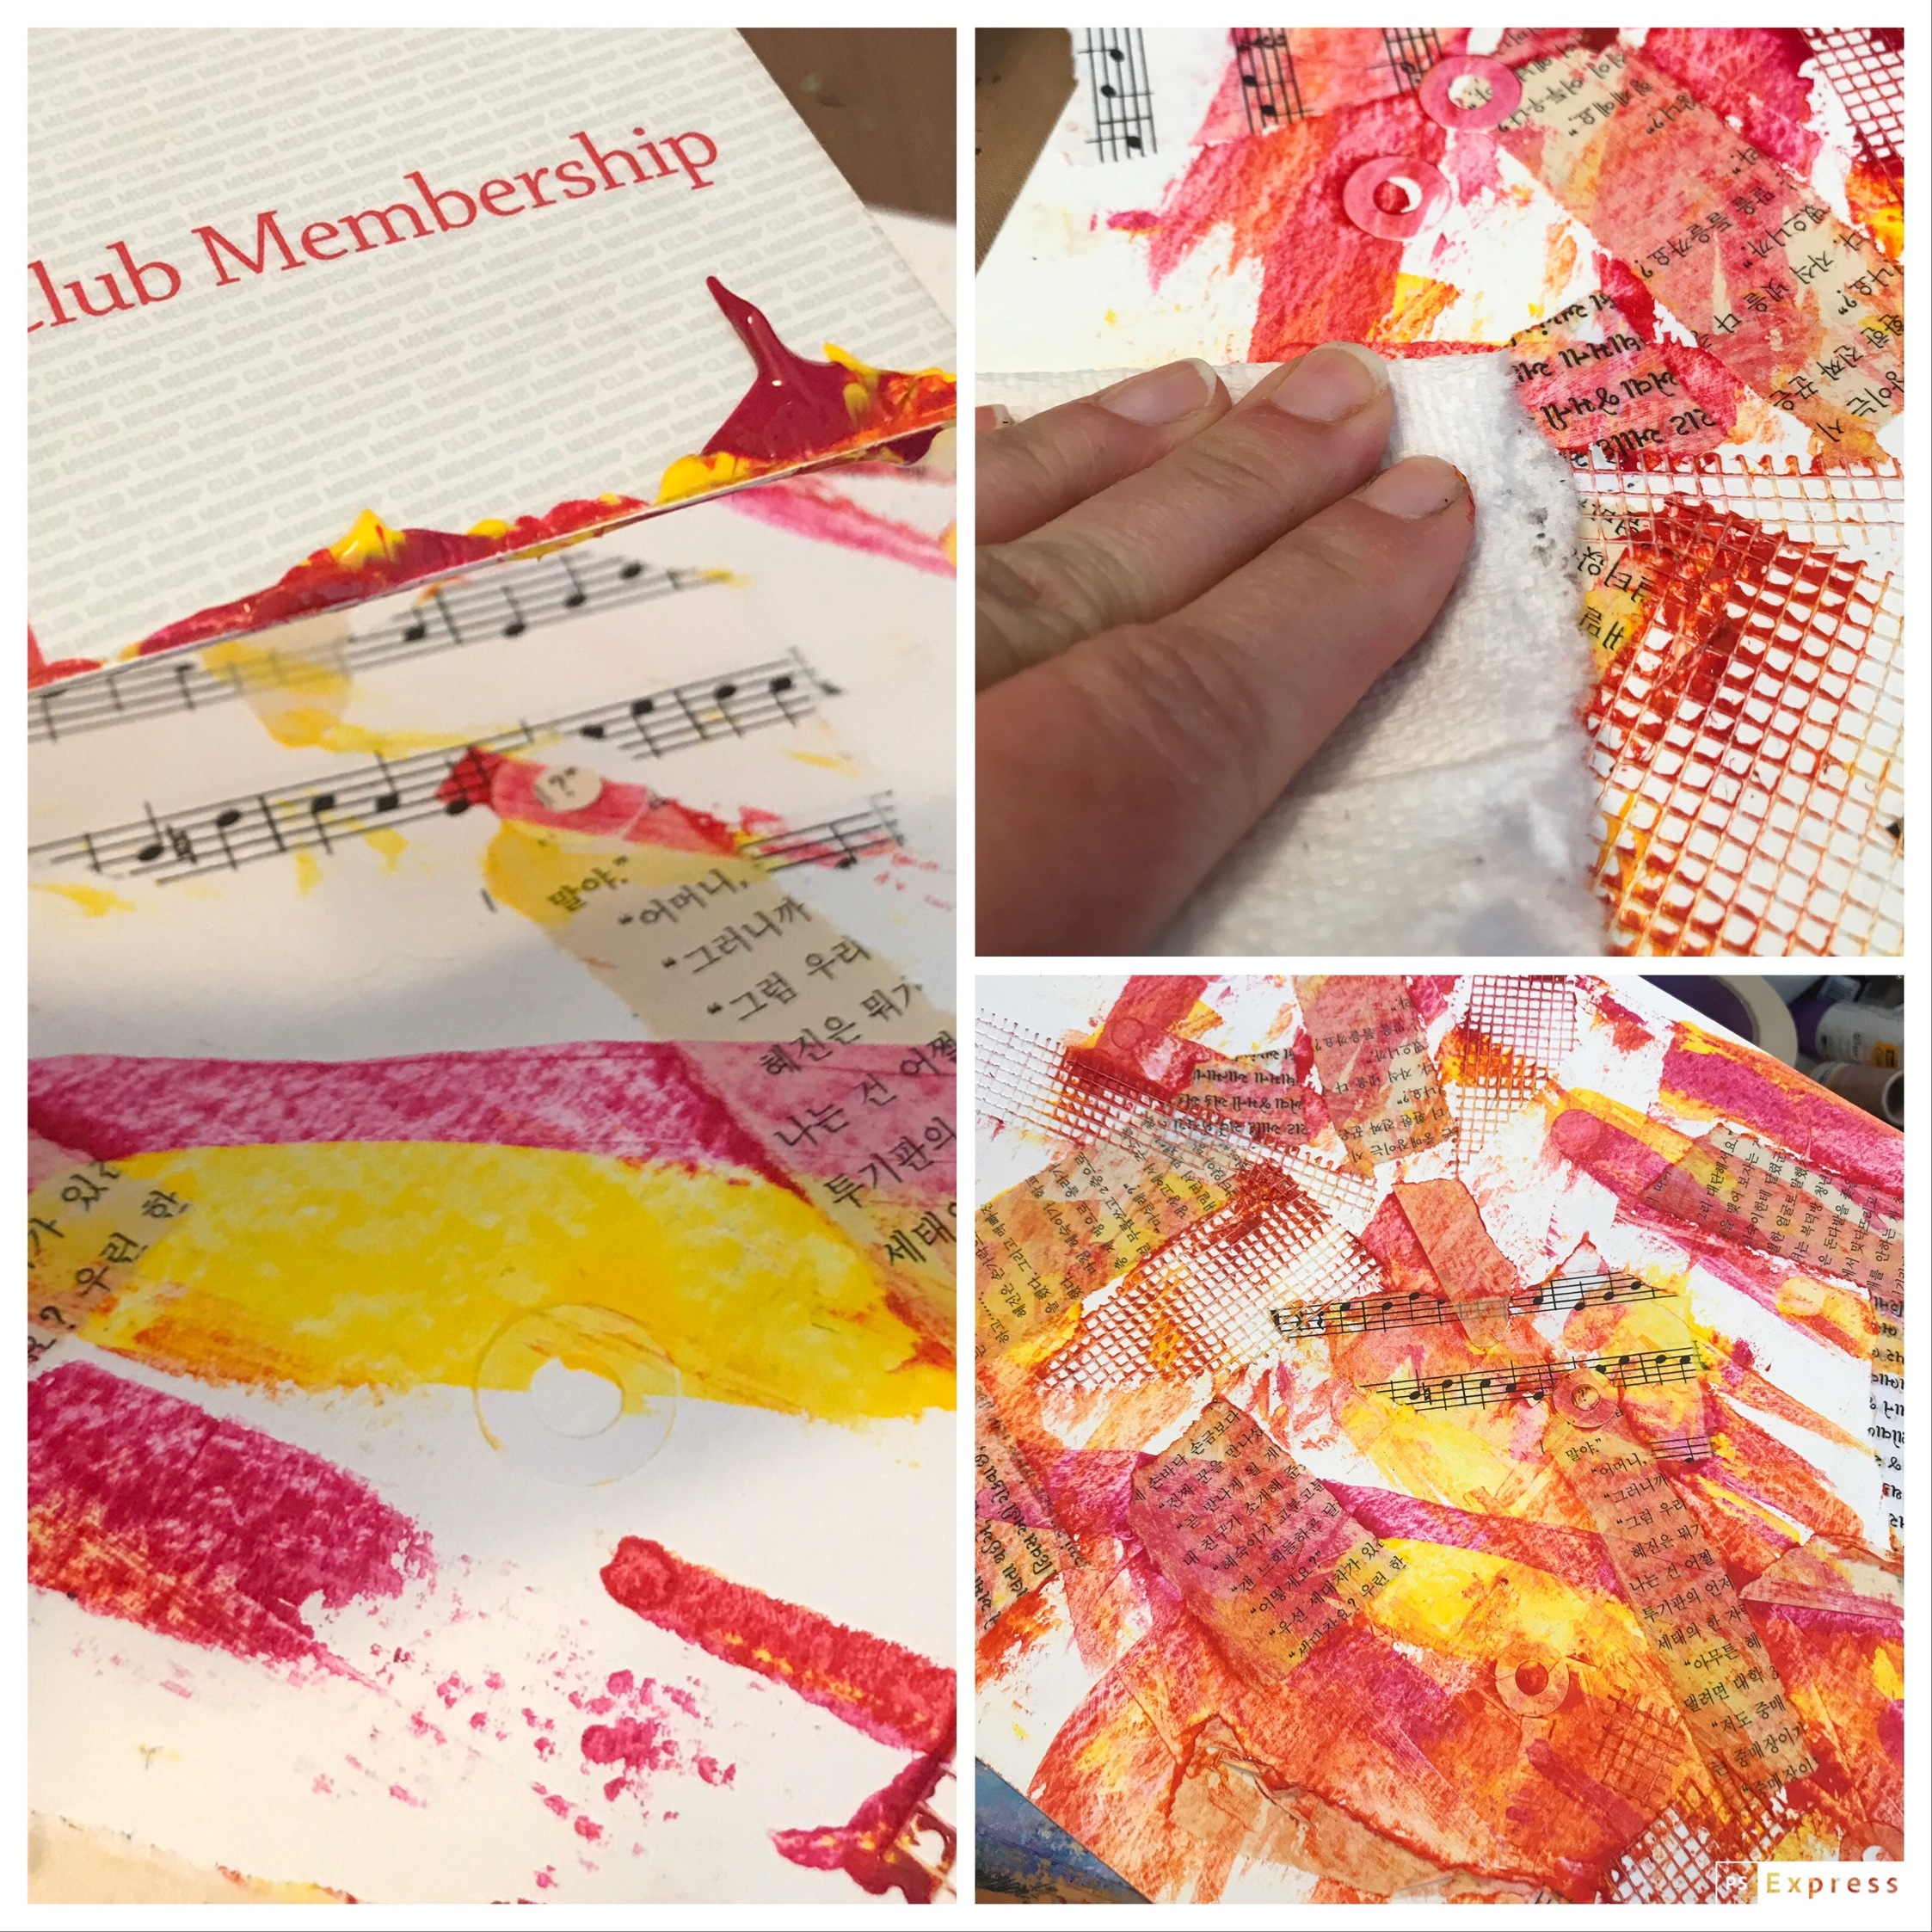
Then I dip the edge of the car in paint and press onto the paper to create lines.
After I did this I decided this green was not dark enough.
No matter, it can be covered up.

I scrape in the too light paint and use a chunk of sponge to sponge on a darker color. And added some lines using my card.
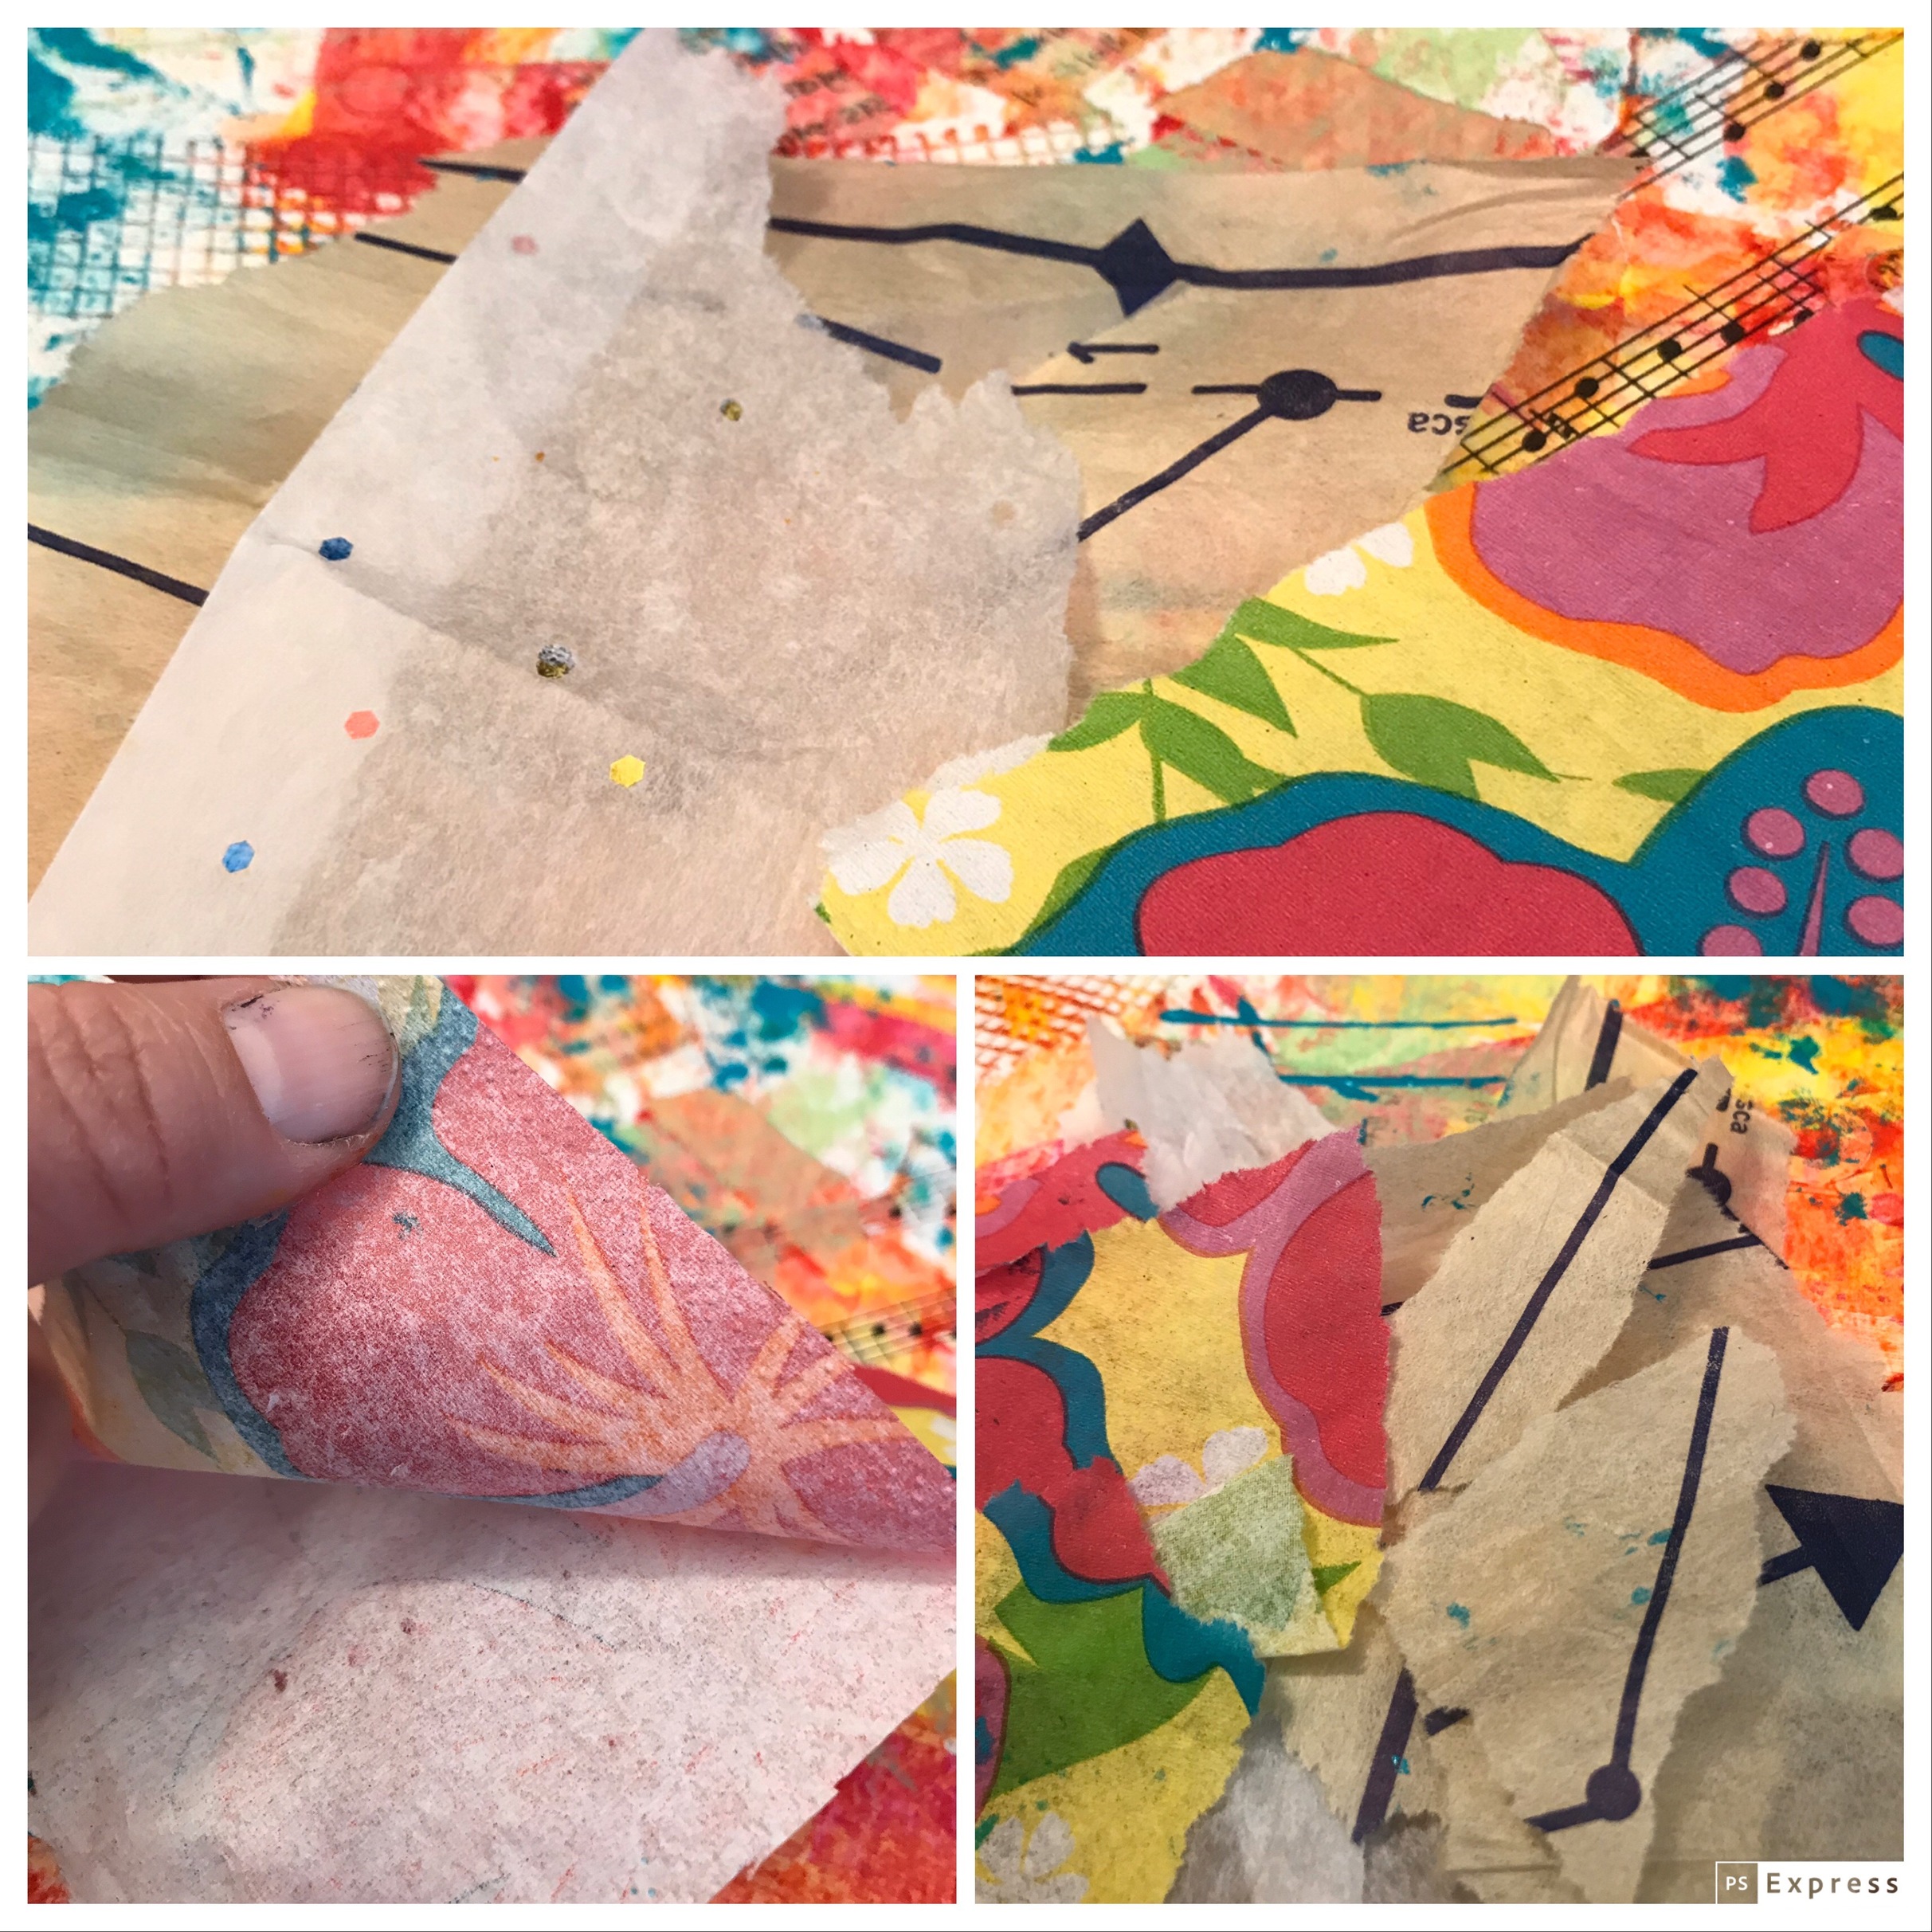
Then for more texture/interest I gathered some more bits of paper: tissue paper, napkin, and pattern paper. I forgot to take a pic of these pieces glued down.
Then time for even more texture. I decided to do a comparison between heavy gesso (top) , modeling paste (right) and a cheaper alternative: drywall spackling (left). The spackling looks dry and crumbly.
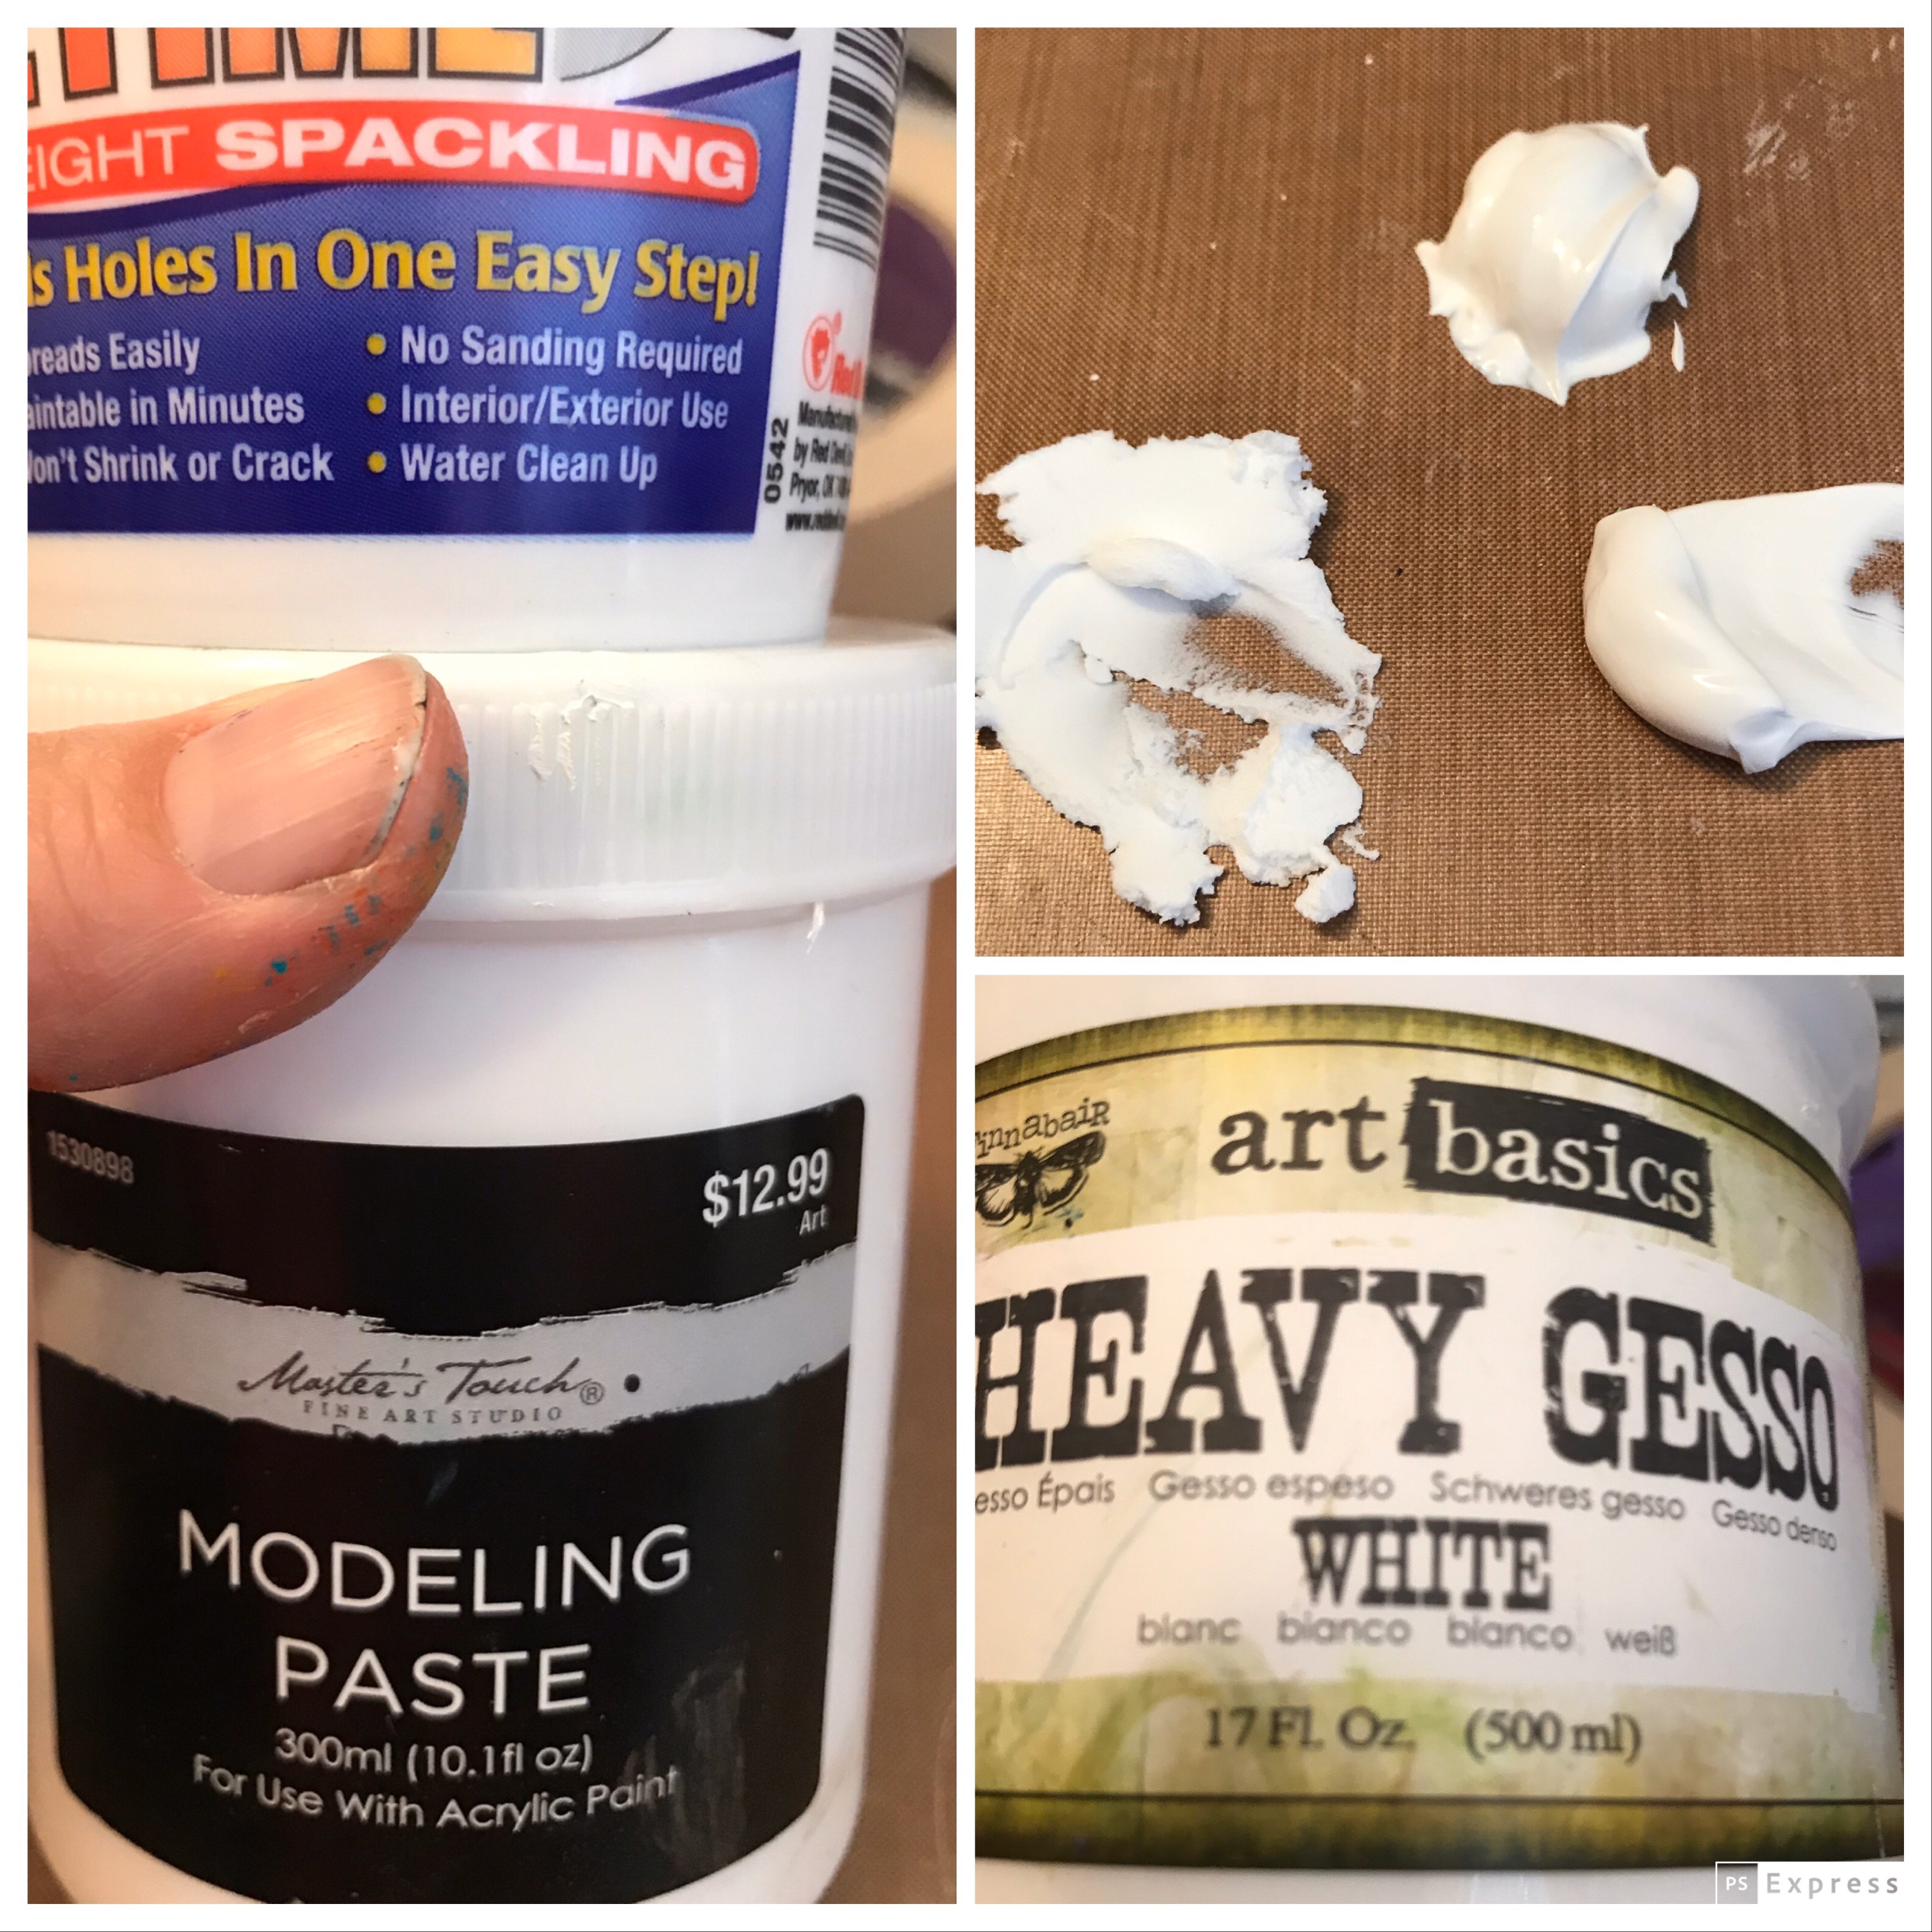
But once I added in paint they all had about the same texture. I used make up sponges to stencil it on. I’ve also used old credit cards, paint palette knives and plastic knives. Whatever is on hand.
With the leftover pastes I used my old card to scrap onto pages in my current art journal. Now I have some prepped pages for later.
Then I got out my bottle caps and black and white paint to make circles.
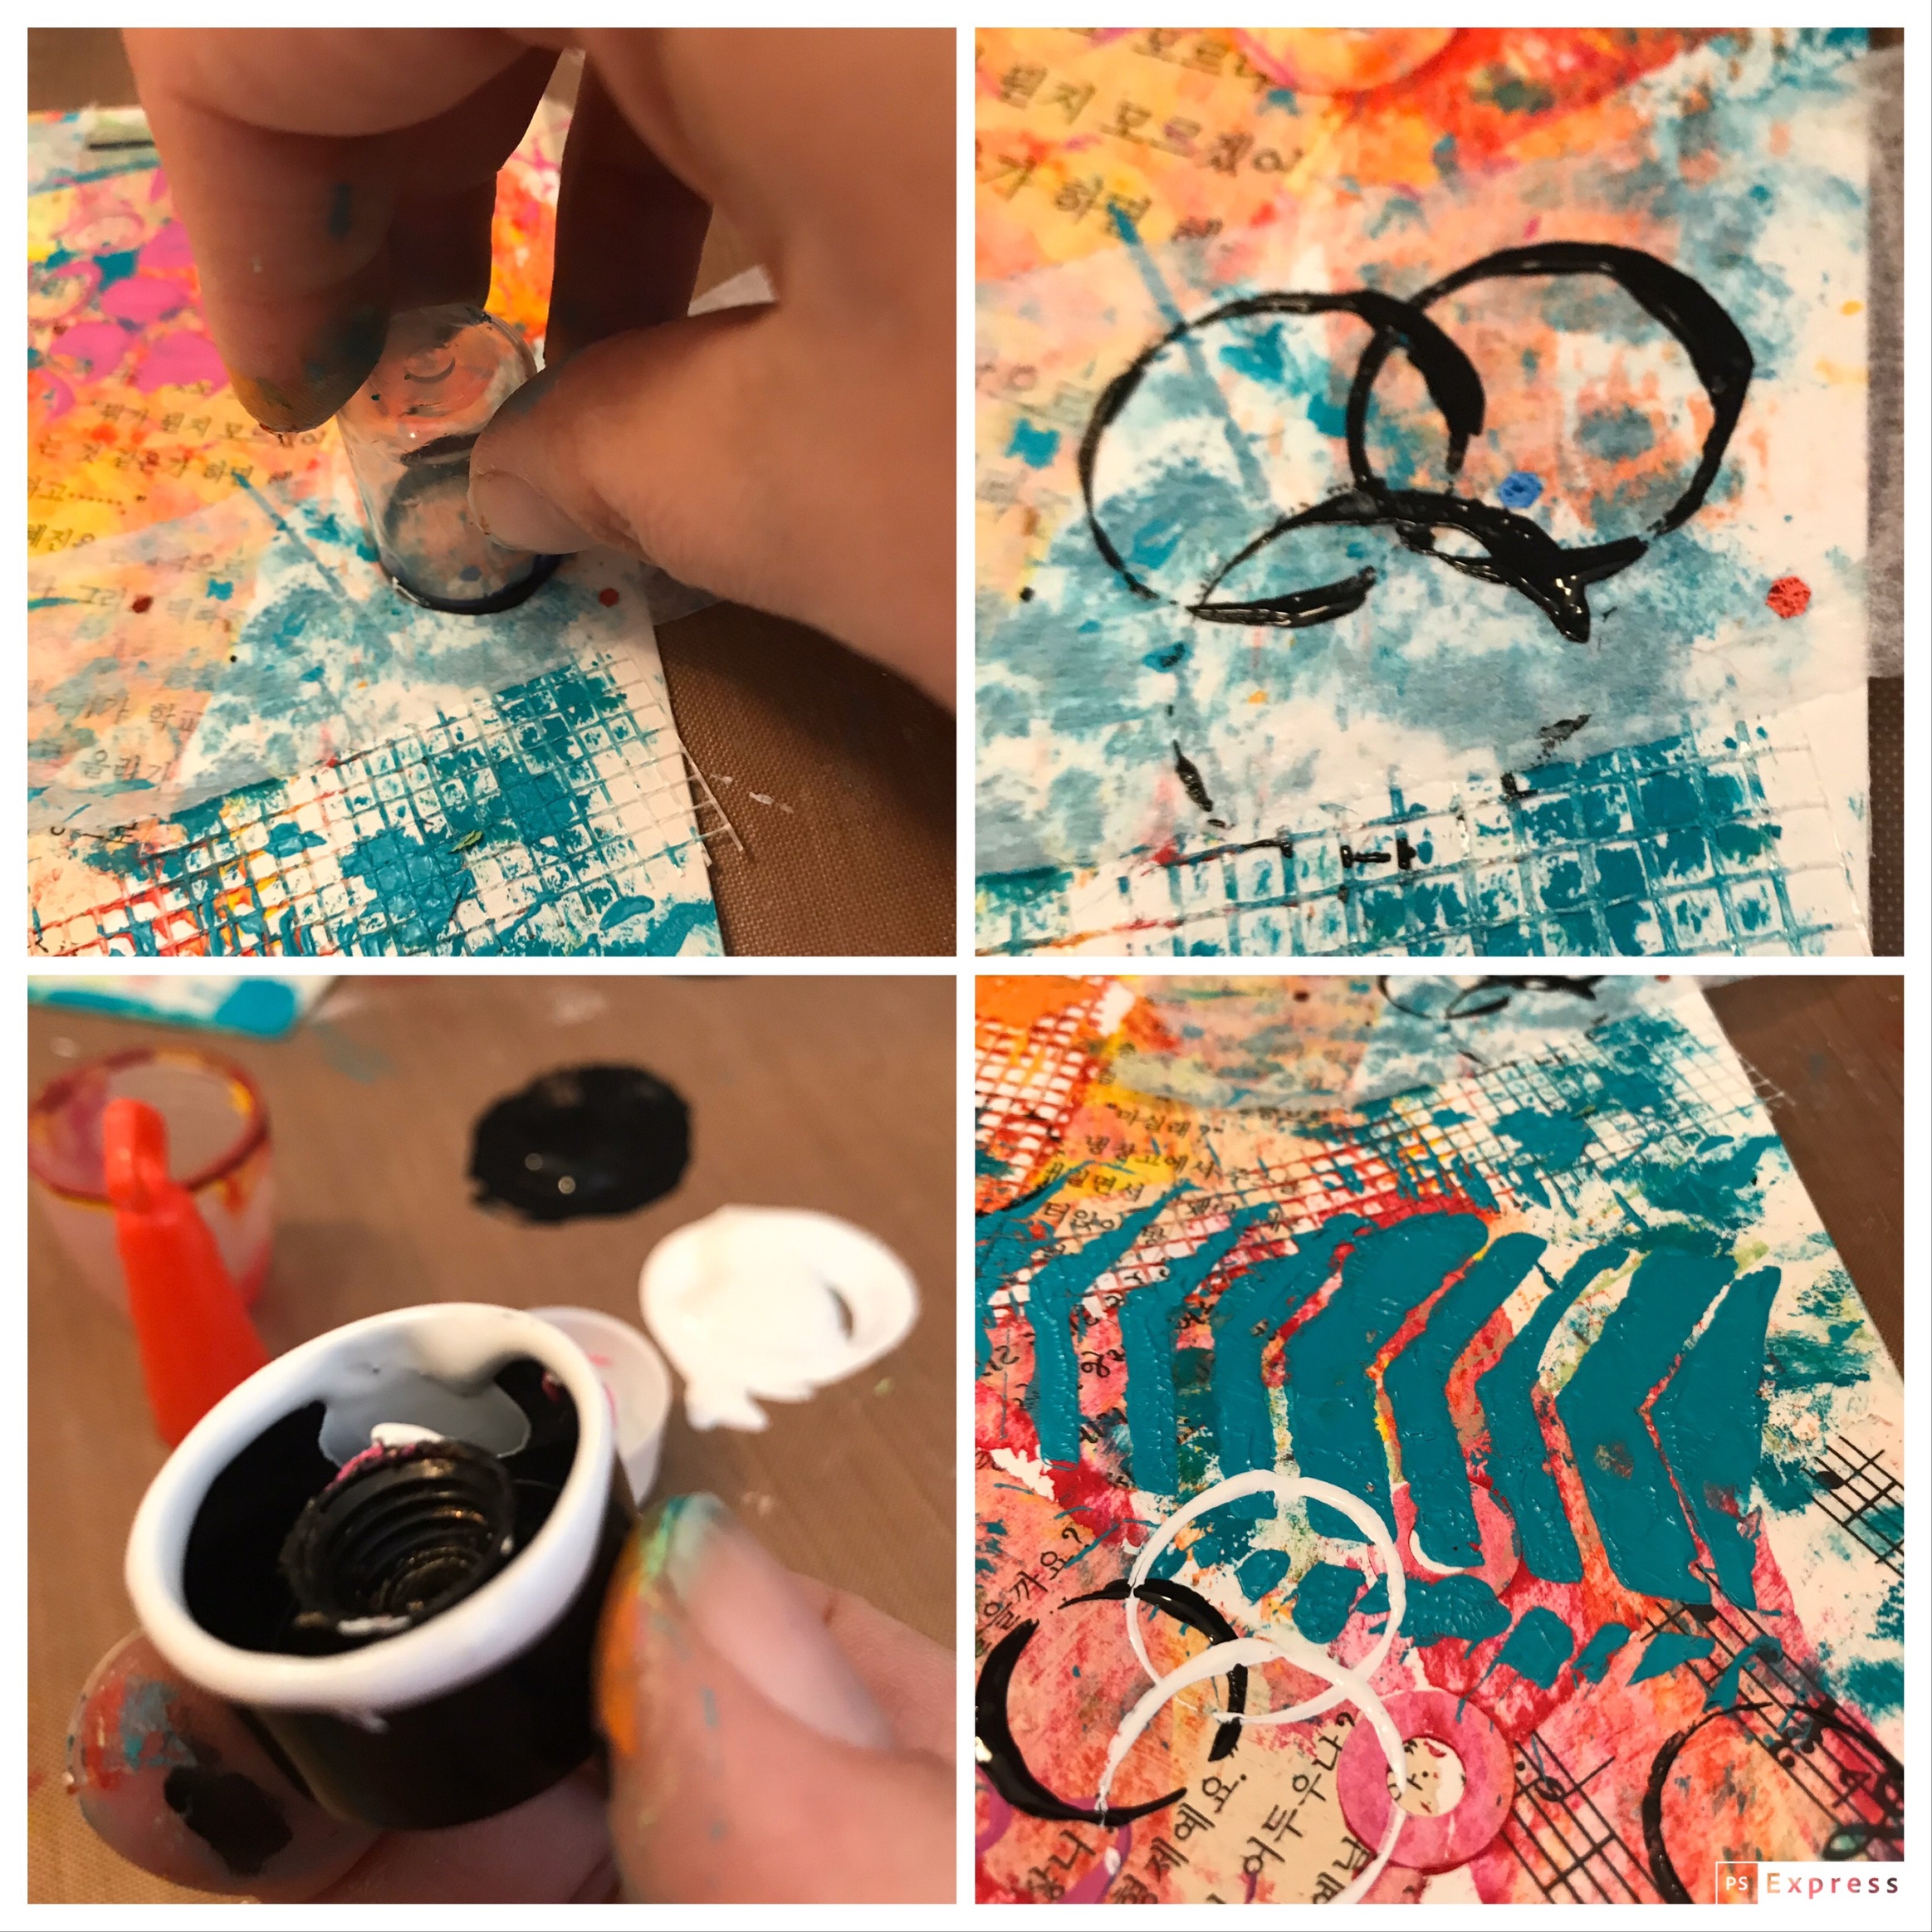
Then I add water to my black and white paint and use a paint brush to flick on spots. A toothbrush is also good for this.
I’m almost done but didn’t want the white spaces at the edges so I used a makeup sponge and sponged a bit of yellow paint where there were gaps.
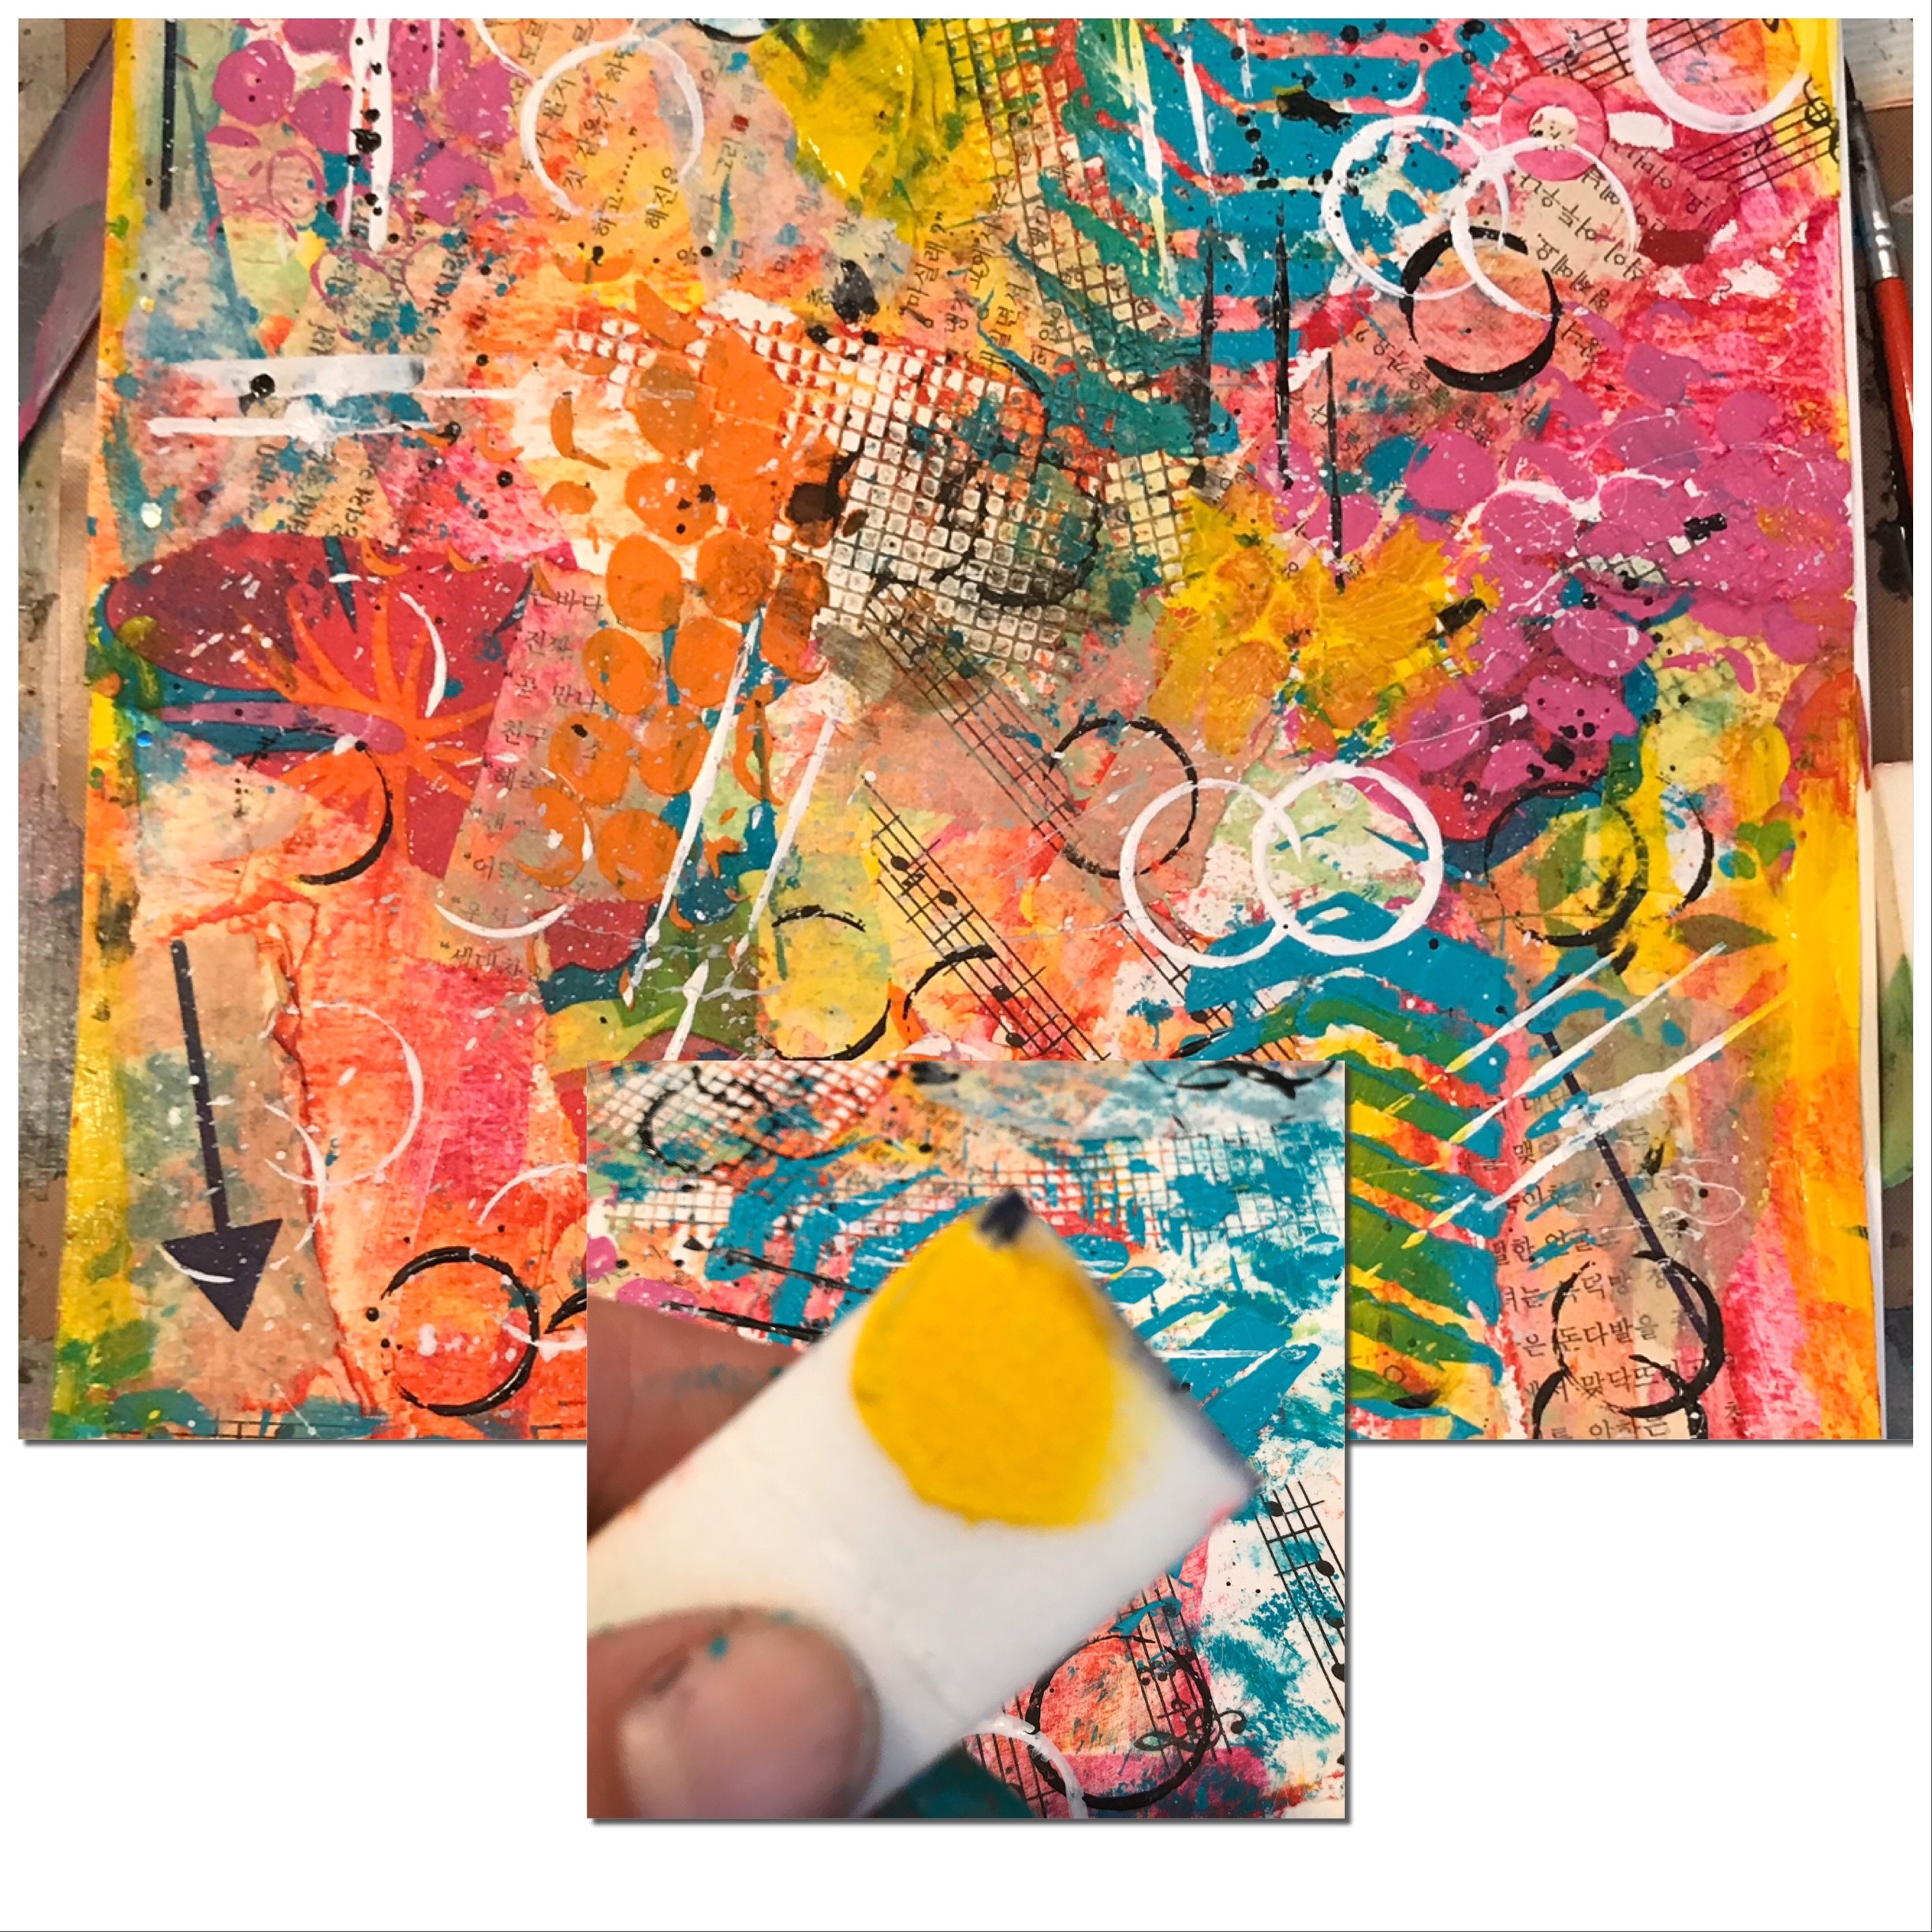
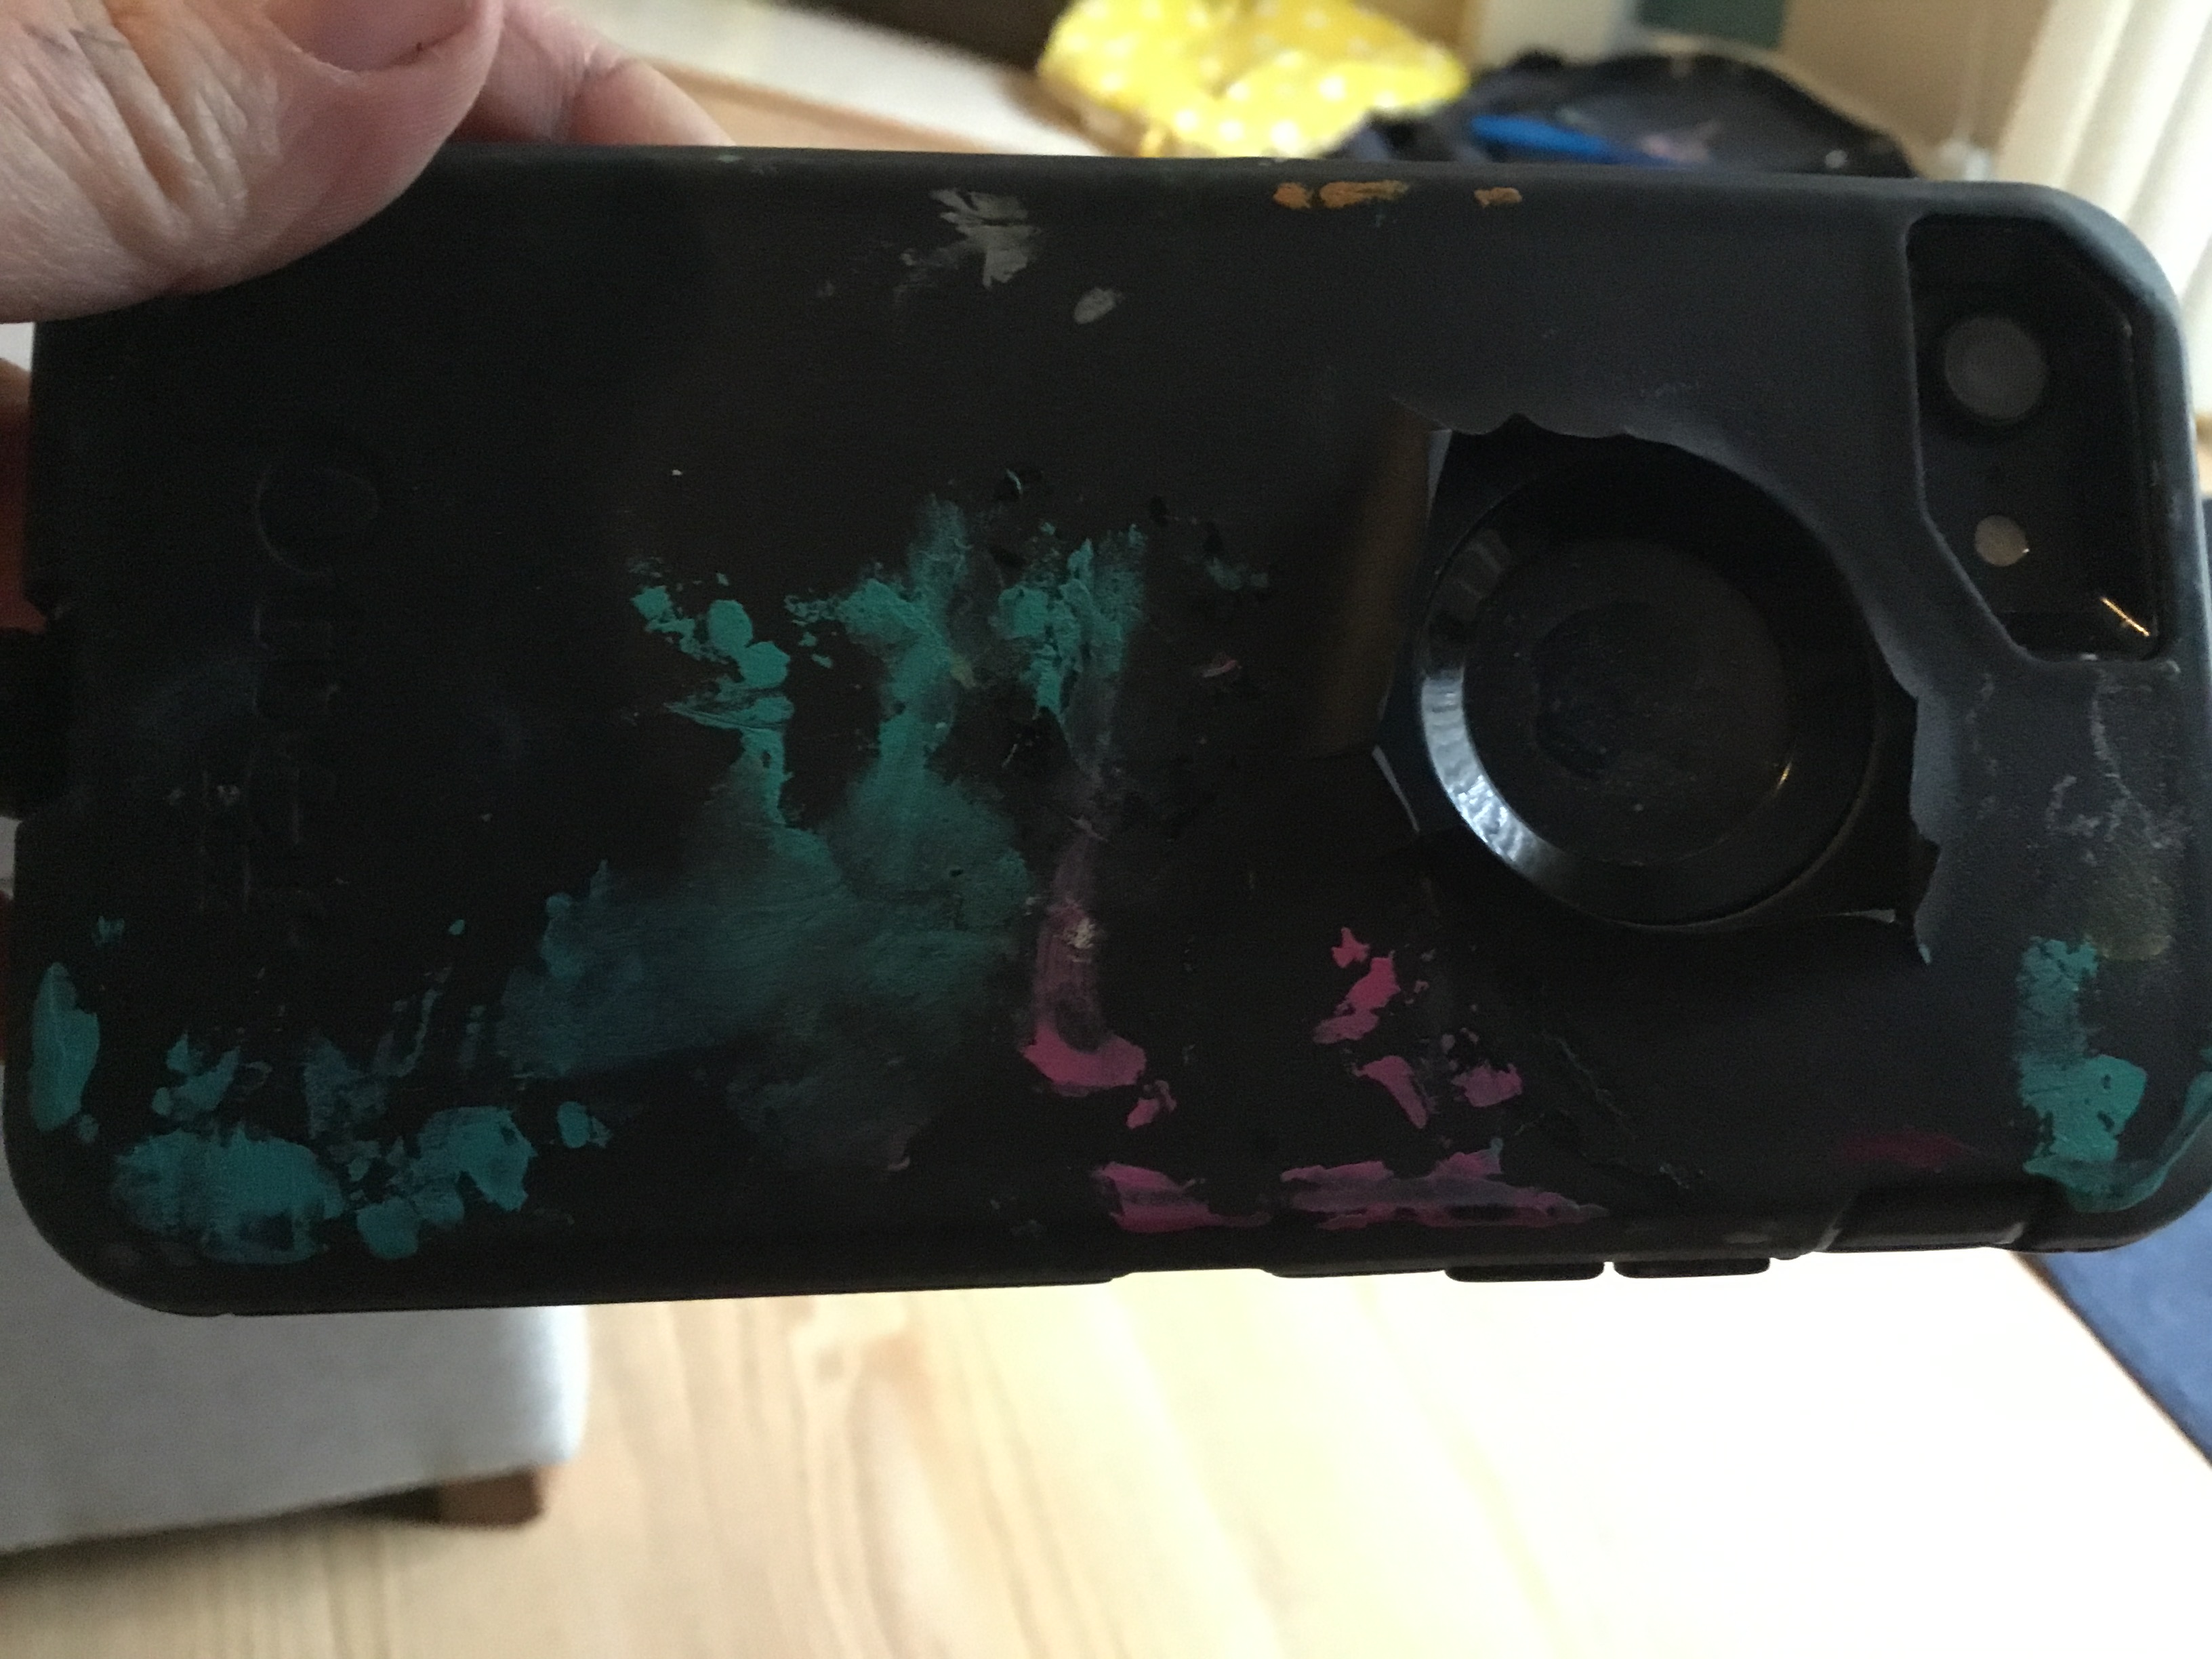
I don’t know how those YouTube artists keep such clean work areas. I made a mess and accidentally set my phone in paint.
 I’ll be keeping an eye out for drywall tape now! Thank you for sharing your process, it was fun to read and look through! I’m inspired to document my own process next time
 Thanks so much for the look behind the curtain.


