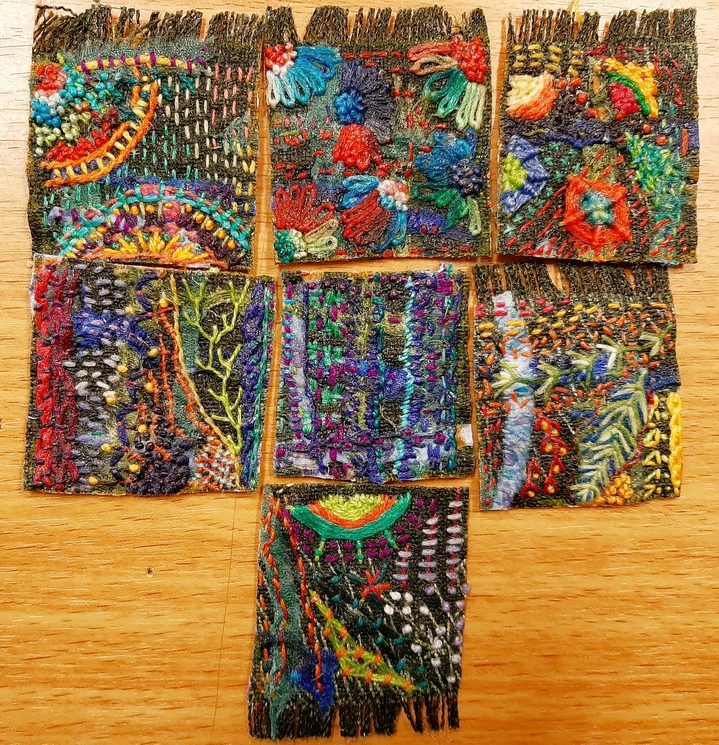
I made embroidered inchies for a few swaps and a few people asked how I make them, so here is a tutorial.
Here are some of my previous creations:
Embroidered Inchies #1
Embroidered Inchies #2
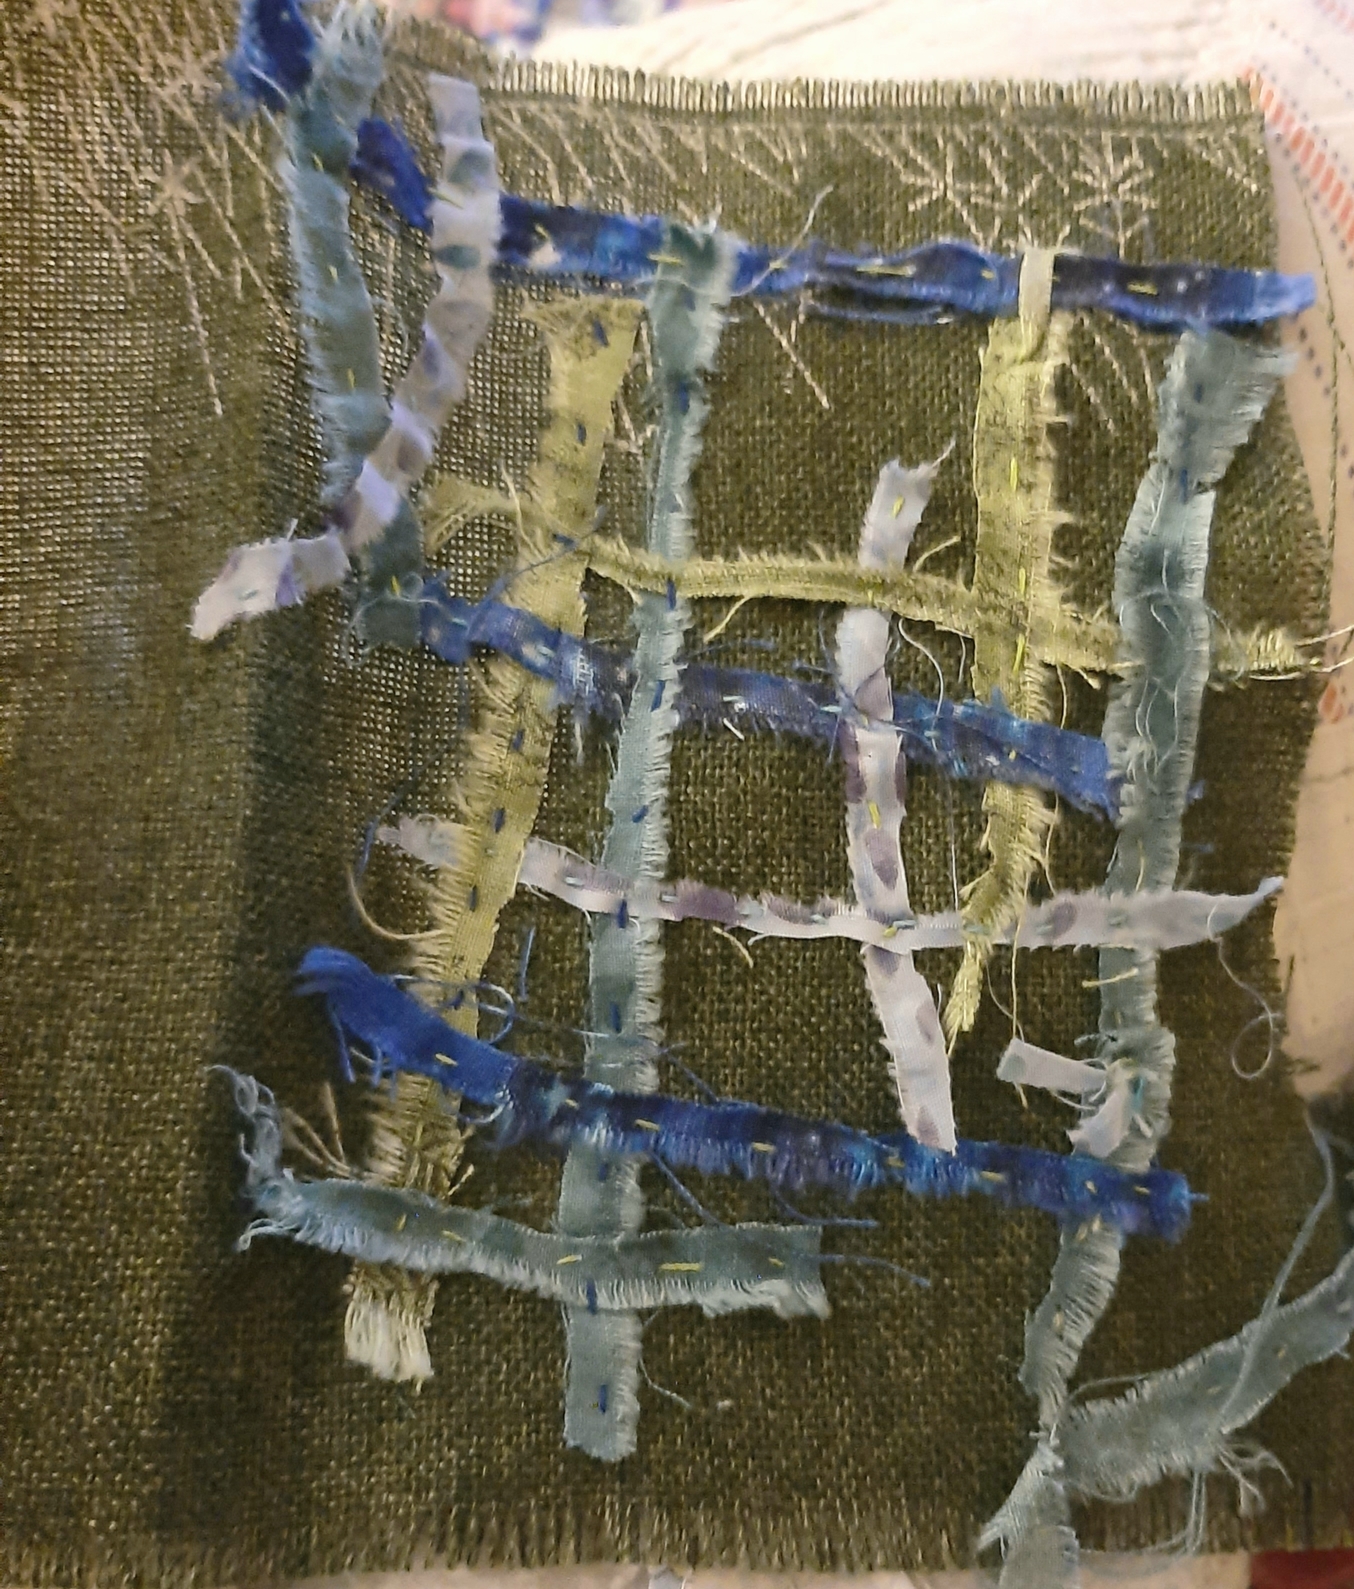
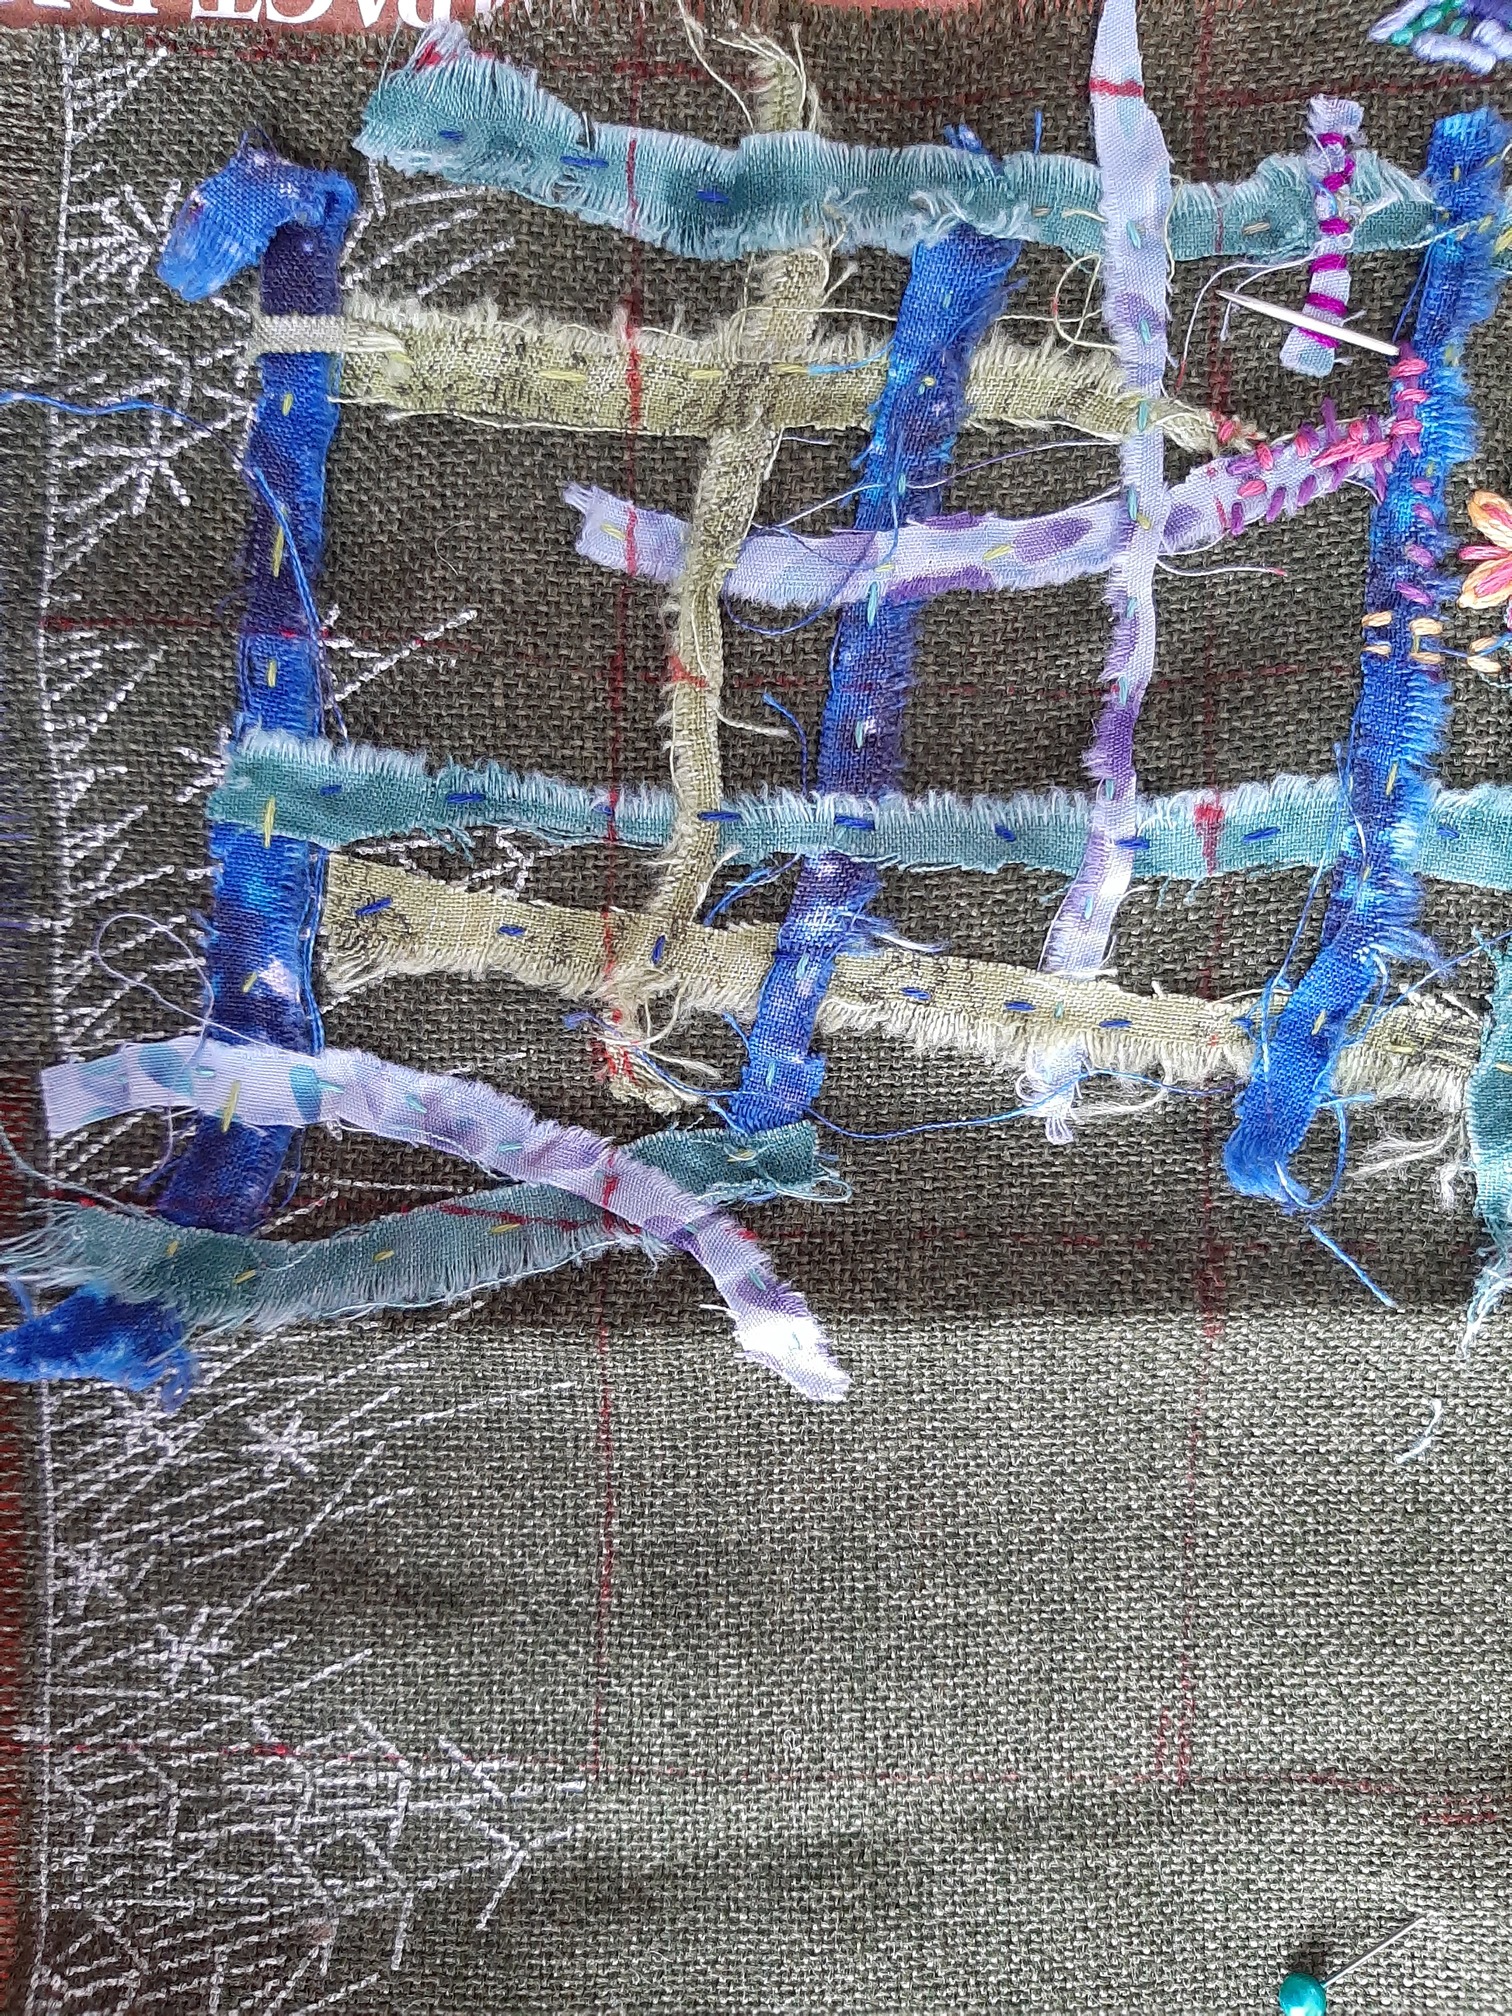
STEP 1: Choose a background fabric. I found this burlap-type fabric at a thrift store. Choose coordinating fabric scraps and tear into tiny strips. Pin some of the strips onto the fabric in a vaguely parallel. Then weave the remaining strips through the ones that are already pinned to the fabric. Then tack the strips down with a few stitches.
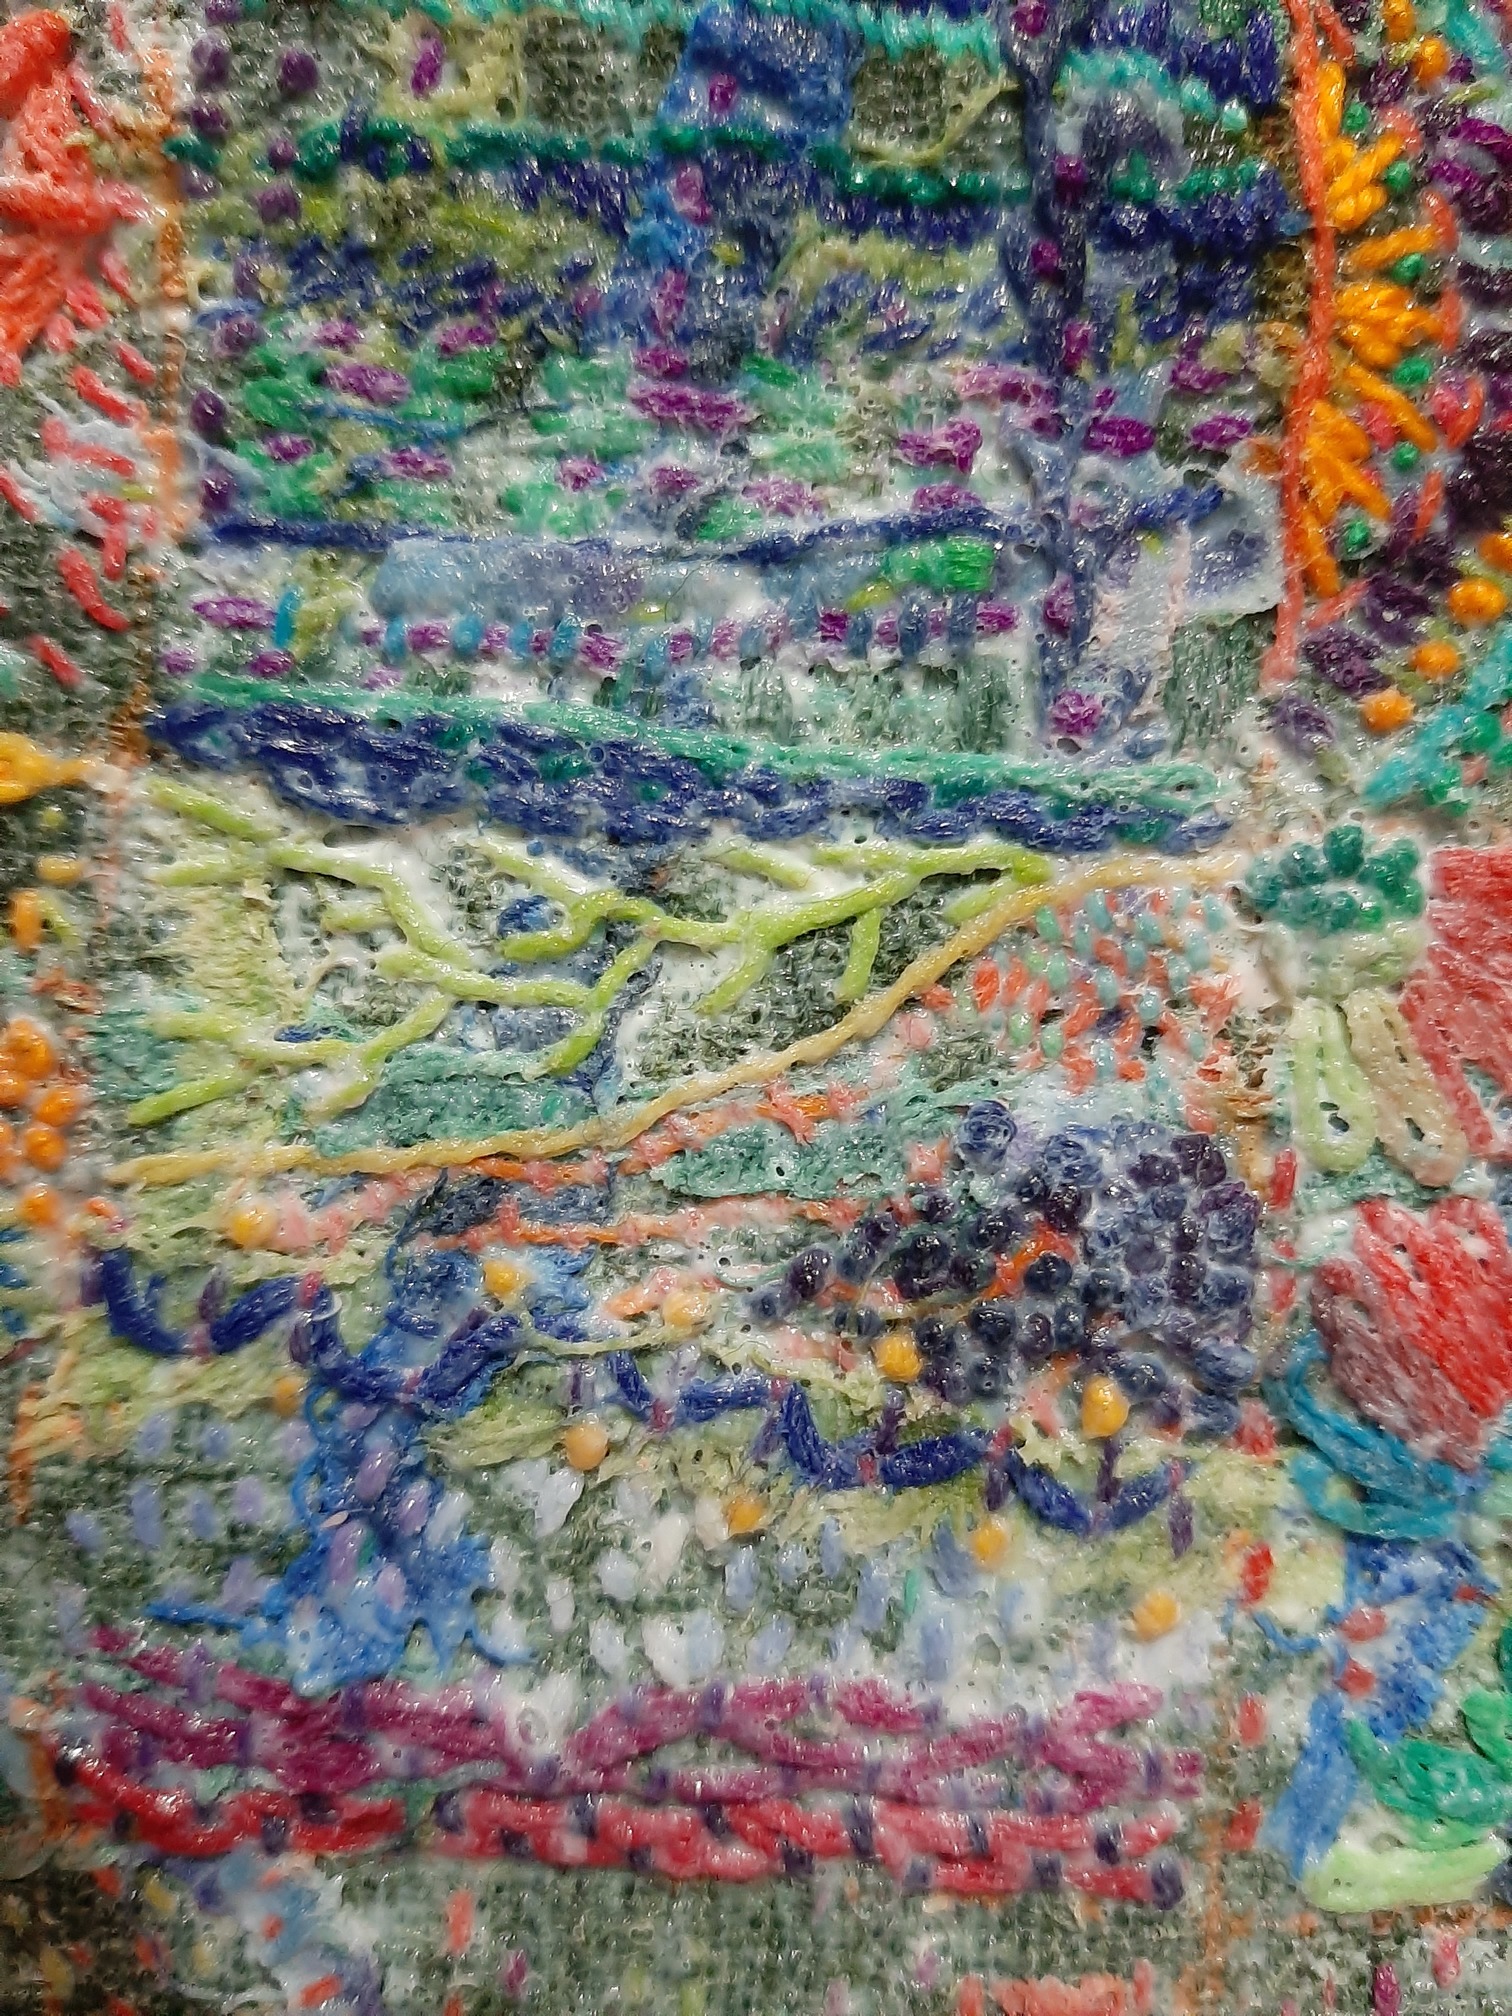
STEP 2: Use a ruler to draw a grid across your fabric. 1" for inchies and 2" for twinchies. I made inchies for my previous projects because they were for a swap. This piece is for my personal use and I have some ideas for using larger pieces. For the sake of the tutorial, I drew a 2" grid on part of the fabric and left the rest to be stitched freestyle. My previous inchies turned out neater and more orderly than these bigger twinchies.
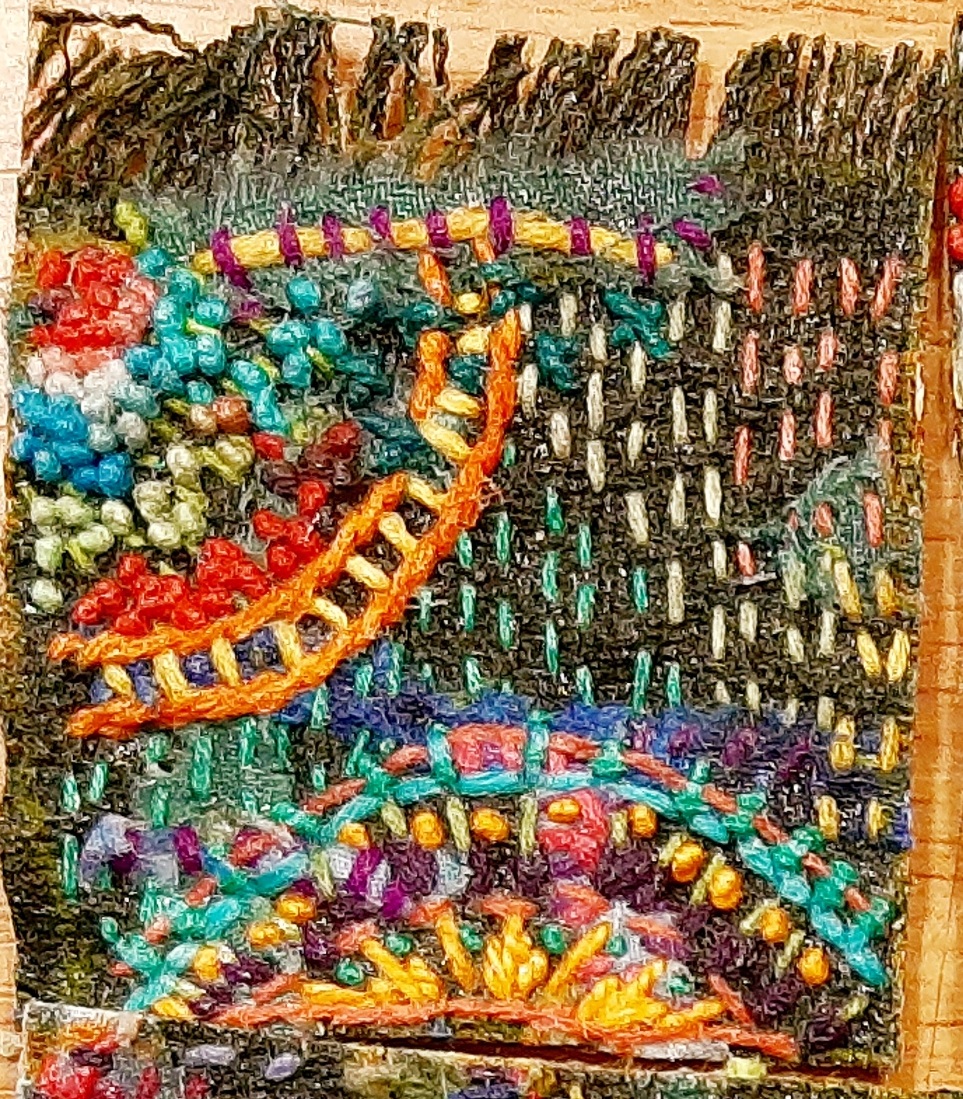
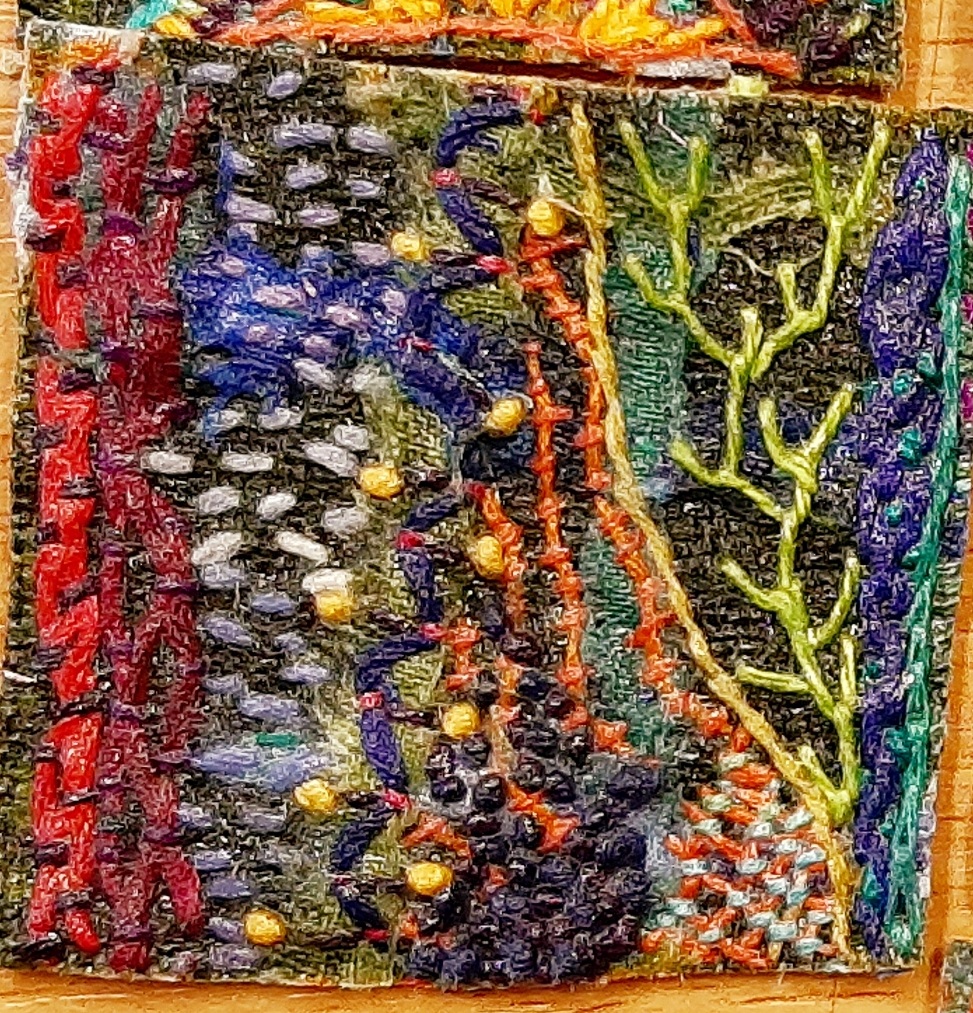
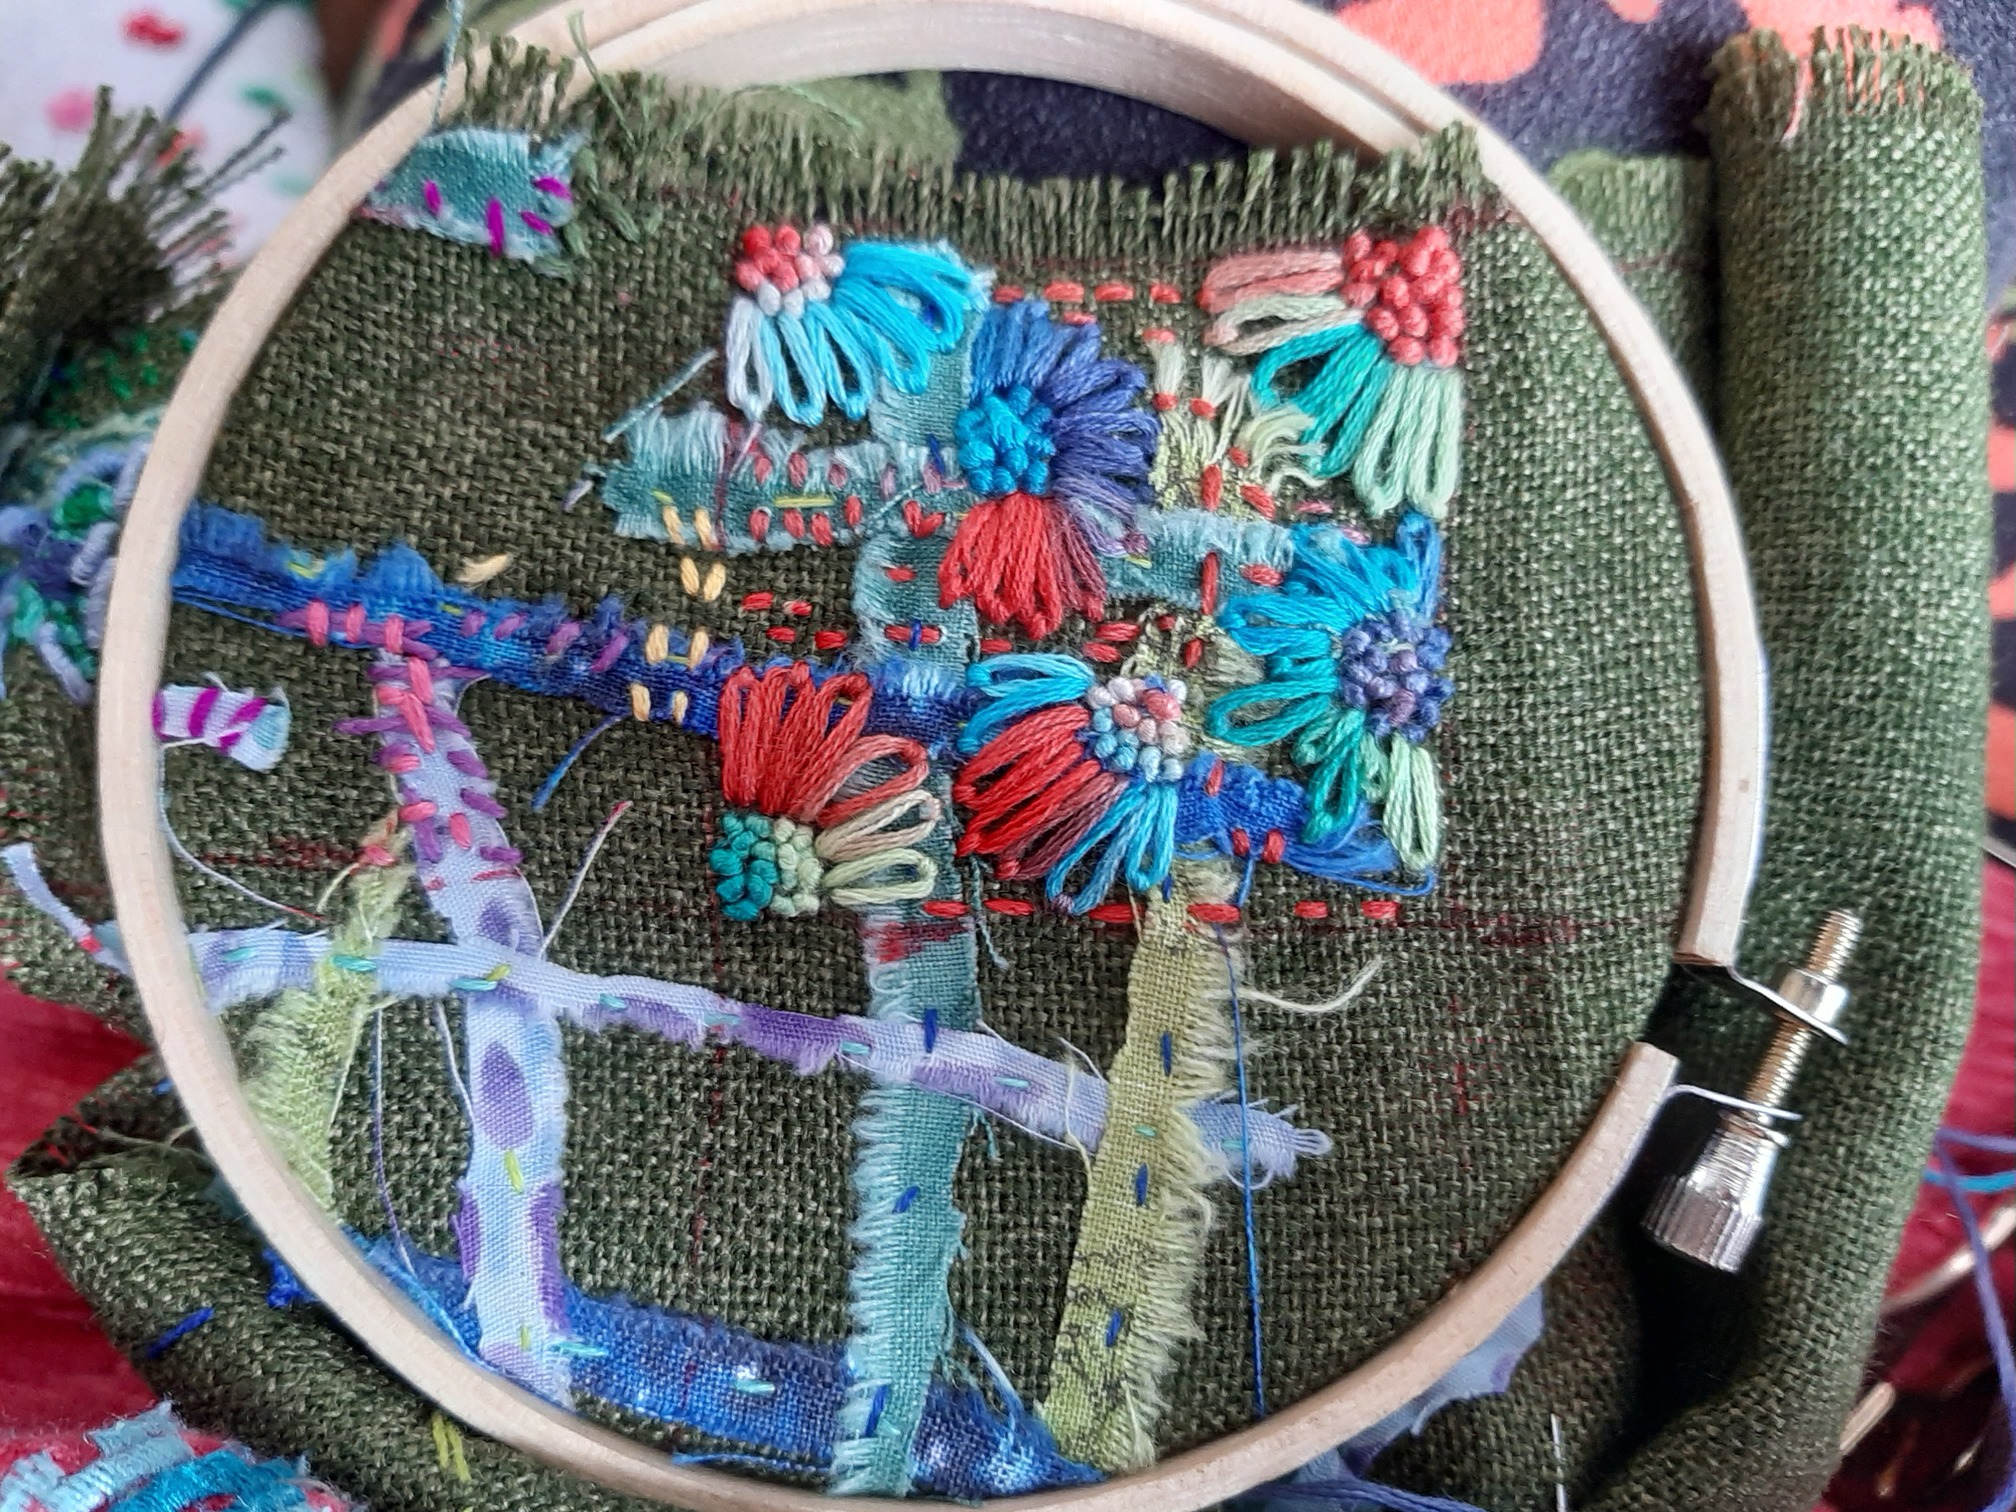
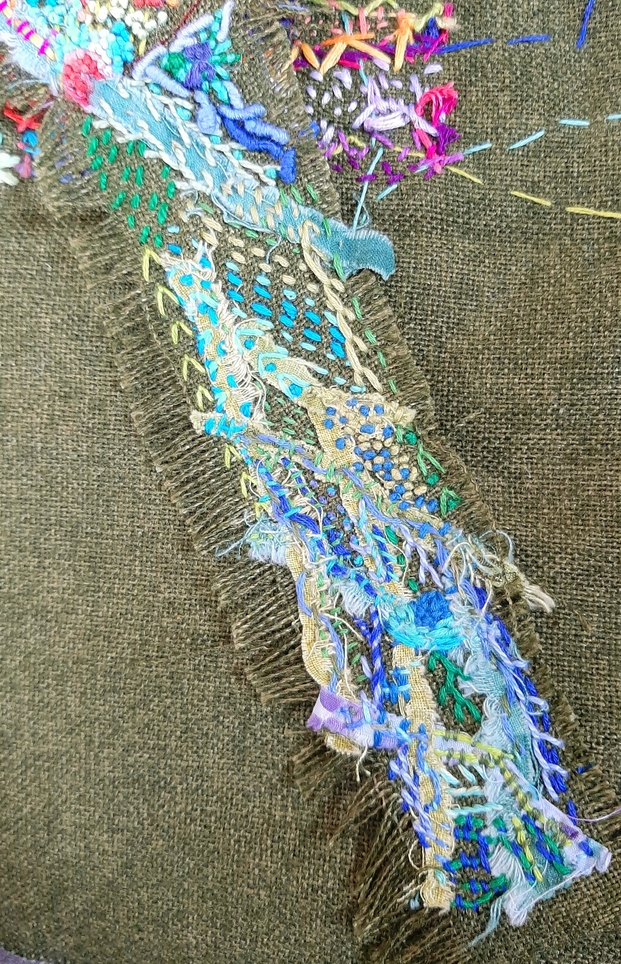
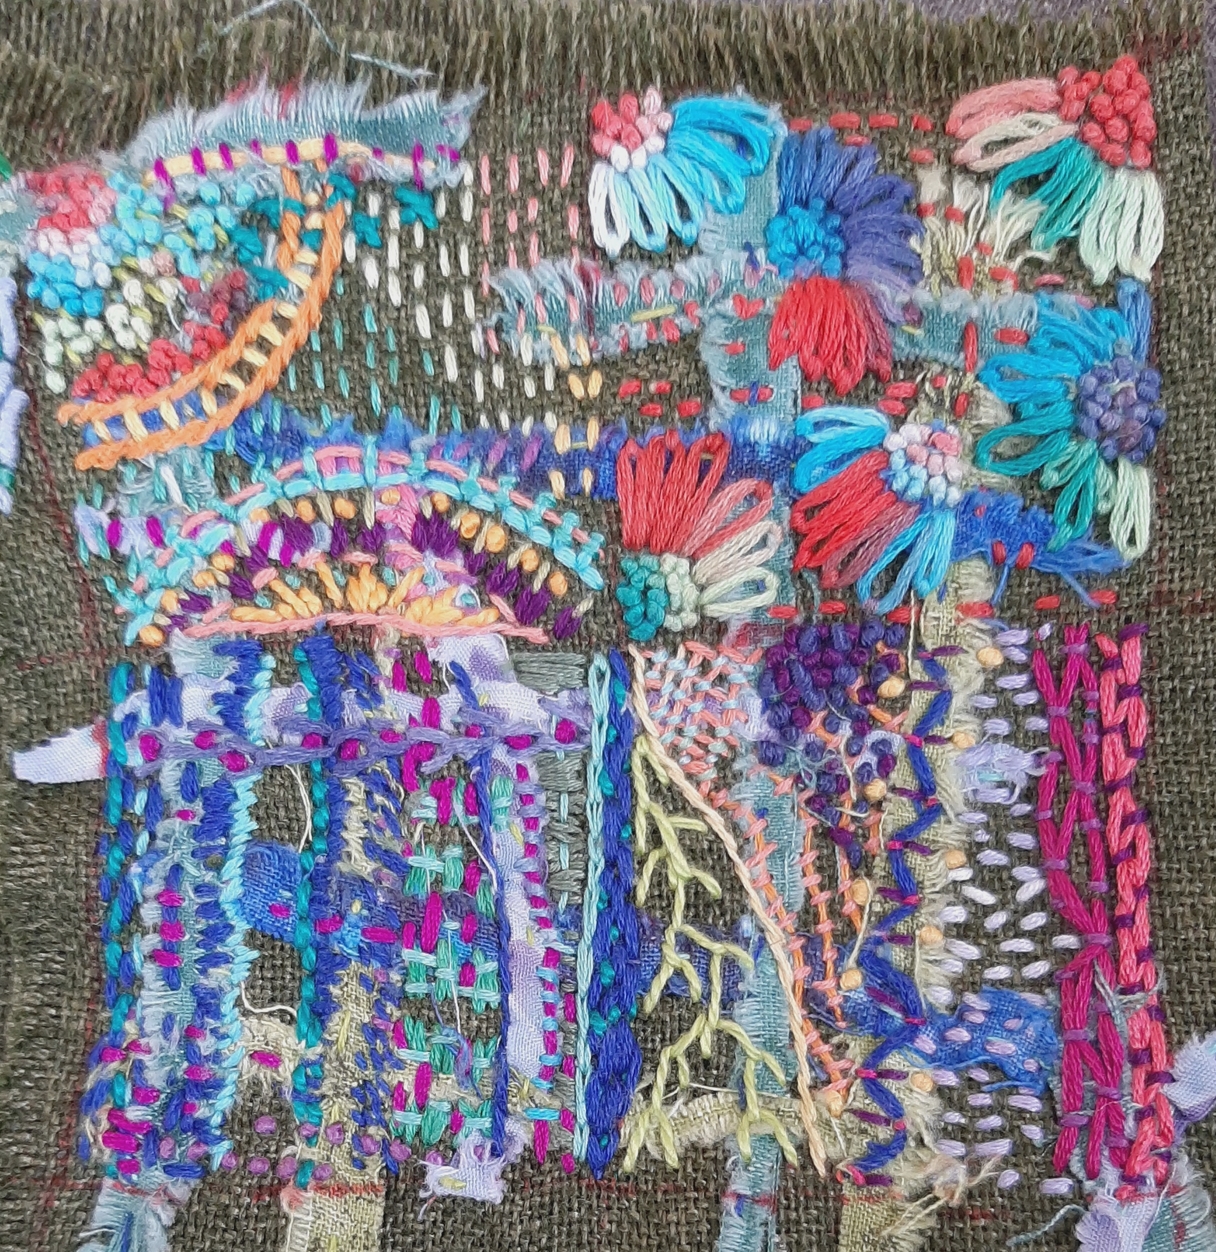
STEP 3: Choose a square and start stitching! This is your chance to experiment with interesting colors, textures, and embroidery stitches. Sometimes I make each square its own unique “art piece” and sometimes I just stitch right across the lines.
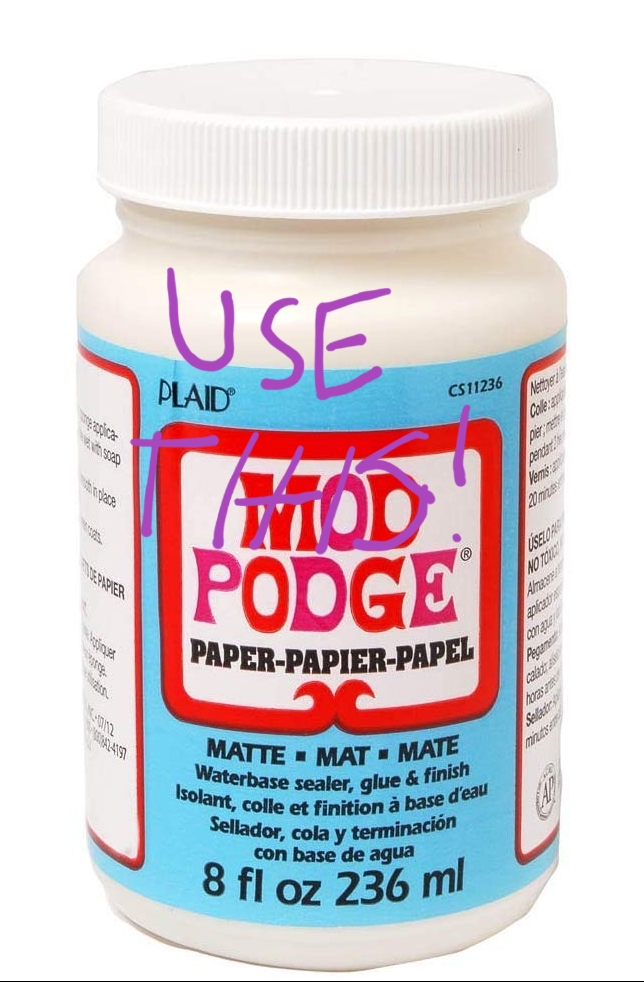
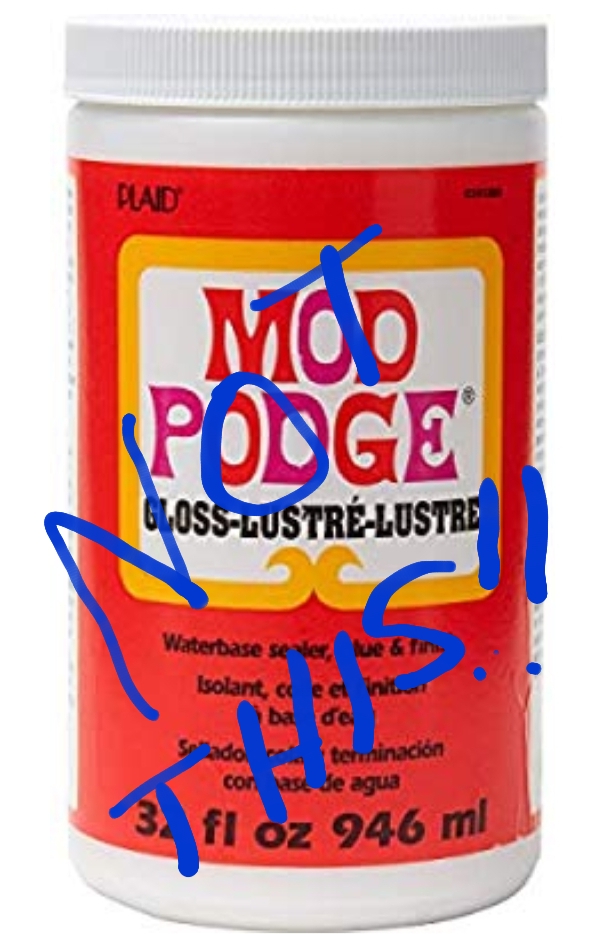
STEP 4: Trim loose/long threads. Coat each side with 1-2 generous layers of MATTE Mod Podge. MATTE works best!! My first two projects (links above) were made with matte Mod Podge. I ran out of matte and my husband bought me a bottle of gloss for this project. I’m not happy with the sheen at all. Don’t be like me! Don’t use the gloss!
STEP 5: Once your project is dry you can cut it up into squares. I carefully cut the inchies for my partners so they would be perfectly square. I’m keeping these for myself and the projects I have in mind don’t needs to be perfectly straight, which is why the squares are so sad looking.
STEP 6: Use them! They are great for ATC’s and collage. I plan to use them in textile jewelry, magnets, and embellishing TM patches and merit badges. I’m treating this project like paper crafters use a masterboard. I’ll chop it for lots of bits and bobs. I am really happy with the wide variety of stitches and colors I used. It’s too bad that the gloss looks so ugly, but I will find plenty of uses for this project, anyway.