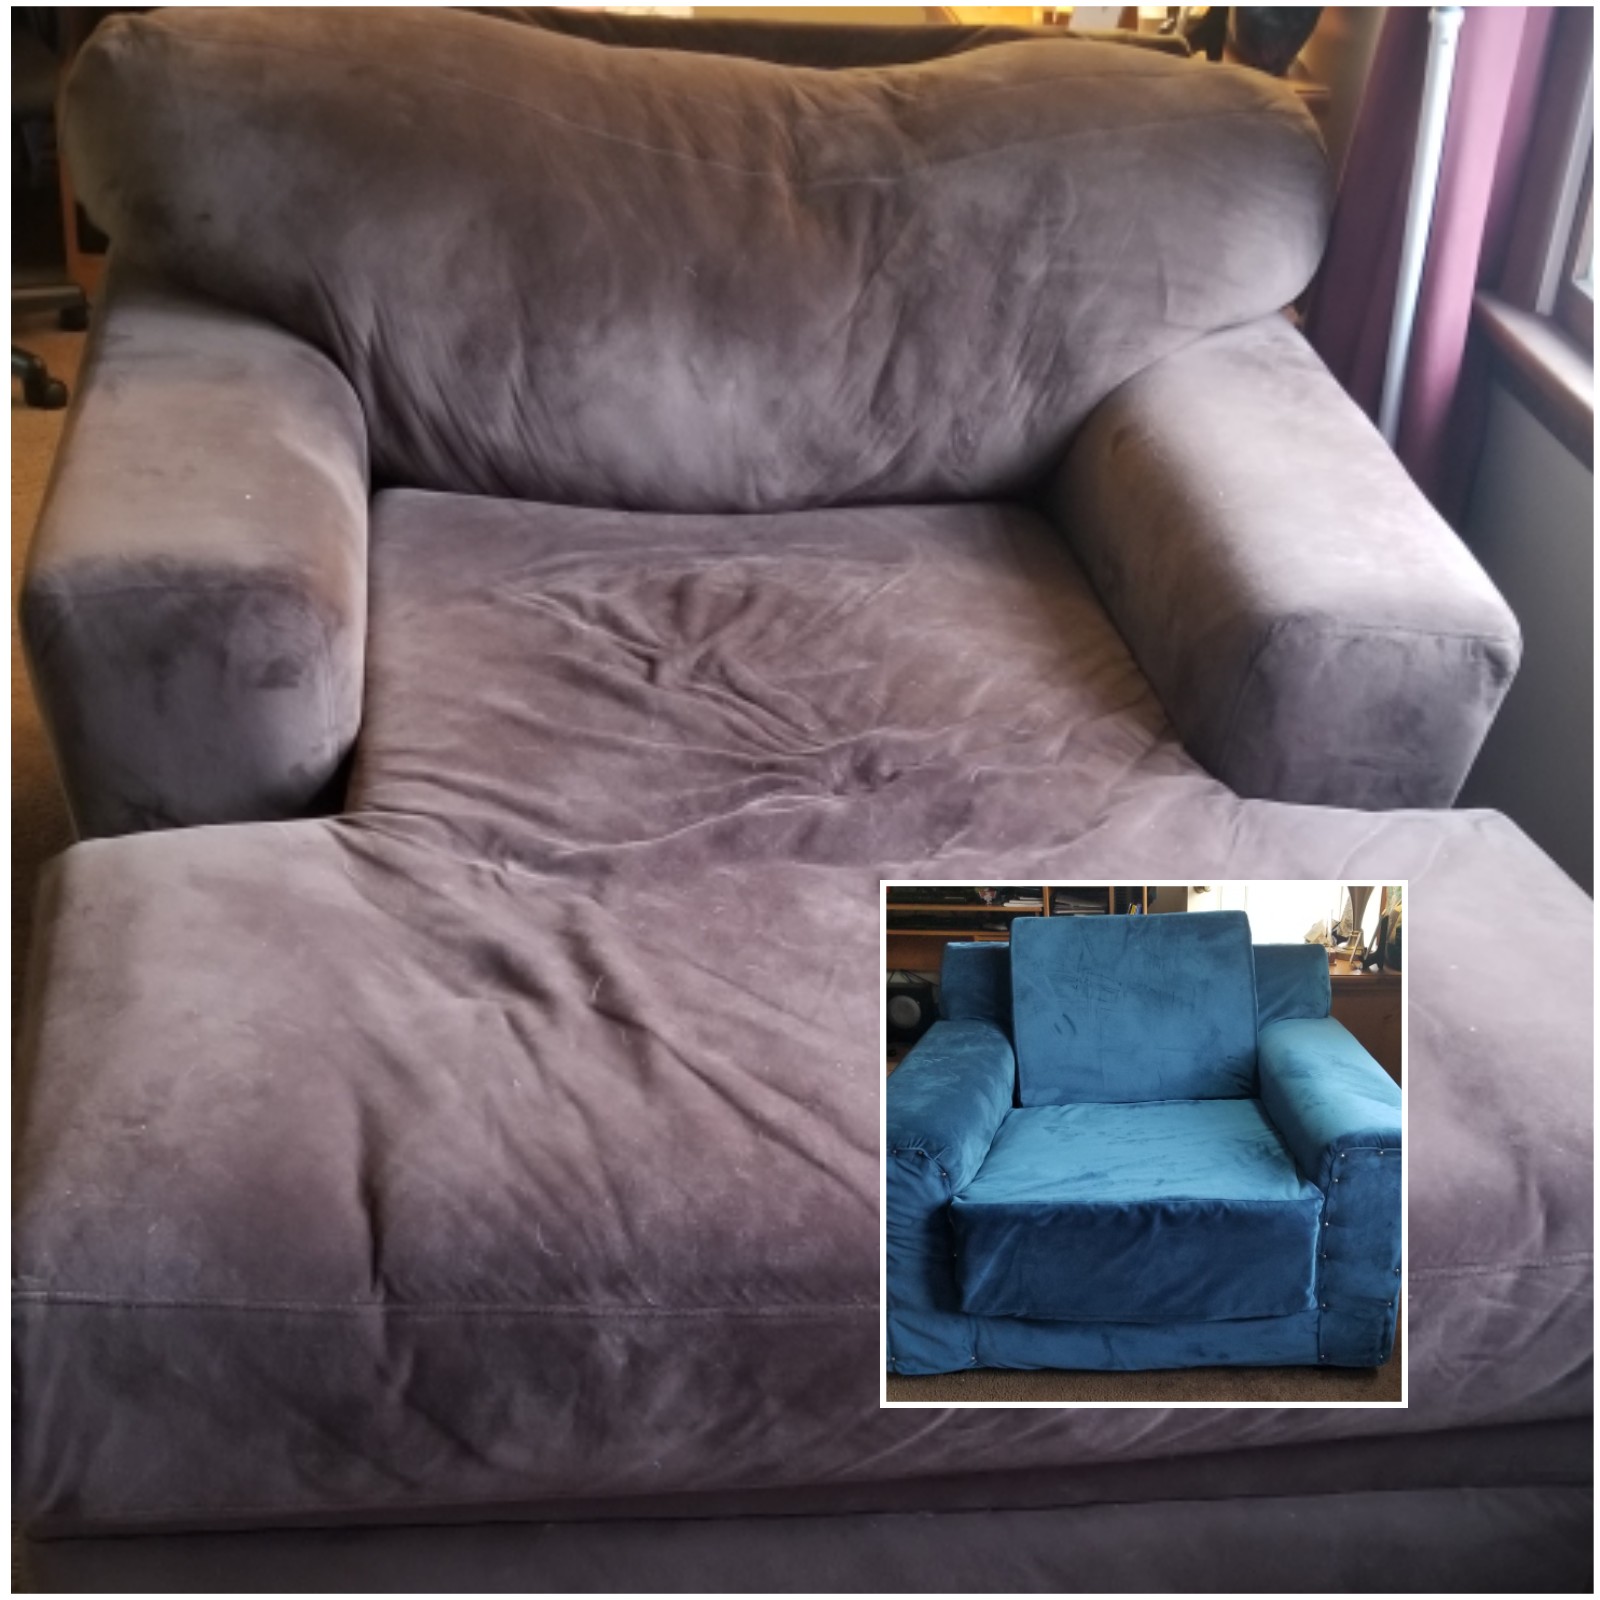
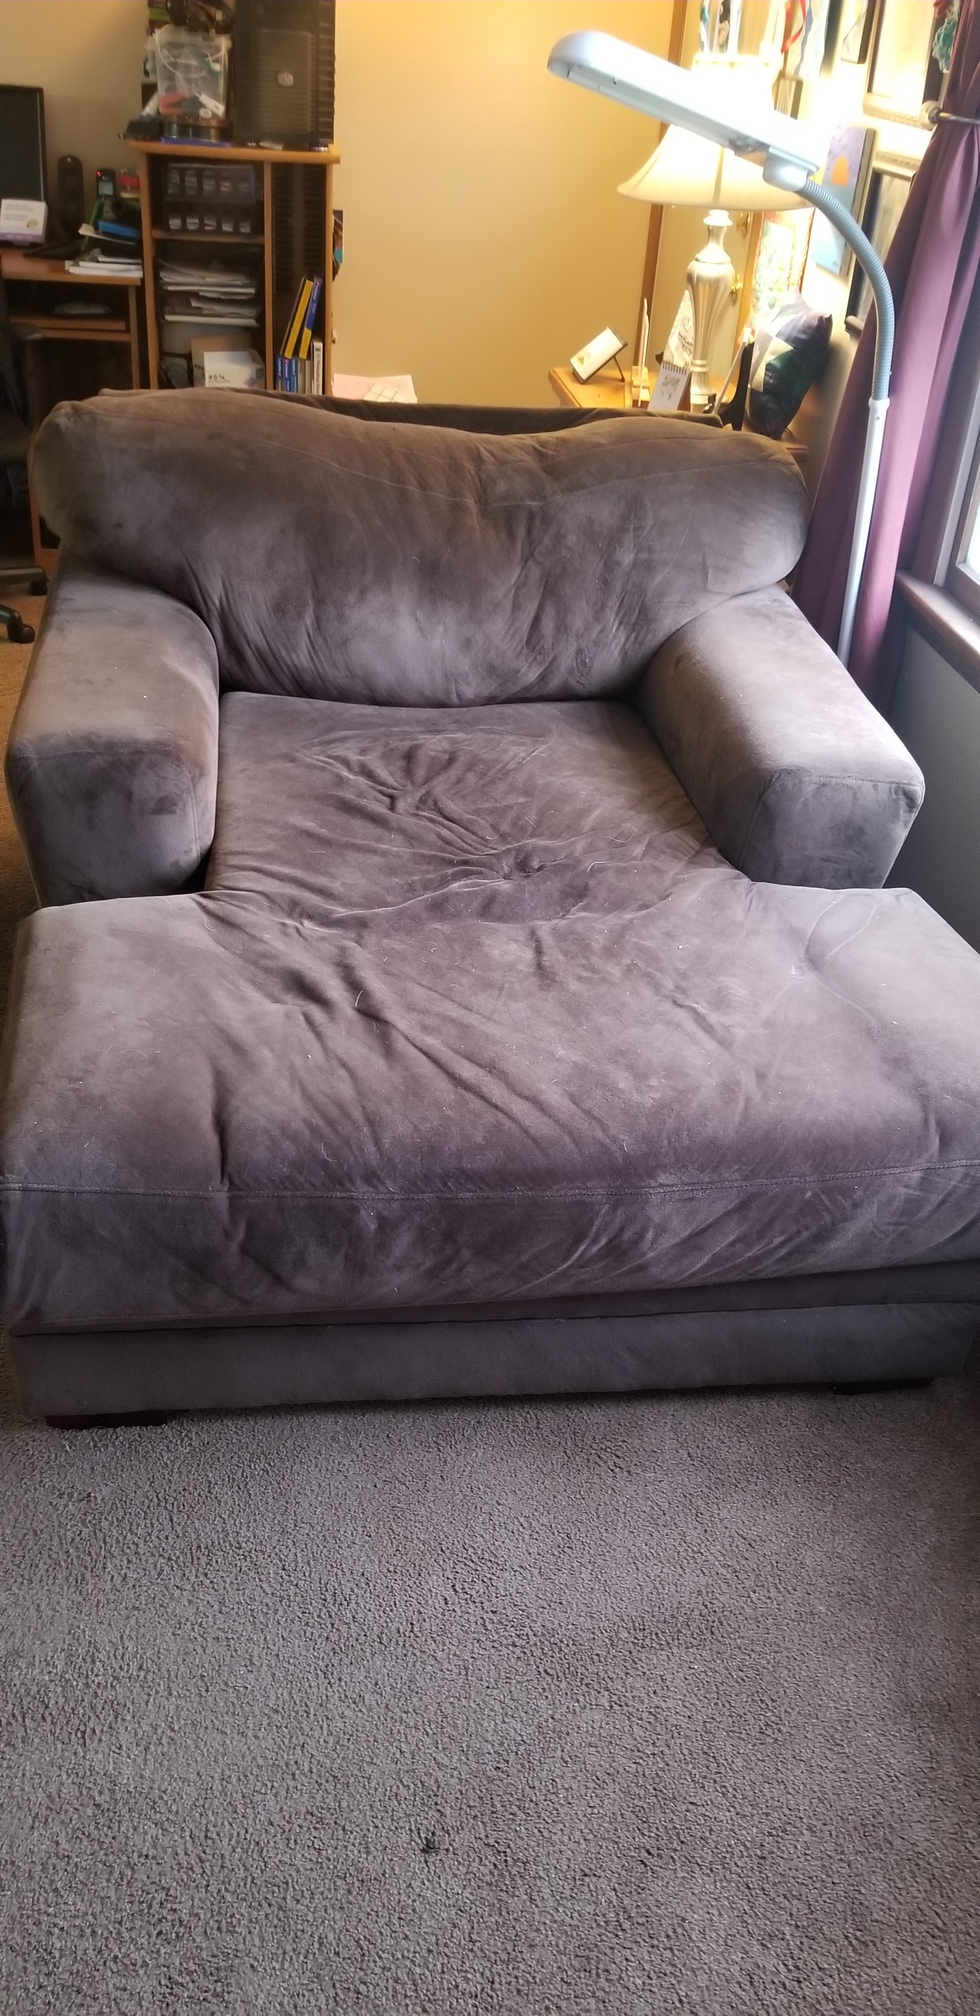
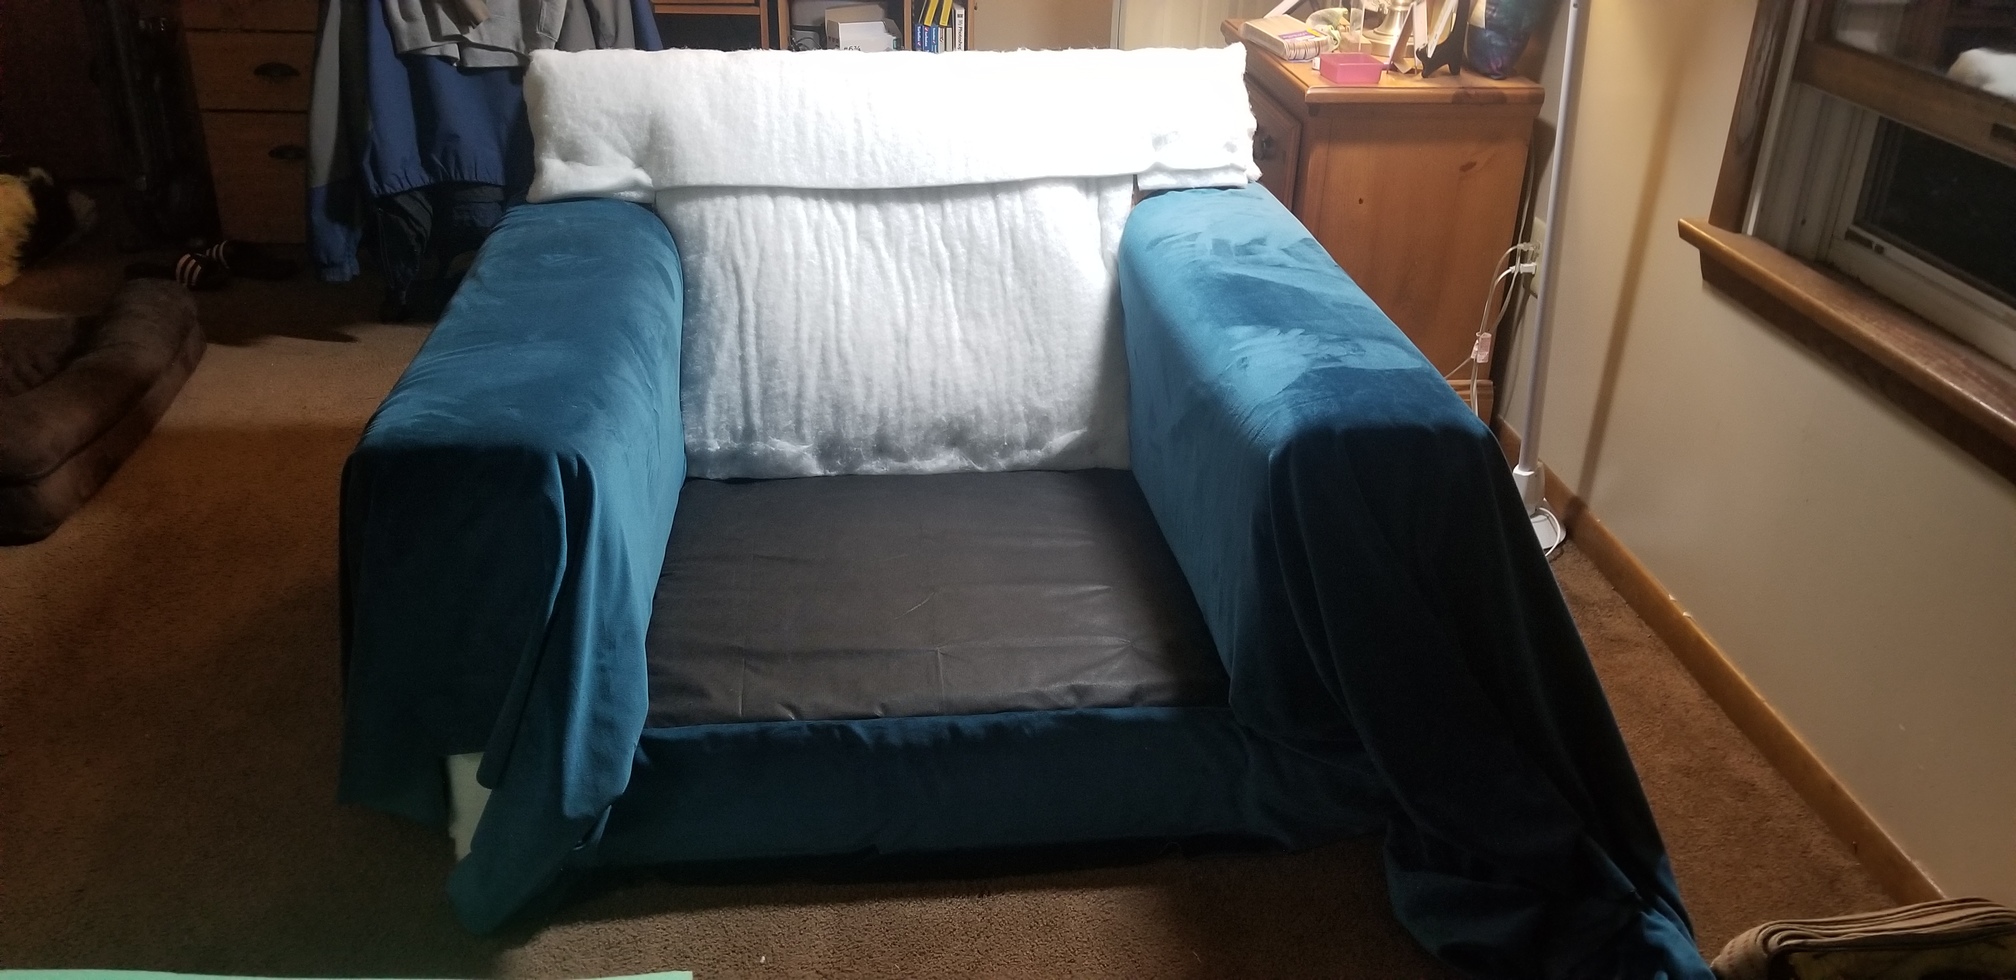
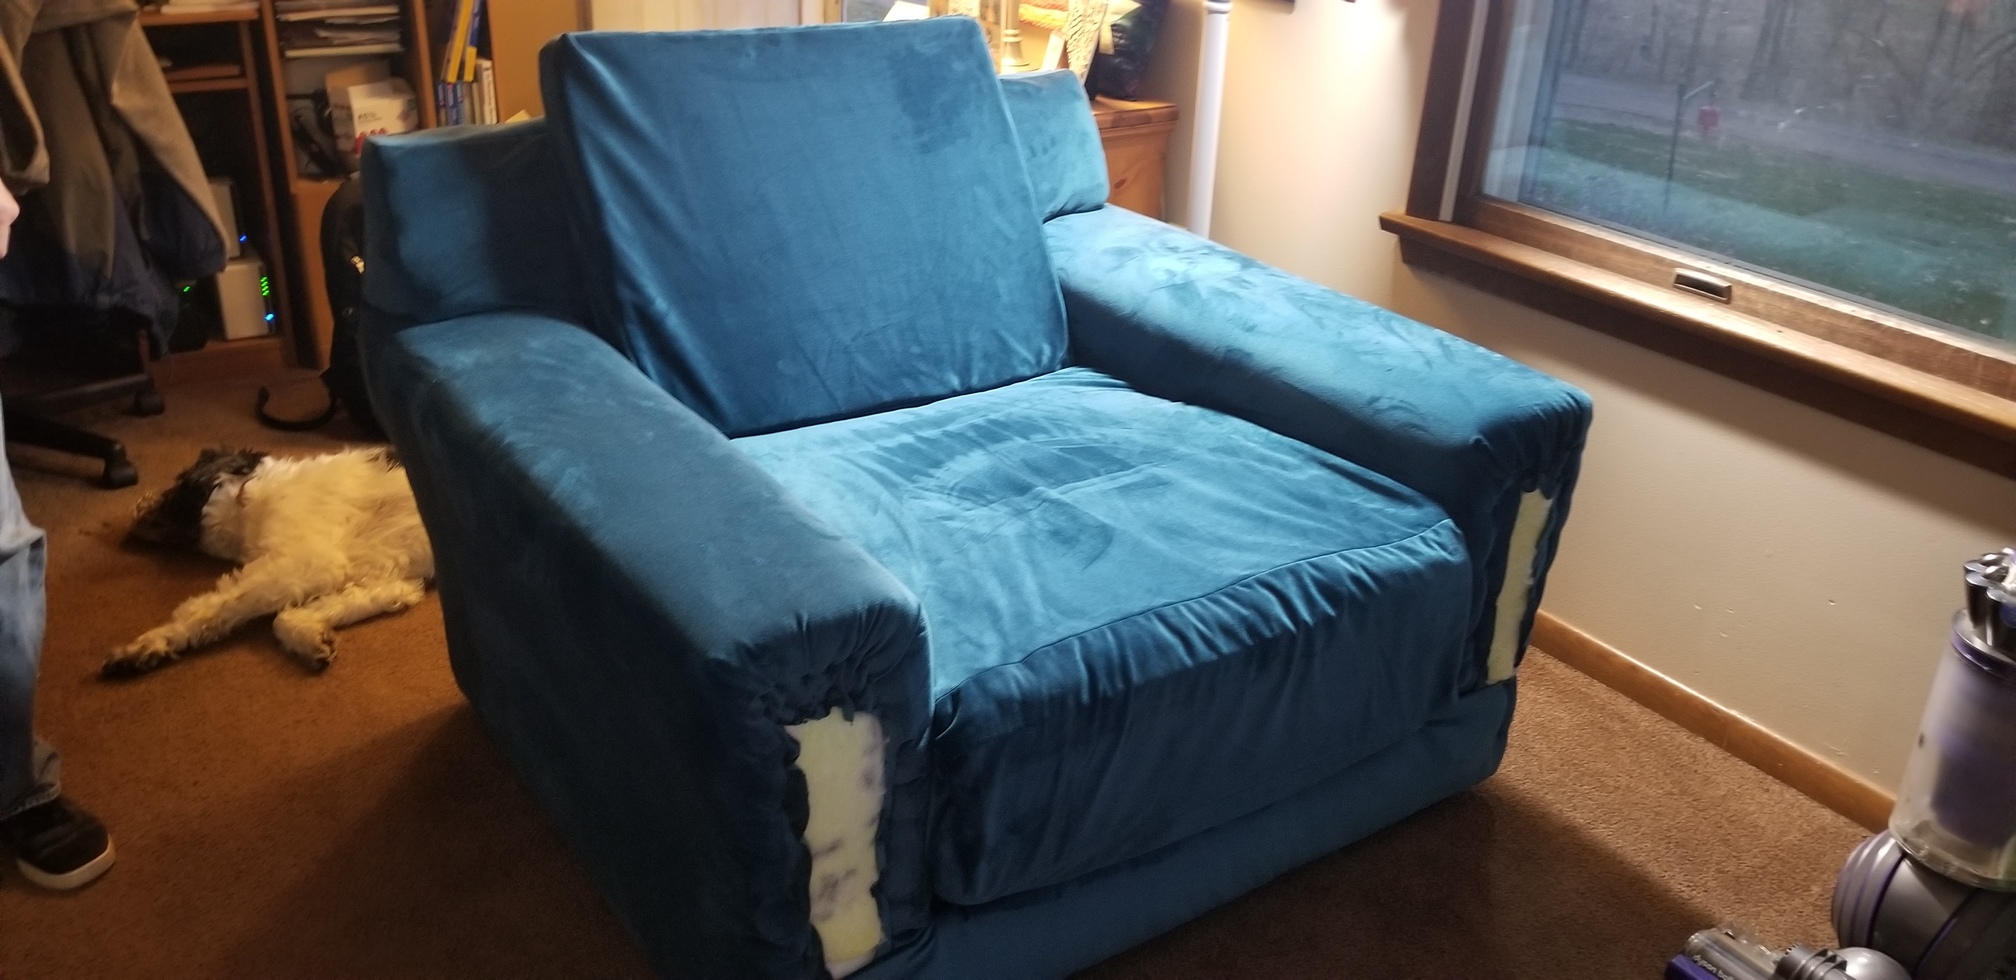
When we first bought this chaise lounge, I thought I would love it. And, when we first brought it home, even though it was ginormous in our tiny living room, I did. It didn’t take long for it to start becoming uncomfortable. It started sagging in the chaise part, it the seat cushion was constantly pushing out and leaving a huge gap from the pillow top, and there was just no support in the back. Yikes!
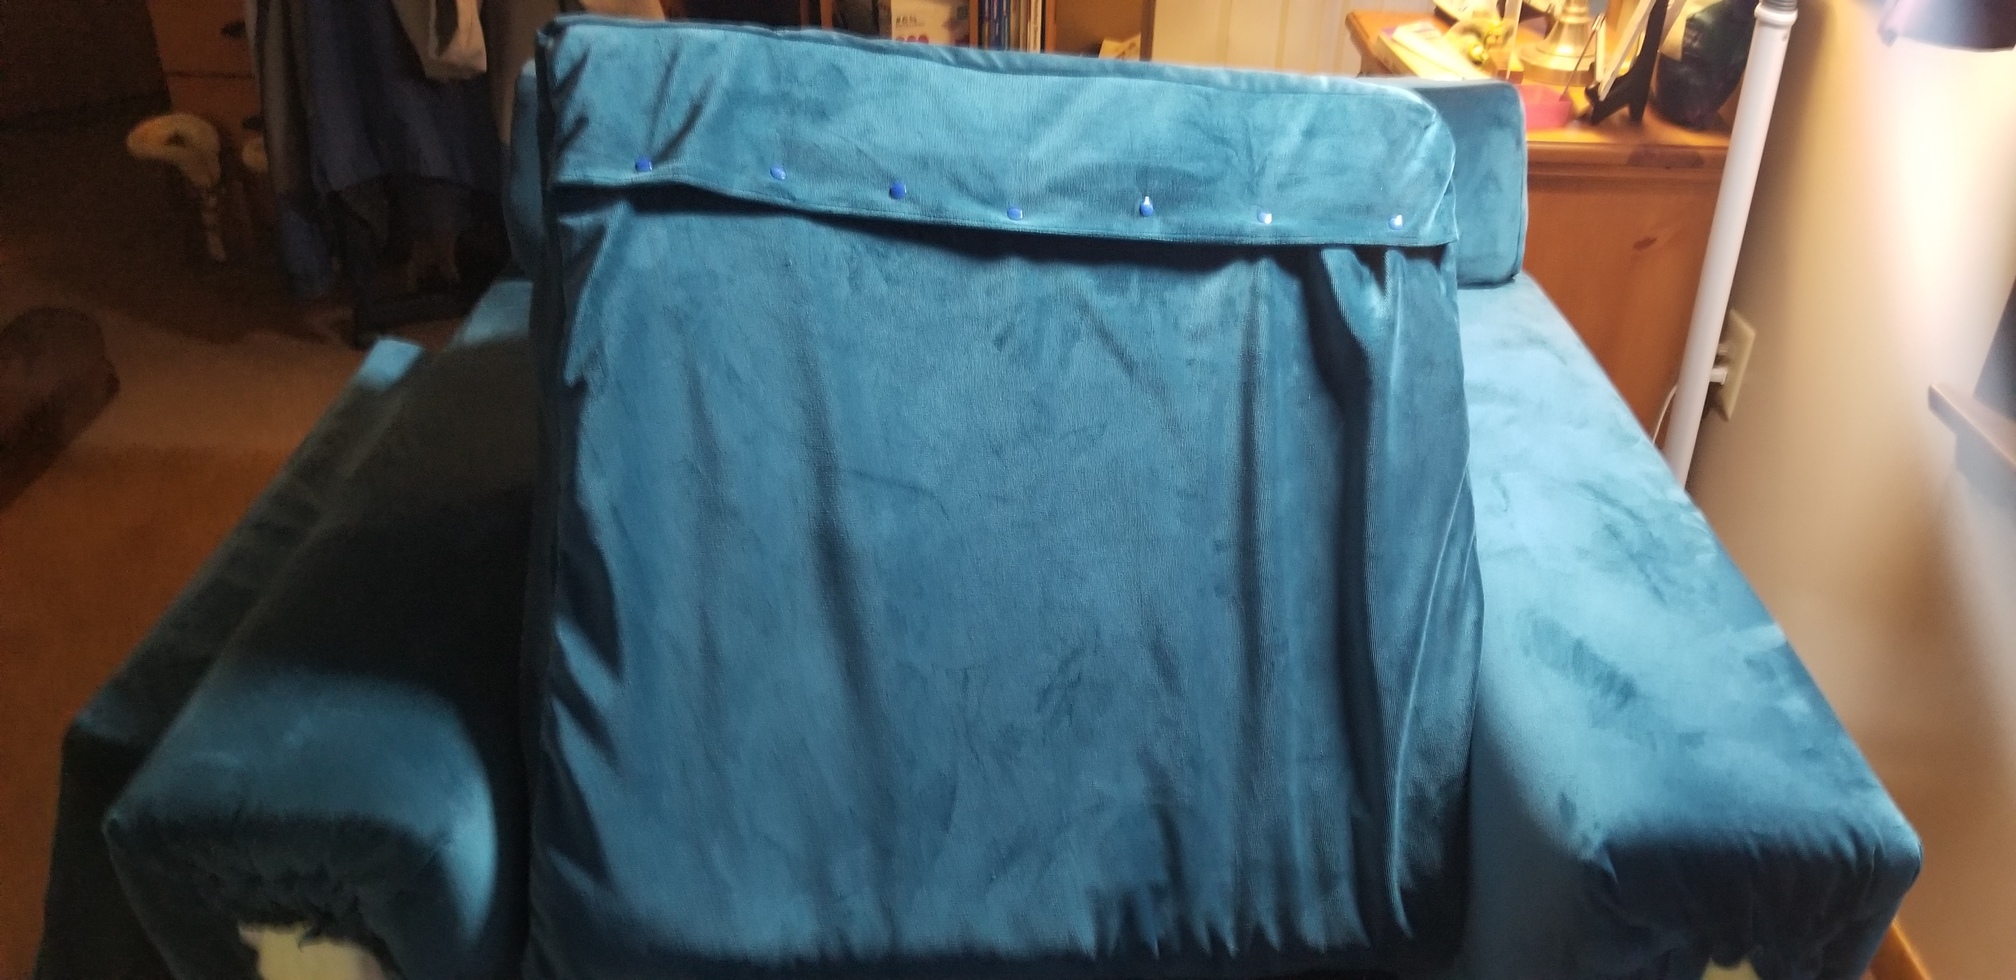
For a long time, we tried adding support under the cushion (and pillow top) like this:
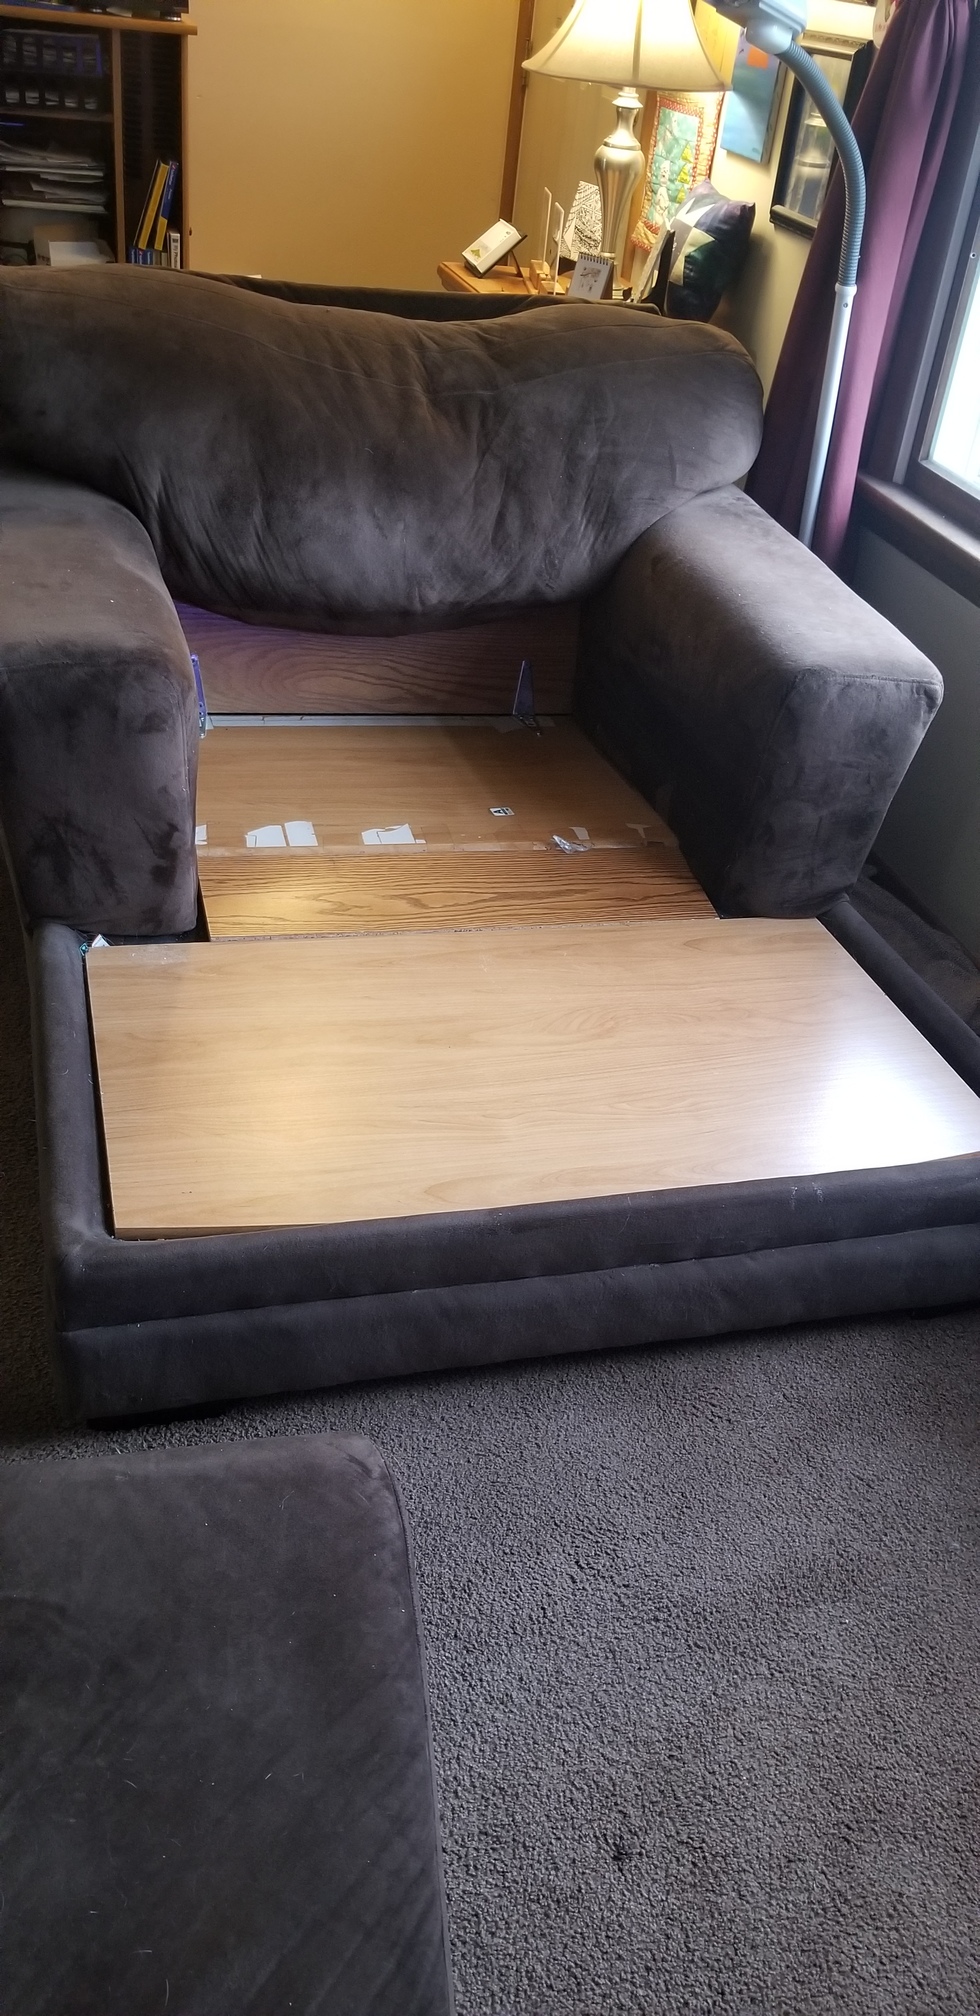
It just didn’t do the trick. I’ve been complaining about the chaise for years. I was tired of it not being comfortable and looking like a bed in the living room. This is a big project that I couldn’t just tackle without the support of my dh. He was not on board for a long time. He was also not on board with shopping for a new couch. So, I just complained, he kept trying to adjust the boards under the cushion. Enough was enough. It shocked me when a few months ago, I brought up the idea of turning it from a chaise into a couch and reupholstering it (also tired of all the brown on brown in my house), and he finally said yes. So, I asked if he’d be willing to take Spring Break off so he could help me work on this. He did. Now, this is something neither one of us had any experience it, so it could turn out to be a massive failure!
The week before Spring Break I started tearing into it. The first part was taking off the pillow top. It’s HUGE! I was shocked to see how much stuffing was in that sucker! (Plus, a black roll pillow I stuffed in years ago when the stuffing was getting flat).
Check it out!
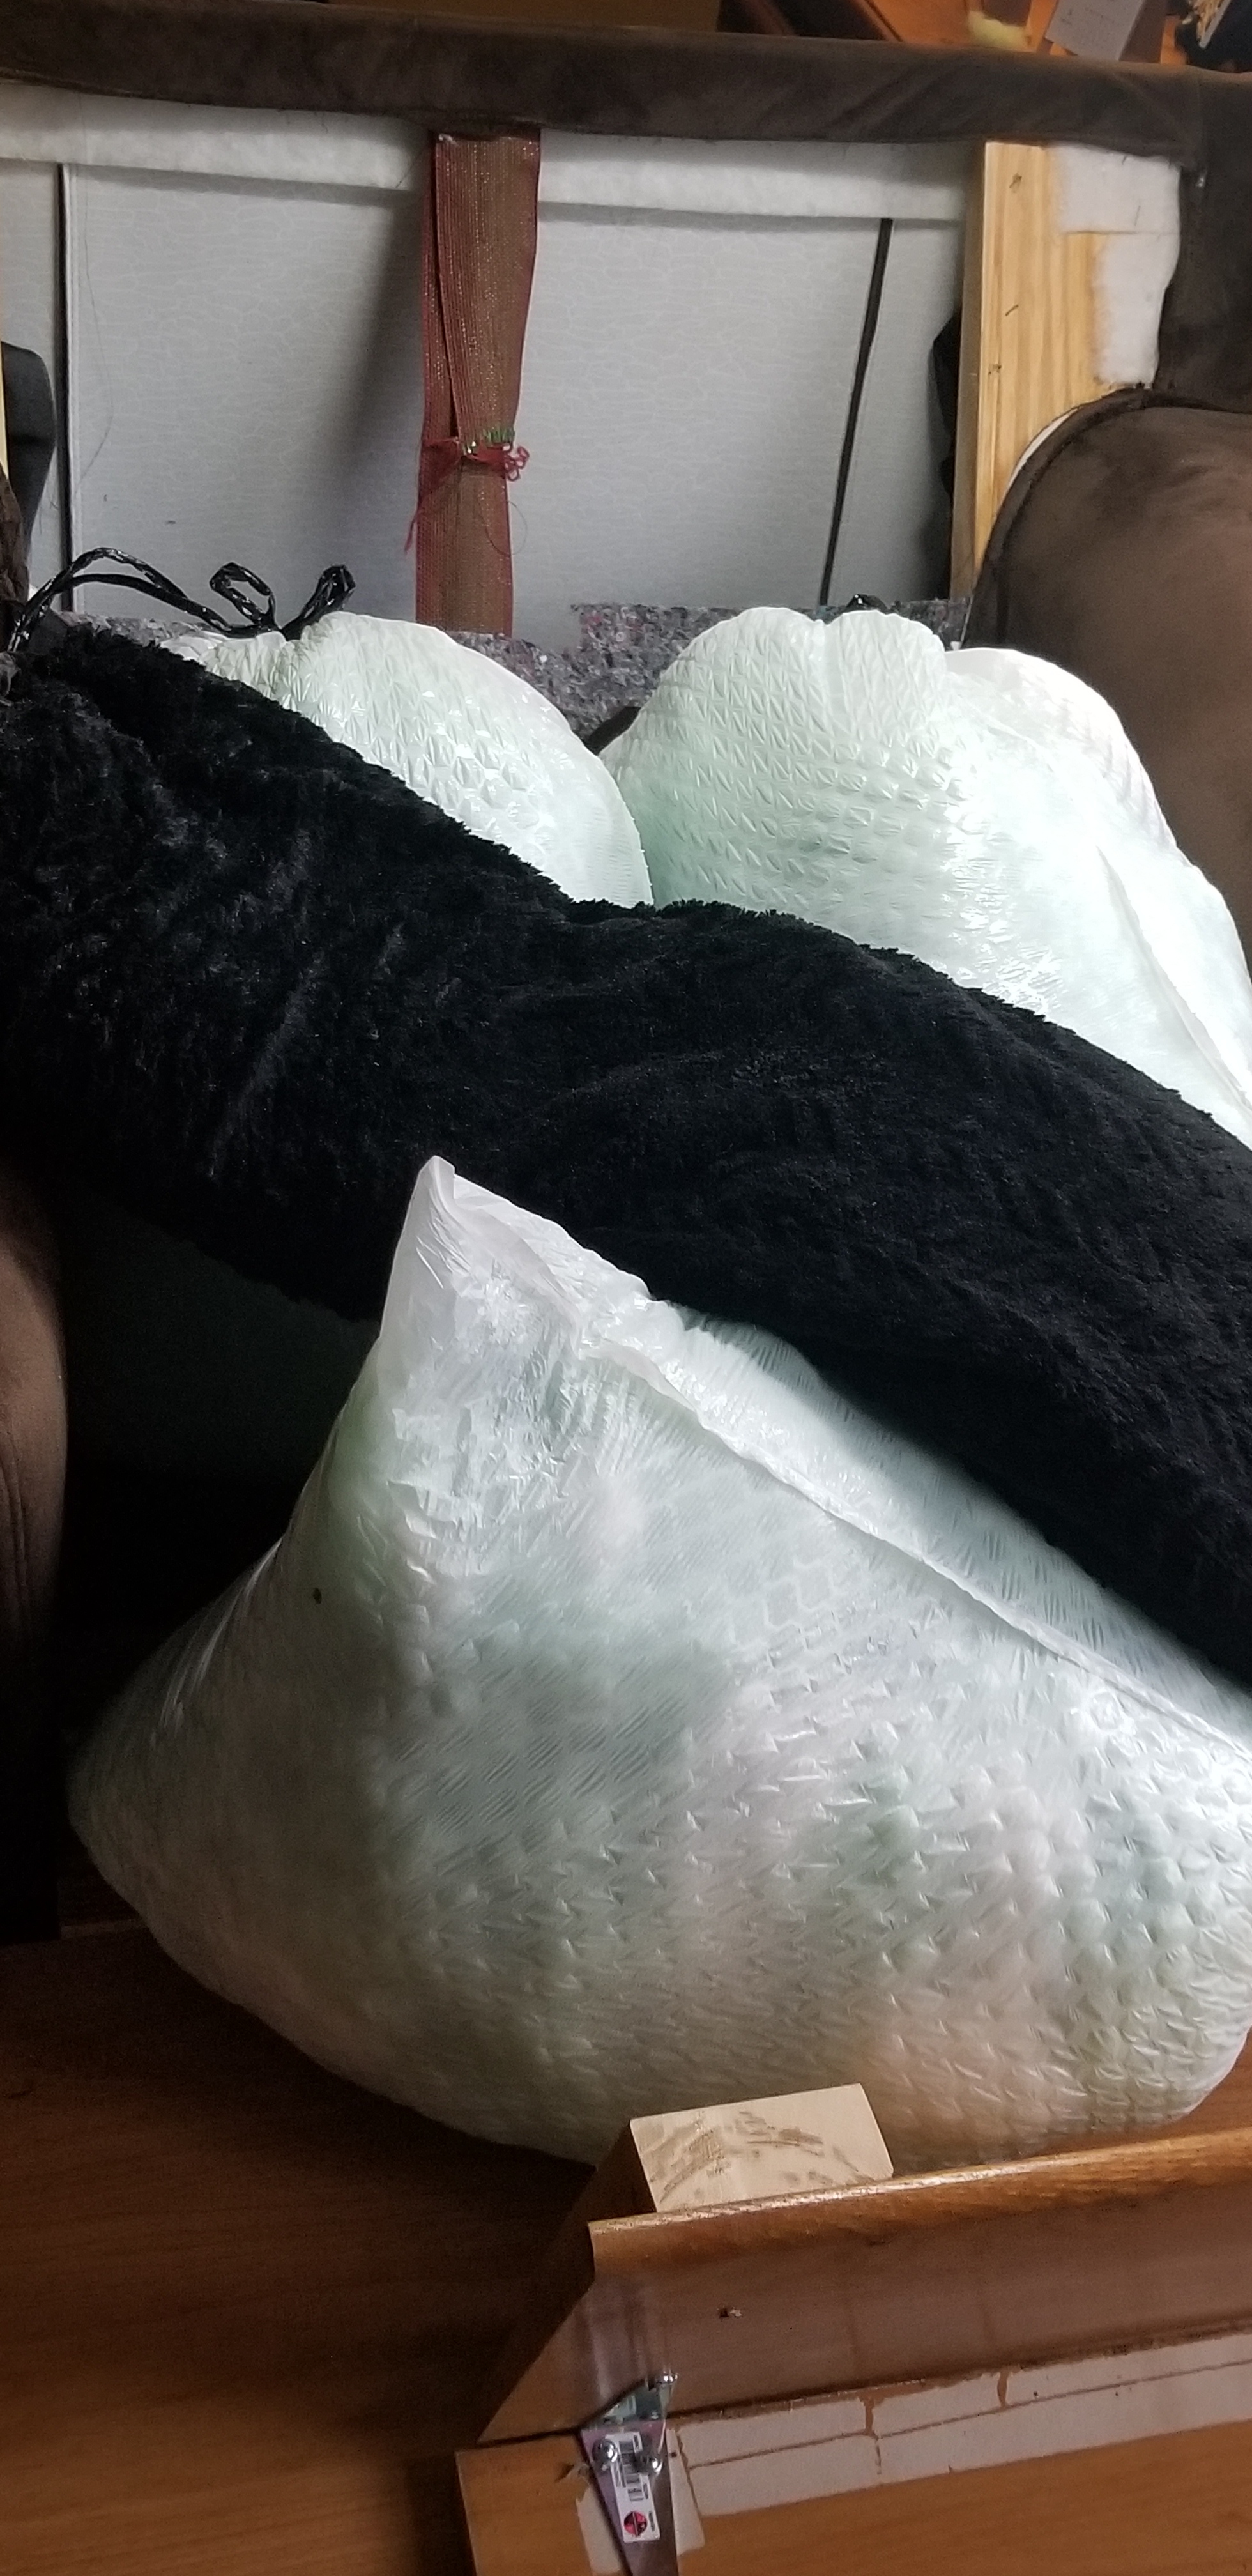
If anyone would like to do a swap with me, I’d love to send any amigurumi making friends some stuffing…some is white, some is green, but it all works…send me a message
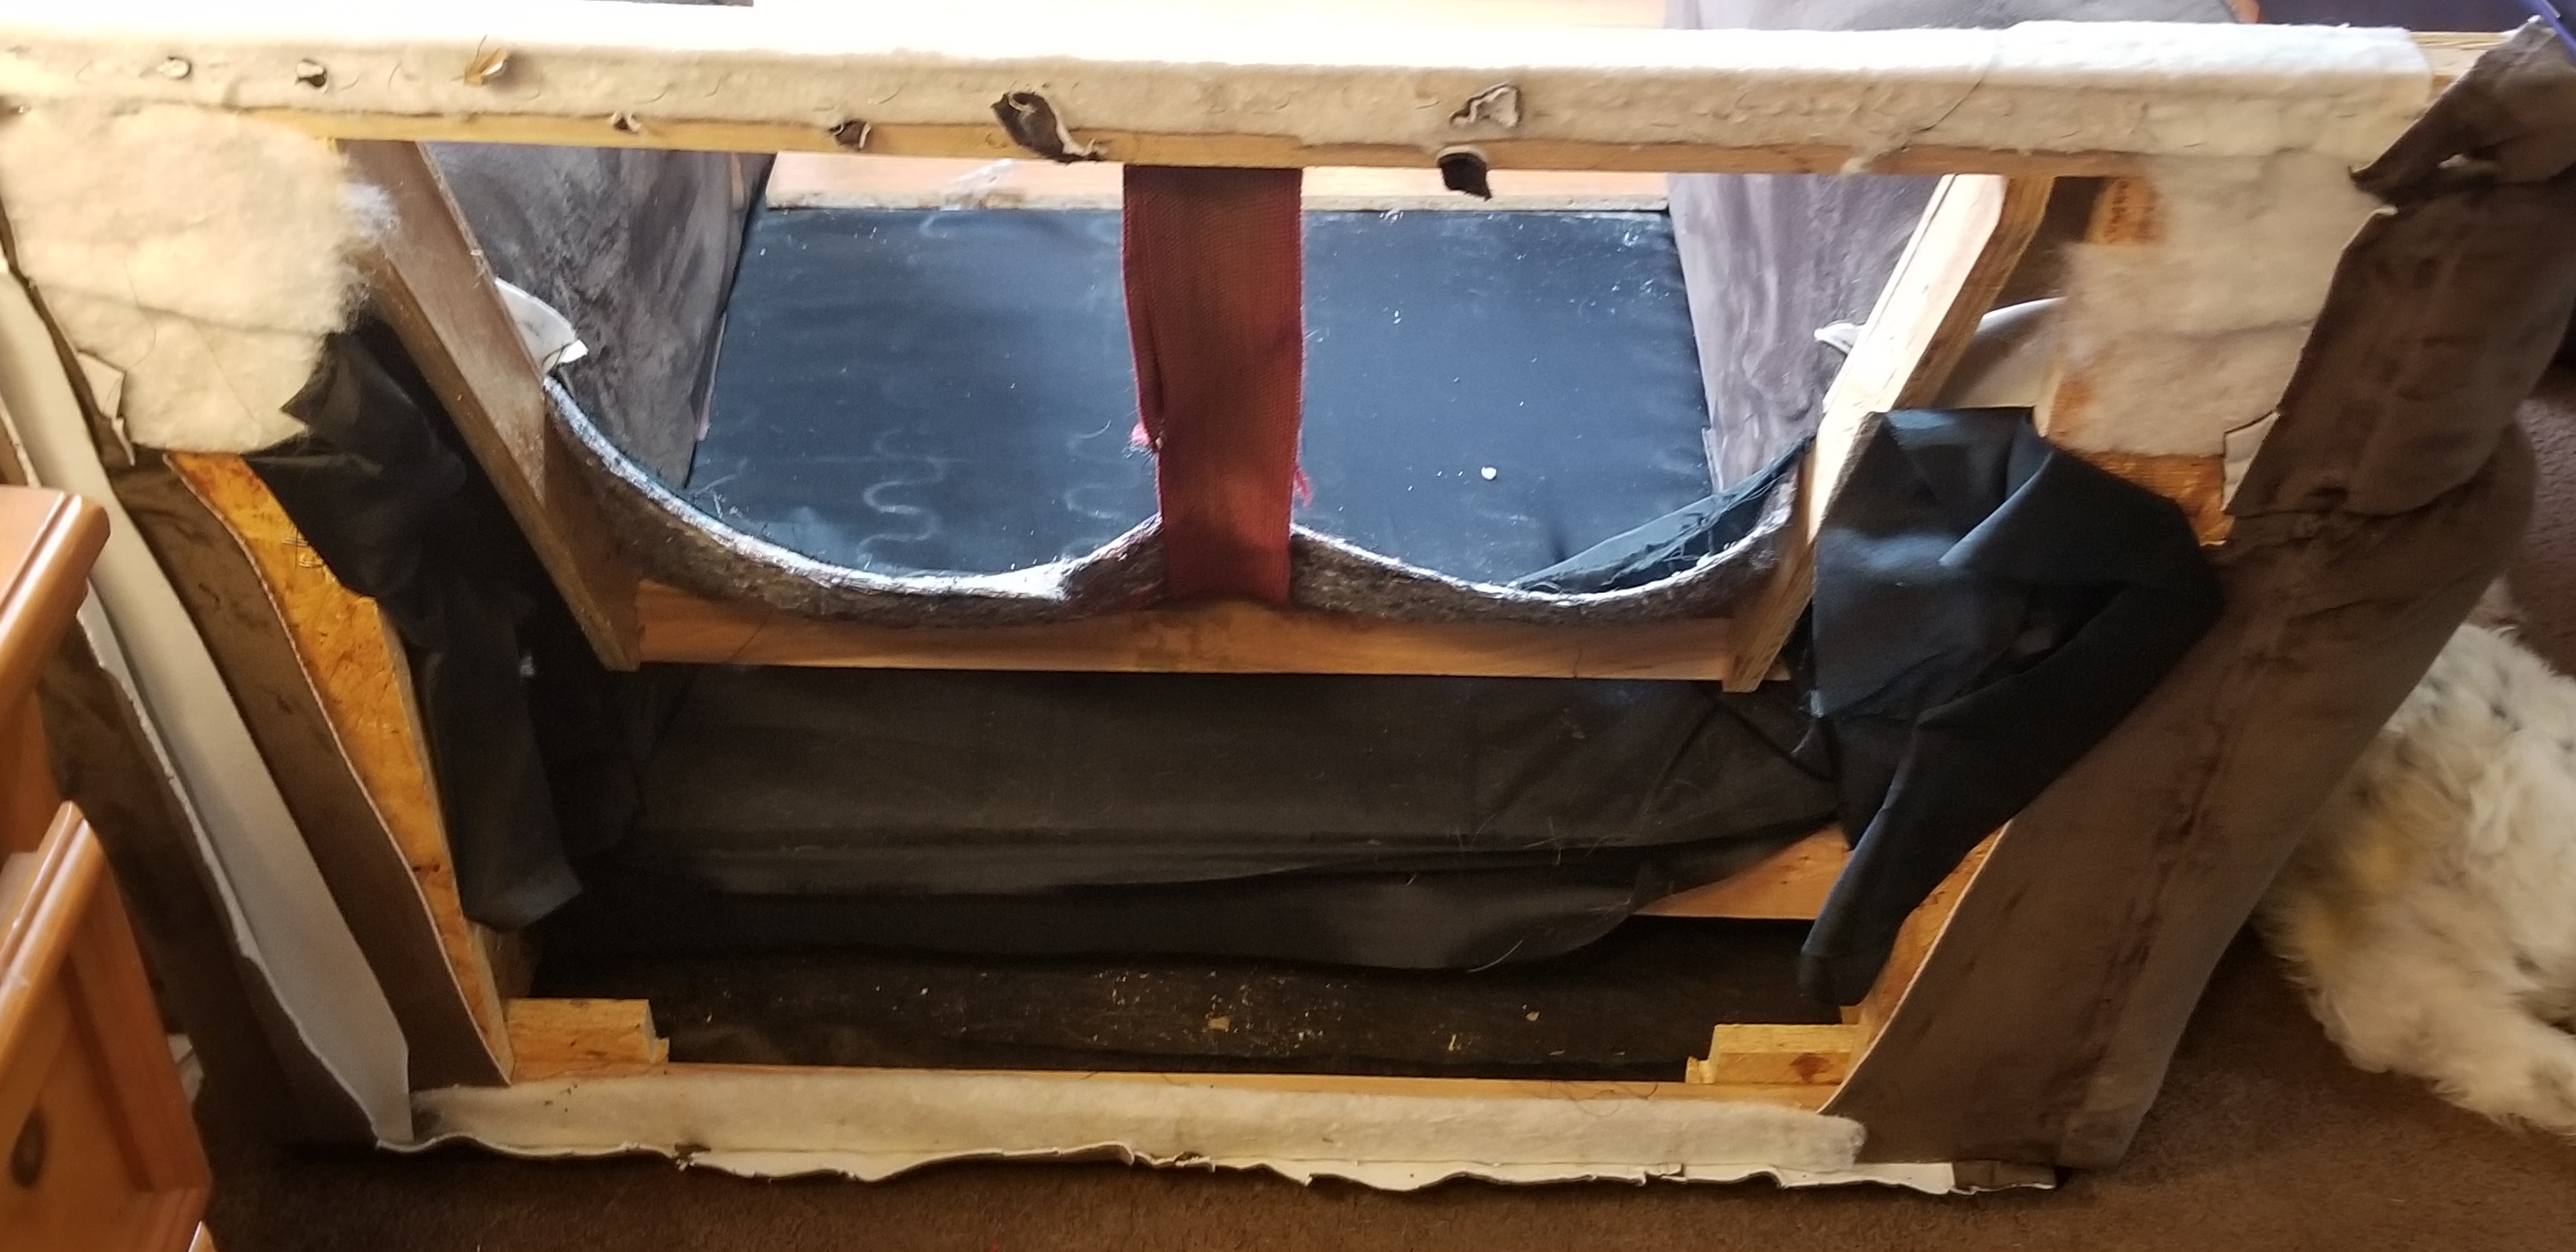
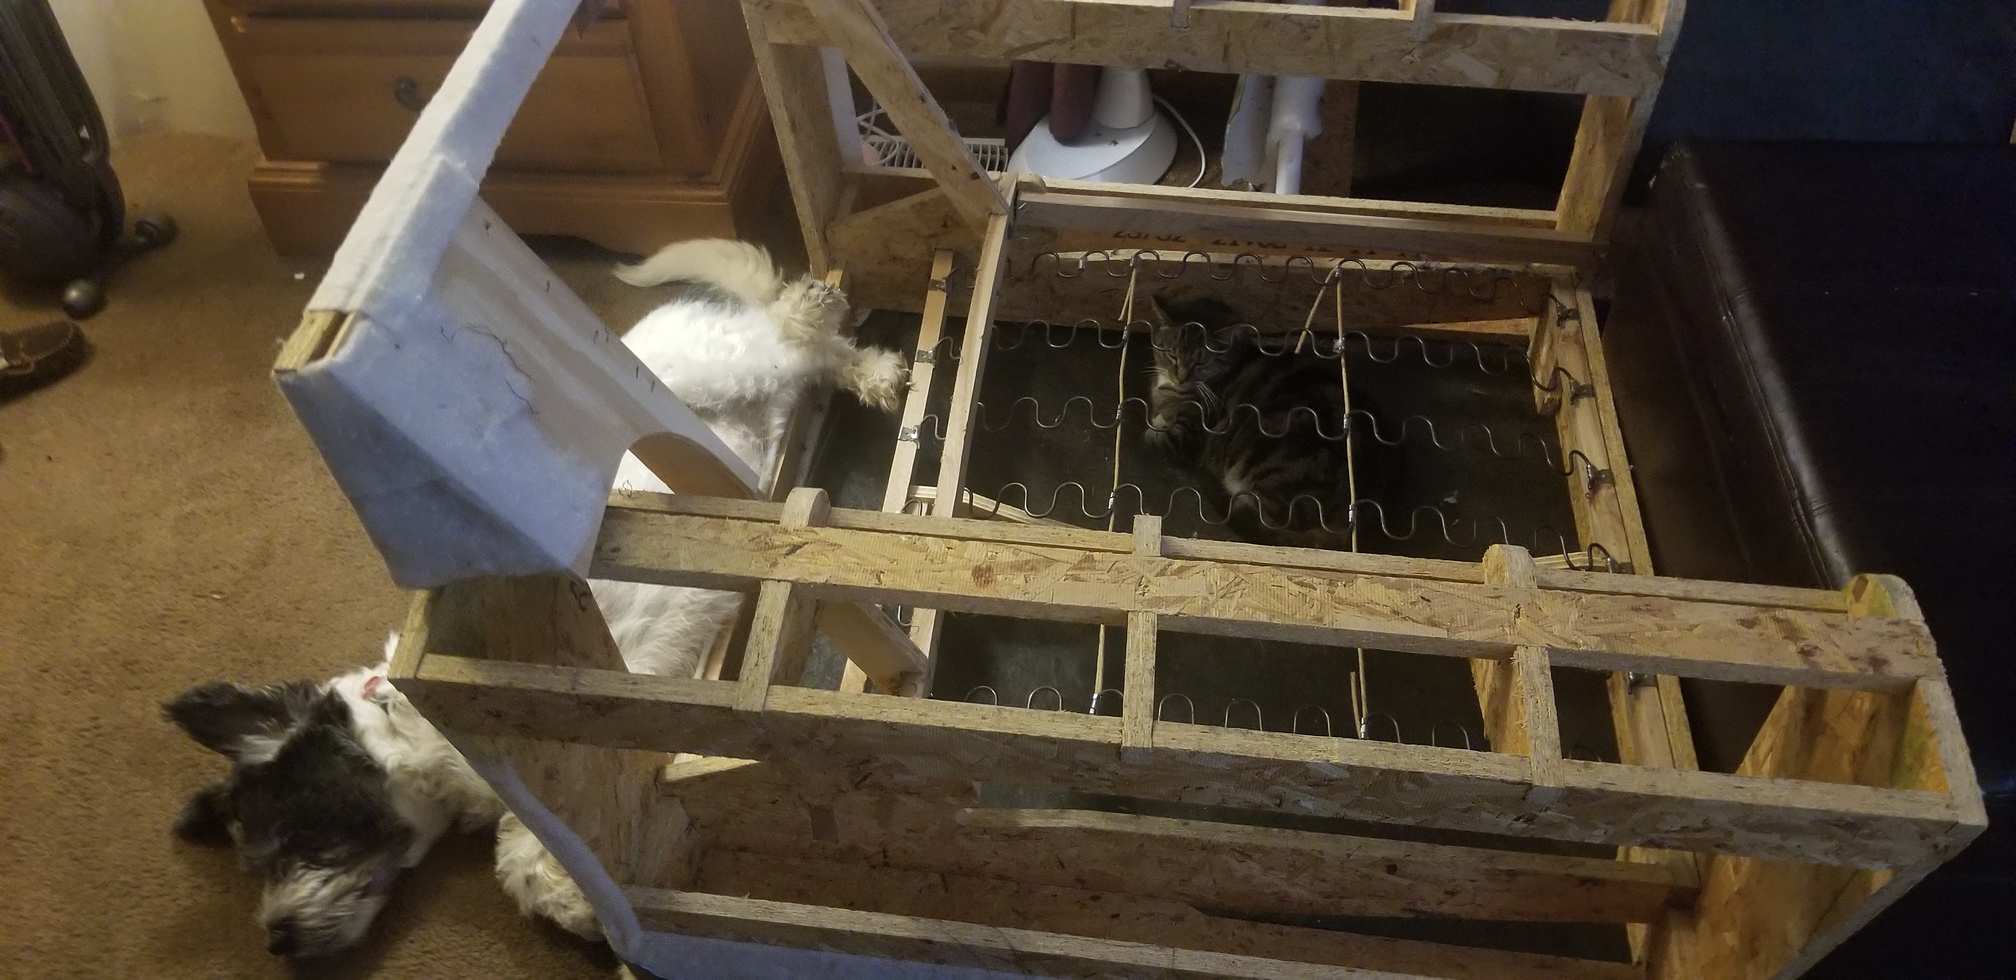
Once I had most of the chaise torn apart, there were several things that stood out to me.
- The complete lack of support in the back…only one jute webbing (yes, I know that supply now) with a ton of slack
- The front chaise part was completely broken. I thank my 60 plus pound dog for that!
As you can see, the jute webbing was touching the dust cover.
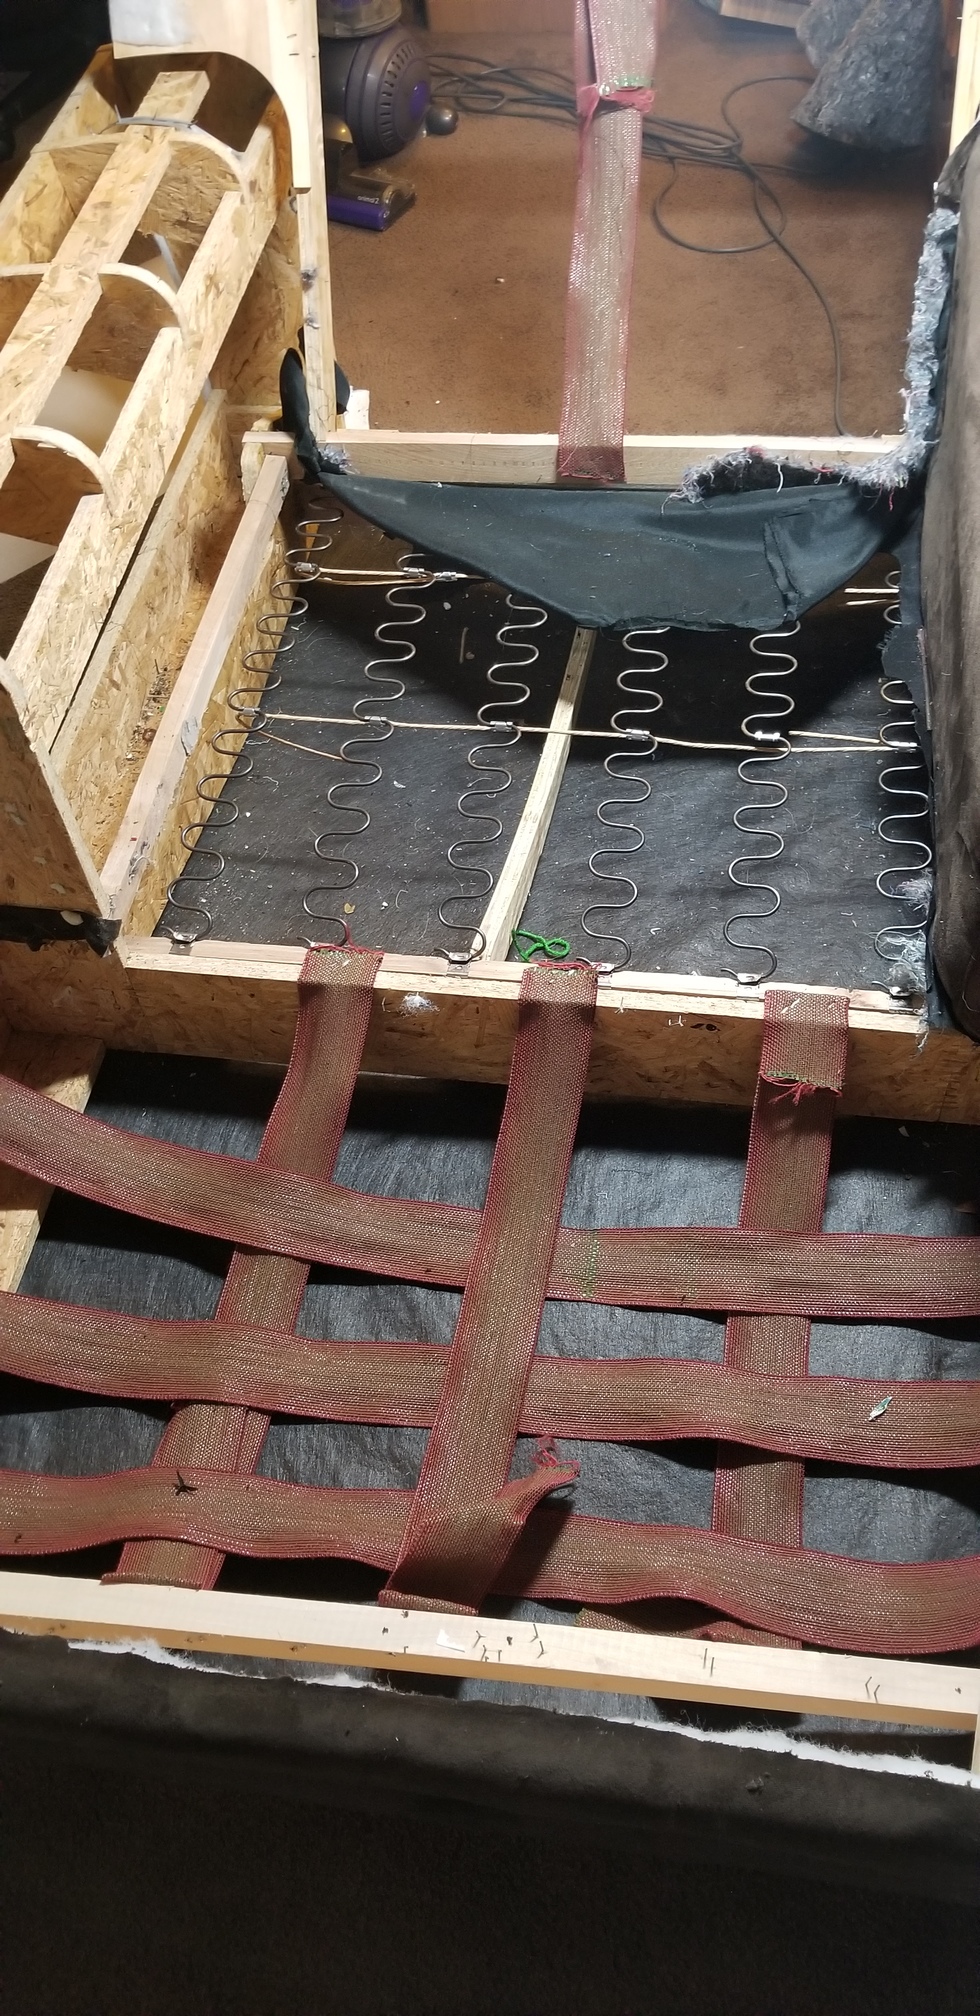
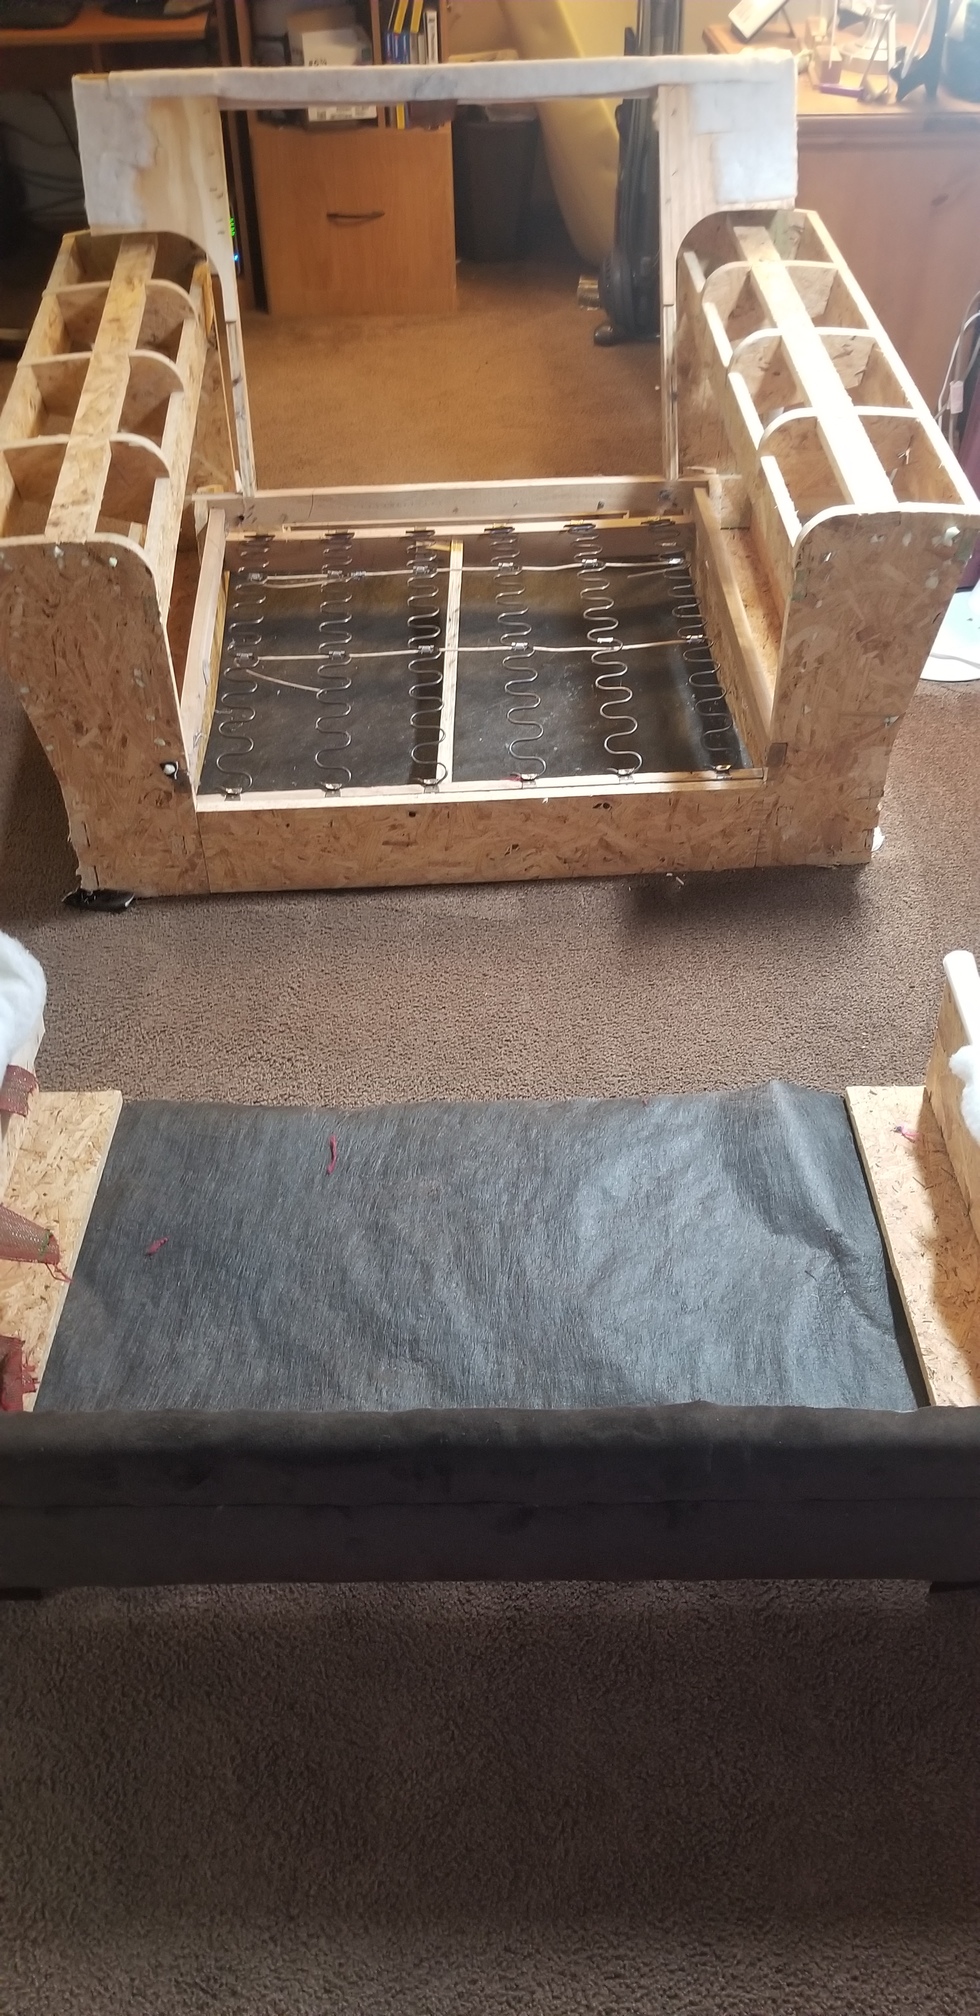
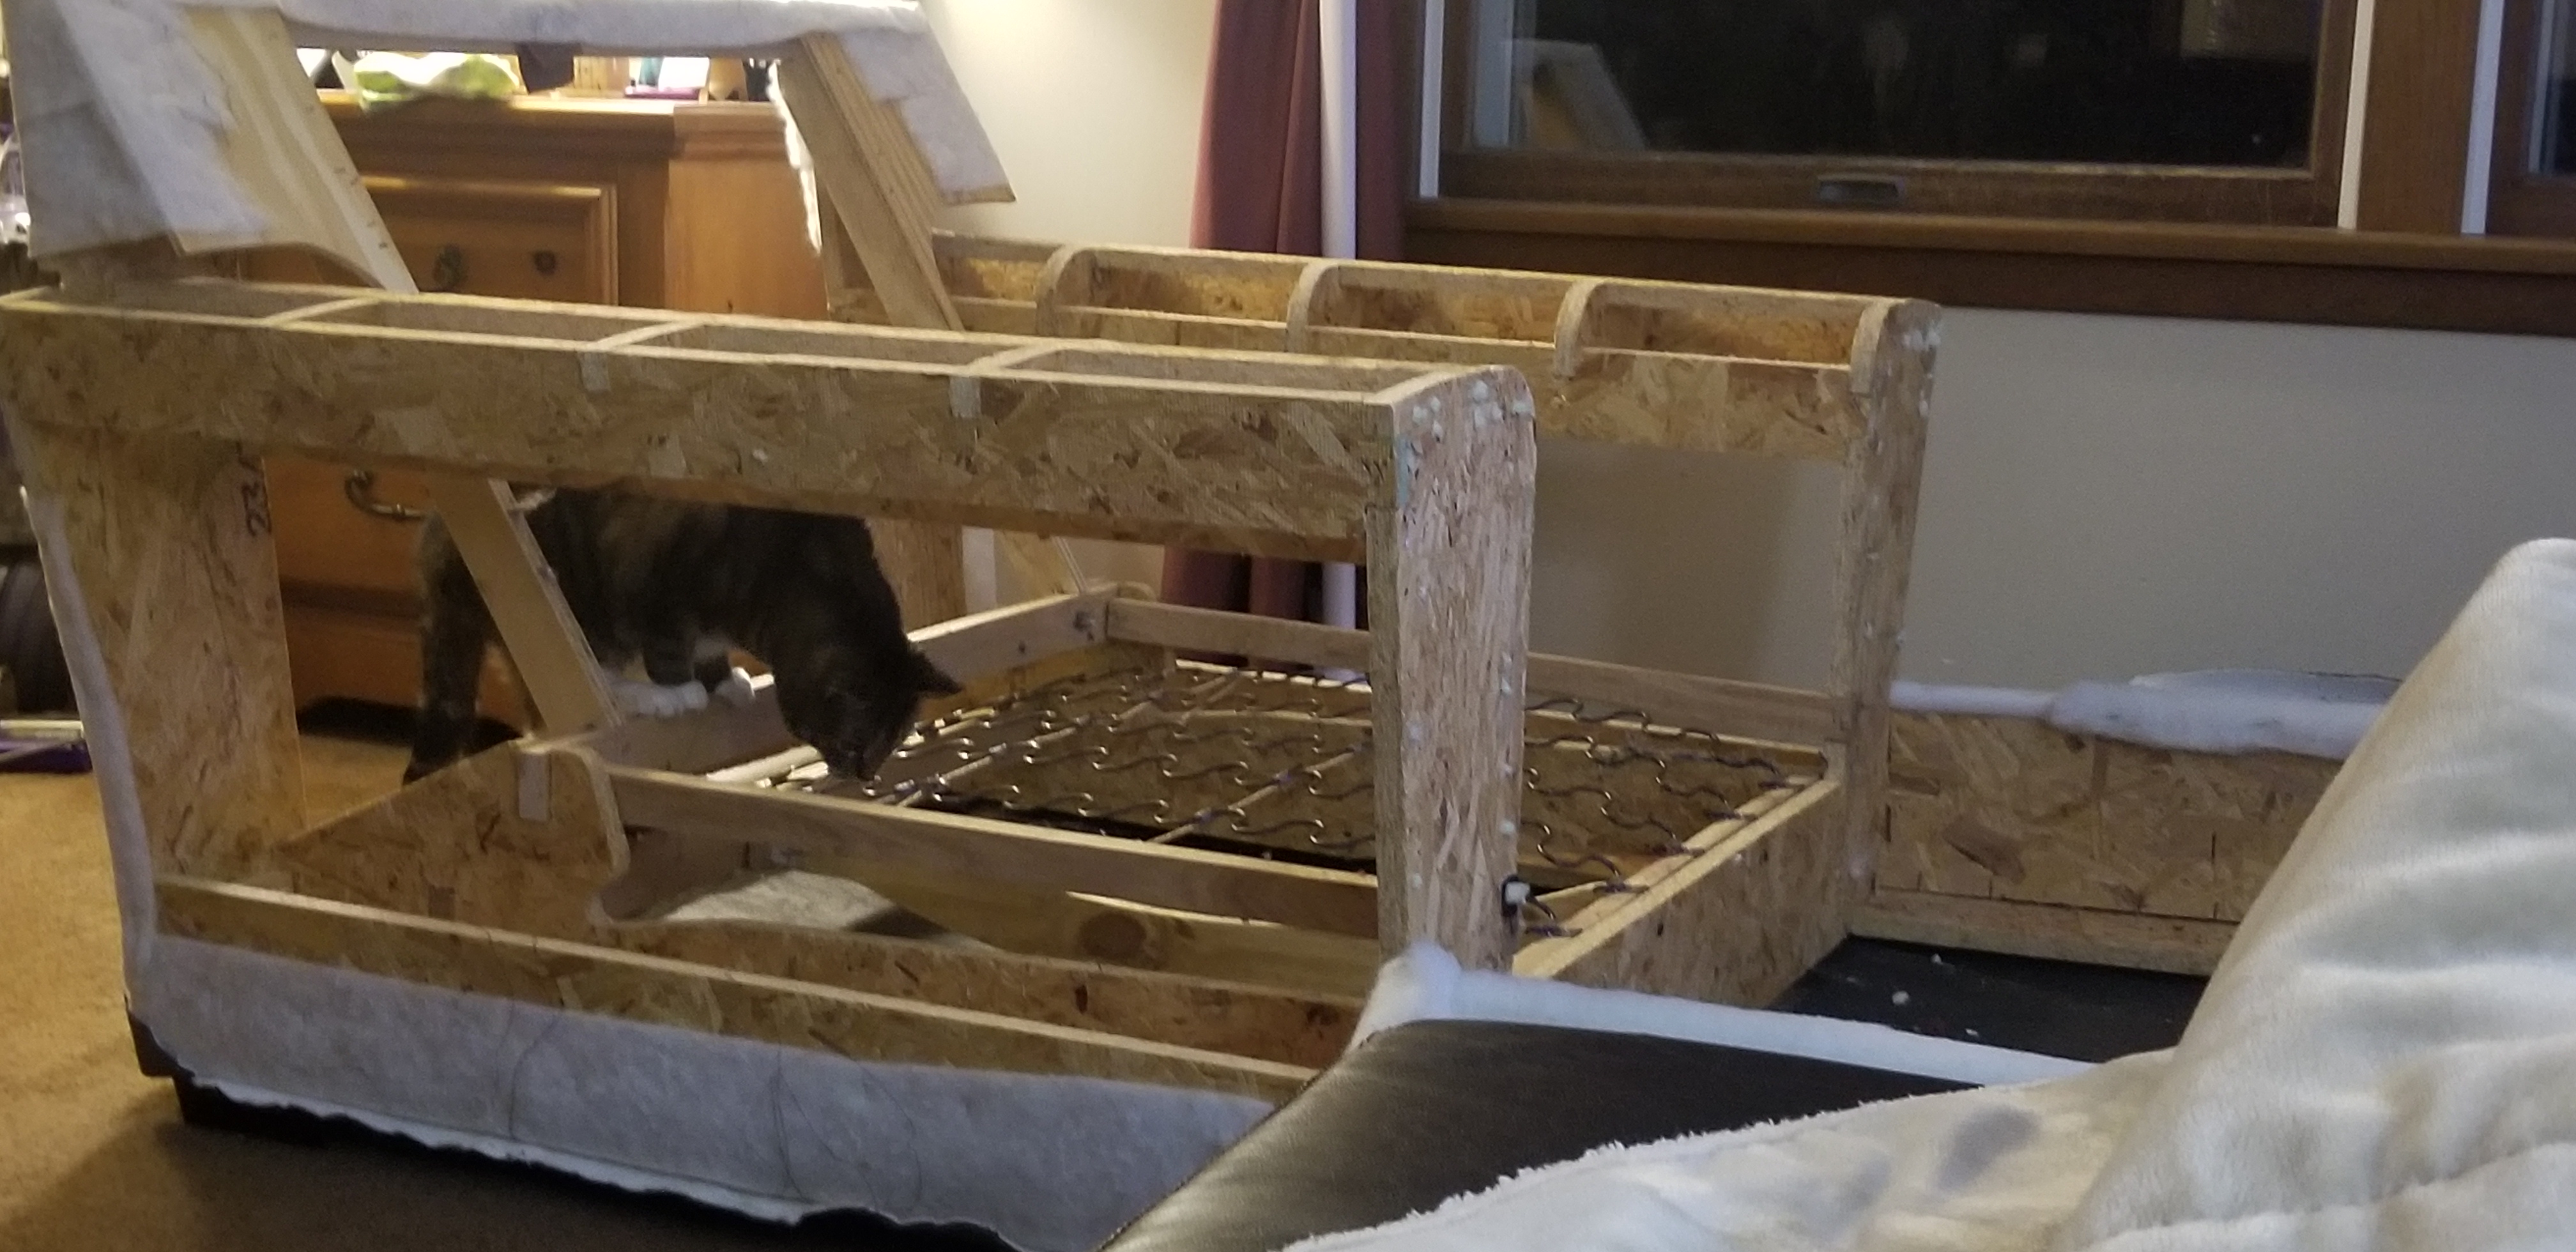
To spare all the hey look, now I took this part off pictures I’ll skip directly to how it looked once we separated the chaise footstool from the couch.
I ordered 13 yards (to have more than enough) of a beautiful teal velvet upholstery fabric. I was so excited when it arrived!

So pretty. That day was turning into such a wonderful day. We spent the morning out buying the stuff we’d need to fix the inside of the chair, my fabric arrived, and I went to dinner with a friend. What I never would have expected was my younger sister would suddenly pass away that same day.
Things were up in the air for a day or two as to if I would go to Alaska for the funeral. But, with the coronavirus threat, it’s just best to stay put. So, while it is tragic that she passed (let’s not fill up this thread with condolences, thanks), I was still able to be on track to finish this project to submit for the D&F 2020 Q1 Contest. I had a couple back ups, but this is the perfect remake into something more functional instead of throwing away!
So, back to work we go.
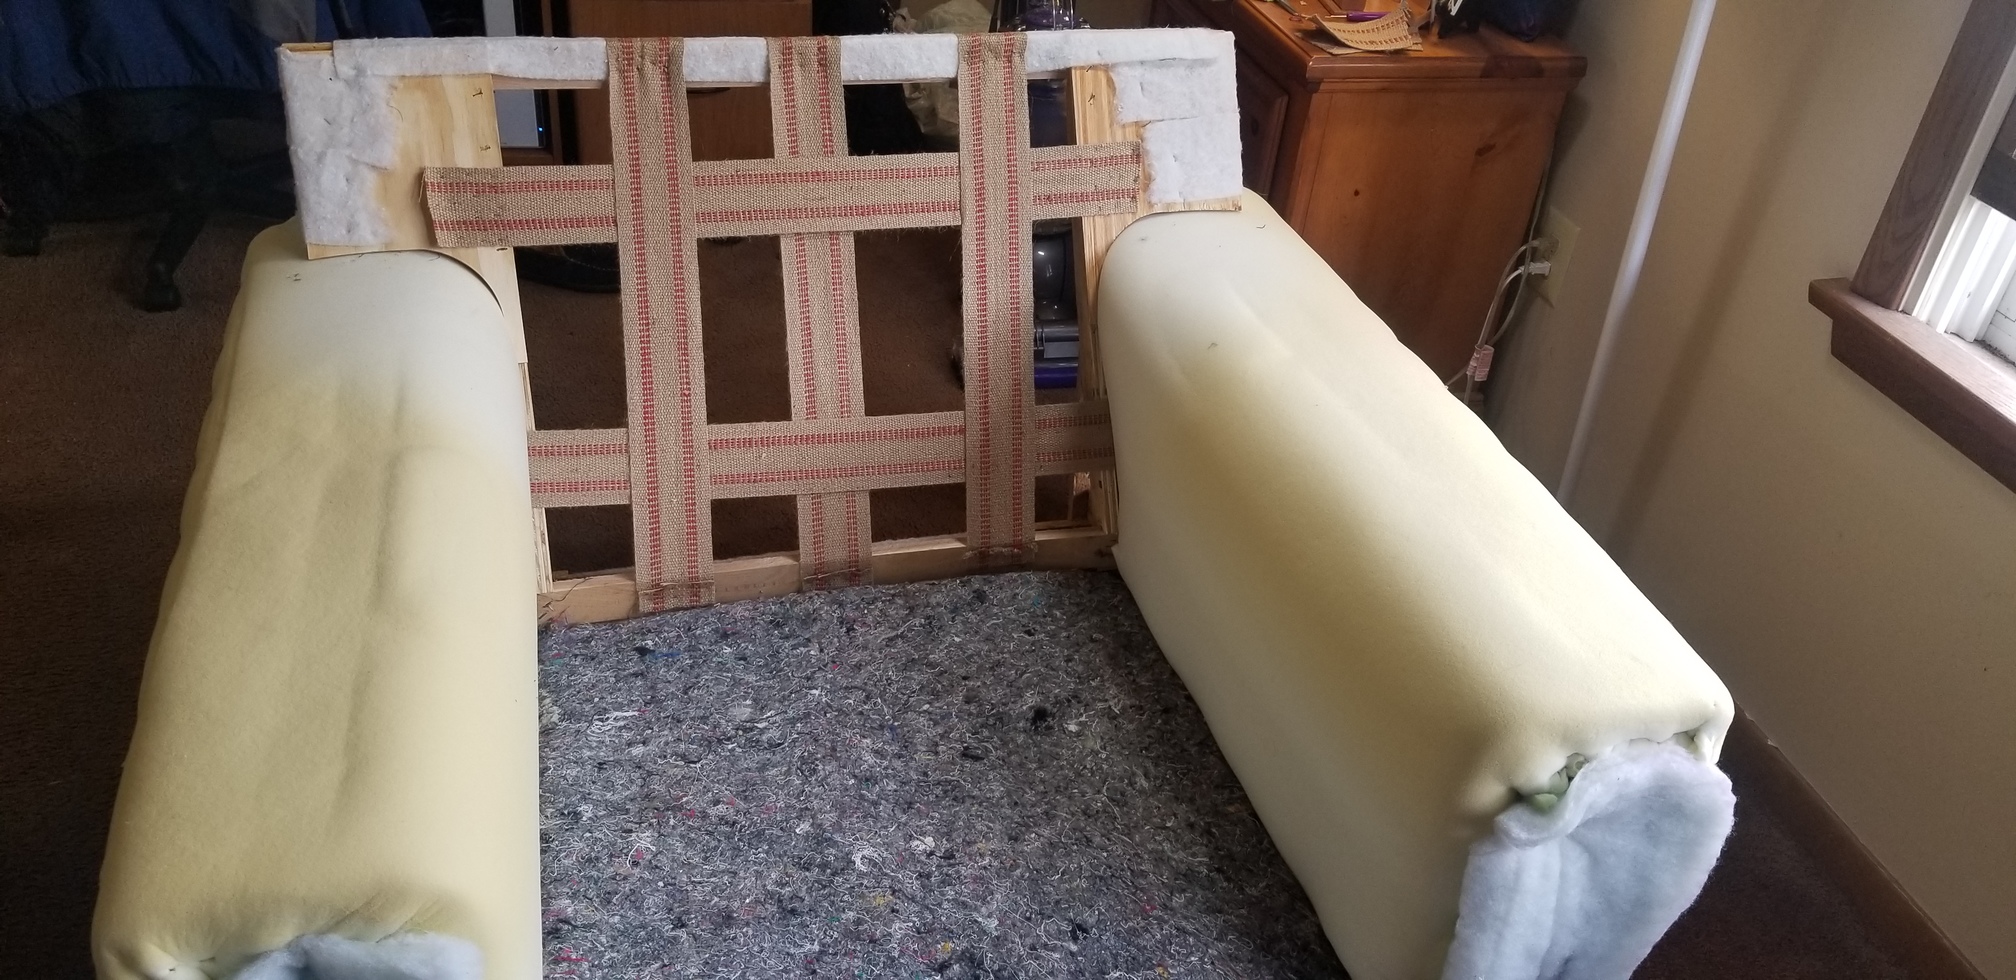
One of the things that annoyed me about the arms of the chaise was that there was this gap that got pushed down and indented. So, we had the opportunity to fill in the gaps with some of the stuffing before covering it with custom framing board (yep, that was what was previously used for shape.)

Both arms now stuffed and covered. I used an X-acto knife to cut the board. I used the previous one as a pattern. This picture shows the couch after we covered the cardboard with foam we were able to reuse, added jute webbing (much more support!), and were able to reuse the stuff on the seat (don’t know what it’s called). We decided to use some of the foam batting to cover the jute webbing.
Next up–time for fabric!
Even though I am a skilled sewist, the idea of sewing for this project made me so nervous. I wanted to staple as much as possible. I did sew the seat dust cover to fabric for the front of the couch but that is it for this part. We covered as much of the couch with the batting foam as possible. We even decided to add extra sturdiness to the back by adding a coardboard piece. We learned later it made it slightly more difficult to attach it first, but it worked.
Here is the couch dry fitted to be stapled.
Before we did that, I had to do some real sewing. The top corners are triangles, and I had to make a bit of a slip cover for the top part that goes down to the seat. That was scary for me, so I did a couple test runs on smaller triangles that just cover the edges. But, my final sewn part ended up looking like this:
It’s loose in this picture, but we added more batting and it got pushed in to look better. This is another dry fit picture.
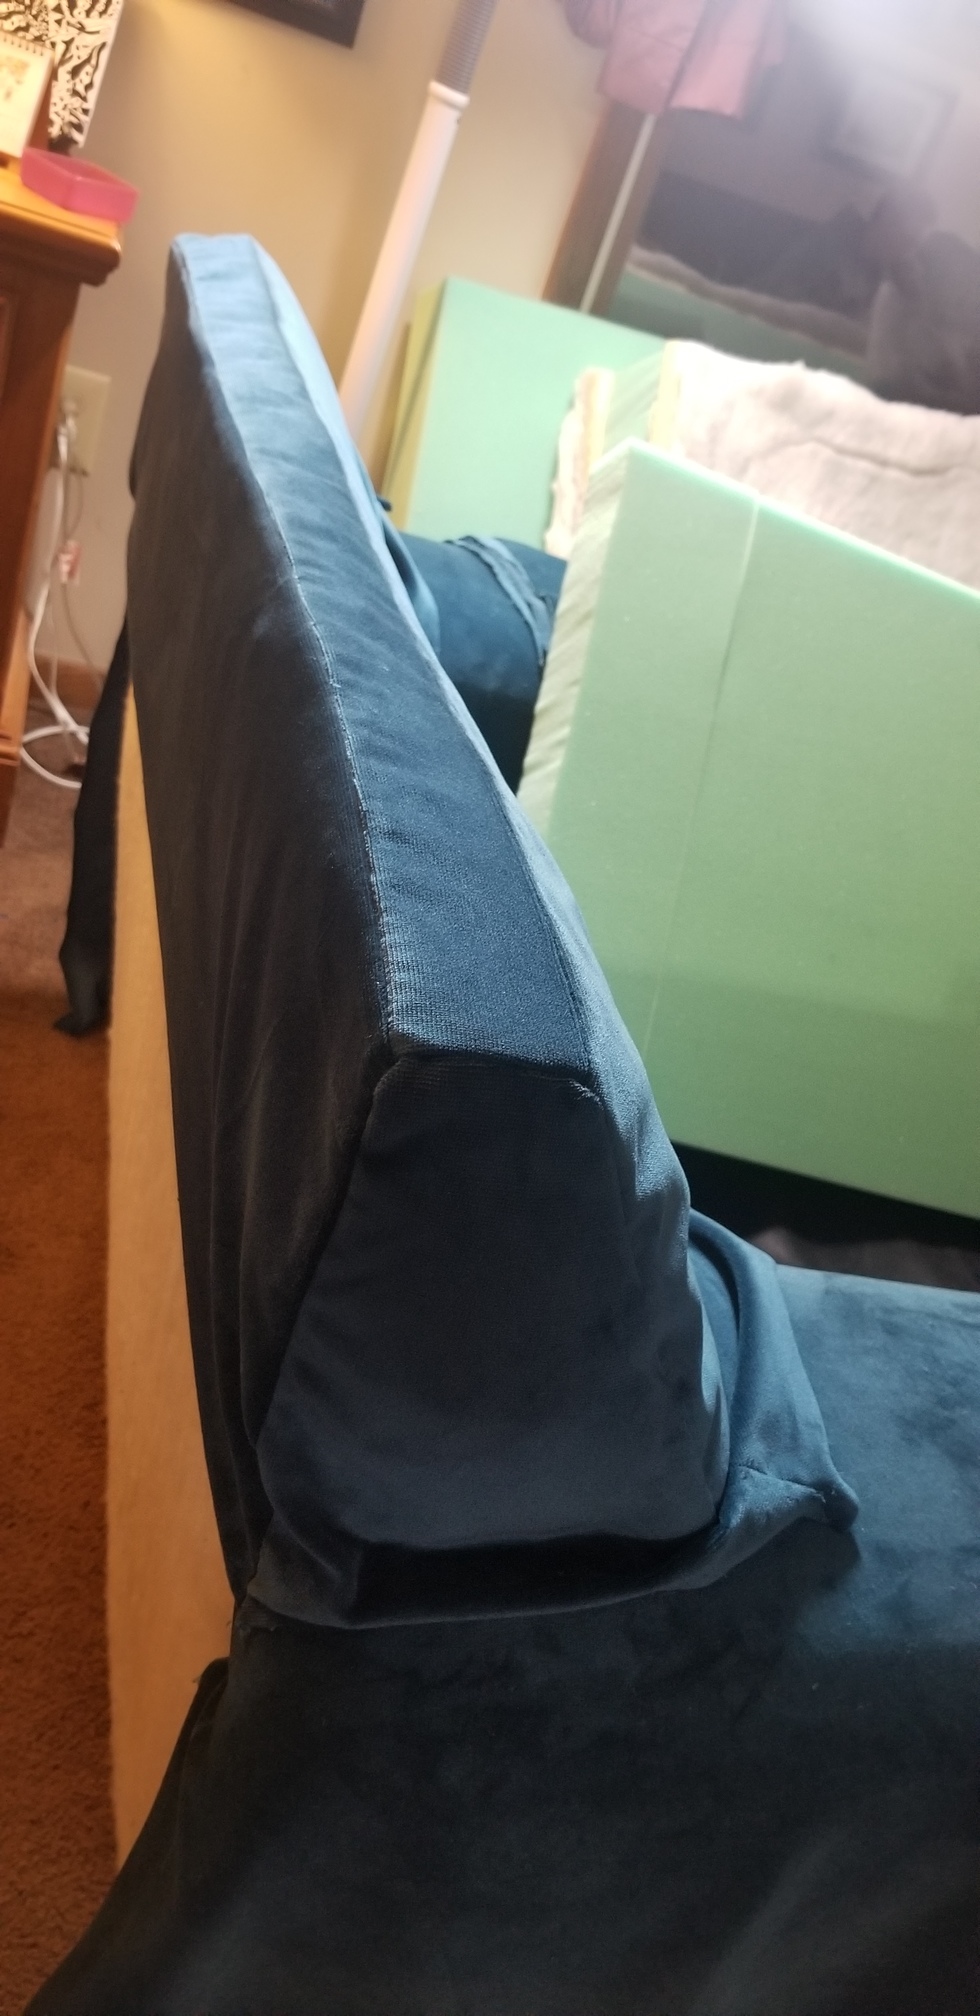
So, at this point, it was staple staple staple. Once that was done, the couch is practically ready!
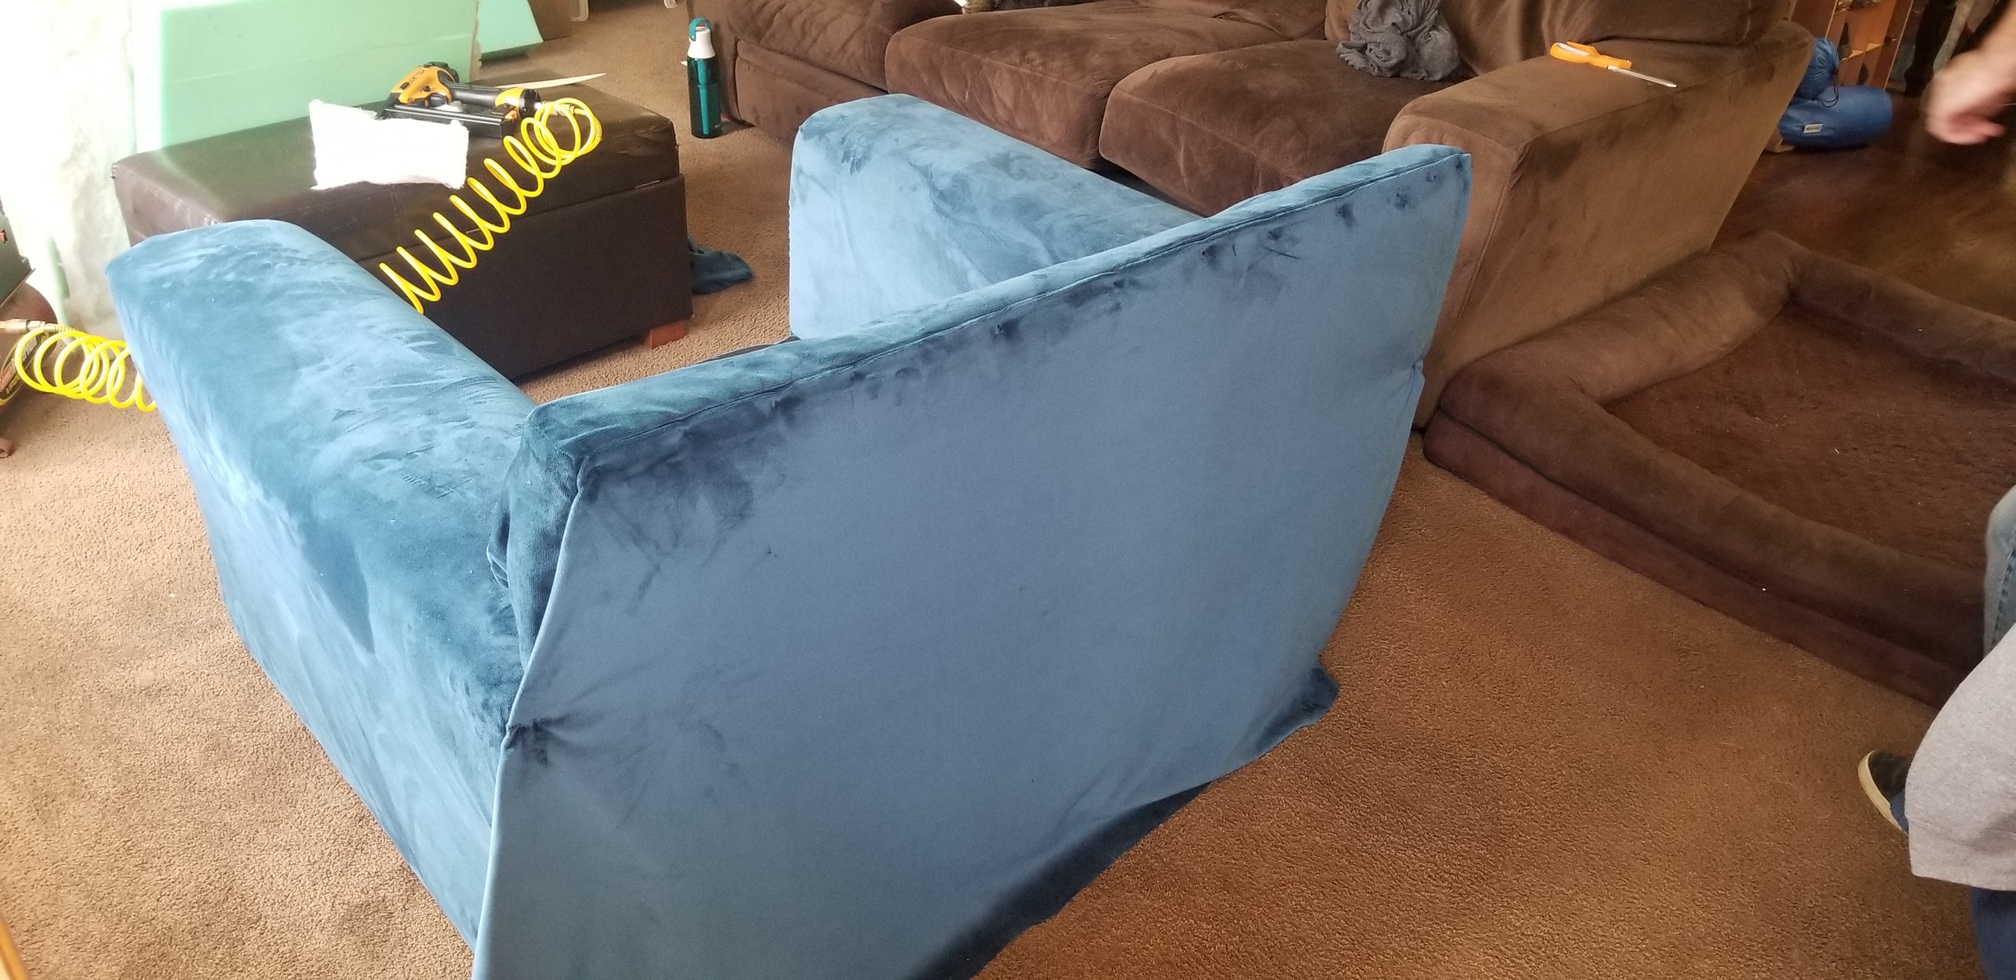
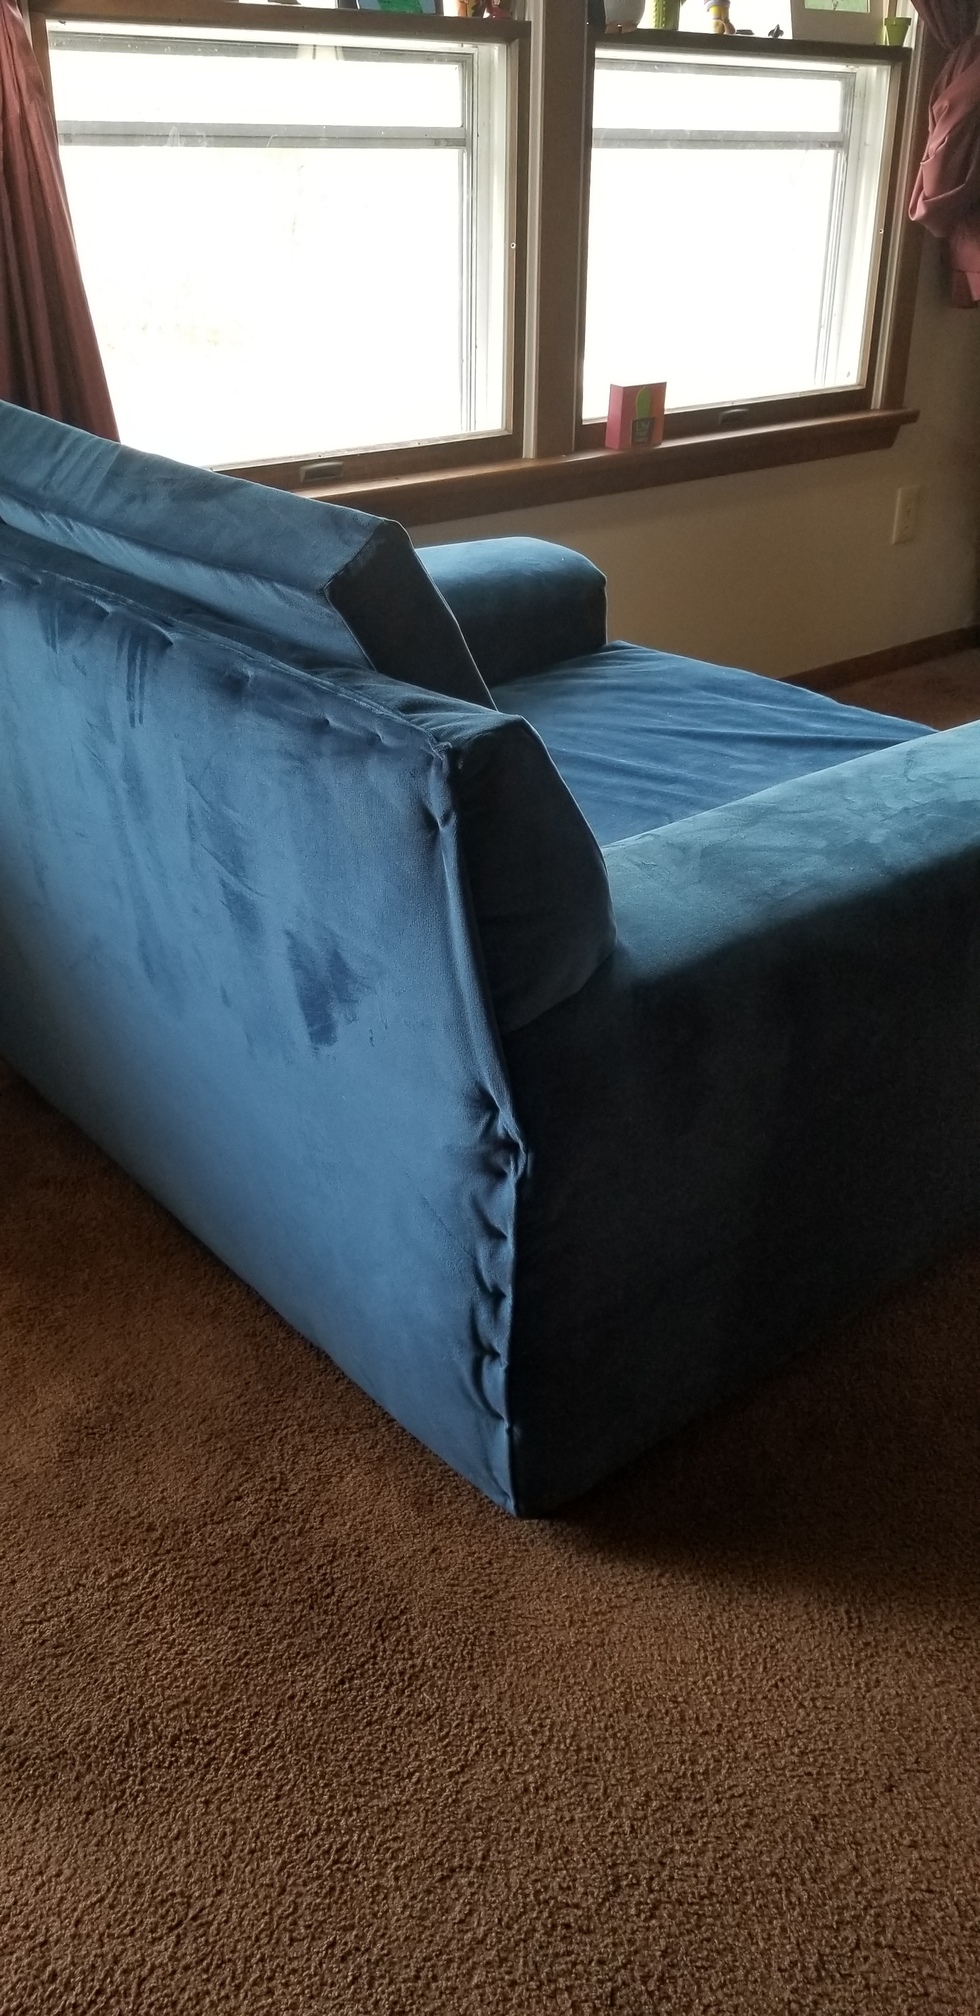
Here’s the back! Not bad for a staple job! (Yes, we stapled to the bottom too, just not in this pic). I’ll show the front in another little bit. Look how different it is from the brown furniture that matched the chaise in it’s previous life.
Because, the front needed cushions. This meant sewing. And I was not going to figure out zippers! I was going to do Velcro, but I wasn’t able to get the Velcro to attach to my fabric and didn’t want to hassle with sewing it, so I need something else. I came across a blog that talked about envelope enclosures for cushions in her RV, and I thought it would work…be difficult to stuff, but work.
Originally we wanted to reuse the cushion, so we took the cover off and were shocked to see what the cushion looked like!
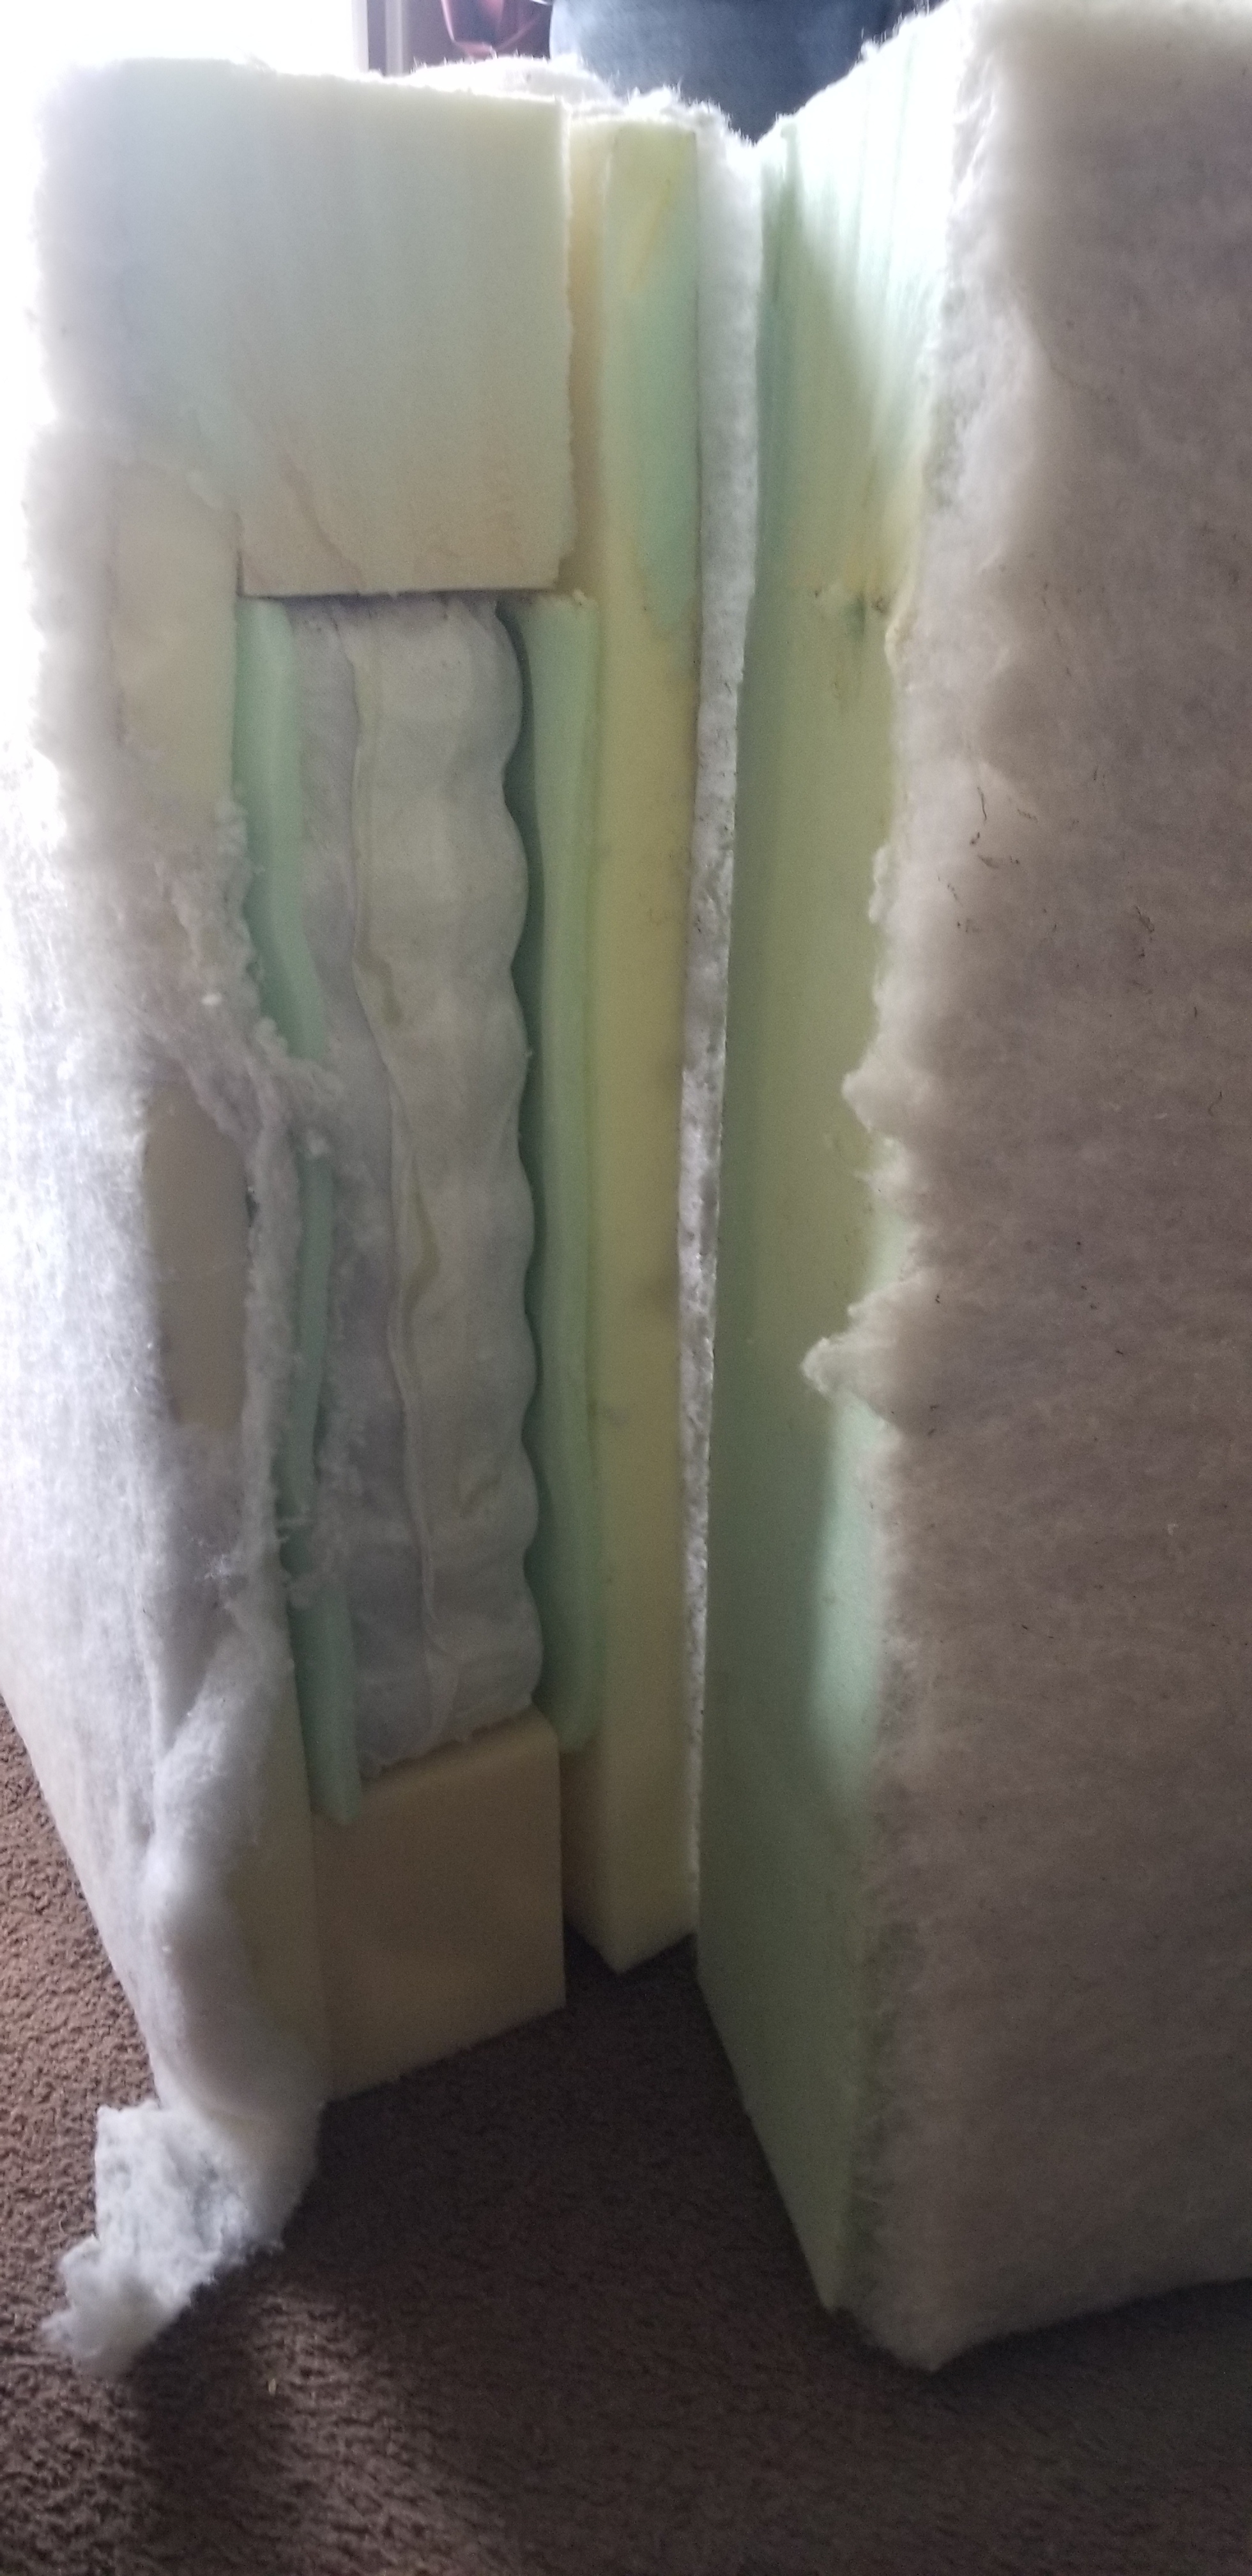
A whole bunch of pieces of foam glued together…and springs in the center. Some of the springs were better than others, but I really didn’t like it, so I decided to buy 2 yard of the 5" green foam from JoAnn. I got a GREAT deal!! By the way, cut foam with a turkey carver…it works like slicing through butter!
I wanted something more firm for my back, so it’s just a block of 3" foam. I may decide to add some foam batting to make it softer (I can currently tell the difference of having that on my seat cushion vs not on the back cushion), but it might change if it fits in my cushion and I did a pretty great job on the top cushion:

I’m not as happy with the couch cushion. This was much bigger, and hard to do. There are a few pieces of foam glued together and not 100% square. I did my best measuring, but it is still slightly too loose. The perfectionist in me wants to try again, but the ugh, stuff that stiff foam in a pocket envelope was NO fun, just leave it is probably going to win.
It was so loose I ended up adding snaps to the back to keep the pocket closed.
But really, being a novice, with no pattern…I’m not going to be too picky. This couch still looks 100% better than the chaise did! And, you can’t see that side! ha!
So, here it is, as I am sitting in it almost done,
Yes, the seat is really high. My 5’2" frame can’t even com close to touching the floor. Yes, the seam isn’t exactly lined up the frame, and yes, the foam is slightly too long…but hey. OH, and see my Mia napping?
While I wait for my dh to come home with some decorative tacks so we can cover the front of the arms, let give you a couple funny pics of my dog and cat through this process:
Adding the decorative tacks was a learning experience. We learned that they worked better for us if we just put fabric straight to the front instead of attaching fabric to a stencil of sorts. We also learned that they were hard to put in (perhaps because we didn’t buy a special hammer), but when we stapled first, then put the tacks in it worked better.
Here’s a few views of our BRAND NEW BLUE COUCH!!

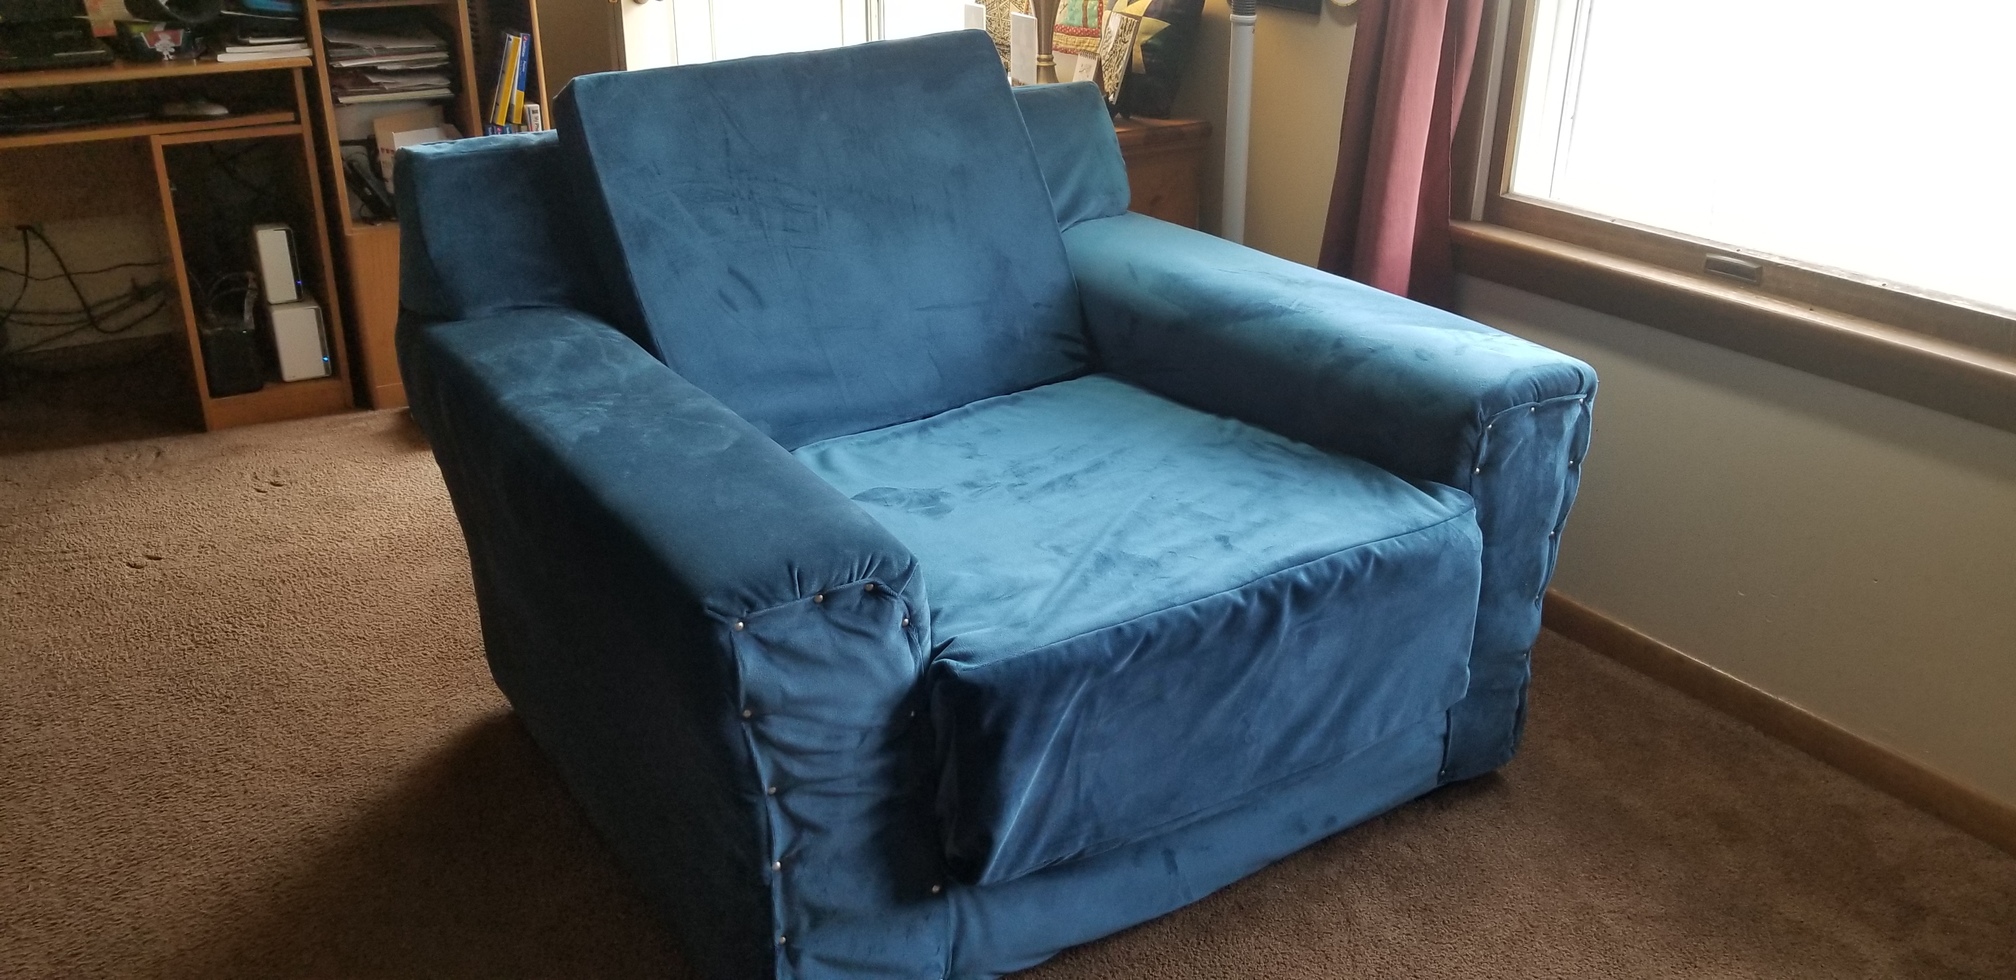
It’s not perfect. It definitely had the hand-made vibe. But, it’s been re-purposed into something more comfortable, in a beautiful color, and even my son has given it his seal of approval. Not only that, my husband and I can give this project a thumbs up! We didn’t know how well we’d do, but I think we did pretty darned good.
Thanks for looking!


